14 DAY TRIAL //
 The following tutorial will teach all Ubuntu 11.10 (Oneiric Ocelot) and Ubuntu 11.04 (Natty Narwhal) users how to update their systems to the Mozilla Firefox 10.0 web browser.
Mozilla Firefox 10 will bring features such as implementation of Anti-Aliasing for WebGL, the forward button is hidden by default and it will active when you navigate back, implementation of Full Screen APIs to easily build full-screen web apps, support for CSS3 3D-Transform, CSS properties support, <bdi> element for HTML5 bi-directional text isolation, CSS Style Inspector, and IndexedDB APIs.
At the request of many of our readers, we've created the following tutorial, based on our previous success on how to install Firefox 9 on Ubuntu 11.10 and Ubuntu 11.04, to guide them with the installation of the upcoming Mozilla Firefox 10.0 web browser in the Ubuntu 11.04 (Natty Narwhal) and Ubuntu 11.10 (Oneiric Ocelot) operating systems.
Official 64-bit and 32-bit Mozilla Firefox 10.0 packages are now available for the following Ubuntu distributions:
· Ubuntu 11.10 (Oneiric Ocelot) · Ubuntu 11.04 (Natty Narwhal)
To install Mozilla Firefox 10.0 on your system follow the next step-by-step (with screenshots) tutorial.
Step 1 - Add the Firefox 10.0 repository
No matter what operating system you are running (Ubuntu 11.10 or Ubuntu 11.04), hit the CTRL+ALT+T key combination on your keyboard, and paste the following command in the terminal window:
sudo add-apt-repository ppa:mozillateam/firefox-next
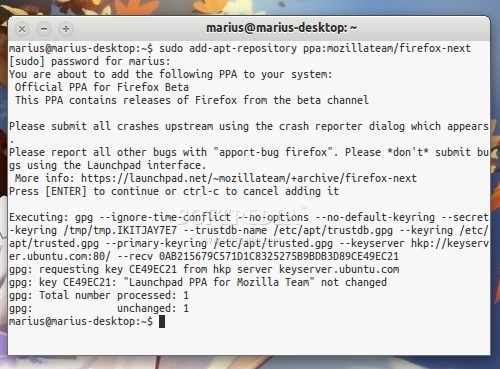
sudo apt-get update
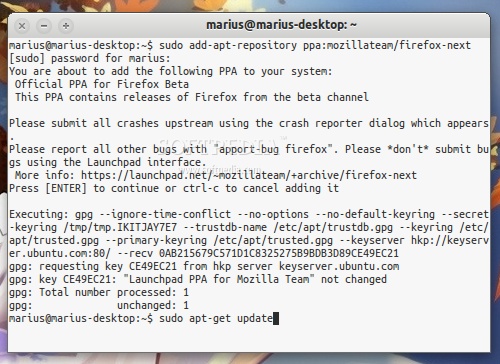
Step 2 - Install Firefox 10.0 in Ubuntu 11.10 or Ubuntu 11.04
To install the Mozilla Firefox 10.0 web browser in Ubuntu 11.10 (Oneiric Ocelot) or Ubuntu 11.04 (Natty Narwhal) and update your current version, paste the following command in the terminal window.
sudo apt-get install firefox
When you will be asked if you want to install the Firefox 10 packages, type Y and hit the Enter key. Wait for the installation to finish and close the terminal window.
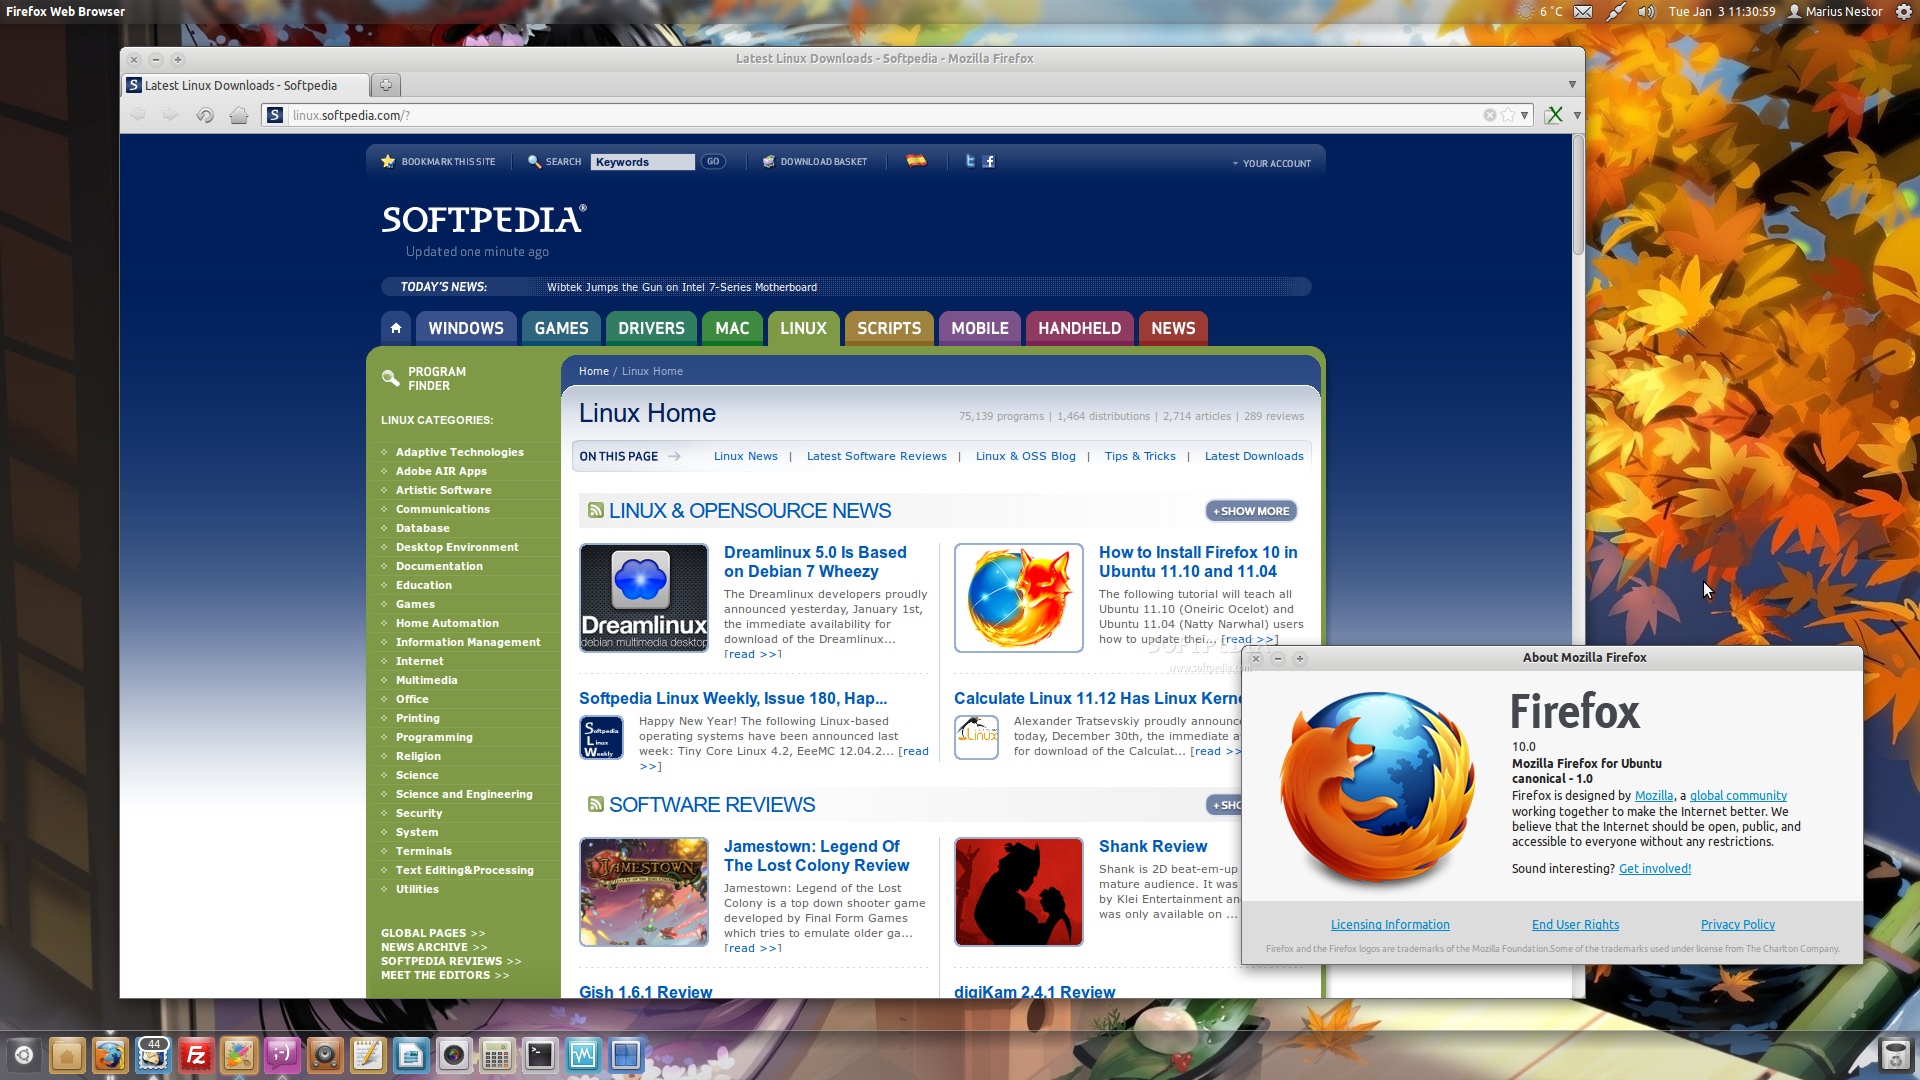
That's it! The new Mozilla Firefox 10.0 is now fully installed in your Ubuntu machine. You'll need to restart Firefox for the changes to take effect.