14 DAY TRIAL //
 The following tutorial will teach Ubuntu 11.10 (Oneiric Ocelot) and Ubuntu 11.04 (Natty Narwhal) users how to update their systems to the Mozilla Firefox 9.0 web browser.
At the request of many of our readers, we've created the following tutorial, based on our previous success on how to install Firefox 8 on Ubuntu 10.10 and Ubuntu 10.04, to guide them with the installation of the upcoming Mozilla Firefox 9.0 web browser in the Ubuntu 11.04 (Natty Narwhal) and Ubuntu 11.10 (Oneiric Ocelot) operating systems.
Official 64-bit and 32-bit Mozilla Firefox 9.0 packages are now available for the following Ubuntu distributions:
· Ubuntu 11.10 (Oneiric Ocelot) · Ubuntu 11.04 (Natty Narwhal)
To install Mozilla Firefox 9.0 on your system follow the next step-by-step (with screenshots) tutorial.
Step 1 - Add the Firefox 9.0 repository
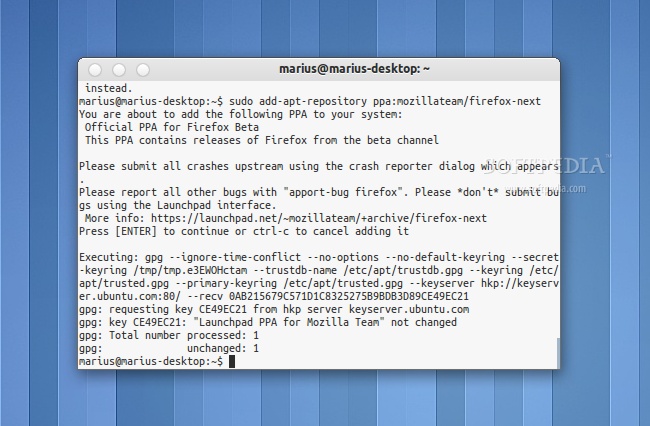
No matter what operating system you are running (Ubuntu 11.10 or Ubuntu 11.04), hit the CTRL+ALT+T key combination on your keyboard, and paste the following command in the terminal window:
sudo add-apt-repository ppa:mozillateam/firefox-next
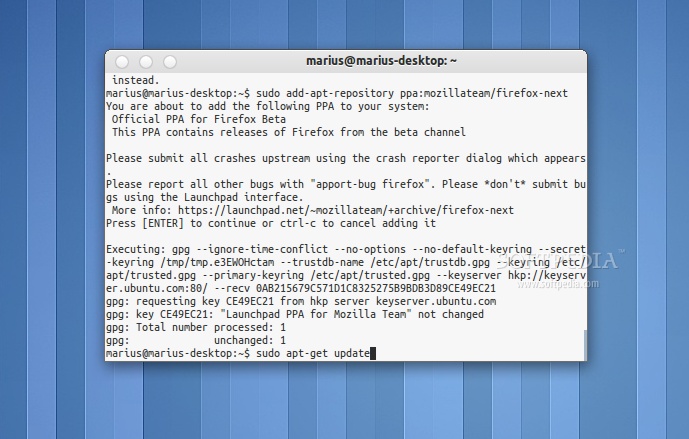
sudo apt-get update
Step 2 - Install Firefox 9.0 in Ubuntu 11.10 or Ubuntu 11.04
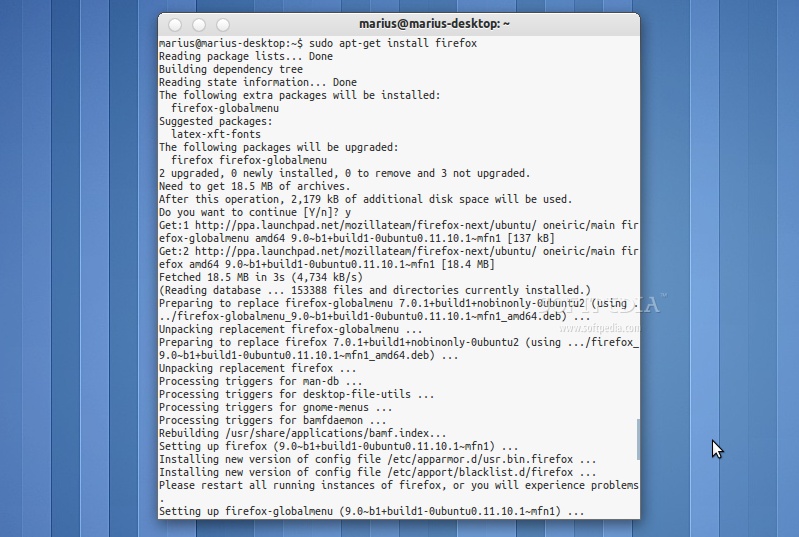
To install the Mozilla Firefox 9.0 web browser in Ubuntu 11.10 (Oneiric Ocelot) or Ubuntu 11.04 (Natty Narwhal) and update your current version, paste the following command in the terminal window.
sudo apt-get install firefox
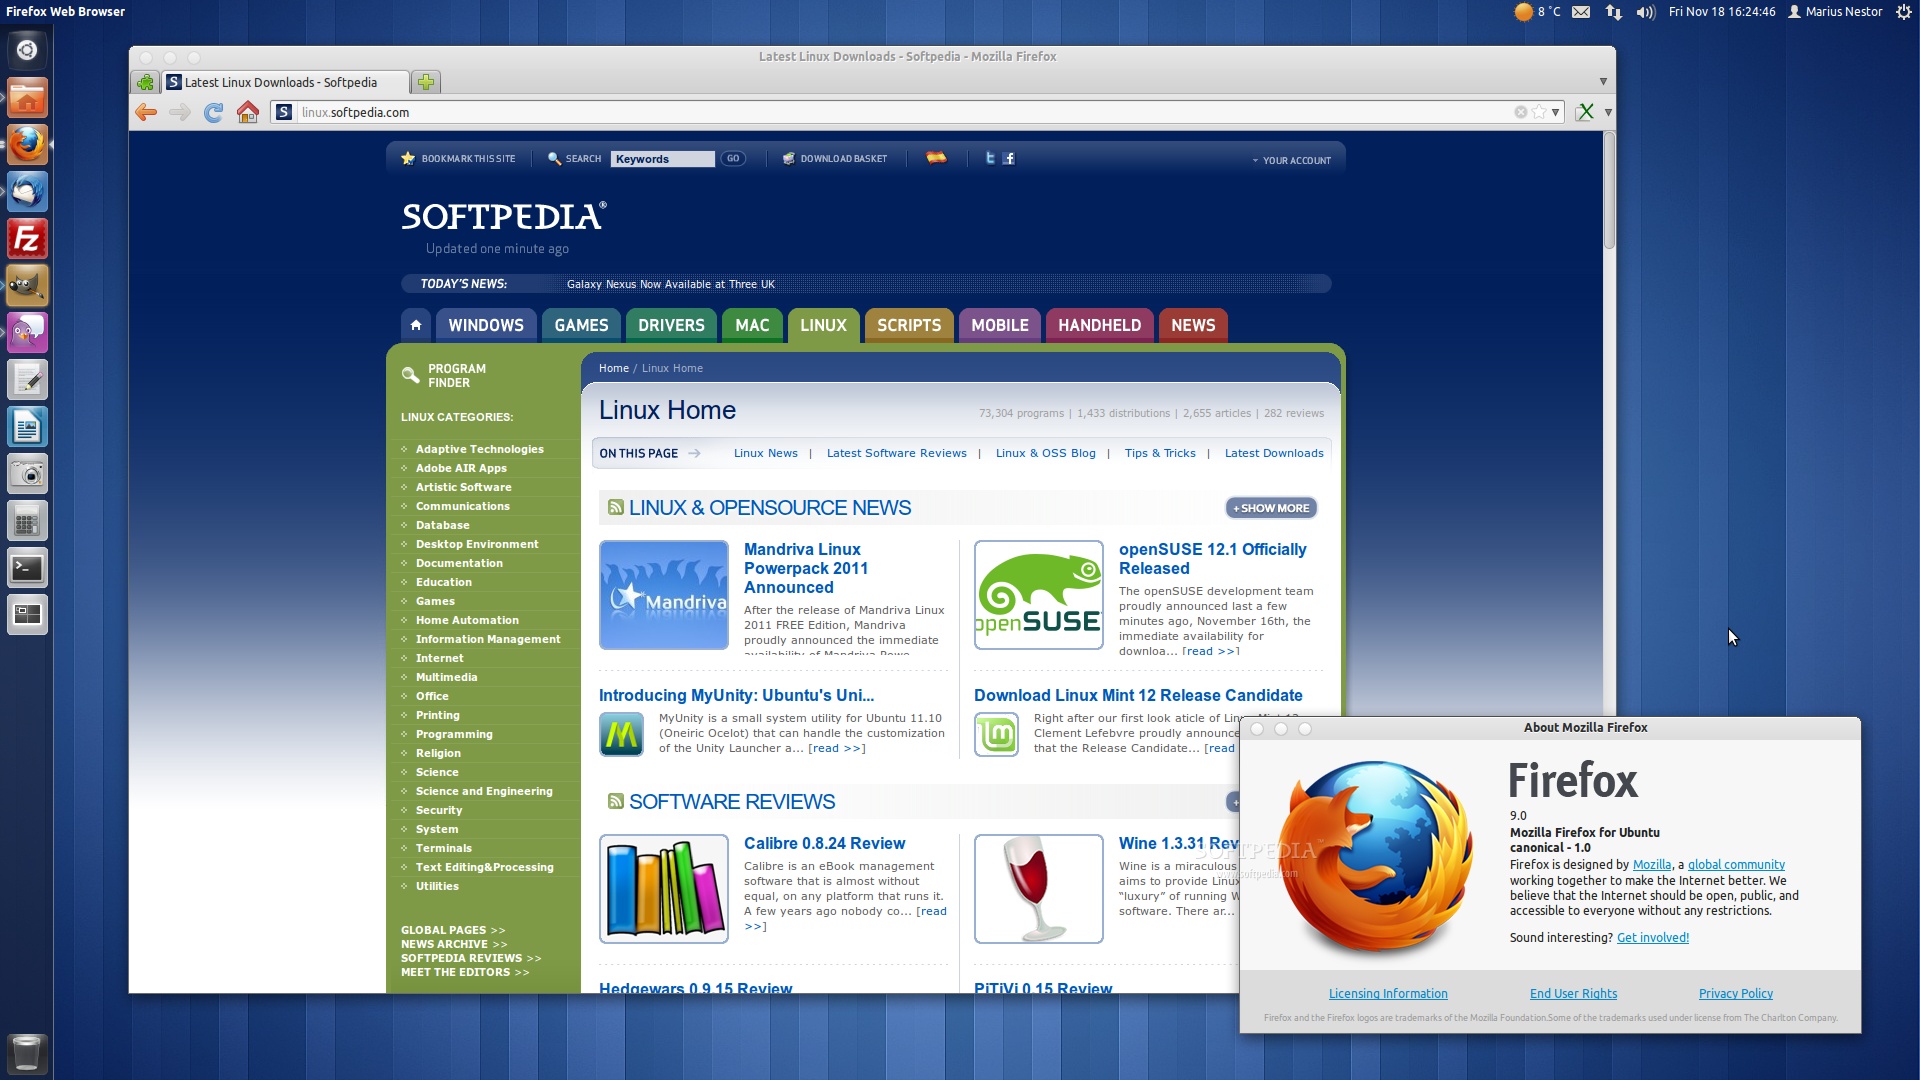
That's it! The new Mozilla Firefox 9.0 is now fully installed in your Ubuntu machine. You can start it from the Applications -> Internet menu.