14 DAY TRIAL //
 Hardware components are the main reasons computers function. However, there’s little you can do by yourself with those raw resources they provide. Windows can take care of this for you, since it’s nothing more than a way for you to communicate and interact with your PC.
This doesn’t make Windows flawless by default, since it’s just a result of heavy programming, but you need an operating system whether you’re performing work-related activities or simply enjoying some leisure time. However, ambitious projects or general testing can put your system and personal files at risk, and this is where virtualization technology comes in handy.
Specialized applications like Oracle VM VirtualBox and VMware Workstation take a bit of system resources, create an isolated environment, and let you perform all operations on Windows as you normally would, but without affecting your system’s integrity. Since you can find anything on the web, here you get to know how to pump a little more performance into a virtual machine.
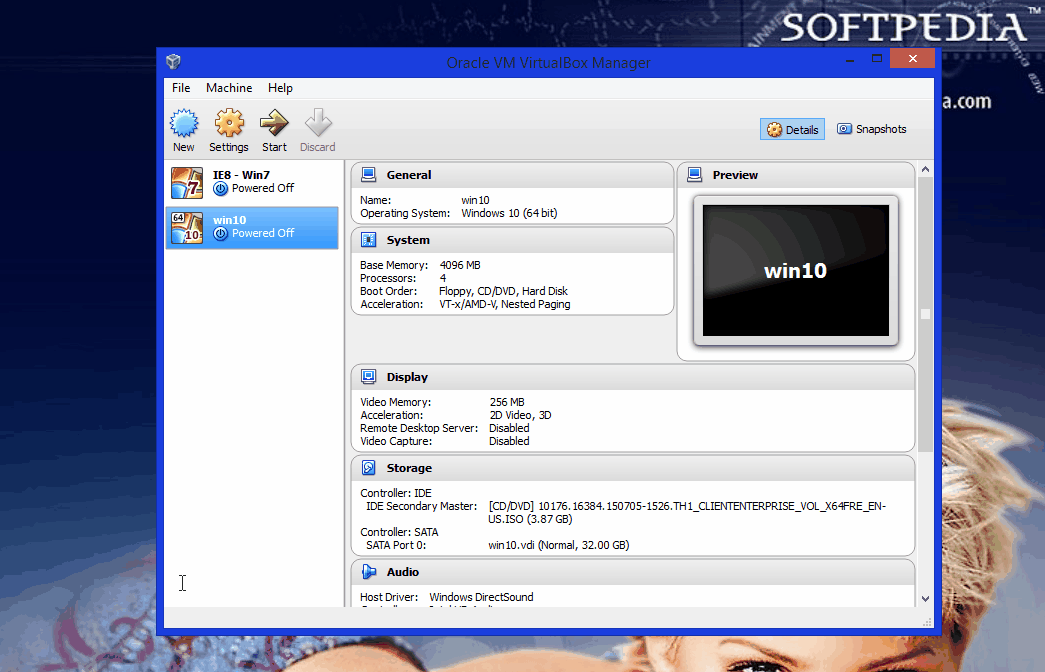
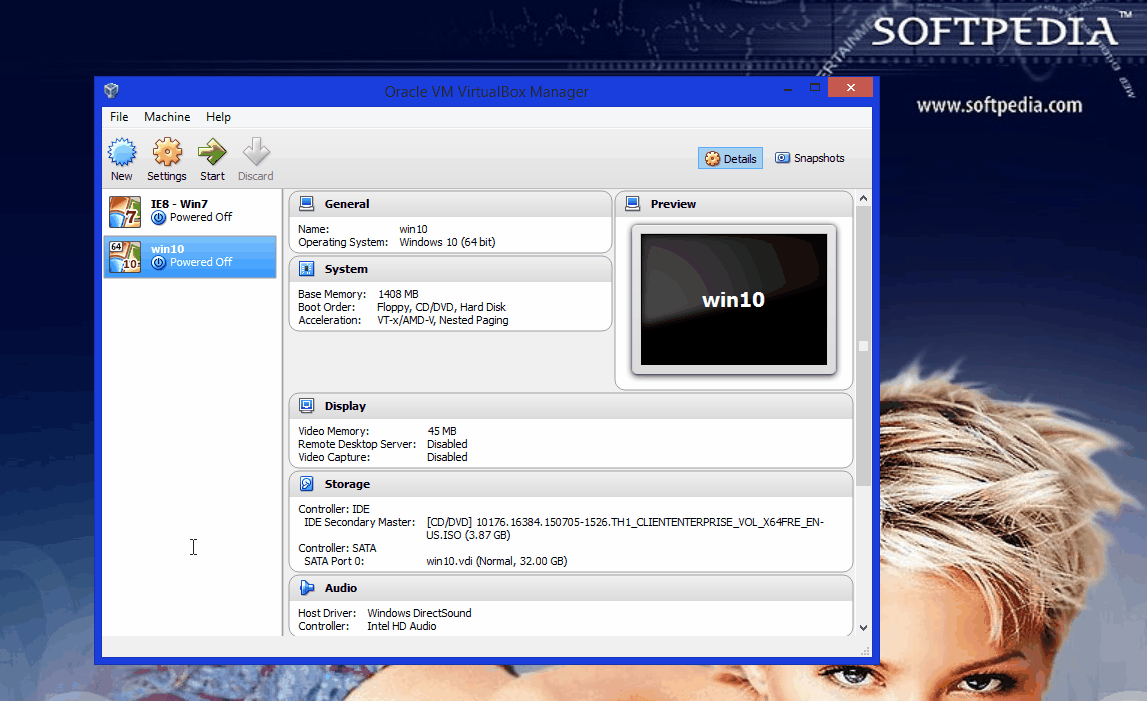
Getting more power out of VM VirtualBox
| 1 ~ Save Virtual Machine files on a separate drive |
|---|
Step 1: Launch Oracle VM VirtualBox, but don’t start or create any machine.
Step 2: Go to Preferences from the File menu.
Step 3: With the General section opened, click the Default Machine Folder drop-down menu and choose Other.
Step 4: Navigate to a drive you don’t use too often, Make a New Folder, select it and press OK.
Step 5: Hit the OK button in the Preferences menu to save changes, and you can now set up a new machine.
| 2 ~ Prevent your Antivirus from scanning Virtual Machine directories |
|---|
Step 1: Open up Windows Defender by pressing Win + S and searching for it.
Step 2: Switch to the Settings tab.
Step 3: Select Exclude Files and Locations from the left pane, and click Browse.
Step 4: Navigate to C:\Users\YOUR_USER\VirtualBox VMs and select the whole VirtualBox VMs folder.
Step 5: Press OK to confirm. Now, press the Add button that’s bellow Browse to exclude that directory. Save changes so all is in order.
| 3 ~ Create Fixed-Size Disks |
|---|
Step 1: Start Oracle VM VirtualBox and don’t start any machine.
Step 2: Press the New button to set up a new appliance.
Step 3: Configure each step until reaching the Hard Drive prompt. There, choose to Create a Virtual Hard Drive Now.
Step 4: Select VDI (VirtualBox Disk Image) and press Next.
Step 5: From the Storage on Physical Hard Drive prompt, choose Fixed Size:
Note: The amount of space you decide to allocate is taken from the free space you have, so make sure there’s enough.
Step 6: Give the new drive a name, and move the slider to set size. Somewhere around 30 GB will do, but you can add more, depending on what you need to test.
Step 7: Hit the Create button and install the new virtual machine.
| 4 ~ Allocating more system resources |
|---|
Before installing a machine:
Step 1: With Oracle VM VirtualBox running, press the New button.
Step 2: Choose a name and OS version, and press Next.
Step 3: Move the RAM slider to get at least 2 GB (2048 MB), or even to 4 GB (4096 MB) if you can. The more, the merrier.
Allocating to an installed machine:
Step 1: Right-click the target machine in the left panel and select Settings.
Step 2: Switch to the System section from the left panel.
Step 3: In the Motherboard tab, adjust the Base Memory slider to set RAM size.
Step 4: Move to the Processor tab and max out the Execution Cap slider, while making sure the Processor(s) slider doesn’t go over the critical (red) level.
Step 5: Switch to the Acceleration tab and Enable VT-x/AMD-V, as well as Nested Paging.
Note: VT-x and AMD-V are Intel and AMD processor extensions that allow system virtualization. Newer processors are fitted with such features, but most of them need to be enabled from the BIOS.
Step 6: Open the Display section from the left panel.
Step 7: Give the virtual machine more Video Memory through the dedicated slider, and Enable 2D and 3D Acceleration if you decide to test programs that depend on your video card.
| 5 ~ Install Guest Additions |
|---|
Step 1: Launch Oracle VM VirtualBox and boot up a virtual machine.
Step 2: Once loaded, access the Device menu from the window containing the virtual machine.
Step 3: Choose to Install Guest Additions or Insert Guest Additions CD Image if it’s already installed.
Step 4: Follow the prompt steps to install the Guest Additions, and then insert it once a machine is running.
Note: These tools as well as Oracle VM VirtualBox receive periodical updates, so it’s recommended to install them when prompted.
| 6 ~ Saving the Machine State |
|---|
Step 1: Save any changes performed in the virtual machine, just to be on the safe side.
Step 2: Under the Machine menu, click on Close, or simply press the X window button at the top right corner.
Step 3: When the prompt appears, choose to Save the Machine State, and press OK.
Step 4 (resuming): Simply start the machine as you normally would, and everything is back the way you left it.
On an ending note
Running Windows in a virtual environment lets you perform any kind of activities you normally would, without affecting your actual operating system. This means it’s going to get clogged at a certain point, and now you know a few ways of preventing, or at least delaying that from happening.