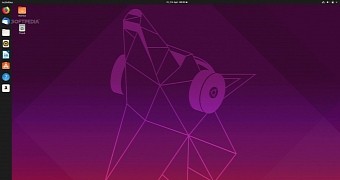
Ubuntu 19.04 (Disco Dingo) is here and we bet many of you would want to upgrade their Ubuntu 18.10 (Cosmic Cuttlefish) installations, so we've prepared a quick and easy to follow tutorial on how to do just that.
Ubuntu 19.04 (Disco Dingo) arrived earlier today as the latest and most up-to-date version of Ubuntu Linux, shipping with the most recent Linux 5.0 kernel series and the GNOME 3.32 desktop environment, along numerous other new apps and components such as LibreOffice 6.2 office suite and Mozilla Firefox 66.0 web browser.
Upgrading from last year's Ubuntu 18.10 (Cosmic Cuttlefish) release is a must since it will only be supported until July 2019. Just like Ubuntu 18.10, the Ubuntu 19.04 release is only supported on 64-bit (amd64) platforms so it shouldn't be any problem for Cosmic Cuttlefish users to upgrade their computers to the Disco Dingo.
Here's how to upgrade Ubuntu 18.10 to Ubuntu 19.04
Before we dive into the upgrade process, we'll have to remind you that you'll need to first create a recent backup of your most important files on an external drive just in case something bad happens during upgrade. Also, make sure your Ubuntu 18.10 installation is up to date by running the "sudo apt update && sudo apt full-upgrade" command in the Terminal app.
Once you did that, you're ready to upgrade to Ubuntu 19.04 by running the "update-manager -c" command (without the quotes) in the Terminal app. The Software Updater tool should immediately pop up to notify you that "New distribution release '19.04' is available." Now click on the "Upgrade" button and follow the on-screen instructions.
When the upgrade process finishes, you will be promoted to reboot your computer. That's it, you can now enjoy the Ubuntu 19.04 (Disco Dingo) operating system and all of its cool new features and improvements. These instructions are valid for all official Ubuntu flavors, not only Ubuntu.

 14 DAY TRIAL //