14 DAY TRIAL //
 Google, like many other software developers, offers multiple development channels for their Chrome and Chrome OS products, and we'd like to show you today how easy is to switch between the Stable, Beta, and Dev channels.
The Stable channel is what everyone should use, but there are various situations where you need to switch to the Beta one. For example, Google recently updated the list of Chromebooks that received support for Google Play Store to allow users to install Android apps, but it's only available in the Beta channel.
According to Google, the Beta channel comes with low risk so that you can use it on a daily basis on your Chromebook, but the Dev channel should only be used by experienced users that know what they're getting into, though it gives them a sneak peek at the latest Chrome OS features.
Here's how to switch between Stable, Beta and Dev channels of Chrome OS
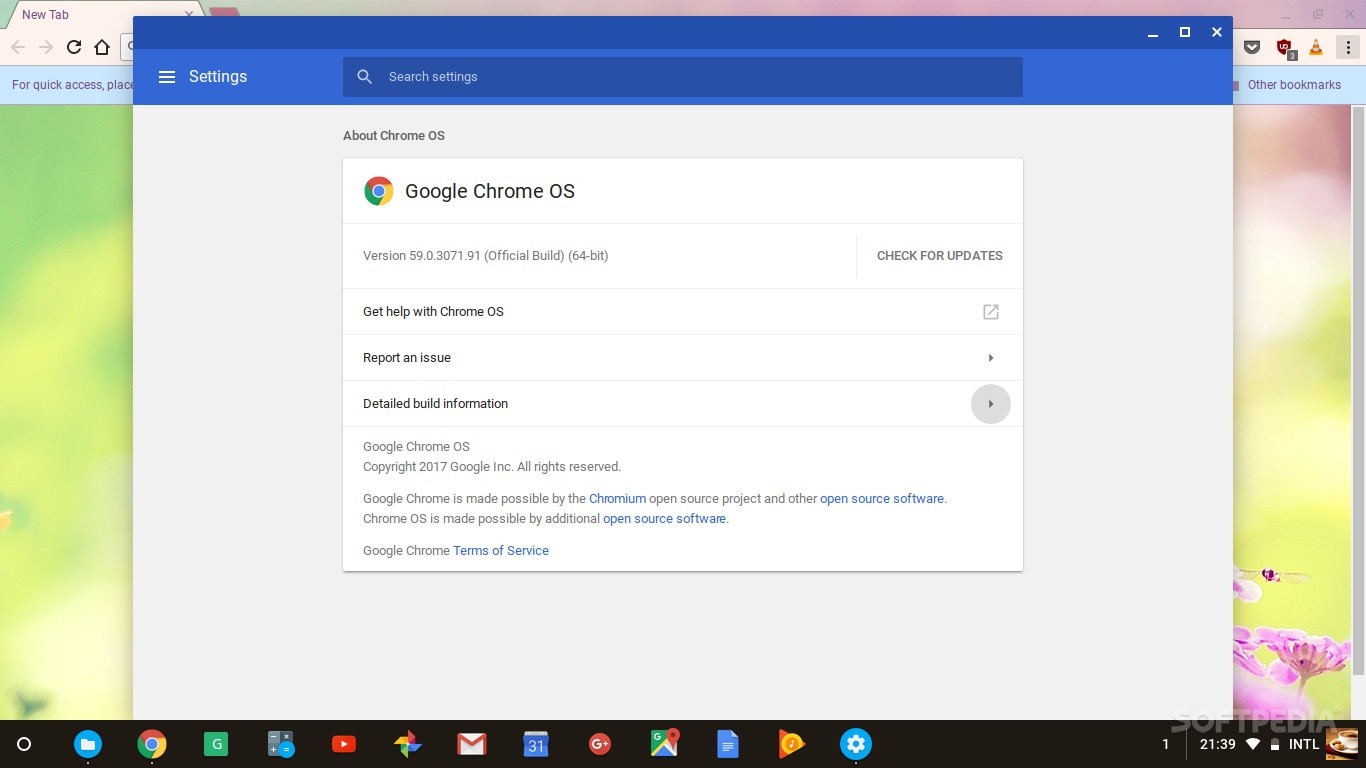
Chances are many of you use the Stable channel on your Chromebooks, but if you're Chromebook model already supports Android apps, you should switch to the Beta channel. To do that, simply open Chrome, go to Settings, click the hamburger menu on the left, scroll down the list of settings and click on "About Chrome OS."
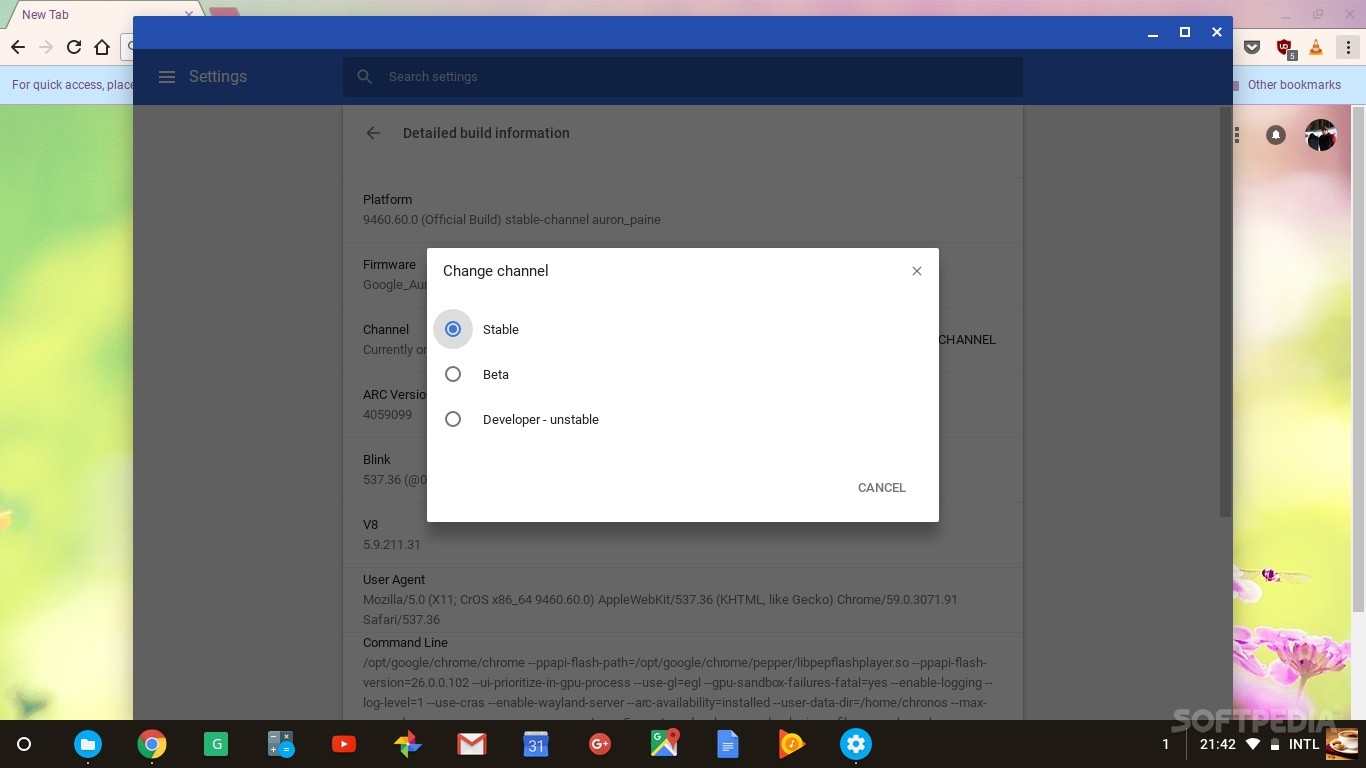
You should see there a link called "Detailed build information" so click on it and it will show you what channel you're using right now, in the "Channel" section. To switch to either the Beta or Dev channels, click the drop-down list and select the one you want to use and click the "Change Channel" button.
Your Chromebook will immediately start downloading an update, which is, of course, a newer version than the one you were using, and will ask you to restart your computer to complete the installation. That's it, you're now using the Beta or Dev channel that you choose to use for Chrome OS.
Now, if you want to return to the Stable channel from the Beta one, or from the Dev one to the Beta channel, you'll have to follow the exact steps outlined above and also press the "Change channel and Powerwash" button, as well as "Relaunch and Powerwash" when the update installs, which will delete everything on your Chromebook. You'll have to sign in again with your Google account to restore the data.