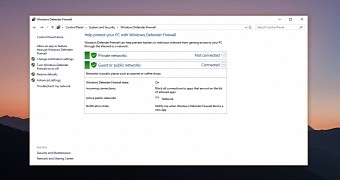
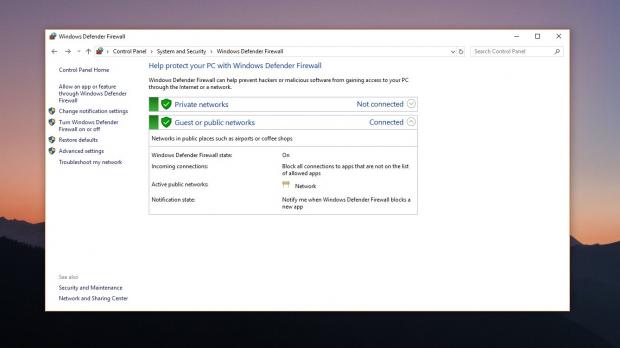
The Windows Firewall is a key part of the security arsenal on a Windows 10 computer, and because it’s a native product, many users just stick to it and no longer install third-party security products.
At some level, this makes perfect sense. The full security package in Windows 10 has evolved so much lately that it has now become a truly advanced solution that can easily compete with similar software from other vendors.
And recent antivirus tests are living proof in this regard, as Windows Defender itself now provides nearly the same performance as rivals from companies like Kaspersky and Bitdefender.
There are times, however, when the Windows Firewall stops working as expected and some of the rules that you create no longer come into effect, potentially letting malicious applications to do their thing.
While a way to reset the Windows Firewall does exist, it’s not really the most intuitive option in Windows 10, so certain users may not find it too easy to do it.
But before resetting the Windows Firewall, you should also try to repair it. As you probably know, the Windows Troubleshooter has also improved significantly lately, but at this point, there’s no automated solution for fixing the Firewall.
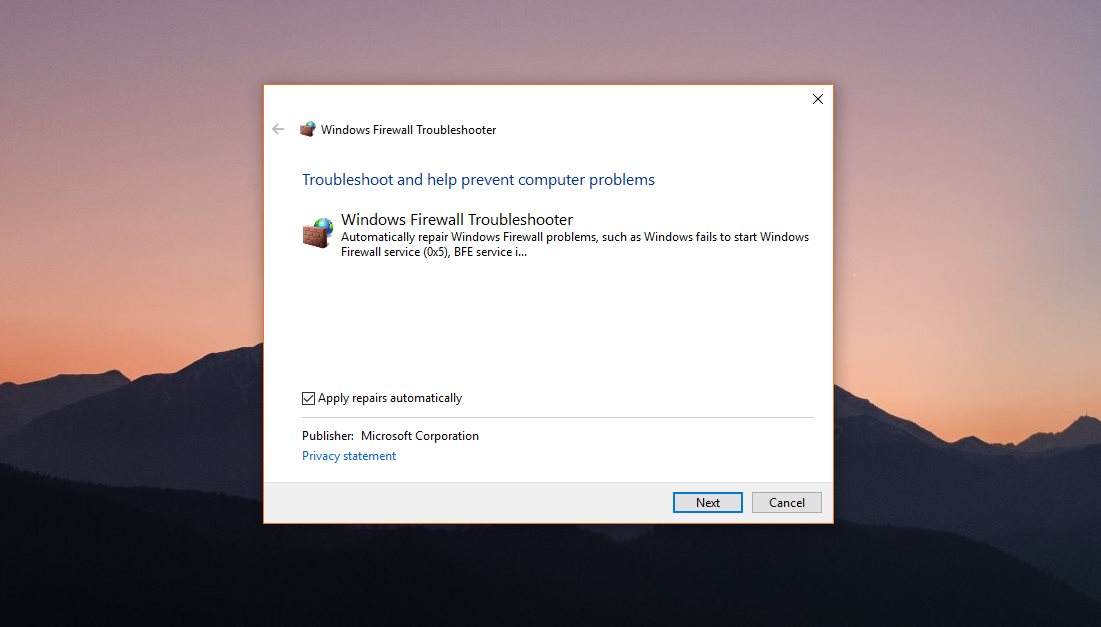
On the other hand, Microsoft has published a stand-alone troubleshooter that can be downloaded from this page and which makes it possible to scan the application for any potential issue and then fix them using the company’s own known solutions.
However, it’s important to know that this troubleshooter fixes only a bunch of problems, like the firewall not starting, Remote Assistance not working because it is blocked, BFE serving missing, and error code 80070424.
As you’ll see after downloading the file, it’s all developed as a wizard, so follow the on-screen instructions to complete the troubleshooting steps.
If this didn’t work and the troubleshooter failed to make any difference, the only way to go is to completely reset the Windows Firewall.
There are two different ways to do this, but in both cases, you end up in the same location in the Control Panel.
As you might know if you’re a long-time Windows 10 user, Microsoft is working to migrate all options from the classic Control Panel to Settings. However, the menus to reset the Windows Firewall are still there for the time being, though it’s important to note that they could be transferred at a later time so this tutorial may no longer help you.
At this point, if you want to reset the firewall, just launch the Windows Defender Security Center and navigate to the following location:
Firewall & Network protection > Scroll down > Restore firewalls to default
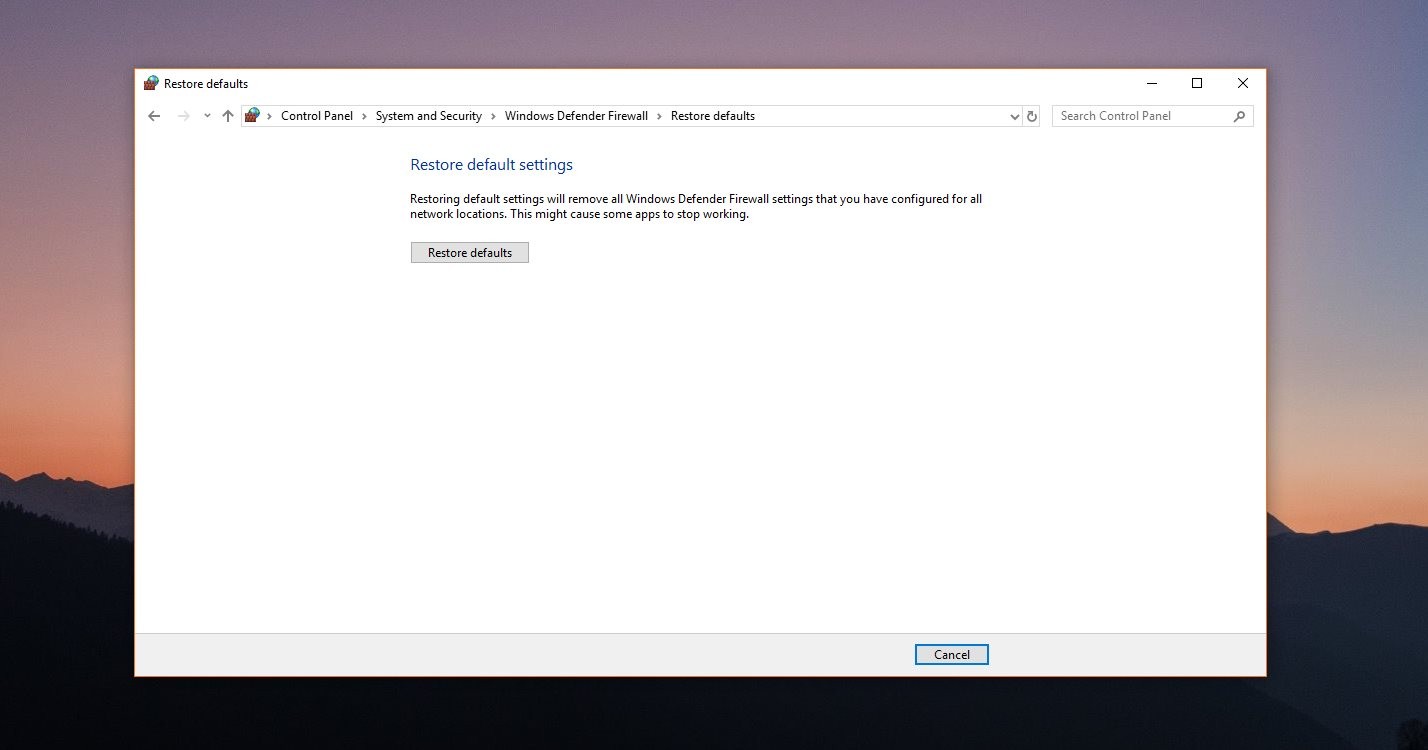
Clicking this option will bring up a classic Control Panel button with a button that reads:
Restore defaults
Just click it and all your settings will be reset. The Windows Firewall will return to the original configuration and everything should now work correctly.
You can also reach the same option to reset the firewall from a different location, only that in this case you need to use the Control Panel – keep in mind that this OS feature will sooner or later go away and you’ll have to rely exclusively on the modern experience. To do this, browse to the next path:
Control Panel > System and Security > Windows Defender Firewall > Restore defaults
Once again, click the restore defaults button and that’s pretty much all about it.
Keep in mind that resetting the Windows Firewall will delete your rules and any other configuration you made, so you may have to set up everything from scratch. You can also try restoring the system to an earlier backup to fix Windows Firewall without losing your settings.

 14 DAY TRIAL //


