14 DAY TRIAL //
 Whenever you have to record your Mac's screen to create a short screencast or an easy-to-follow demo for one of your friends, you will most probably first search on the Internet for an app that can do this on a Mac.
What you do not know is that Apple has already taken care of this problem for you, and you can do it on any computer that runs OS X without having to install any extra applications.
The app you need to use is the QuickTime Player, and as I showed in the past, Apple's video player is also capable of helping you record your iOS device's screen.
To record your Mac's entire desktop or just a custom area using Apple's QuickTime Player, you have to follow the steps below.
Step 1 - Start a new recording
First of all, launch QuickTime Player by activating Spotlight with the ⌘ + SPACE keyboard shortcut and typing "quicktime." Next, you have to hit ⏎ (ENTER) on your Mac's keyboard, and QuickTime Player should now be open.
Now you can start recording your Mac's screen by going to the File menu and clicking on the "New Screen Recording" entry (this can also be done using the CTRL + ⌘ + N hot-key).

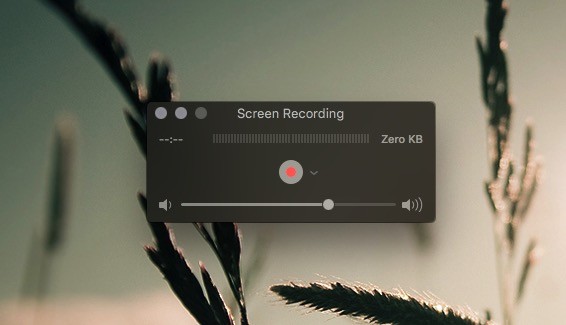
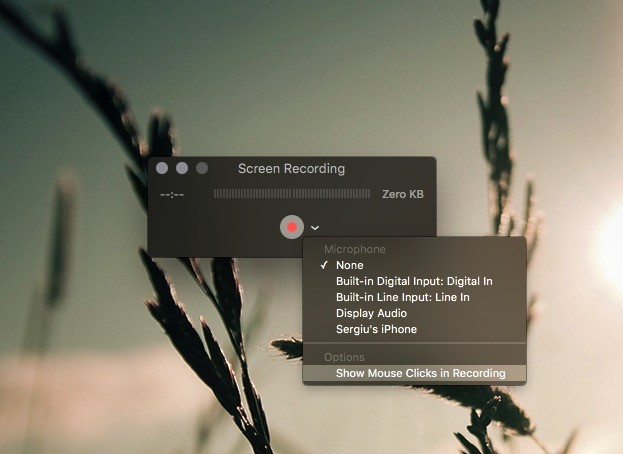
Step 2 - Choose what you want to record
Once the recording window appears, you have to click on the red Record button, and you'll be instructed to select the area you wish to record.
If you need to record the whole screen, you just have to click, but if you want to record only a particular screen area, you have to click and drag to select it manually.

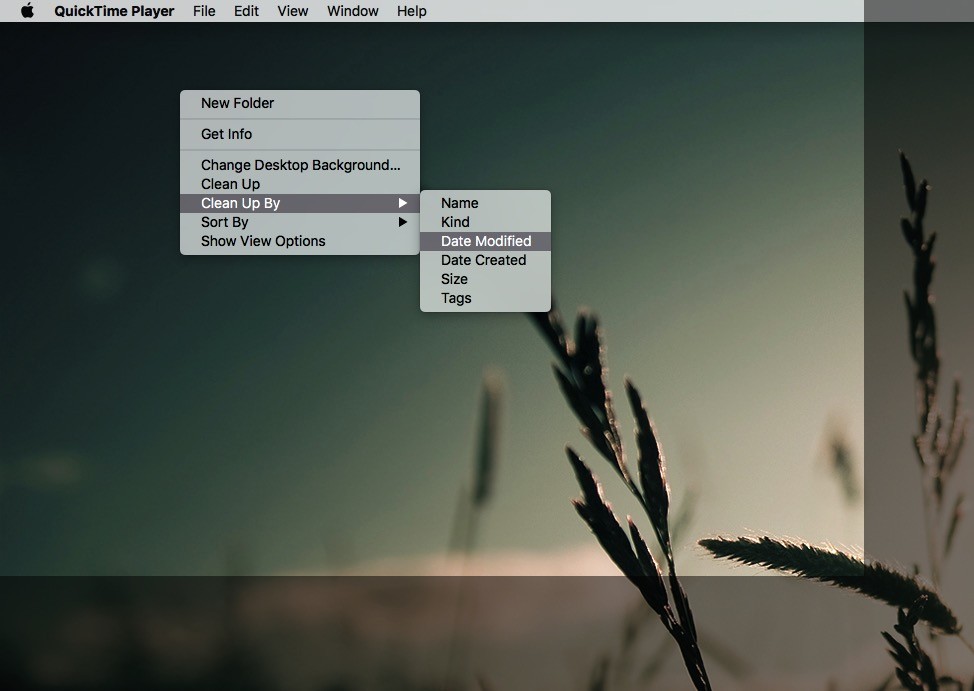
Step 3 - Record the screen
After you've chosen what you want to record, you can go about your business and QuickTime will capture everything you do on your Mac's desktop.
When you finished your screencast or demo, you can stop the recording by clicking on the stop button in the menu bar.
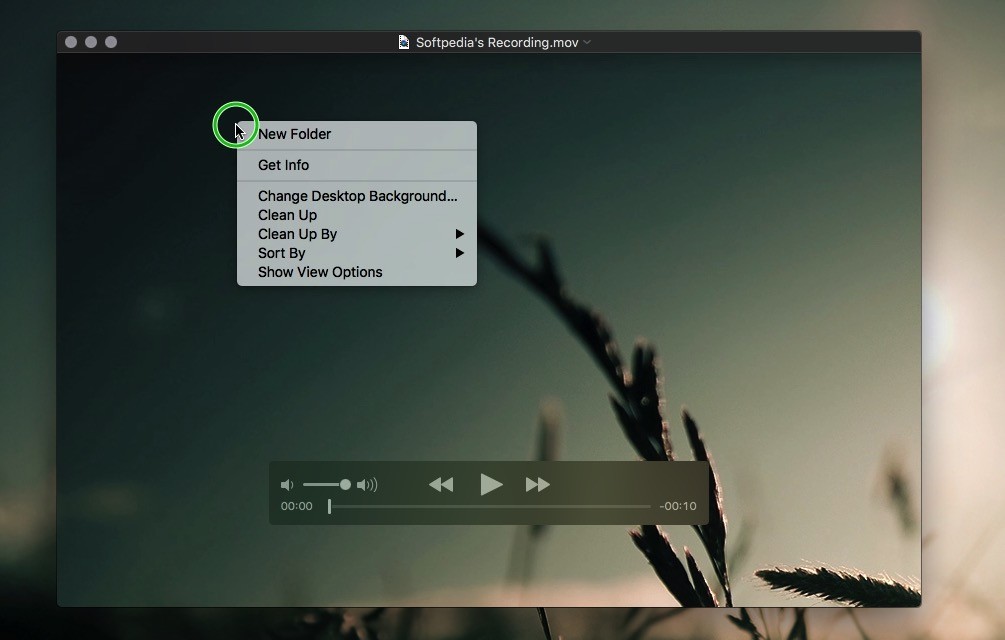
Step 4 - Save your movie
When the recording has stopped, you can trim the video if necessary using the "Trim" option in the Edit menu.

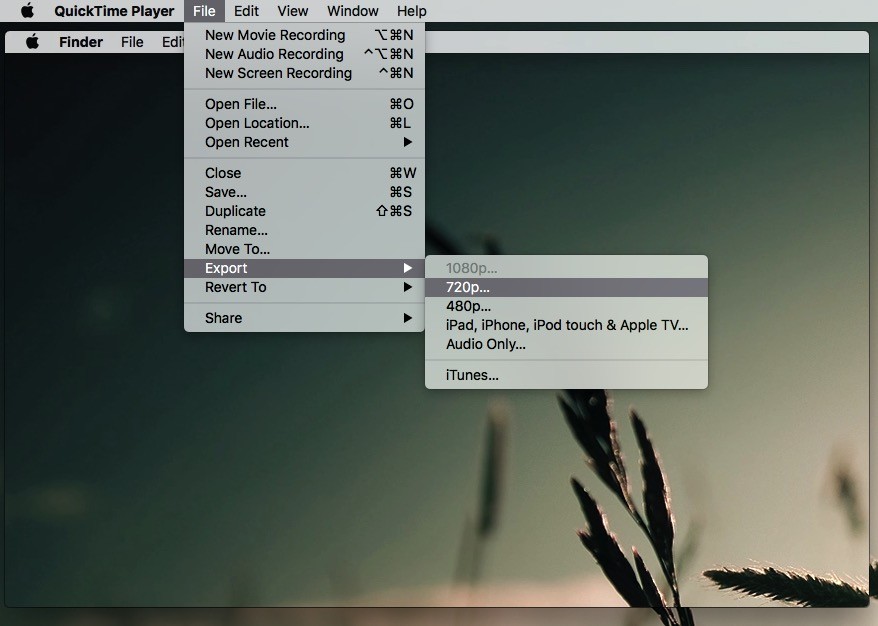
Your movie can then be exported as a 1080p, 720p, or 480p video, or as an iPhone, iPad, or iPod touch compatible one. QuickTime Player will also give you the option to export it to your iTunes library if you want to add it to one of your playlists.
Before or after you export your recording, you can also share it with your friends or family using the built-in Share sheet, available on the far right side of the player controls HUD.

Leave us a word below if you know any other ways to quickly record a Mac's screen using just the tools available in OS X or if you need any details regarding the procedure presented above.