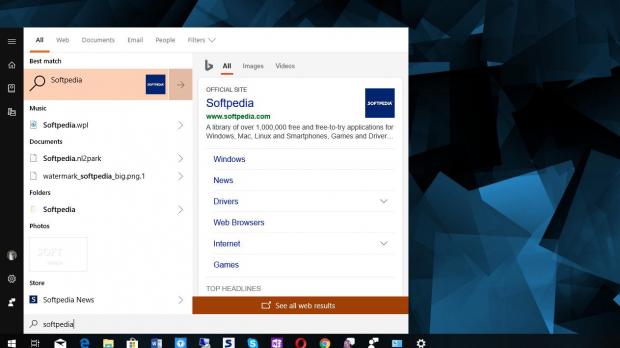
Search has become an essential part of Windows, and as compared to older versions of the operating system, it’s now a substantially more advanced feature that can even look for information online.
This is possible with the power of Bing, Microsoft’s search platform which is deeply integrated into Windows 10 and also powering capabilities like digital assistant Cortana.
The way search works is a complex method, but it relies on the index to look for information in certain locations and thus display results in a timely manner without any performance impact.
This means that the Windows Search previous scans certain user-defined locations, indexes files stored in these locations, and whenever a search is performed, returns results faster than if it’d have to look there for the first time and read every single bit of information. Here’s how Microsoft describes it:
“The Windows Indexer organizes your files so that you can locate a document, photo or other file almost instantly through Windows Search. When it comes to search, speed is crucial — usability studies show that anything slower than 50 milliseconds results in a bad search experience.”
There are moments, however, when search isn’t properly working when looking into the indexed locations and you’re not getting any results for new files. Also, it sometimes happens for the search feature to be completely broken and return results for items that have already been removed or moved to a different location. This is the point when you have to rebuild the search index.
Despite the fact that it sounds like rocket science, rebuilding the search index is actually an easy thing to do and it all comes down to a few clicks.
First and foremost, you must be signed in with an administrator account because otherwise, you’re not allowed to make any system changes.
What you need to do is launch the Indexing Options, which is actually the place where you can change the locations that are indexed, file types, encrypted data handling, and other settings. To do this, click the Start menu and simply type Indexing Options to launch it. There are other ways to do this, including following the path in the Control Panel, but this is the fastest and the most convenient even for beginners.
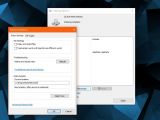
Once you’re there, click the Advanced button and then in the Index Settings click the option that reads Rebuild. Keep in mind that the process won’t be completed instantly, but it’ll actually take a while until it comes to an end. Also, using search during the process might not be possible or the results could be incorrect.
Once you begin the rebuilding task, the Indexing Options UI should update with information on the status, such as how many items have been indexed. You’re also allowed to pause the process just in case you want to use the search feature or it slows down your system, and you can resume it at a more convenient time.
The time needed for rebuilding the index depends on a series of factors, like the number of locations that it has to read, how much data is stored in these folders, and your system performance. The more folders, the longer it takes.
When it’s done, you only have to close the Windows Indexing Options and that’s pretty much it. A reboot isn’t required, as all changes are applied automatically, and when the task comes to an end, you should be able to use the search feature just normally. If the search feature still doesn’t return the results that you were expecting, make sure that the indexed locations are defined and all settings that you made are correct.

 14 DAY TRIAL //


