It’s not a secret that users love customization features, and Windows 10 in particular has been further refined in this regard with a bunch of new options in the latest few feature updates.
A number of tweaks, however, aren’t available in the Settings app in Windows 10, but this doesn’t necessarily mean you can’t use them. Actually, you can, only that you need to turn to more complex steps to enable them.
One of them is the size of the scroll bars, which you can adjust from the Registry Editor in a way that’s not necessarily very intuitive. And of course, as you’ll discover in just a couple of minutes, doing this isn’t very convenient either, as working with the registry and rebooting the computer after each change is necessary.
What you need to know from the very beginning is that the size of the scroll bars can only be adjusted for Win32 apps, so the changes that you find here won’t affect modern apps published in the Microsoft Store. Furthermore, modifying the size of the scroll bars in some Win32 programs isn’t possible if the developer opted for a custom setting, ignoring the generic Windows settings.
So the first thing that you need to do is launch the Registry Editor. Simply click the Start menu or press Windows key + R and type:
regedit.exe
HKEY_CURRENT_USER\Control Panel\Desktop\WindowMetrics
ScrollHeight
ScrollWidth
These settings allow values between -120 for the thinnest scroll bars and -1500 for the thickest.
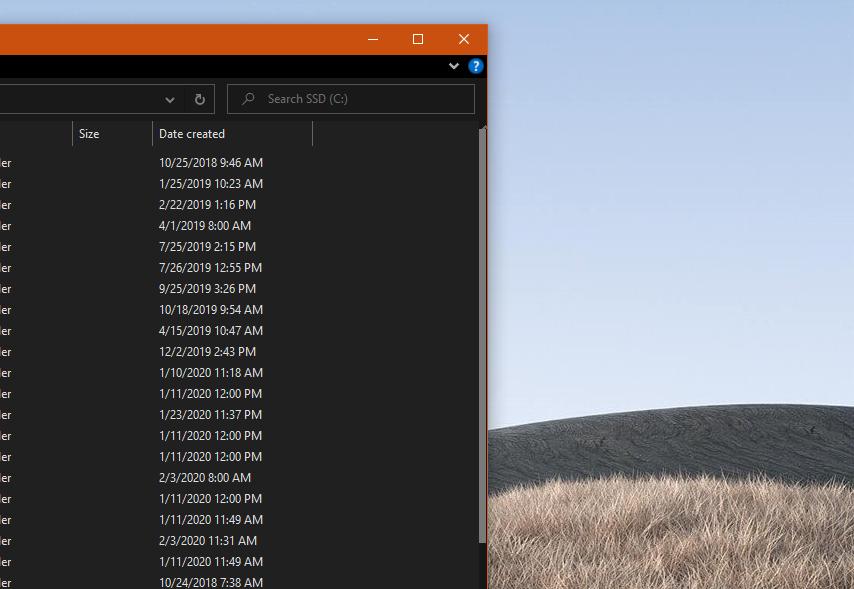
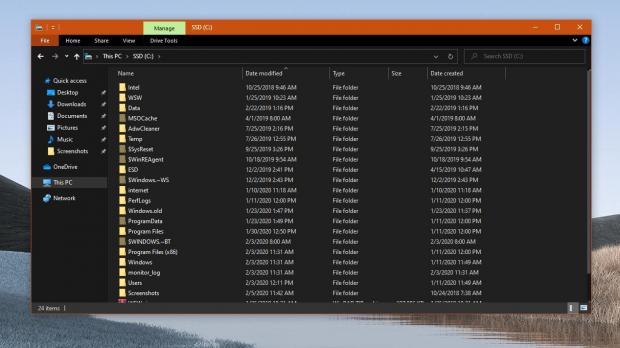
Enter any value you want by double-clicking each key and then hit the OK button. Do the same for both keys and then you’re good to go. A reboot of the system will then be necessary to apply your changes.
As you’ll observe, the new scroll bars are only visible after booting back to Windows, so if you’re not pleased with your choice, you need to follow the steps above once again and then adjust the size one more time. A reboot is again required.
As I said, this isn’t really a convenient way to adjust the scroll bars, especially because determining the right size might require several attempts, with a reboot necessary after each change.
The method detailed here works on all Windows 10 versions, including the upcoming version 2004 – this particular release has already been finalized in December, and it’s scheduled to be pushed to production devices in April or May. I tested the steps above on the latest Insider preview build and everything appears to be working correctly, with the scroll bars adjusted according to the values that I entered in the Registry Editor.

 14 DAY TRIAL //

