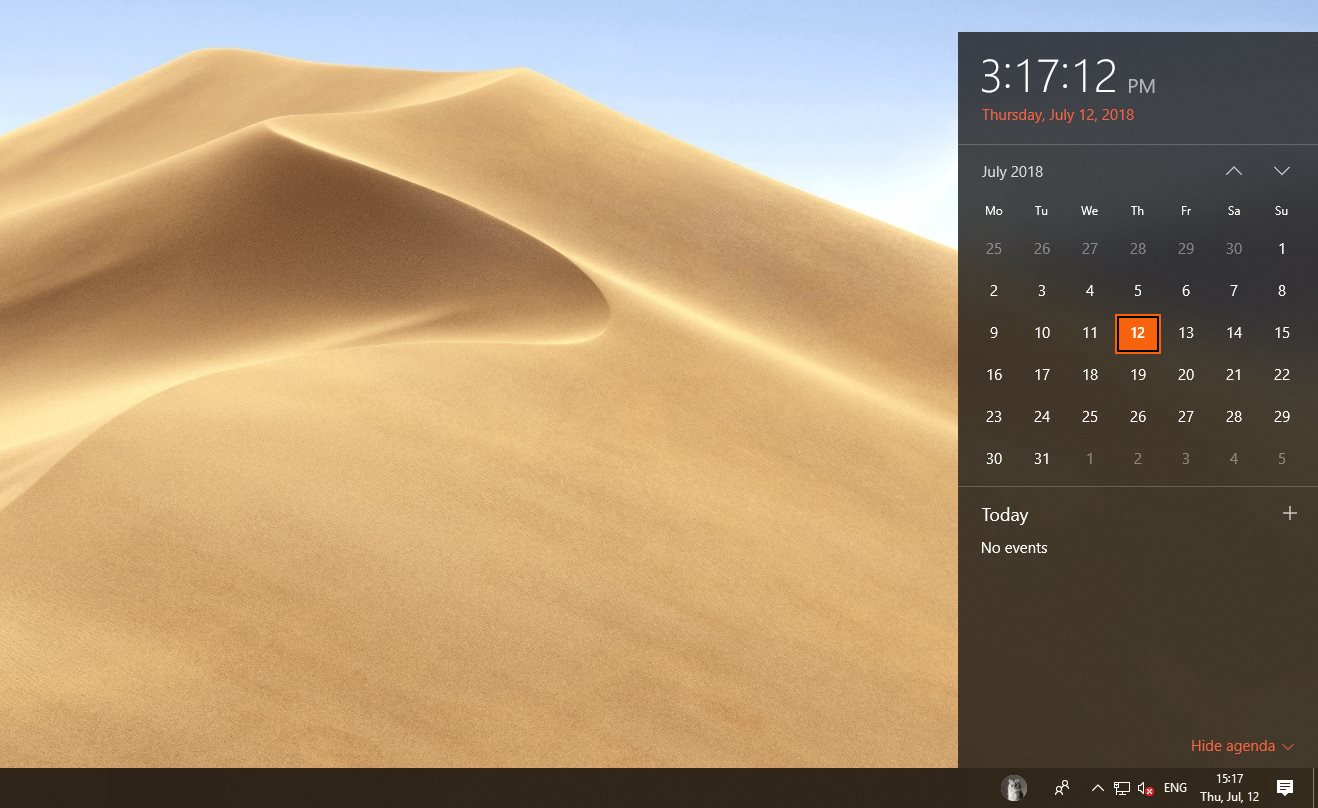
For many people, the clock is an essential part of the Windows desktop and not having it is something that can’t be imagined.
On the other hand, there are users who want to keep the desktop as clean as simple, and for some reason, they decide to remove the taskbar clock in the notification area entirely.
Luckily, Microsoft has included options to do this easily no matter the Windows version and SKU, though for IT pros, the company has also decided to offer more advanced functionality that would enable this option on the computers they manage.
Basically, there are two different ways to hide the clock in Windows 10 April 2018 Update, and they depend on the purpose of this change and the SKU that systems are running.
Home users
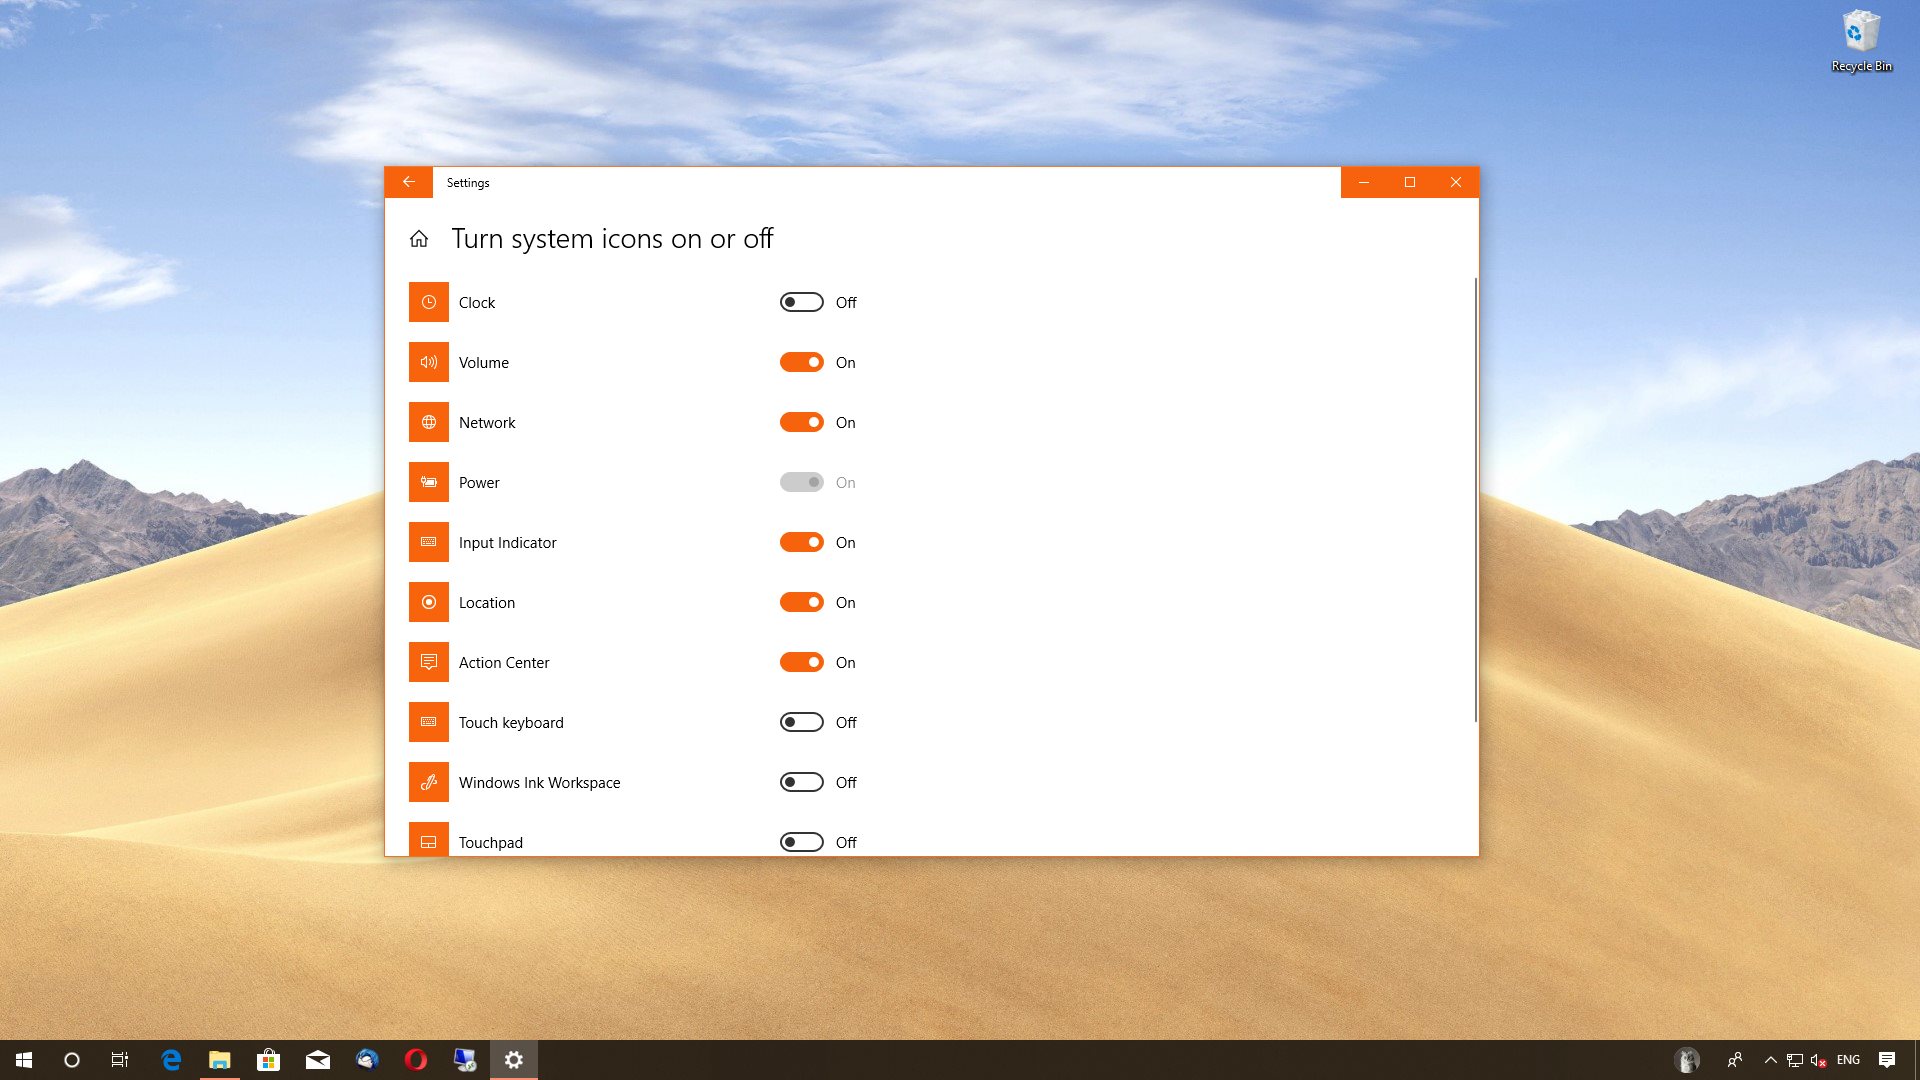
On the Home edition of Windows 10, hiding the clock in the system tray is all just a matter of clicks. Not everyone has discovered this, but Microsoft actually included options to easily remove the clock right from the Settings app.
What you need to do is to follow the path below and then click the clock toggle to off in order to have it disappear from the taskbar – no system reboot is needed:
Settings > Personalization > Taskbar > Turn system icons on or off > Clock
Needless to say, if at some point you decide to bring back the clock, all you have to do is follow the same path and set the toggle to on. Again, changes are applied immediately.
Pro users/IT admins
In the case of IT admins, Microsoft is offering capabilities that give them more power over the computers they manage, meaning that they can disable the clock without allowing users to enable it back.
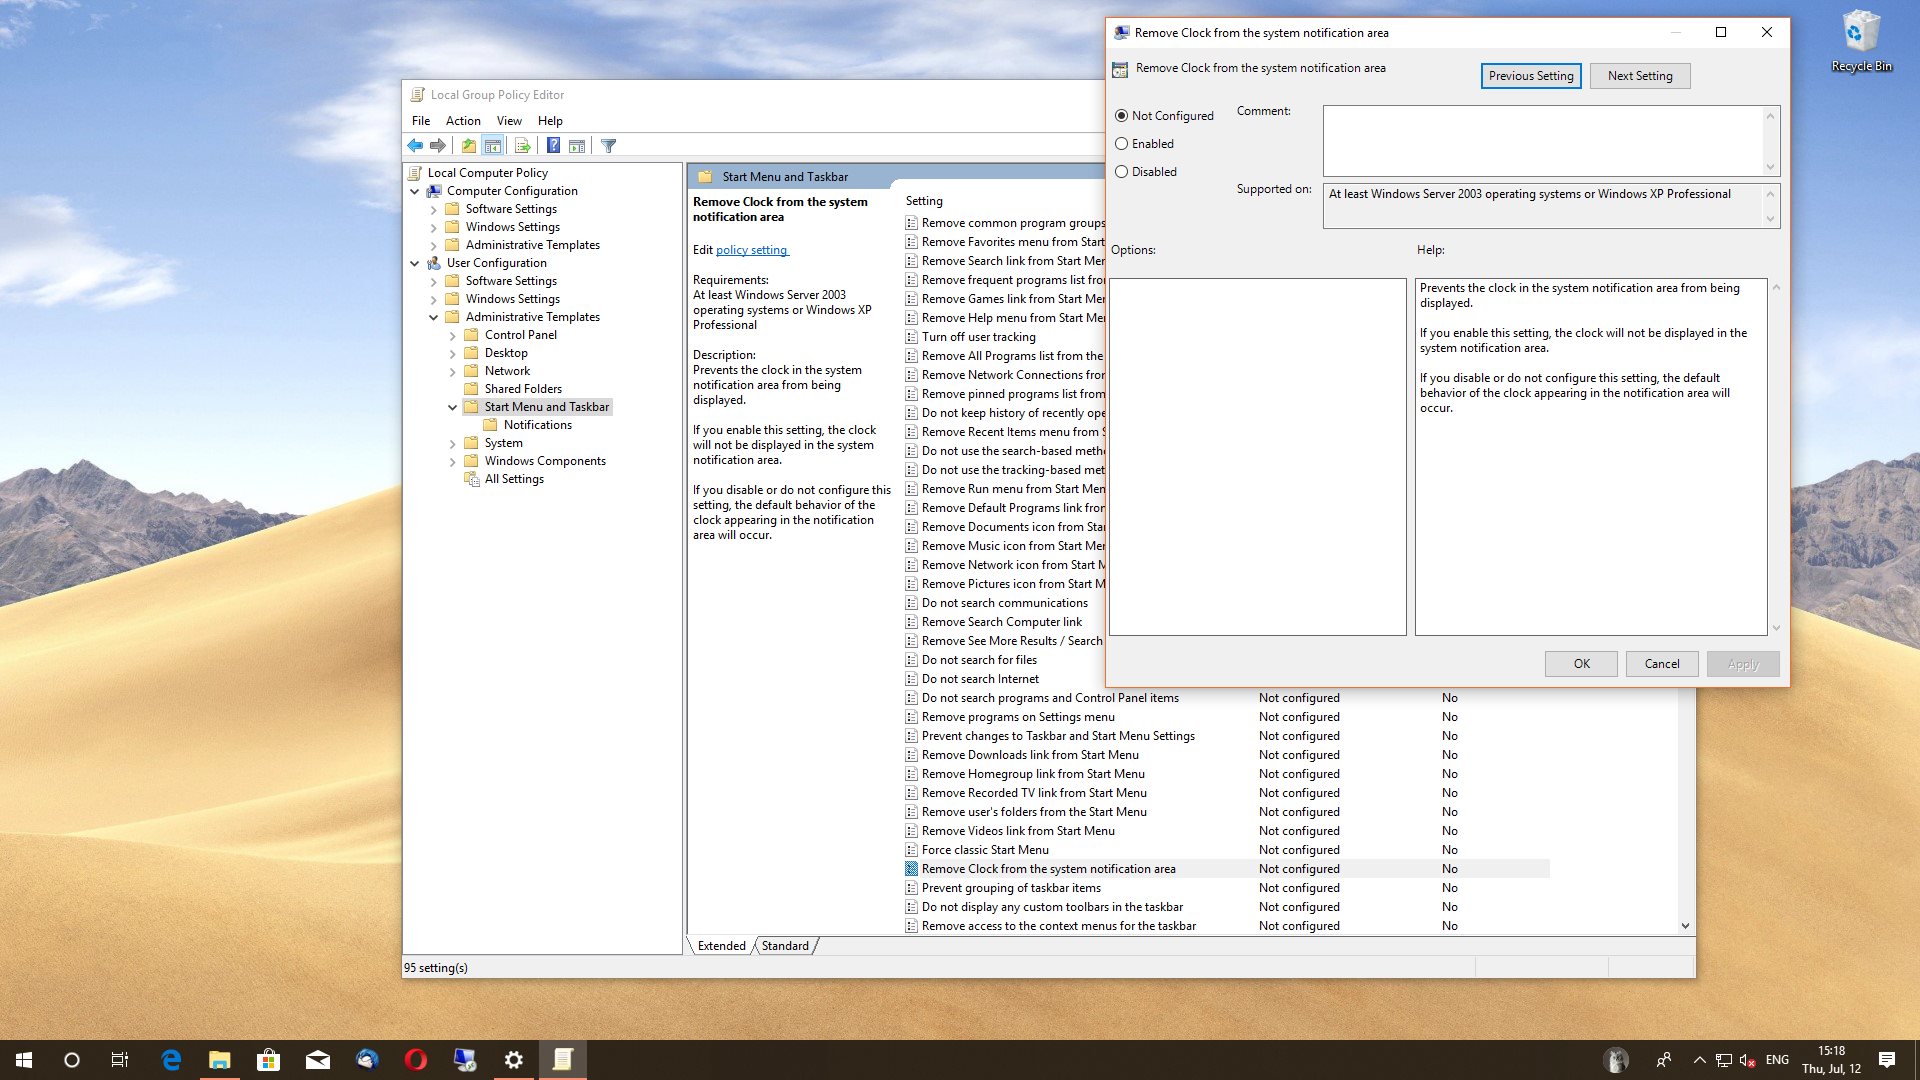
This time, the whole thing can be done from the Group Policy, which can be launched by clicking the Start menu and typing Edit group policy. In the policy editor, navigate to the following path:
User Configuration > Administrative Templates > Start Menu and Taskbar > Remove Clock from system notification area
Double-click this policy and then select the Enabled option. By default, the policy should be set to Not Configured. Once you apply the changes, however, a reboot is required.
As an alternative, you can just kill the explorer.exe process and then relaunch it to see your changes applied. To do this, just press CTRL + Shift + right click on the taskbar and hit the option that reads Exit Explorer. Press CTRL + ALT + Delete, to go Task Manager > File > Run new task and type explorer.exe. The explorer process should then relaunch with your new settings.
IT admins who want to bring back the clock need to follow the same steps once again, only that in the policy dialog they have to toggle either to Not Configured or to Disabled.
Windows 10 users who don’t necessarily want to remove the clock entirely, but just want to customize it with a different layout, can simply head over to the Control Panel to customize date and time formats.
Microsoft hasn’t yet moved these options to the Settings app, so they’re still available in Control Panel under Clock and Region > Change date, time, or number formats.
In the formats tab, you can configure the short and long dates, short and long times, the first day of the week, and additional settings like AM and PM symbols. If you just want to return to the default configuration, head over to Additional settings > Time > Reset to undo all your changes. A similar option also exists in the date tab.

 14 DAY TRIAL //


