Hiding a drive in Windows 10 is a thing that many see as a privacy feature, especially on shared computers where restricting access to certain files is a must.
While there are ways to accomplish this and block user access to certain files or folders, hiding a drive continues to be a popular tweak that many Windows 10 users turn to just for this single purpose.
Microsoft, however, hasn’t included a straightforward method to hide a drive, even though such options do exist. Nevertheless, they aren’t the most intuitive solutions for beginners.
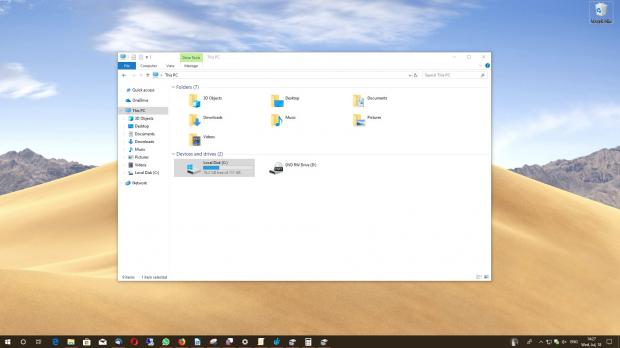
Before anything, it’s important to know that the methods detailed below do not remove your data, but only hide the drive letter from showing up in File Explorer. Drives may still be available when users input the direct path to a certain folder.
Using the Registry Editor
With an administrator account, open the Registry Editor by hitting Windows key + R and typing regedit. Navigate to the following path in the Registry Editor:
HKEY_LOCAL_MACHINE\SOFTWARE\Microsoft\Windows\CurrentVersion\Policies\Explorer
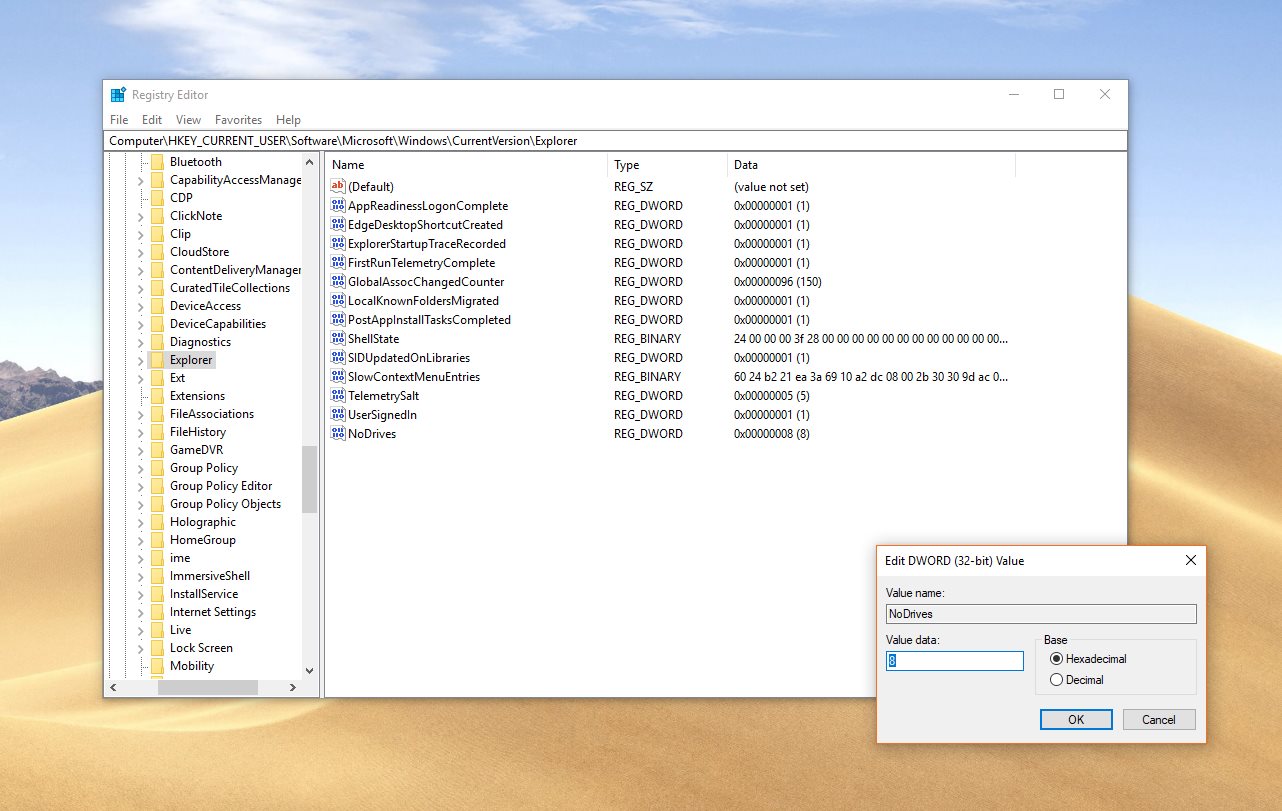
Right-click the right pane and go to New > DWORD (32-bit) Value. Call the new entry NoDrives. The next step is particularly important because depending on the settings you make, your drive will be hidden or not.
Open the NoDrives entry, select Decimal in the Base section and enter the appropriate value in order to hide a specific drive. Since you can only use decimals, you need to specify the drive letter using pre-defined values according to the table below.
If you want to hide two different drives, you need to enter the sum of their values (for example, hiding drives A and B requires value 3). If you want to hide all drives, you need to enter value 67108863, which is the sum of all possible values for drives on a Windows computer.
| A=1 | B=2 | C=4 |
| D=8 | E=16 | F=32 |
| G=64 | H=128 | I=256 |
| J=512 | K=1024 | L=2048 |
Using Disk Management
A second method that doesn’t require so many tweaks relies on Disk Management, which you can launch by right-clicking the Start button > Disk Management.
Right-click the drive that you want to hide and hit the option that reads Change Drive Letter and Paths. Select the drive letter in the dialog that launches and click the Remove option.
This particular hack removes the drive letter and lets you assign it to a different drive on your system. This means that the data should no longer be available even if someone enters the full path to a file or folder.
Be careful with all the options available in Disk Management because this tool also lets you format drives or even delete them entirely – making incorrect changes could affect system stability and eventually render your operating system useless.
Using the Group Policy Editor
On Windows 10 Pro and Enterprise, users can also turn to the Group Policy Editor to change specific drives on the operating system. To do this, an administrator needs to press Windows key + R and then type gpedit.msc. Navigate to the following path:
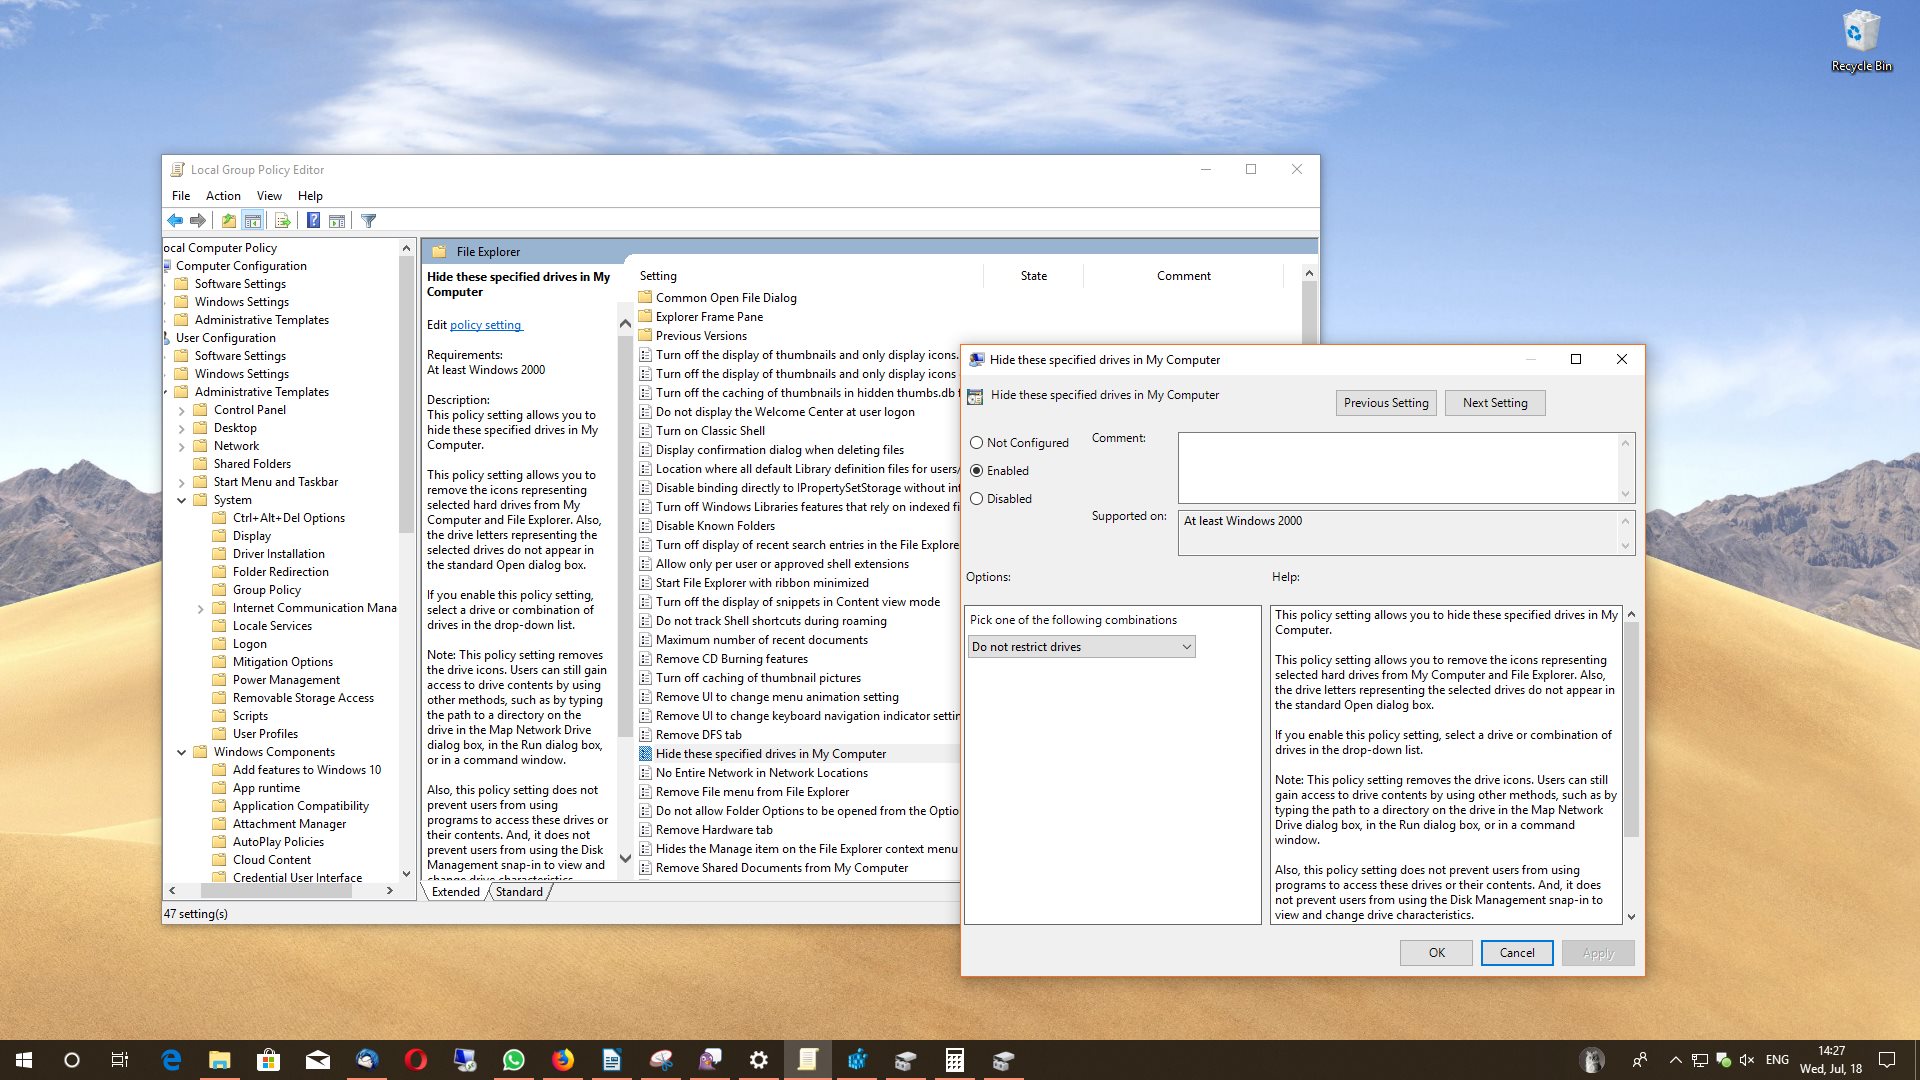
User Configuration > Administrative Templates > Windows Components > File Explorer > Hide these specified drives in My Computer
Double-click this particular policy to open it. By default, it’s set to Not Configured, so switch it to Enabled to access more options. Once you enable the policy, you can choose the drive that you want to hide using a drop-down menu in the lower part of the screen.
If you just want to bring back the original settings, you just have to click the Not Configured option or Disabled, both of which unhide the drives in File Explorer.
Editing group policies can be used by IT admins to control systems in their networks as well, which means that the changes they make could be used to hide drives on a bigger set of computers.

 14 DAY TRIAL //


