Windows 10 October 2018 Update is finally here, and it comes with a plethora of improvements, some of which can be noticed from the moment you log in the first time.
But while it has become Microsoft’s recommended version for all users, the October 2018 Update (version 1809) also comes with changes that may not necessarily be everyone’s cup of tea.
Obviously, this is a subjective thing, but there are users out there who just want to go back to their previous Windows 10 version after trying out the October 2018 Update for a while.
Fortunately, doing this doesn’t involve more than just a few clicks, though I’ve seen quite a lot of people who just prefer clean-installing the operating system and thus start from scratch on an older Windows version.
However, if you want to save your files, there’s a built-in Windows 10 feature that lets you do that, and it’s available in the first 10 days after upgrading to October 2018 Update.
This limitation is the essential tidbit that you must have in mind when planning to return to an older Windows 10 version. Microsoft allows you to downgrade anytime within the first 10 days after installing the October 2018 Update, and afterward, if you want to go back the feature is no longer available.
Also, if you remove old Windows installations, this option is automatically disabled too, as it relies on backups that are stored on your hard drives to be able to restore your previous Windows version.
How to downgrade to a previous version
Before you start, keep in mind that while your data will be preserved, apps and changes that you made to the system will not. To begin the process, follow the next path:
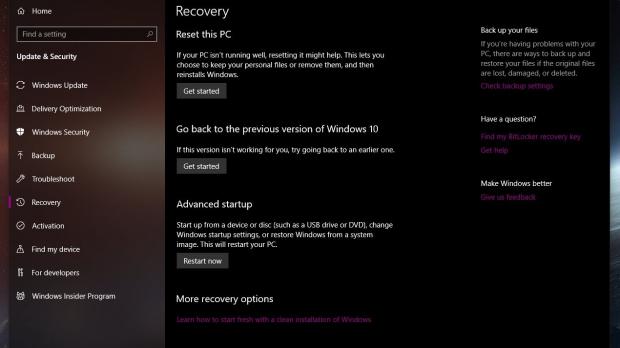
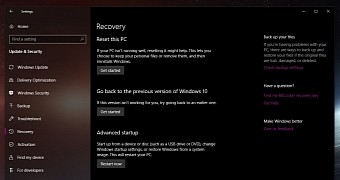
Settings > Update & Security > Recovery
Click on the button called Get Started in the section that reads Go back to the previous version of Windows 10.
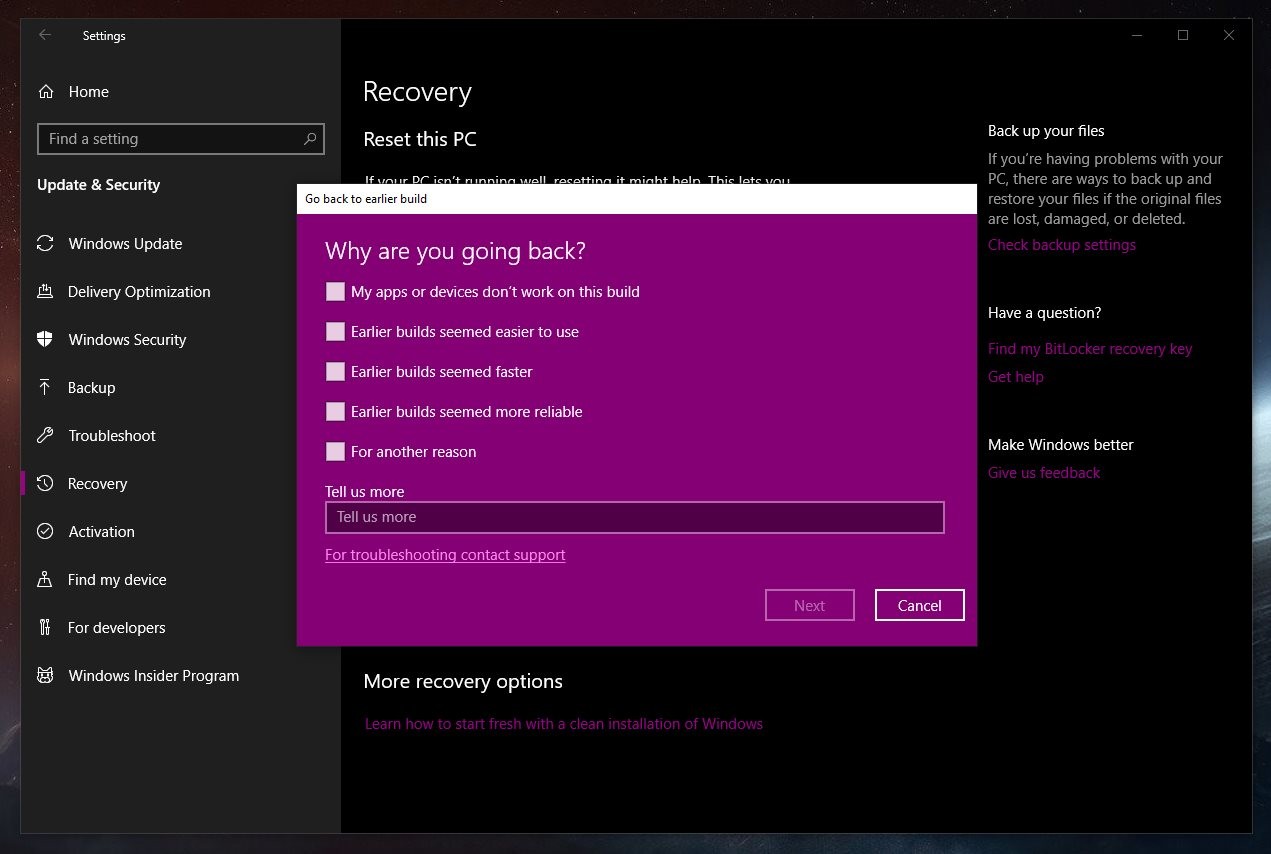
Windows 10 will then ask for a reason why you want to return to an older version of Windows – this is actually feedback for Microsoft, as the software giant uses your answers to improve the operating system. You can check any of the options displayed on the screen or just select the option that reads For another reason and then press Next.
The next screen lets you check for updates – a last attempt to fix any of the problems you may have with the OS and forcing you to downgrade, or skip the process completely. If you’re ready, click No, thanks.
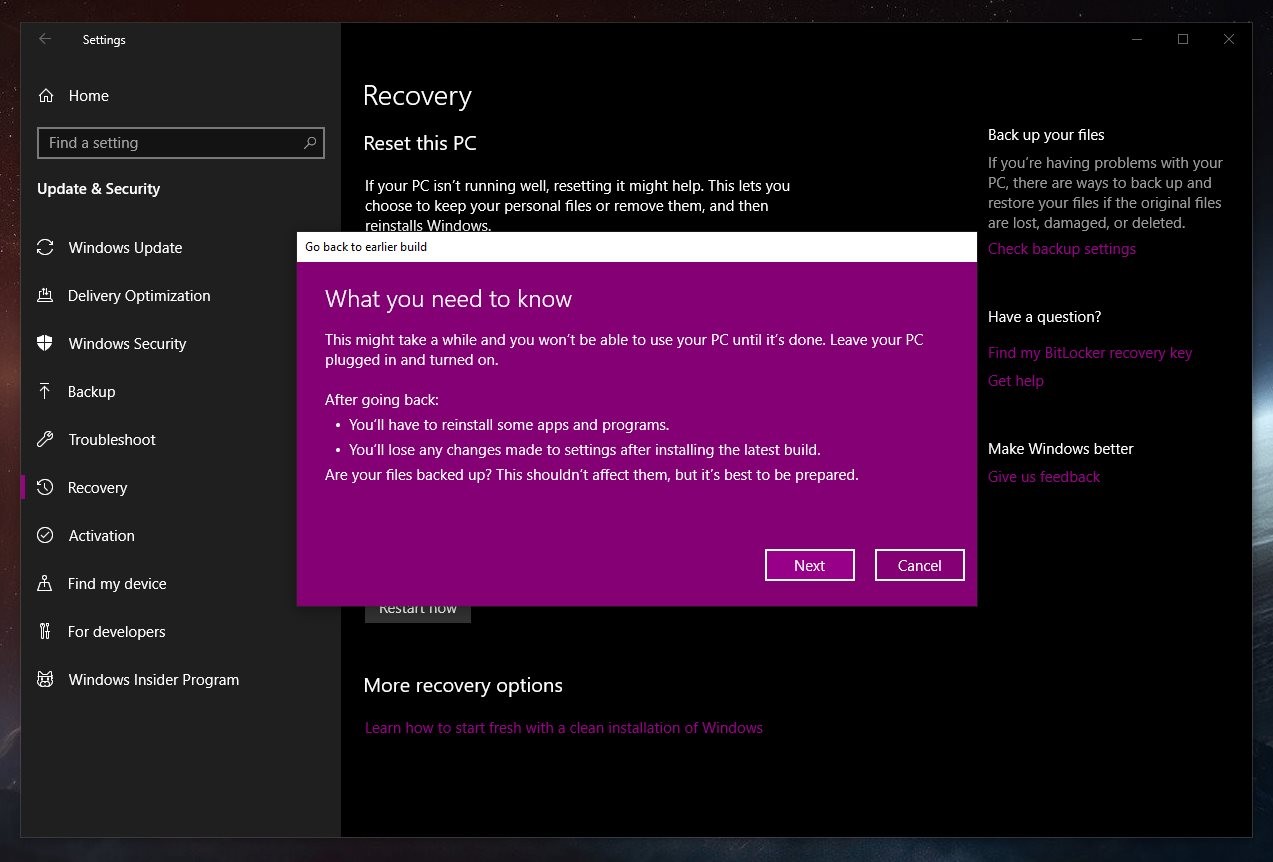
The process will then detail how the whole process works, recommending you to back up your data and to leave your PC plugged in and turned on until the restore is complete. Again, press Next.
You’ll then be reminded that you need your password for the previous Windows install because you won’t be able to sign in otherwise. Click Next one more time.
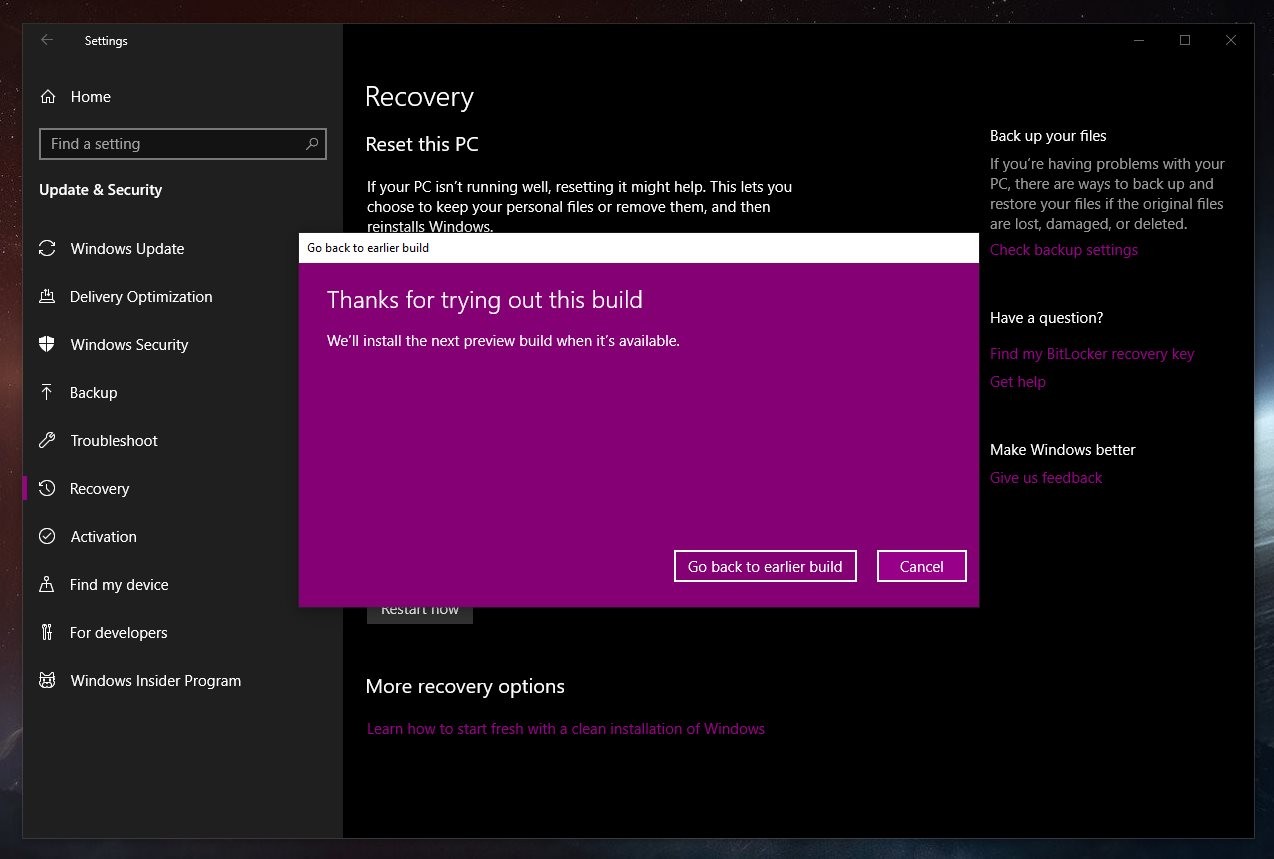
The last step is a thank you note from Microsoft and only requires you to click the button that reads Go back to earlier build and launch the downgrade process. Make sure that your data is backed up before beginning the process because otherwise, you won’t be able to recover them.
Going back to an older Windows 10 version takes anywhere from 10 minutes to a few hours, depending on how large the OS install was and your system configuration.
Windows 10 will reboot during the process, and when it’s done, you’ll be brought back to your old desktop, with all the settings and files in place. Of course, you can return to Windows 10 October 2018 Update at a later time if you wish.
 14 DAY TRIAL //