The Blue Screen of Death (BSOD) has been around for a while, and it’s been one of the worst things Windows users could see at totally random times.
In the Windows XP era, BSODs were more or less a common thing for the daily routine of computer users, and the launch of Windows Vista made everything even worse.
In the last few years, Microsoft has substantially reduced the number of such errors on Windows, making the operating system as a whole a lot more stable and reliable on all hardware configurations.
Yet, BSODs still happen, and more recently, the Redmond-based software giant has introduced the concept of Green Screen of Death (GSOD) which the company uses as part of the Windows Insider Program.
This way, whenever someone comes across an issue and sends in a screenshot with the error, it’s easy to figure out from the very beginning that the problem was experienced on a preview build of Windows 10 – note that these preview builds are more prone to critical errors given they’re work in progress.
Interestingly enough, despite everyone hating BSODs so much, Windows comes with a built-in system to actually force the error. This comes in handy to developers and IT admins who are trying to test certain systems or implementations.
Triggering a BSOD on Windows 10, however, can’t be done without first activating it with a couple of registry hacks. All steps are detailed below.
First and foremost, we need to make it clear that triggering a BSOD on your system (or GSOD if you are running a preview build) will mean your computer will reboot and you may lose your work. Only try this out when you are sure that no data can be lost.
An administrator account is necessary to make changes to the Windows registry, so you have to launch the Registry Editor by typing regedit in the Start menu or the run dialog that you can open by pressing Windows key + R.
In the Registry Editor, you need to create two keys in different locations. First of all, browse to the following path:
HKEY_LOCAL_MACHINE\SYSTEM\CurrentControlSet\Services\kbdhid\Parameters
Once you are there, right-click on the right pane and go to New > DWORD (32-bit) Value. Call the new item CrashOnCtrlScroll and press OK. Double-click CrashOnCtrlScroll to change its value (which by default is 0) and modify it to 1 – 0 means it is disabled and 1 turns it on.
Then, you need to navigate to another location for the same thing. This time, the path is the following:
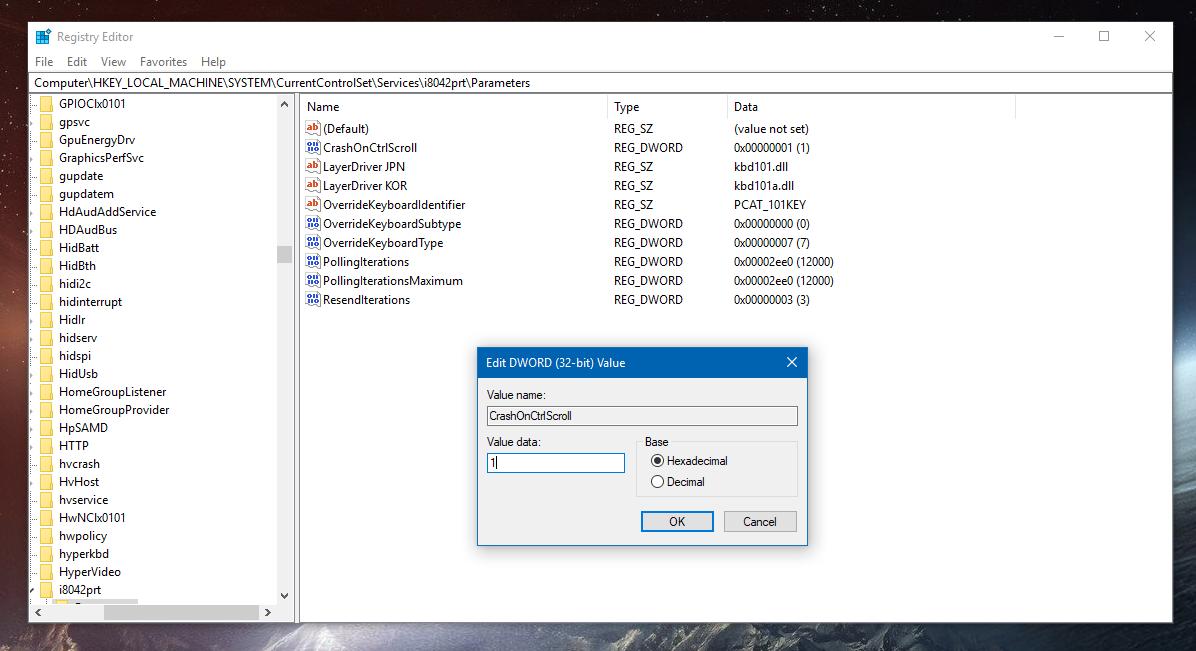
HKEY_LOCAL_MACHINE\SYSTEM\CurrentControlSet\Services\i8042prt\Parameters
The same steps need to be repeated, so right-click on the right side and go to New > DWORD (32-bit) Value and call it CrashOnCtrlScroll. Change its value from 0 to 1 and you’re set.
Next, you need to reboot your system, so all the changes can come into effect. Once Windows boots up, just press CTRL + Scroll Lock two times and the BSOD should be triggered.
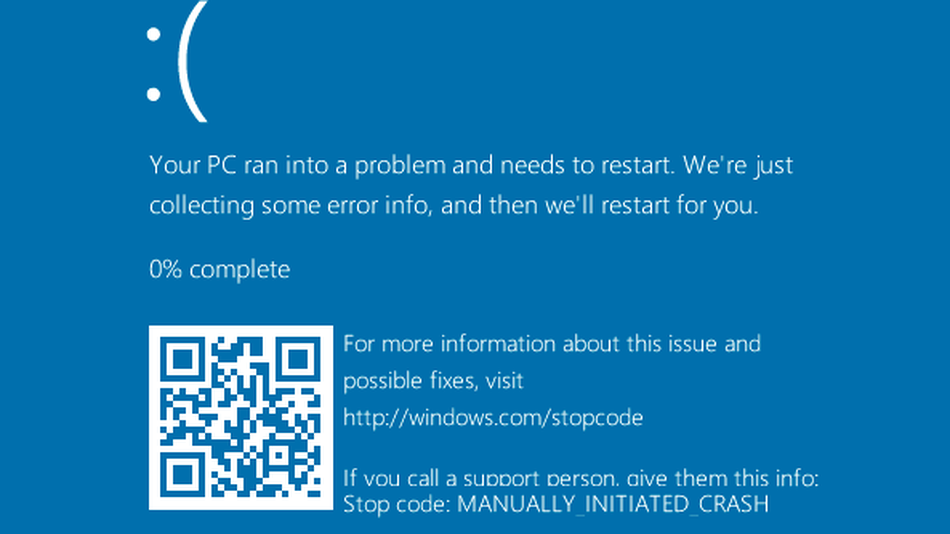
The error message should read code 0xE2 and MANUALLY_INITIATED_CRASH, indicating that it’s not a BSOD caused by a software or hardware issue, but one that you generated on purpose. Most often, the operating system will try to collect crash data from the system, so after the progress reaches 100 percent, the system should be automatically rebooted. Windows should load correctly after that.
It goes without saying that you might accidentally press this key combination, though it’s unlikely, so in order to disable the BSOD hack, just remove the aforementioned registry values or change them to 0.

 14 DAY TRIAL //


