Windows 10 Creators Update is finally here, so most users rush to install it either manually with the Windows Update Assistant or via Windows Update as an automatic download if it’s available.
And while upgrading to the Windows 10 Creators Update is certainly a good thing given the number of improvements that are included in this release, many users forget to reclaim their storage space after performing the switch, as the upgrade leaves plenty of files behind that eat up storage for no reason.
Fortunately, there are two very easy ways to free up storage space after installing the Windows 10 Creators Update and you can find both of them here.
Method #1 - Disk Cleanup
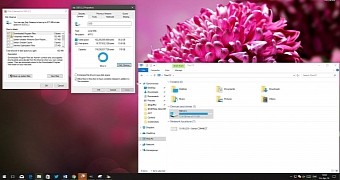
This is a method that’s been around for a while and it relies on the Disk Cleanup tool implemented in Windows. Once you complete the upgrade to Windows 10 Creators Update, simply launch File Explorer, right-click the C: drive where the operating system is installed and go to Properties > Disk Cleanup > Clean up system files.
In this screen, you need to check Windows upgrade log files and Previous Windows installations, with the amount of storage you’re going to get displayed in the very same screen.
Once you make your settings, hit the Apply and OK buttons and then wait. Removing all these files takes a while, so make sure you don’t reboot the system.
Method #2 - Storage Sense
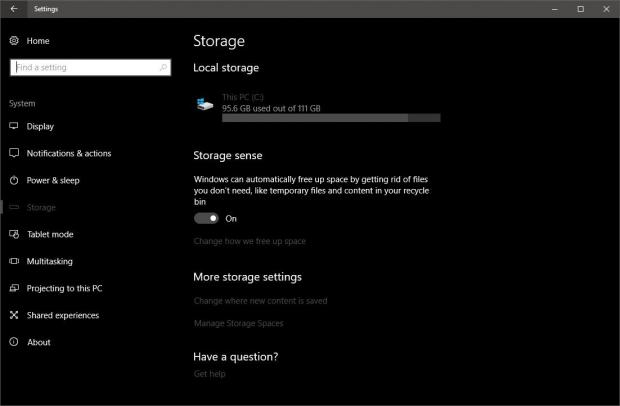
There’s also a second option that comes in Windows 10 and which is called Storage Sense. This time, launch the Settings app and go to System > Storage > Storage sense. Make sure the option is enabled and you can click on Change how we free up space to see what options are enabled.
Additionally, you can click the Clean now button to perform a clean right away without waiting for the feature to automatically kick in.

 14 DAY TRIAL //

