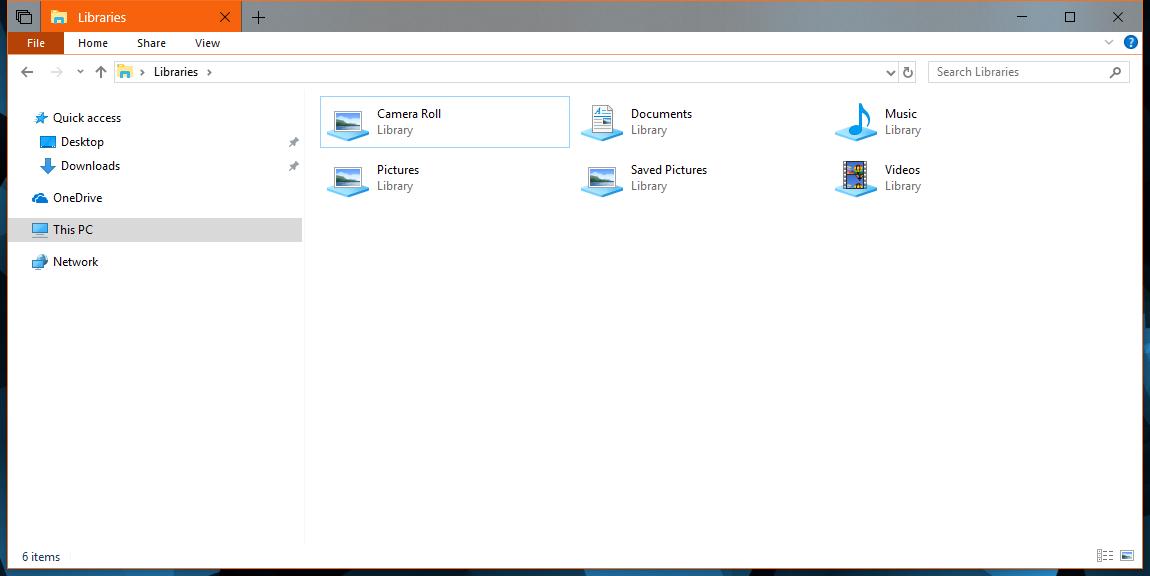
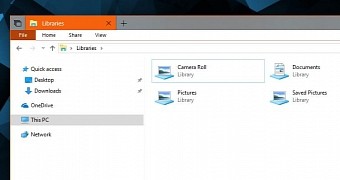
Libraries in Windows 10 allow users to access certain media files much easier regardless of their location on the system, with Microsoft offering several of them by default to get users started.
While libraries aren’t exactly the most widely-used feature in Windows 10, more people discover the advantages of relying on them to access files on the system, especially because combined with Quick Access folder, all items are only a few clicks away no matter where they’re being stored.
Microsoft has created libraries that make sense for users, and they include camera roll, documents, music, pictures, saved pictures, and videos.
Fortunately, despite these libraries being pre-configured on Windows 10, they can still be further customized with your own folders, and it all takes just a few clicks to set them up.
There are two different ways to edit libraries and add new folders, and we’re going to detail both of them below. An administrator account is not required for these changes.
Method #1 – Using a simple right click
The Windows 10 context menu comes with options that some people ignore, even though at further inspection, there are actually pretty helpful.
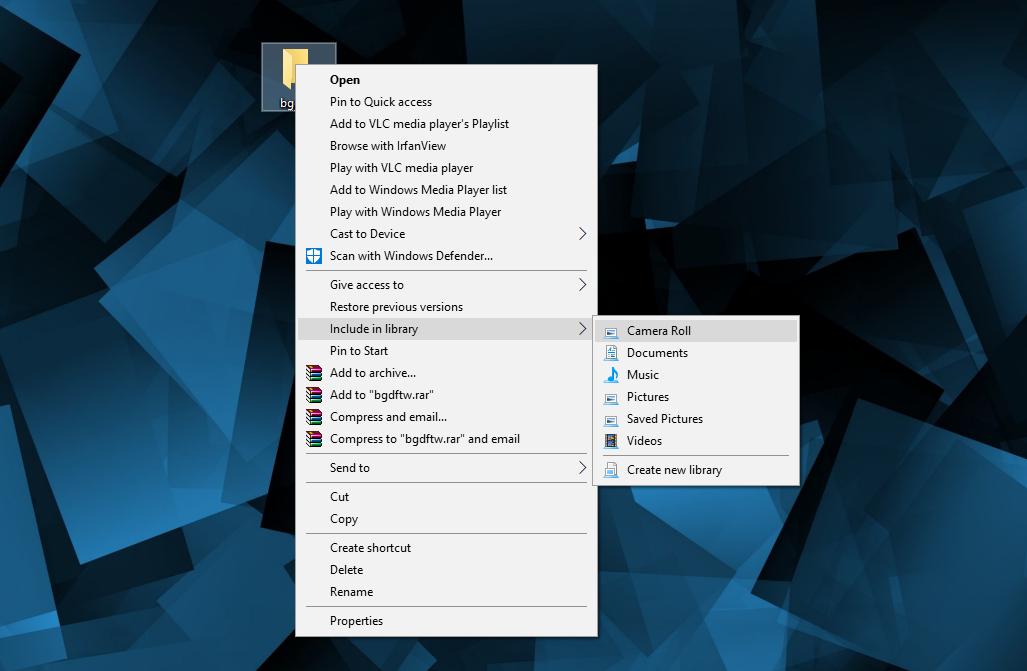
For example, adding a new folder to a library can be simply done by simply right-clicking a directory and clicking Include in library > Library name. As an extra option, you can also create a new library with this option should you feel that the folder doesn’t fit in any of the existing ones.
This method is pretty much the easiest that you can use, though it involves navigating to the folder that you want to add. Certainly, this isn’t such a big compromise, as the folder contents would then be available for browsing easily from the library that you choose.
For instructions on how to remove a folder from a library, check out the steps listed below.
Method #2 – Using library settings
This second method involves a few more steps, but it still pretty easy to use. In this case, what you need to do is open File Explorer and browse to the library that you want to add a new folder to.
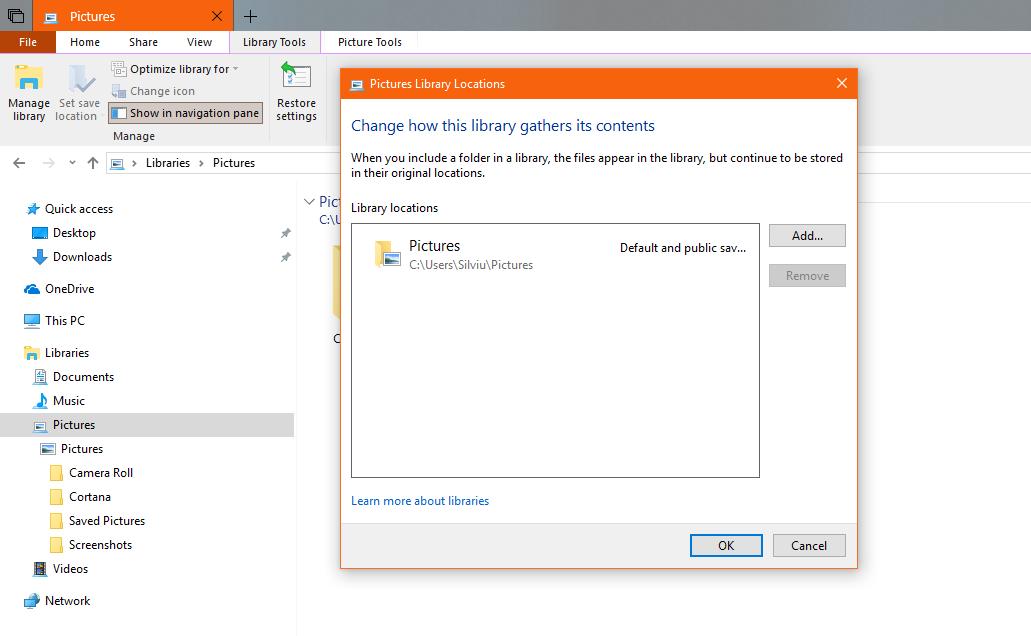
In the ribbon, open the section that’s called Library Tools and then hit the Manage library option. In the opened dialog, click the Add button and then navigate to the folder that you want to add to the library.
Click OK, and then close all windows to save your changes. The new folder should then be listed in the Library location section just under the default items.
How to remove a folder from a library
While adding folders to a library is an easy thing to do, removing them can only be done using the second method described above.
In other words, you have to open File Explorer and click the library that you want to edit. In the ribbon look for the option called Manage library and then click it. All folders that are included in the selected library should show up in the list of Library locations, and all you have to do is click the folder that you want to delete and then hit the option called Remove in the right side of the panel.
Just click OK, close all windows and you’re good to go. The folder should then disappear from the library with just a refresh – I’ve noticed that in some cases a reboot is also required, though this is probably just a minor bug that shouldn’t happen on every occasion.
There is no edit button here and in case you want to change a specific item, you need to remove it completely and then re-add it using one of the methods described above.
 14 DAY TRIAL //