One of the new features in the latest versions of Windows 10 is called Push to Install, and it allows users to install Microsoft Store applications on other devices all remotely.
This is possible thanks to using the same Microsoft on more than just one device, technically being able to manage the installed applications on more PCs from a single machine.
This is without a doubt a truly helpful feature, especially within organizations where deploying certain enterprise apps becomes substantially easier. But at the same time, such a feature helps home users as well when they log in with the same account on more than just one device and want to install one application everywhere.
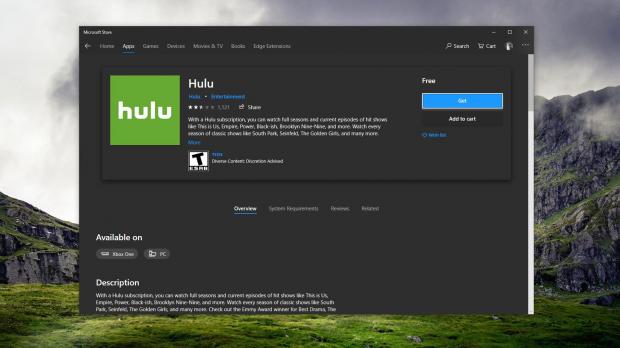
The Push to Install service is enabled by default in Windows 10 version 1809 and 1903, so if you log in with the same Microsoft on more than one device, you should see an option to “Install on my devices” when opening a specific app in the Microsoft Store.
However, disabling this feature at this point isn’t really the most convenient process, and to do this you need to turn to more complex tricks that may not be very straightforward for regular users.
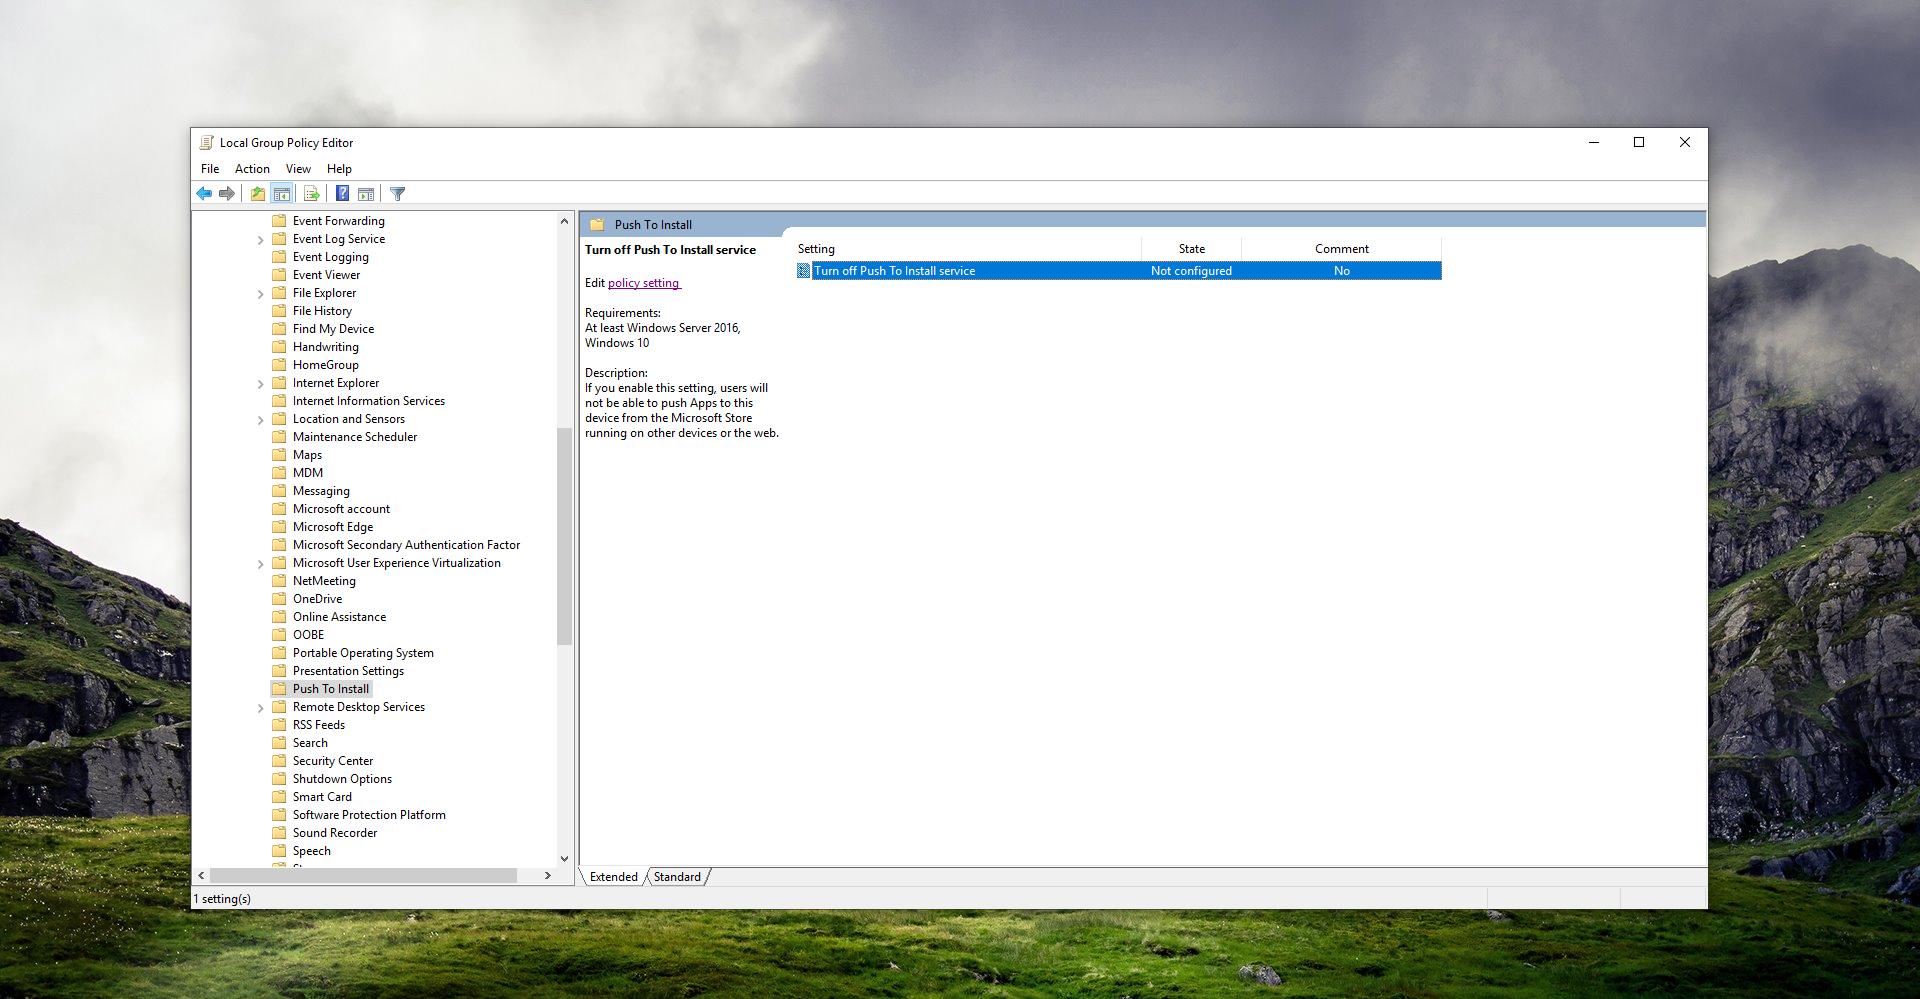
One of them involves a dedicated policy that needs to be enabled in the Group Policy Editor.
So let’s start by launching the Group Policy Editor using the gpedit.msc command in the Start menu or when opening the run dialog with Windows key + R.
Navigate to the following location in the Group Policy Editor:
Group Policy Editor > Computer Configuration > Administrative Templates > Push to Install
On the right side of the screen, there should be a policy called:
Turn off Push To Install service
Remember that you must be running Windows 10 version 1809 or version 1903 to see this policy.
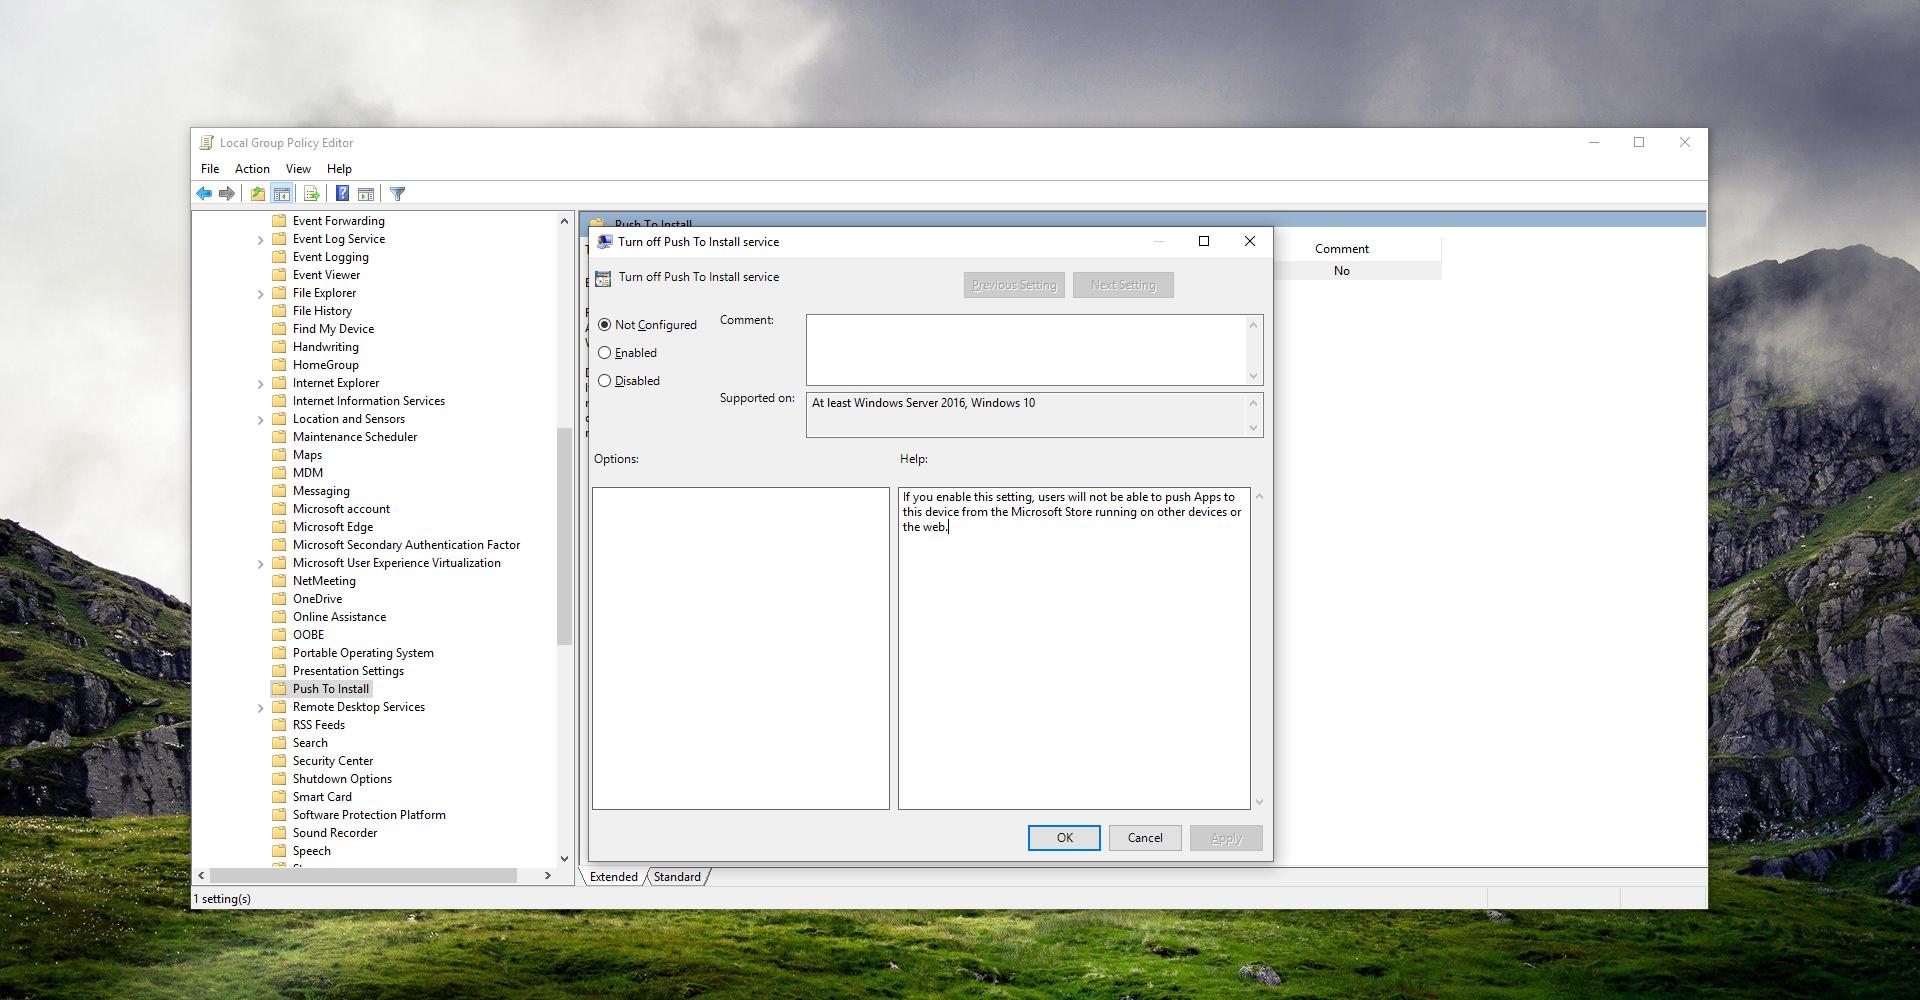
By default, the policy isn’t configured, so to disable the feature, you have to switch it to Enabled. As the policy explains:
“If you enable this setting, users will not be able to push Apps to this device from the Microsoft Store running on other devices or the web.”
The other method requires you to manually set up the policy in the Windows Registry Editor. Begin by launching the app – to do this, type regedit in the Start menu. Browse to the following location:
HKEY_LOCAL_MACHINE\SOFTWARE\Policies\Microsoft\PushToInstall
If the path does not exist, create it manually by right-clicking the root folder and then going to New > Key. Use the names in the address to create the new keys.
Once you are there, click on the right pane and go to New > DWORD (32-bit) Value. Call the new value:
DisablePushToInstall
Depending on the value that you give to this new item, the Push to Install service can be enabled or disabled. For example, if you set the value to 0, the Push to Install service remains active, but if you set it to 1, the service is disabled. Needless to say, if you delete the entry you return to the original configuration and the service is restarted.
A reboot of the system shouldn’t be necessary, but it is recommended, especially in the case of the Windows Registry Editor trick described above. On older Windows 10 versions, the Push to Install service is not available, so there’s no need to disable it.
The oldest version of Windows 10 that still receives support on Home and Pro SKUs of Windows 10 is the Fall Creators Update (version 1709), whereas version 1903 will be released in the spring. It is currently available for insider systems exclusively.

 14 DAY TRIAL //


