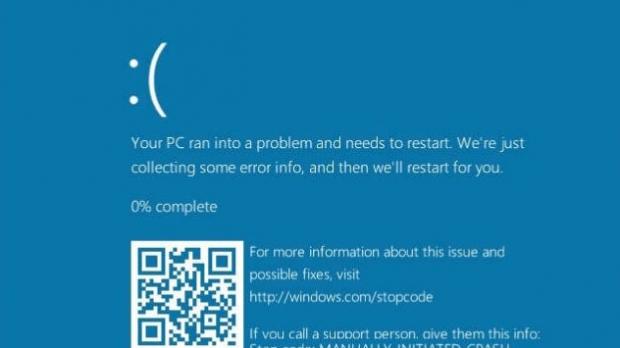
Unfortunately for Windows 10 users, BSODs have once again become a common thing these days, and it’s mostly because of the updates that Microsoft ships to PCs running the operating system.
No matter if we’re talking about monthly updates or OS feature updates like version 1809, these releases occasionally wreak havoc on users’ devices, leading to Blue Screen of Death errors that aren’t only frustrating, but also potentially leading to data loss and app issues.
When it comes to such a fatal error, the first thing you need to do when trying to repair the issue and prevent it from re-appearing is to actually read the message that Windows provides and then look into the problem for a potential fix.
However, as Windows is configured by default, the operating system collects the crash data and then reboots the computer automatically, basically trying to keep your work uninterrupted despite the system failure.
Fortunately, disabling the automatic reboots following a BSOD is an easy thing to do and it comes down to just a few clicks or to a single command, depending on the method you decide to use.
Using Windows 10’s configuration screen
Windows 10 lets you disable automatic reboots from a dedicated startup and recovery menu, though it’s worth noting that locating this option isn’t the easiest thing to do.
As part of its focus on Windows 10, Microsoft is moving Control Panel menu items to the Settings app, but for now, disabling BSOD reboots aren’t yet part of the modern interface.
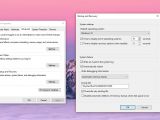
However, what you need to do is to disable automatic reboots is to access the System Properties screen. You can do this by typing SystemPropertiesAdvanced.exe in the Start menu or when pressing the Windows key + R. The path you need to follow is this:
Advanced > Startup and Recovery > Settings > System failure
Just uncheck the option that reads Automatically restart, click OK, and then you are good to go. The next time your system crashes, it should no longer be rebooted, so you’ll have to do it manually.
When you want to re-enable the automatic reboots, all you have to do is to check the option in the aforementioned screen and you’re good to go.
Using just a single command
The second method is much faster, only that in this case it’s nearly impossible for a beginner to actually discover the commands.
First of all, you need to launch a Command Prompt window with administrator rights. Click the Start menu and type cmd.exe, right-click the result and go to Run as administrator.
In the Command Prompt window on the screen, type the following command to disable automatic reboots:
wmic RecoverOS set AutoReboot = False
If the command is successfully applied, you should see a message reading Property(s) update successful like in the screenshot below.
If at some point you want to return to the original configuration and re-enable the automatic reboots, you can follow the steps above, but this time the command you need to use is the following:
wmic RecoverOS set AutoReboot = True
In future Windows 10 updates, Microsoft could make the automatic reboot options easier to reach, but the commands mentioned above should continue to work regardless of the change.
The next Windows 10 update to go live is currently codenamed 19H1 and it is in preview stage, with early builds shipped to participants in the Windows Insider program. It should be finalized in March next year, before the public rollout starts for production devices across the world a month later.
There are no specifics available just yet on any potential change that may affect these methods.

 14 DAY TRIAL //


