The “new” Microsoft no longer considers Linux a fierce rival that it should ignore, but a partner that could help its Windows 10 push move forward.
And as part of this approach of turning Linux from foe to friend, Microsoft allows users to run Linux on top of Windows 10 using the already-famous Windows Subsystem for Linux.
While the WSL itself has evolved substantially in the last year, so did other Windows 10 features, including the Hyper-V Manager.
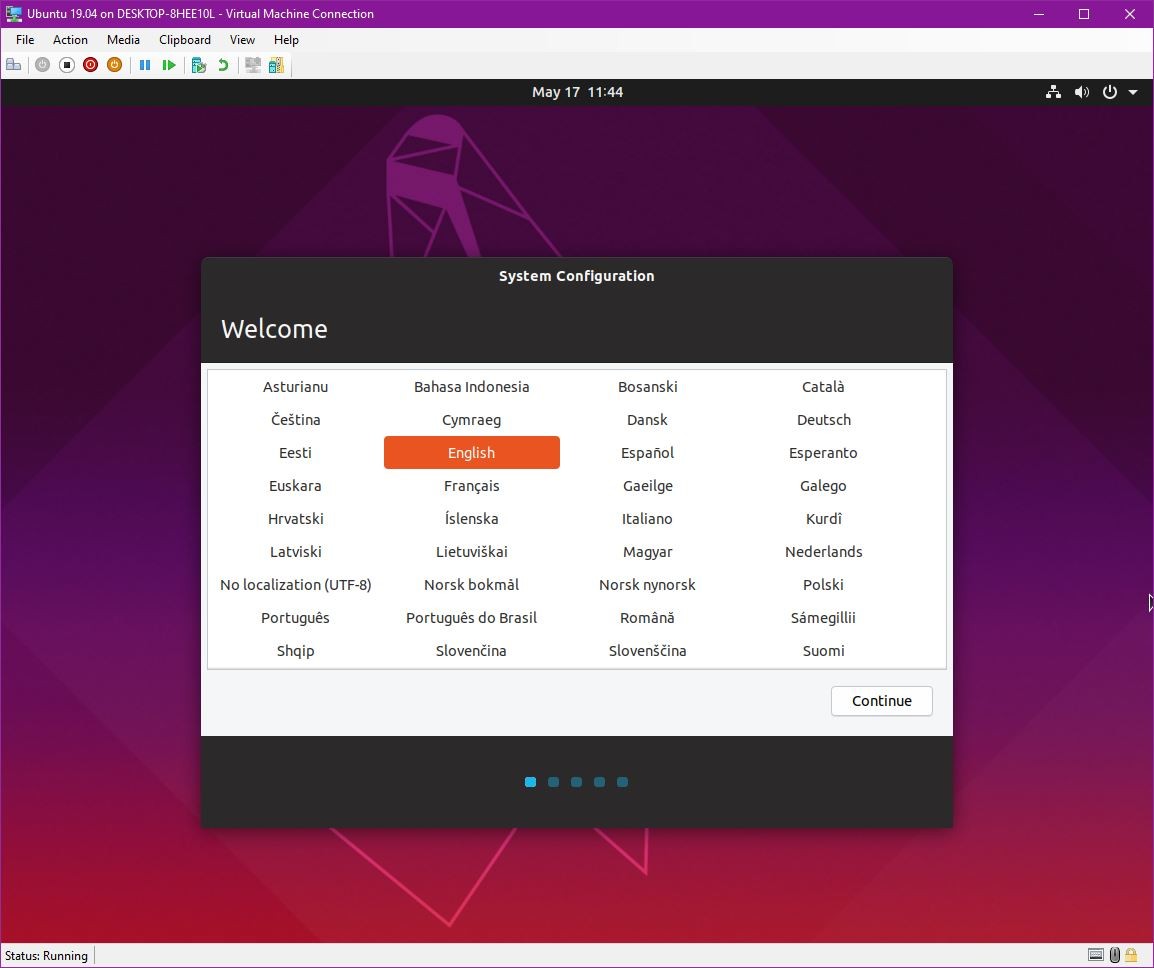
So beginning this week, it’s actually possible to create an Ubuntu virtual machine using Hyper-V, and it all takes just a few minutes.
First of all, an Ubuntu virtual machine allows you to run Linux on Windows 10 without having to leave the operating system. And as per German site WU, the way you can create an Ubuntu VM is so straightforward that it doesn’t even make sense to turn to third-party software.
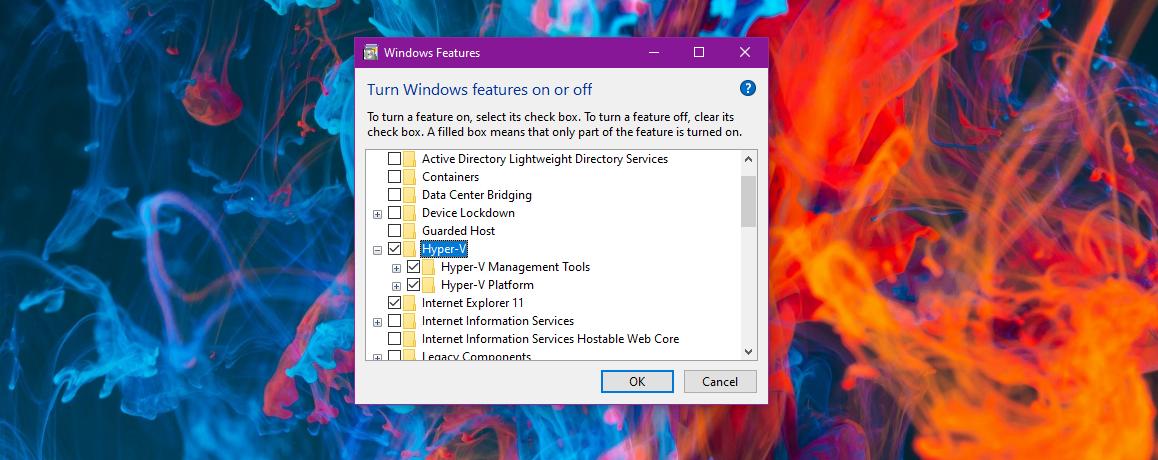
Before anything, what you should know is that in order to create a virtual machine on Windows 10 with Hyper-V, you need to have this component installed on the operating system. Hyper-V Manager comes as part of the Hyper-V package.
Needless to say, you’re going to need Windows 10 Pro with an administrator account, and the first step is enabling Hyper-V in the operating system.
To do this, click the Start menu and then type:
Turn Windows features on or off
Once you log back to the desktop, you can jump straight to the creation of the virtual machine.
Launch the Hyper-V Manager by clicking the Start menu and typing its name.
There are several ways to create an Ubuntu virtual machine in Hyper-V Manager, but we’re going to use the most straightforward, which uses a series of pre-defined settings to complete the process.
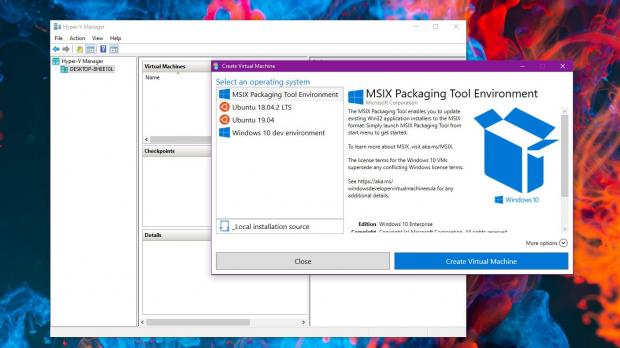
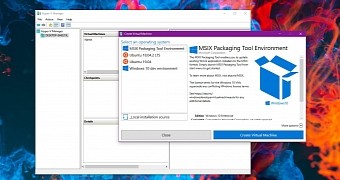
Right-click your computer in the left sidebar and select Quick Create.
Windows 10 should then prompt you to choose from several choices. Right now, on my Windows 10 testing device, there are four options, as it follows:
| MSIX Packaging Tool Environment |
| Ubuntu 18.04.2. LTS |
| Ubuntu 19.04 |
| Windows 10 dev environment |
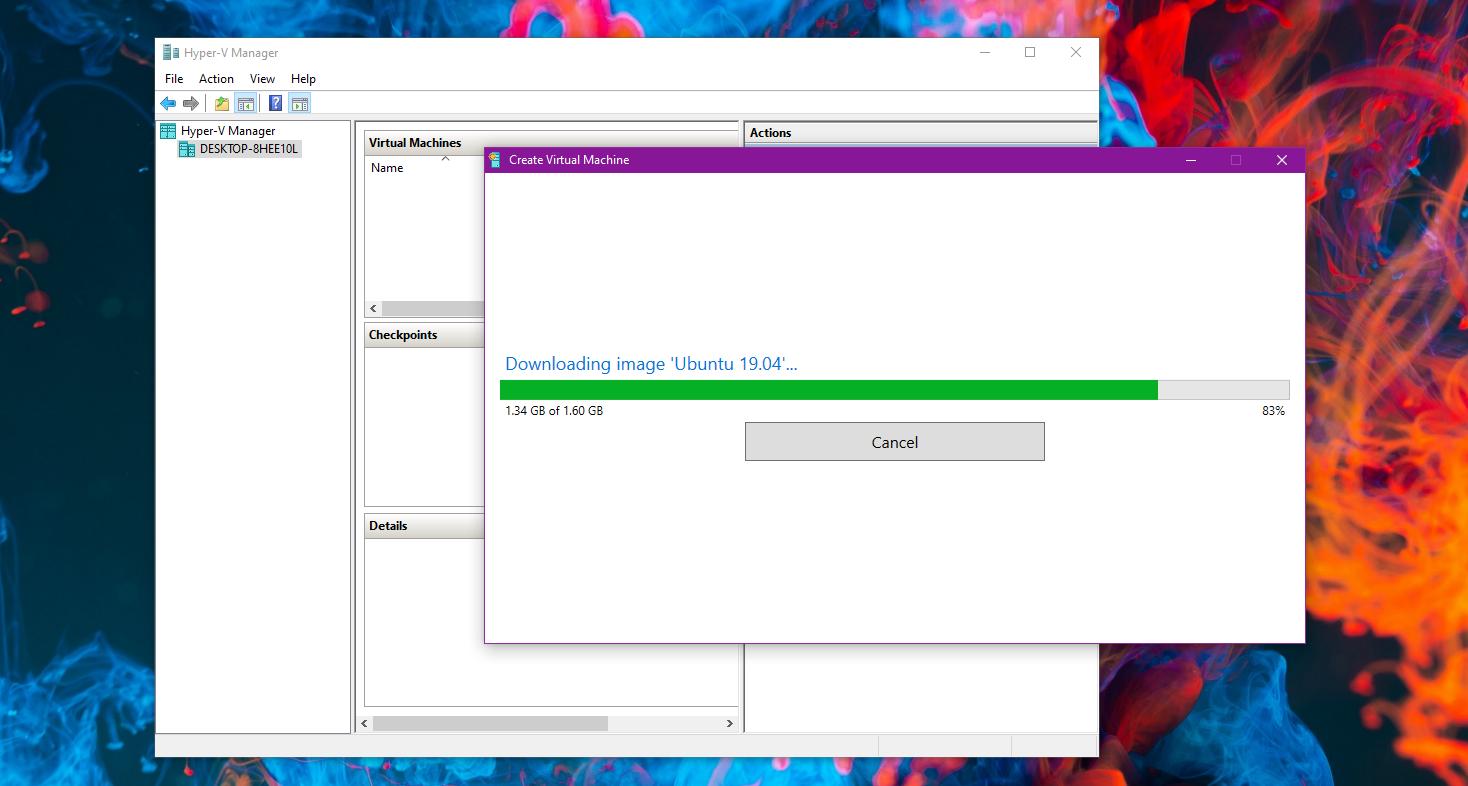
Hyper-V Manager should then begin a lengthy process that involves downloading a system image for Ubuntu and deploying it on your device. This step could take anywhere from a few minutes to one hour, but it all depends on your network performance and hardware.
The Ubuntu 19.04 image that Windows 10 downloads, for instance, has 1.60 GB in size, so it could take a while to get it if you’re on a slow Internet connection.
The Hyper-V Manager automates the process as much as possible, so you won’t be prompted to make any settings.
On the other hand, if you want to configure more options in your virtual machine, you should use the manual process that is available by clicking the New menu item in Hyper-V Manager. However, this is a method that’s mostly recommended for power users and not for beginners who just want a quick virtual machine for testing purposes.
If you want to delete the created virtual machine at a later time, you can do this from the Hyper-V Manager UI.
 14 DAY TRIAL //