14 DAY TRIAL //
 Backing up data is a thing that everyone should do in order to prevent data loss, and the most recent ransomware attacks have shown just how important it is to prepare for the worst and be able to restore data fast.
Since this is critical to keep data untouched, Windows itself comes with its very own data backup capabilities, though it goes without saying that there are lots of users out there who prefer to stick with third-party solutions for a number of reasons.
And yes, there are many programs that can provide more advanced functionality than the backup tools in Windows, but for most people, Microsoft’s own features are just the perfect choice.
One of the things that Microsoft is trying to do right now in Windows 10 is get rid of the classic Control Panel and move all options to the Settings app. And while the company has removed the easiest ways to launch Control Panel, options to create a system image for backup purposes are still there. This means at first glance, reaching this functionality isn’t as straightforward as it is supposed to be.
Before detailing the process of creating a system image, let’s discuss something else. What are the differences between a system image and a restore point?
While creating a restore point is substantially easier because all you have to do is type create restore point in the Start menu, the data it backs up is not as comprehensive as the one included in a system image. Restore points are mostly aimed at files, like those stored in system libraries, while a system image is a full backup of the entire drive. This makes it a lot more useful in the case of incidents like malware infections. Excerpts from Microsoft’s official documentation:
“ Restore points are created to allow users a choice of previous system states. Each restore point contains the necessary information needed to restore the system to the chosen state. Restore points are created before key changes are made to the system. ”
“ System images contain all of the info on your PC at a particular state. ”
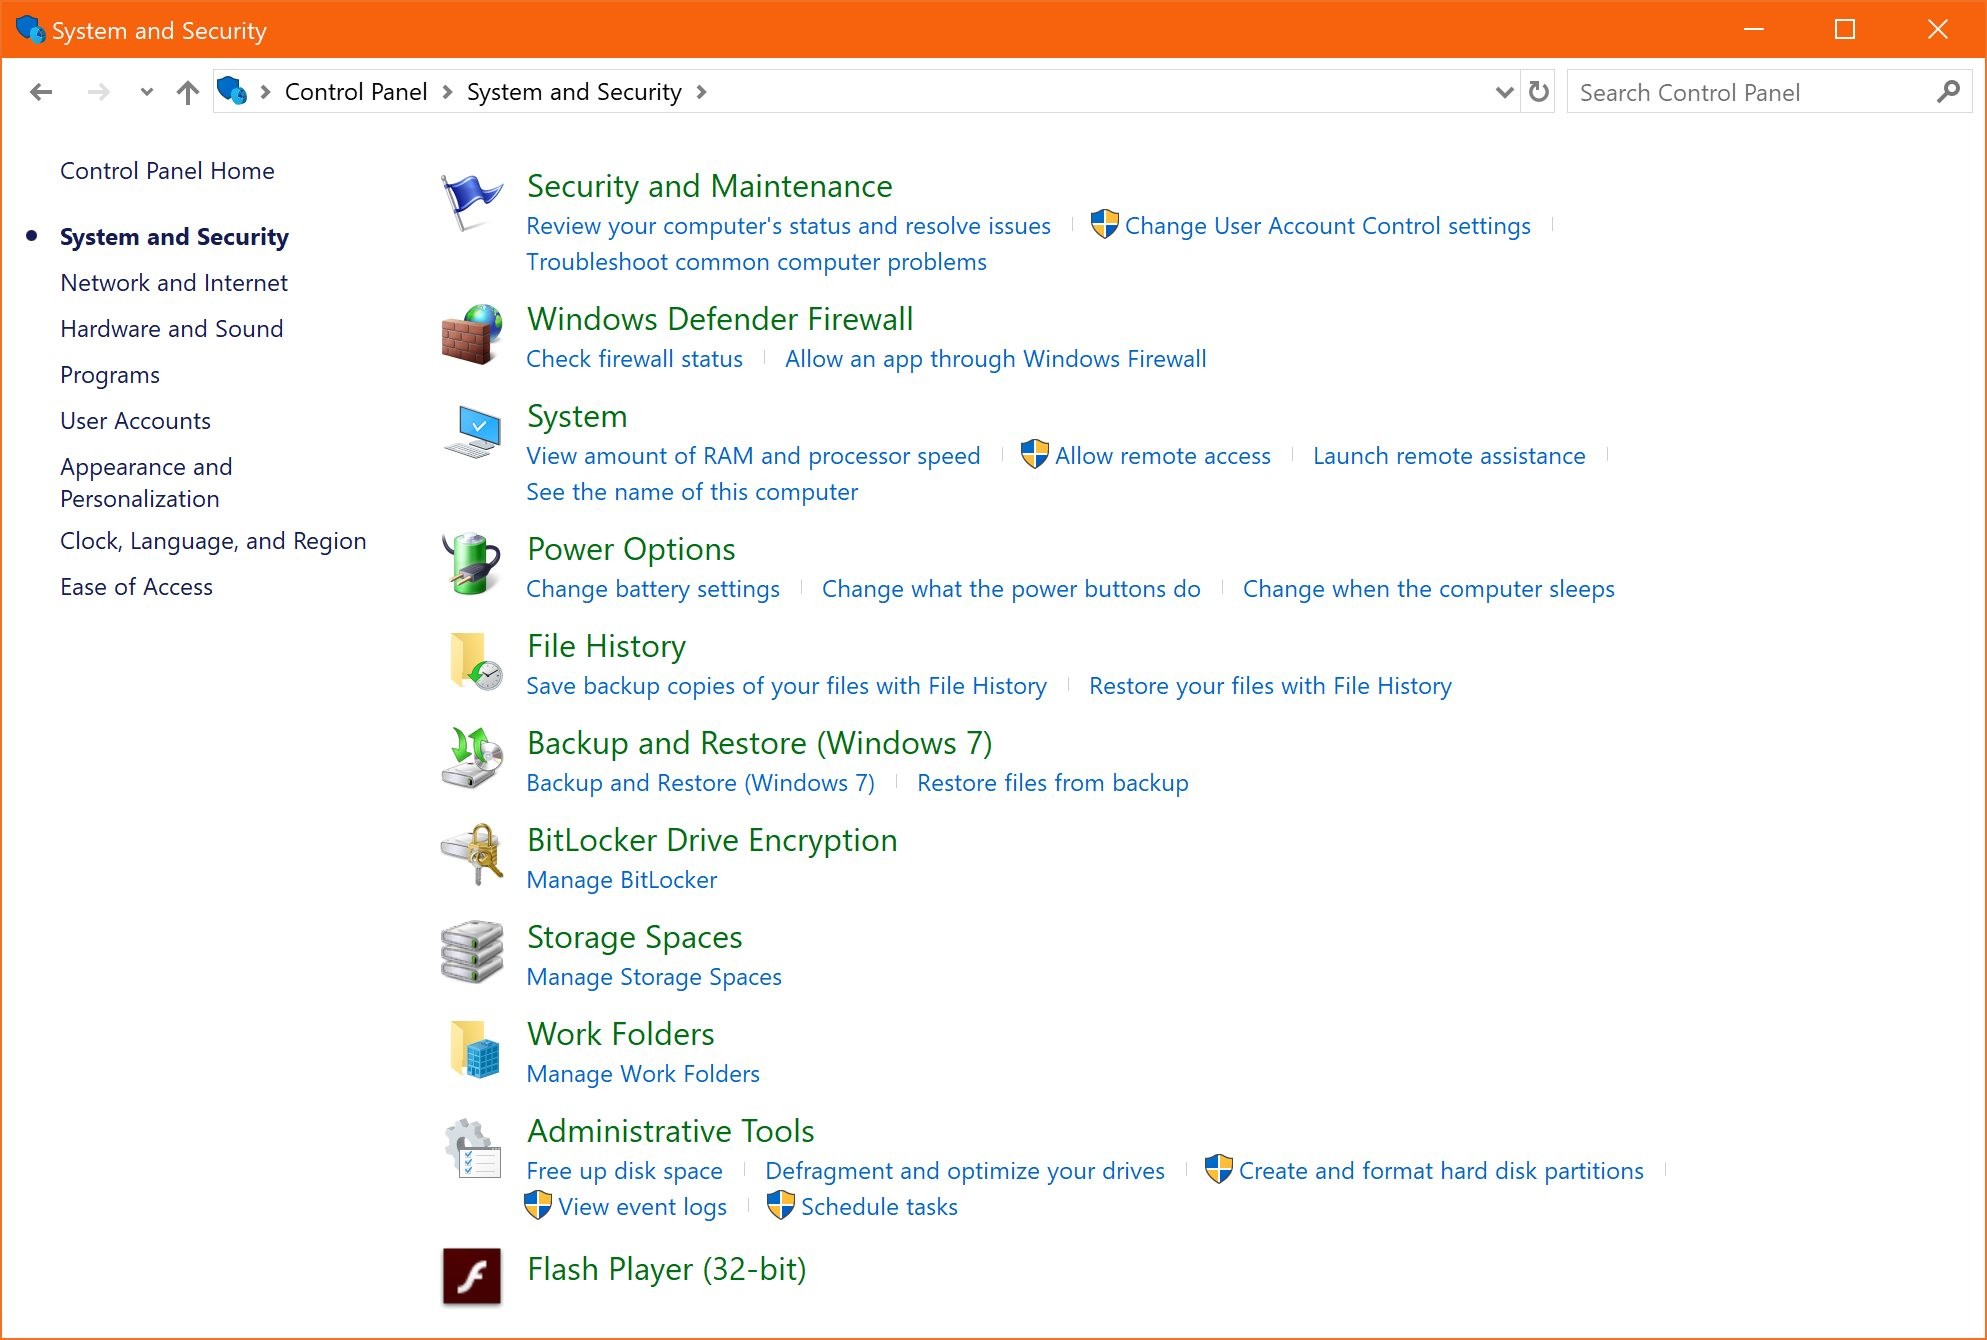
Create a system image from the classic Control Panel. To do this, just launch the Control Panel (type Control Panel in the Start menu, as the shortcut from the Win+X menu has been removed) – notice that only a few options are still available there, and then head over to the following path:Control Panel > System and Security > Backup and Restore (Windows 7) > Create a system image

Create a system image from the Settings app. Since Microsoft is moving options from the Control Panel to the Settings app, the company will sooner or later perform the migration of system image creation as well. The first step has already been made, and you can reach it from Settings as well, though this also gets you to the same Control Panel menu:
Settings app > Update & security > Backup > Looking for an older backup > Go to Backup and Restore (Windows 7) > Create a system image
Building the actual system image is a few-step process and once you launch the feature, you are prompted to choose where to save the backup. You can save the image on a hard disk or removable drive (all drives must be formatted as NTFS), on one or more DVDs, or on a network location. Storing the image on the local drives is not recommended if the aforementioned ransomware incident occurs.
Once you choose the location, Windows asks you to select the drive to back up, while afterwards the process begins and your data is backed up.

In case you’re wondering how long it takes, this depends on the size of the drive and how much data is stored on it. Before the process starts, you are provided with an estimate of how big the system image is going to be – don’t worry that you might run out of space; Windows automatically scans the selected path for available space, and if not enough space is available, the process does not start.
Once the system image is created, you are provided with a simple message that reads The backup completed successfully and you just have to press OK.
Doing this regularly could help you minimize the risk of data loss and given how fast malware evolves these days, systems in the workplace should really be backed up every once in a while.