14 DAY TRIAL //
 Windows 10 isn’t quite the hit Microsoft expected it to be. It somehow tries to bring it down the right path through various updates and improvements. Until then, you can at least try and make it look pretty to cheer you up a bit.
One of the new features in Windows 10 is the introduction of multiple desktops, but it might not be enough to store more icons, because another desktop doesn’t exactly mean a different place to store shortcuts and folders.
However, various enhancements can be used to make Windows a better place, but there’s also the possibility to take matters into your own hands. One particular aspect can keep your desktop clean, and that is creating launchers for almost anything you need.
There’s only enough room on the desktop, and the taskbar gets crowded even faster. The Start Menu seems like a good place, and there’s also enough space in the classic context menu. As such, we’re going to explore methods of packing all desktop shortcuts in the context menu, but without making it feel crowded.
Context menu hidden shortcuts
Sure enough, this can be done with the help of third-party applications. However, before we get there, we’re going to take a detour through the method that doesn’t require you to install a thing. It’s one of those customization options that is done by editing registries, and here’s how:
Step 1: Press Win + R to launch the Run utility. Write down regedit and hit Enter to launch it.
Step 2: Navigate here:
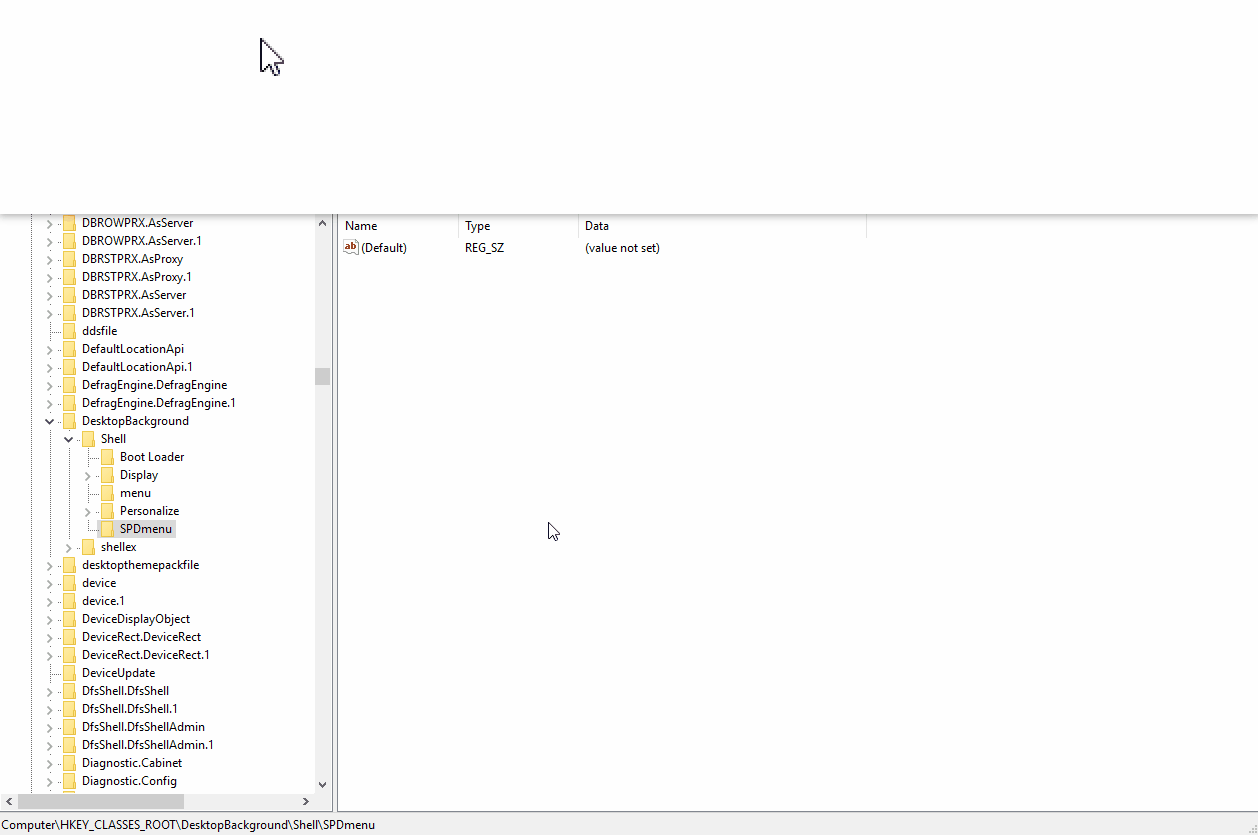
| HKEY_CLASSES_ROOT\DesktopBackground\Shell |
Step 3: Right-click the Shell key and choose to create a New Key. Give it any name, because the menu entry takes its name from a different value. Here, we used SPDmenu.
Step 4: Click the newly created key. Now, right-click an empty space in the right pane to create 4 (four) New String Value items. Their names need to be MUIVerb, SubCommands, Icon, and Position.
| Defining the string values |
|---|
| → MUIVerb - is used to define the menu of the new folder that appears in the context menu. Give it a value of your choice, like we used Softpedia here. |
| → SubCommands - represents the order and items that are shown inside the menu. You can use the target application names for easy identification. As you can see, we used Chrome, Firefox, and Opera. Remember these names, as they need to be fitted with commands later on. Its value needs to be the enumeration of your menu items, separated by semicolon ( ; ), while using the caret ( | ) symbol to add a visual delimiter. |
| → Icon - is literally the small picture accompanying the name. Its value needs to be the full path and name + extension of an ICO file. Using explorer.exe as value grabs the File Explorer icon. |
| → Position - dictates where an item is placed inside the menu, with values that can be either Top or Bottom. By default, items are shown in the middle. |
Step 5: Go all the way to this location:
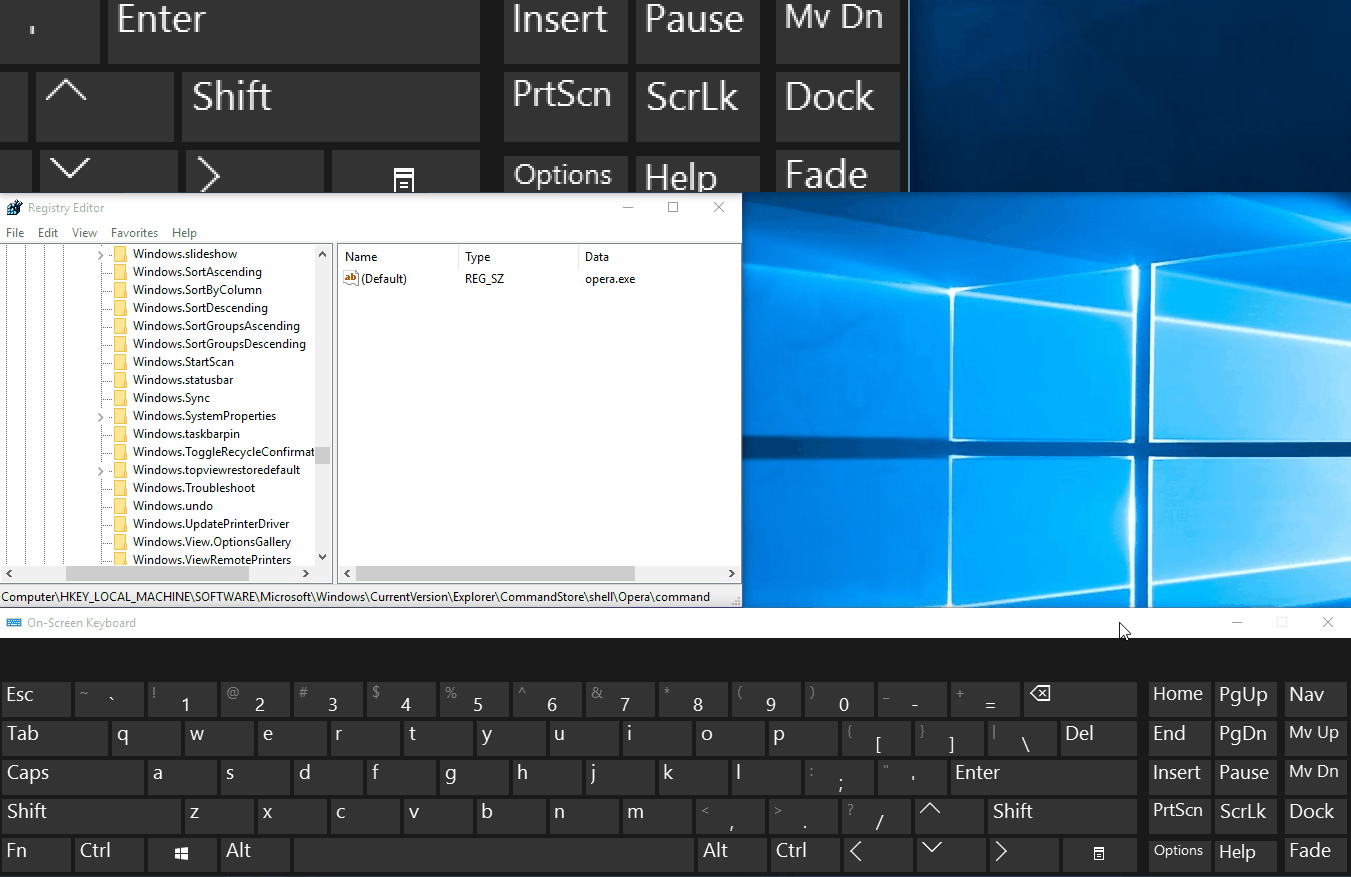
| HKEY_LOCAL_MACHINE\SOFTWARE\Microsoft\Windows\CurrentVersion\Explorer\CommandStore\Shell |
Step 7: Right-click on each of the Key items. Create a New Key named command.
Step 8: Go to each command Key you created and modify the Data Value field of the (Default) String so it’s the path and executable file of the application you want to launch.
Step 9.1 (optional): Click each Key you created under the Shell key.
Step 9.2: Right-click inside right pane to add a New String Value.
Step 9.3: Name it Icon and insert the full path and file name + extension of the icon to appear next to the menu item. You can also target the application’s executable itself.
Up to this point, we managed to successfully create a context menu folder that’s fitted with some applications we no longer need to keep on the desktop. However, it’s still not hidden as the title of this article suggests.
Step 10: Go all the way back to:
| HKEY_CLASSES_ROOT\DesktopBackground\Shell |
Step 12: Create a New String Value, and name it Extended. This makes your menu appear in the context menu only when holding down the Shift key, so you don’t overwhelm it.
The third-party alternative
As mentioned above, there’s also an application that can handle this task. However, it can only be used to place items in the default menu, with no option for cascading menus. Even though there’s a Folder option, it only creates a link that opens the specific directory. Luckily, the option to make items hidden is available.
Step 1: Download and run Right Click Context Menu Adder.
Step 2: Select the Item Type to Add, which can be Program, Folder, Web Address, or Any type of file.
Step 3: Use the Search menu for the Program to Add.
Step 4: Check the option to Show Only When SHIFT Key is Pressed.
Step 5: Press Add to Context Menu and check out your new secret context menu item.
In conclusion
Many applications automatically integrate themselves into the default context menu, which automatically make it a popular space. As such, it’s good to know how you can use it to your advantage, which also helps you keep a clean desktop, and even taskbar, especially with the special key function.