OS customization is a thing that everyone wants and enjoys to do, and it’s not just a thing that power users love these days.
No matter if it’s just a wallpaper, new icons, a special theme, or different colors, personalizing Windows is often a priority for users, and it’s made right after clean-installing the operating system.
Microsoft knows this very well, and Windows 10 has been improved with more customization options. Every single feature update brought new changes in this regard, so you’re now able to switch to a dark theme, change fonts, tweak the Start menu and the taskbar, and pick different colors across the OS.
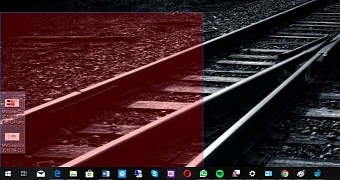
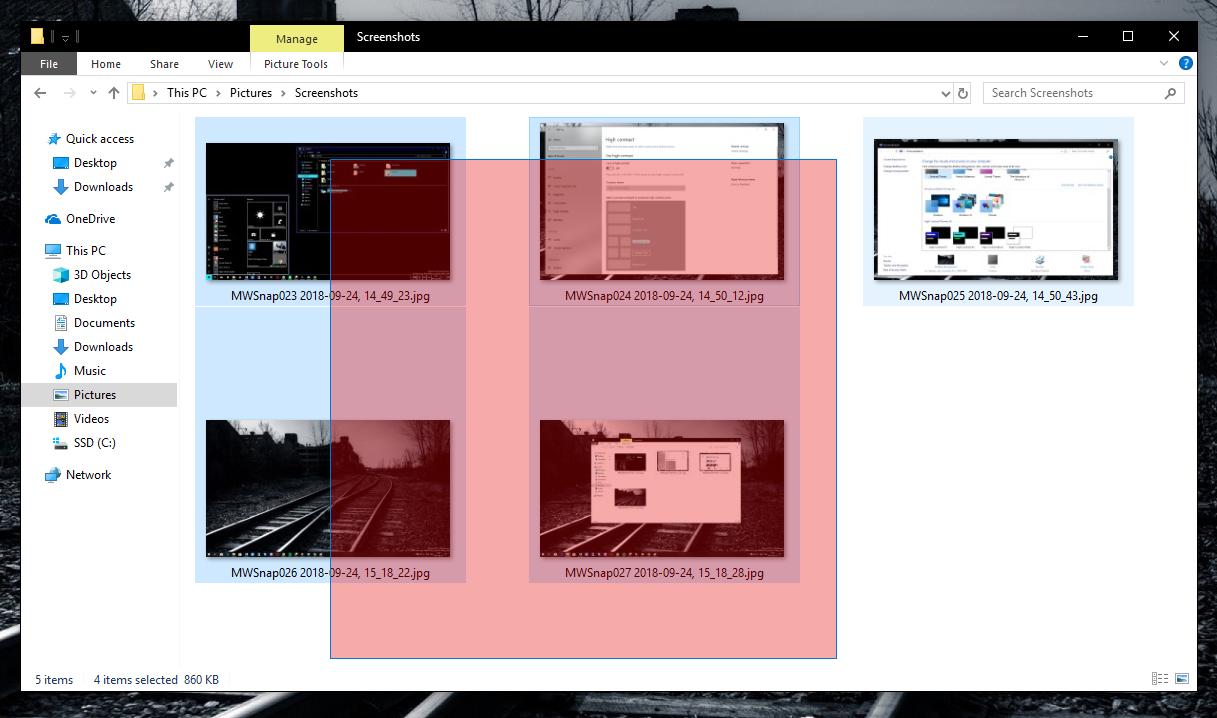
One thing that you can do and which isn’t as straightforward as all the above is changing the color of the selection box that shows up when dragging across multiple files.
By default, this rectangle is configured to be blue, but you can, in fact, choose whatever color you want. And doing it is fairly easy, which makes me wonder why Microsoft hasn’t included options to customize this box from the very beginning in a much more seamless manner.
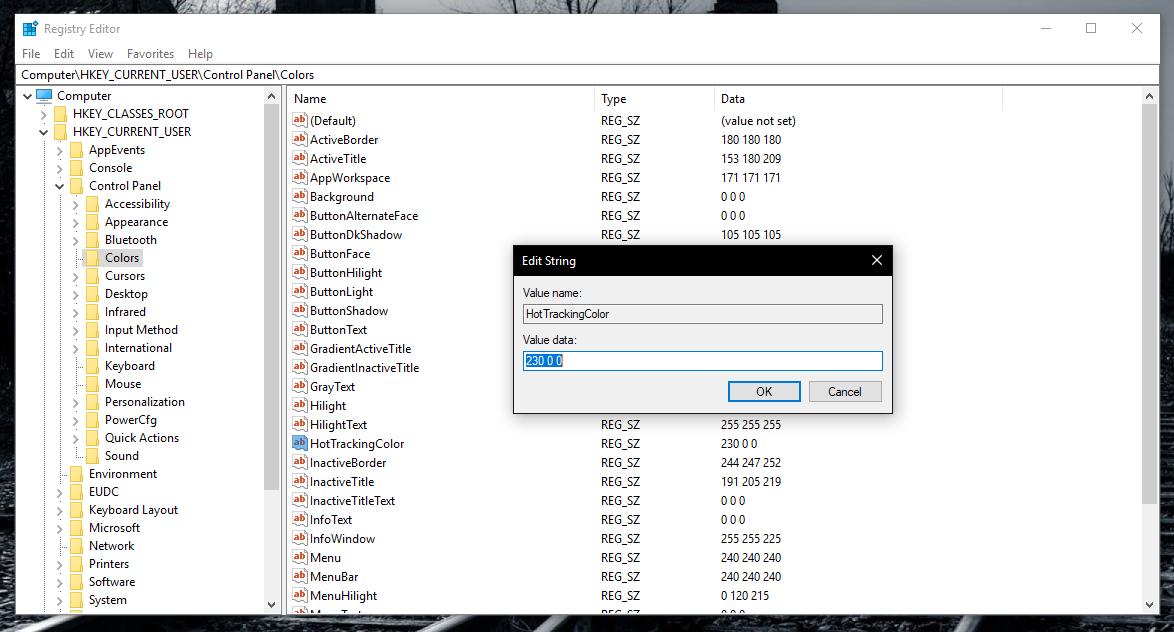
It all comes down to some registry modifications, so we’re going to use the Registry Editor for this. To launch the app, you need to press the Windows key + R and then type regedit – you can also type the same thing in the Start menu.
Once you are there in the Registry Editor, you need to navigate to the following path, either by copying it in the app or by manually expanding each key:
HKEY_CURRENT_USER\Control Panel\Colors
Windows 10 October 2018 Update allows you change not only the color that’s being used to fill the rectangle, but also its border.
There are two registry values in this location that we need to customize, and they are called HotTrackingColor and Hilight. The first one allows you to change the color of the selection rectangle, while the latter lets you change the border.
Colors are defined using the hex code in a standard red-green-blue order, and by default, the two values are the following:
Hilight - 0 120 215
HotTrackingColor - 0 102 204
You can change them to whatever color you want, and as WinAero recommends, you can simply use the classic Paint app that comes pre-installed in Windows 10 to find a specific color code.
In Paint, you have to click on the Edit colors button in the ribbon. Choose any color you want and in the lower right corner, you can see the hex code in the same red-green-blue configuration.
Copy the three codes generated by Paint and paste them in the value box of Hilight or HotTrackingColor (whichever you want to customize). Make sure that you leave a blank space between values, so in the end, you’ll have three different numbers like the default ones mentioned above.
Changes aren’t applied immediately, however, and you need to reboot your computer. As an alternative, you can just kill the explorer.exe process by pressing CTRL + SHIFT + right click on the taskbar and hitting Exit Explorer. The taskbar should then go away, leaving you with all the other apps running on the screen.
Afterward, just press CTRL + ALT+ Delete, open Task Manager, go to File > Run and type explorer.exe. The taskbar should show up once again, together with all the icons for the running apps, and the changes that you’ve made earlier should now come into effect.
If you want to return to the default configuration that comes with Windows, you can just modify the two said registry items using the values mentioned above.

 14 DAY TRIAL //


