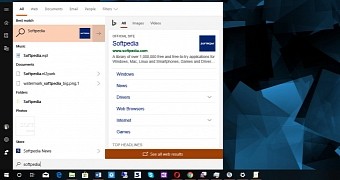
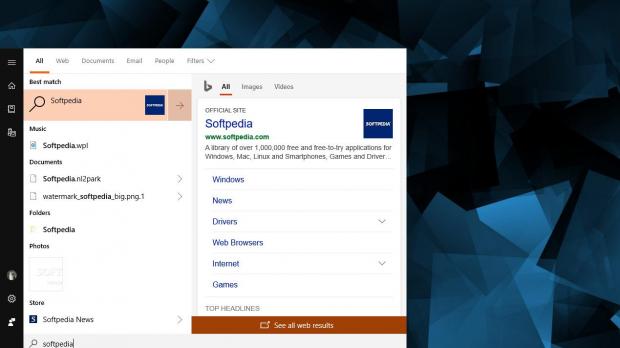
Microsoft has tried to revamp the search feature in Windows 10, and while many users were hoping to see the local search improved in terms of performance and efficiency, what the company did was mix it with the power of Bing to deliver a unified solution.
Right now, the Windows search can be used to look for information both offline and online, with the latter option allowing you to skip the part where you launch the browser and point it to Bing.com or Google.com to conduct a search.
Instead, you can do everything right from the desktop just by typing in the Start menu or by clicking the search bar/Cortana in the taskbar.
For many users, searching the web from the comfort of the desktop is pretty convenient, especially if they rely on Bing to search for information online.
Unfortunately, for some reason Microsoft isn’t offering dedicated options to disable the web search, even though there are at least two different ways to accomplish this.
Method #1 - Setting up special policies
The first method involves changing the default policies to block web search, though there’s something that you need to know: some users are reporting that making these changes does not work on Windows 10 Pro, while on Enterprise and Education everything runs smoothly.
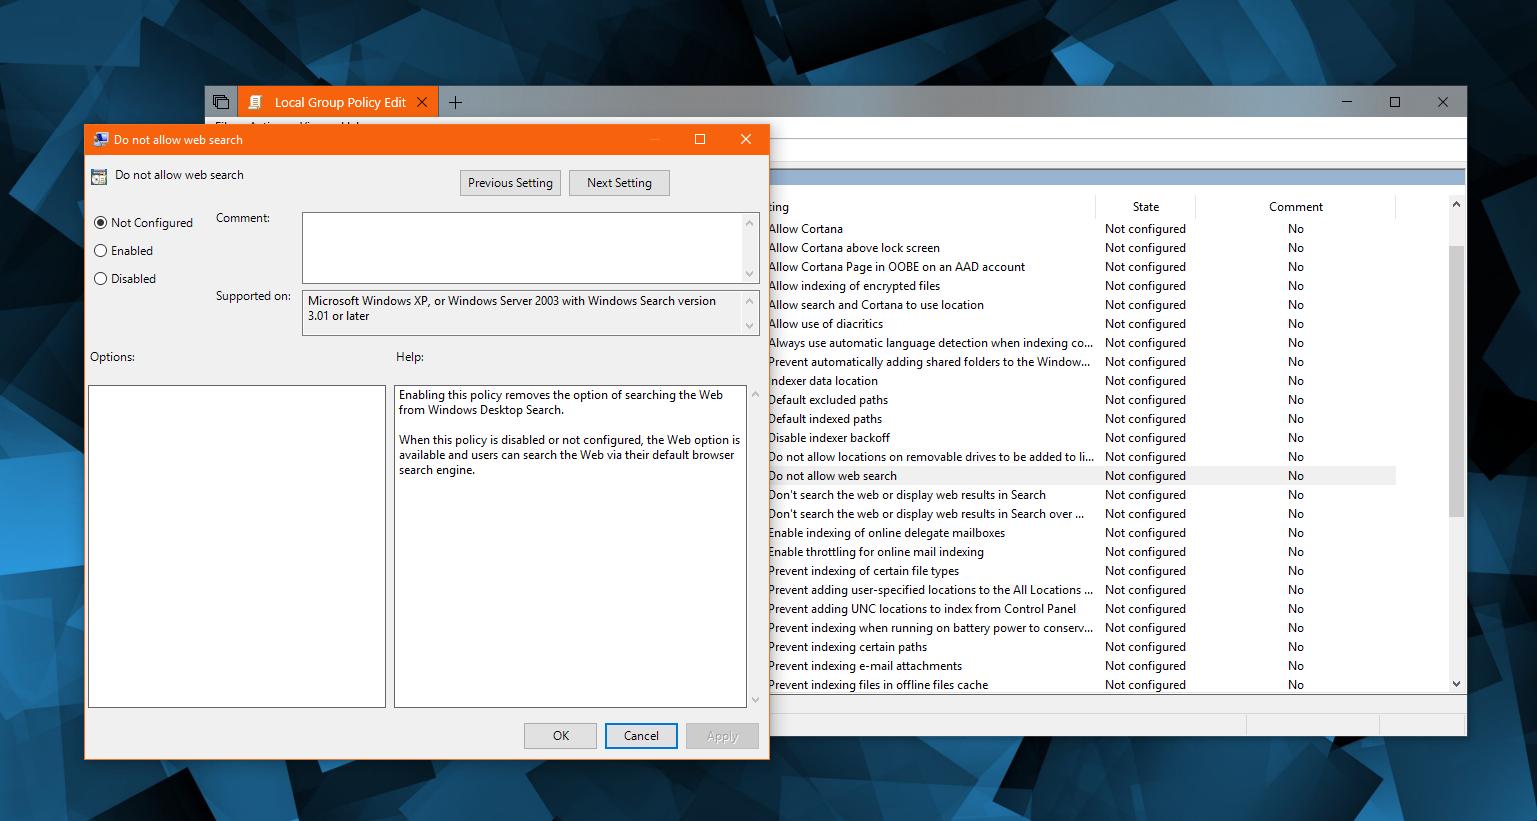
To do this, type policy in the Start menu and open the option that is called Local Security Policy. Navigate to the following path:
Local Computer Policy > Computer Configuration > Administrative Templates > Windows Components > Search
And then enable the following three policies (double-click each of them and then select the option that reads Enable):
Do not allow web search Don't search the web or display web results in Search Don't search the web or display web results in Search over metered connections
Once all these three policies are enabled, Windows web search should no longer be allowed, though as I’ve said earlier, there are users claiming that this no longer works as expected.
Method #2 – Registry Editor
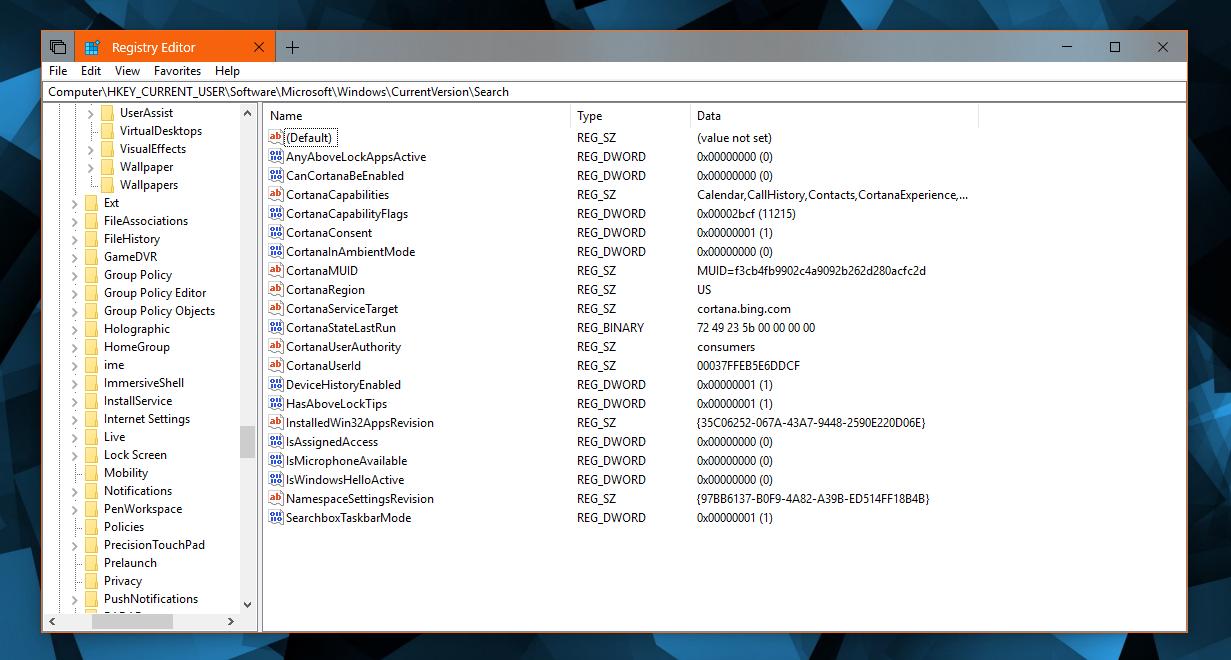
The second method appears to be working for all users, though this time a few more steps are involved. First and foremost, you need to launch the Registry Editor by hitting Win key + R and typing regedit.
Navigate to the following path in the Registry Editor (you can simply copy and paste it in the address bar at the top of the screen):
HKEY_CURRENT_USER\Software\Microsoft\Windows\CurrentVersion\Search
What you need to do now is to create new 32-bit DWORD values using the following names (make sure you copy the names correctly): BingSearchEnabled, AllowSearchToUseLocation, CortanaConsent.
Once they are created, simply double-click any of these three entries and change the value between 0 and 1. If you select 0, Bing search would be turned off, while going back to 1 would re-enable this functionality.
Once you make these changes, you only need to close the Registry Settings and everything is applied. As an extra step, you can reboot your system.
As usual, you are recommended to create a backup of your system just to make sure that nothing bad happens. Also, if you want to return to the original configuration in Windows 10, it’s enough to simply revert all the changes you made and simply restore the previous settings of the policies or in the Registry Editor. If changing the values in regedit does not work, you can delete the newly-created keys entirely.
An administrator account is obviously required to make changes to the Windows registry or modify the policies, as standard accounts are not allowed to alter the default configuration of the operating system.

 14 DAY TRIAL //


