The Windows 10 October 2018 Update (version 1809) rollout was suspended last week after Microsoft acknowledged a bug eventually leading to the removal of files stored in libraries.
With an investigation under way, the new OS feature update is no longer up for grabs, and the software giant itself says it’s critical for users to avoid installing version 1809 until a patch is published.
In other words, even though you may be able to obtain installation media or the version 1809 was downloaded from Windows Update while it was still available, you should avoid installing it by all means.
Microsoft recommends customers to contact Microsoft Support in order to get assistance should the bug hit their systems and removed files in libraries.
“If you have manually checked for updates and believe you have an issue with missing files after an update, please minimize your use of the affected device and contact us directly at +1-800-MICROSOFT, or find a local number in your area,” the company says.
According to users who got in touch with Microsoft after this issue was discovered on their systems, what the software giant tries to do is run a system restore to go back to a previous Windows version and recover the deleted files.
System Restore in Windows 10
Basically, System Restore allows devices to return to a previous Windows backup all automatically, which would essentially help Microsoft recover the files that were lost after upgrading to October 2018 Update.
However, it’s critical to know that this workaround only works if System Restore wasn’t manually disabled in the OS. If it was, then a restore point shouldn’t be available. If System Restore was active at the time the upgrade to October 2018 Update was started, then a restore point was created automatically by Windows Update before the installation of version 1809 kicked off.
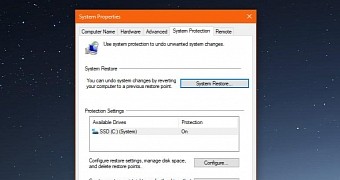
In Windows 10, System Restore still comes with the classic UI in Control Panel, as this feature hasn’t yet migrated to the Settings app. To launch it, go to the Control Panel and follow the next path:
Control Panel > System and Security > System > System Protection
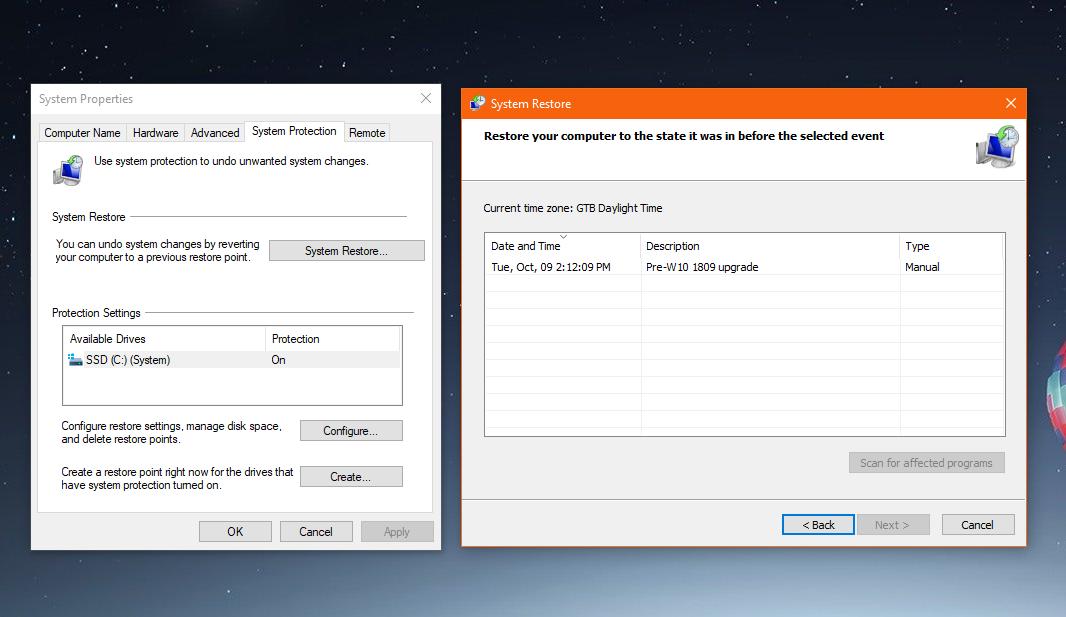
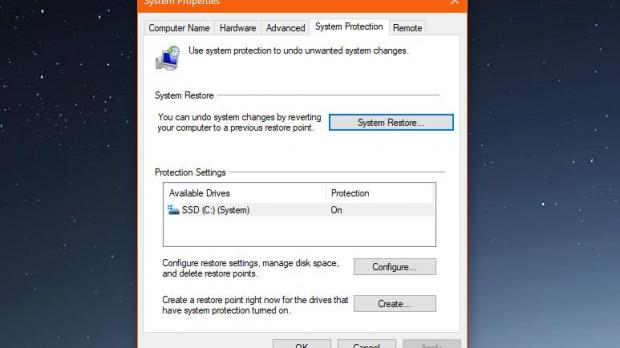
In the new Windows, there are several System Restore options in the System Protection tab, and if any restore points are available, you should be able to use it to go back to an earlier version of your Windows installation.
The Create button in the lower part of the screen lets you create a restore point for the drives where system protection is turned on.
As said, a restore point was automatically created before the upgrade to version 1809 started, so if System Restore is indeed activated, you need to click the button called System Restore to begin the process.
This time, you need to follow the on-screen instructions to launch the recovery, and when prompted to select a restore point, make sure you choose the one that was generated when you started the installation of the October 2018 Update. Look for the date and time info to select the right backup.
The only thing you have to do is to select this restore point, click Next, and then wait until the process completes. Additionally, you can scan for affected programs to see what you may lose by restoring this older version of your Windows installation.
Restoring Windows takes anywhere from a few minutes to several hours, but it all depends on how large the backup is and the amount of data that has to be recovered.
If System Restore isn’t enabled on your system and you lost your files after the upgrade to Windows 10 October 2018 Update, you can try out the data recovery trick. This involves downloading Recuva, scanning the drives, and looking for files that were deleted. There’s no guarantee that everything would be recovered, but at least some of the data may be saved.

 14 DAY TRIAL //

