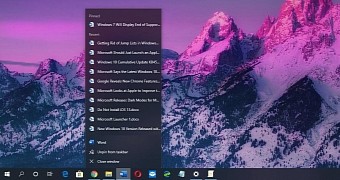
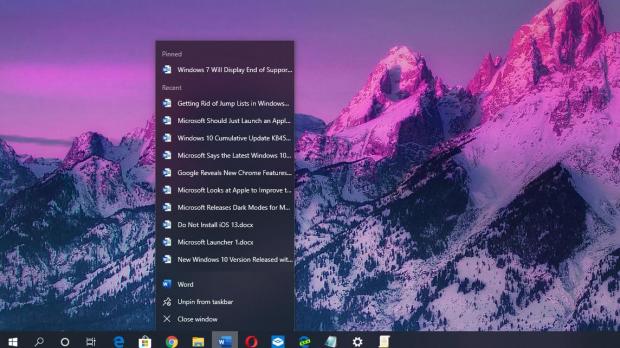
I don’t know about you, but while I do find jump lists in Windows 10 useful, they something become rather annoying, as they might disclose information that I may otherwise not reveal to everyone looking into my laptop.
Jump lists are, in essence, a helpful feature. Right-clicking an application pinned to the taskbar launches this so-called jump list, letting you access some documents, locations, pages, or anything else that is supported by the app itself much faster.
For example, the jump lists of Microsoft Word display the most recent documents you’ve worked on, so you can technically open one of these files quicker because you eliminate the step of launching the app first or navigating to its location.
Clearing the jump lists isn’t necessarily the most difficult thing to do, but it’s not very intuitive either.
For example, removing just one entry in the jump list can be done by following the next steps:
Right-click taskbar icon to launch jump list > Right-click jump list item > Remove from this list
Needless to say, this clearly isn’t the most convenient solution if you want to remove more than a handful of items or clear the jump lists for all apps on your computer, in which case you can use a second method.
This one comes down to browsing to the following location and deleting all files in the folder – this will remove absolutely all jump lists for all apps on your device; you can technically remove just one to clear all jump lists for a specific app, but given they use highly-complex names, it’s pretty difficult to tell which one belongs to what app:
%APPDATA%\Microsoft\Windows\Recent\AutomaticDestinations
First and foremost, you can do so from the Settings screen by following this path:
Settings > Personalization > Start > Show recently opened items in Jump Lists on Start or the taskbar and in File Explorer Quick Access
And then, you can rely on the Group Policy Editor to disable jump lists with a dedicated policy. Launch the GPE by typing gpedit.msc in the Start menu and then browse to the following location:
Computer Configuration > Administrative Templates > Start Menu and Taskbar
Do not keep history of recently opened documents
“If you enable this setting, the system and Windows programs do not create shortcuts to documents opened while the setting is in effect. Also, they retain but do not display existing document shortcuts. The system empties the Recent Items menu on the Start menu, and Windows programs do not display shortcuts at the bottom of the File menu. In addition, the Jump Lists off of programs in the Start Menu and Taskbar do not show lists of recently or frequently used files, folders, or websites.”
By default, the policy is set to Not Configured, so you need to check the Enabled option. Once you’re done, just close all windows and then the policy should be enforced, with jump lists disabled on your device.
For information on jump lists on older Windows versions, check out this article.

 14 DAY TRIAL //

