There are lots of Windows users out there who connect to more than just one network, and office workers know this the best.
Carrying a laptop and connecting to various networks at the office, at home, or elsewhere is something pretty common, but managing networks in an efficient manner isn’t necessarily the easiest thing to do in Windows 10.
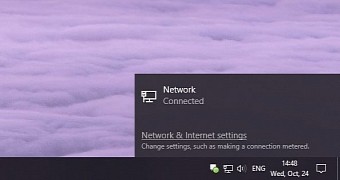
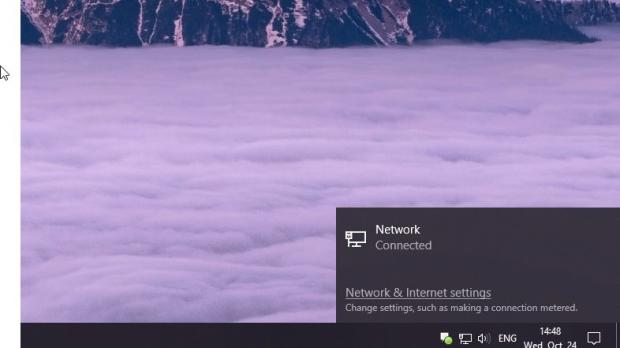
Just like its predecessors, the October 2018 Update automatically assigns a standard name to a network when you connect to it the first name, and every time it uses the term “Network” and a number that increases with every connection.
This way, you’ll end up having Network 1, Network 2, Network 3, and so on without knowing exactly which one is which. Fortunately, you can actually use your own names for the networks you connect to, though the process isn’t exactly the most straightforward.
The whole thing comes down to a registry hack, which can be used on both Windows 10 Home and Pro, though you must keep in mind that an administrator account is required to make the changes.
The Registry Editor hack
Before anything, it’s important to create a backup of the Windows registry, just in case you are afraid that something goes wrong. It shouldn’t, as the changes you make do not impact anything else than the network name.
However, note that any other changes that you make to registry keys could affect system stability and performance, so follow these steps precisely.
Launch the Registry Editor by hitting Windows key + R or clicking the Start menu and then typing regedit. Navigate to the following path:
HKEY_LOCAL_MACHINE\SOFTWARE\Microsoft\Windows NT\CurrentVersion\NetworkList\Profiles
Basically, the Profiles key should host other sub-keys that use random names like the ones in the screenshot below. There could be several of them, so expand the Profiles key and then open each item to look for an entry called ProfileName.
Unfortunately, there’s no easy way to skip this, and you need to manually search for the ProfileName record in order to edit it. If you’re lucky enough, as it’s the case in the screenshot below, there may be just a single sub-key, and locating the item you need doesn’t take more than a couple of clicks.
Once you locate ProfileName, just double-click it to edit its value. Enter the name you want to use for your network, click OK, close the Registry Editor and that’s pretty much all about it.
If you want to return to the previous configuration, it’s enough to just edit the key once again and input name Network.
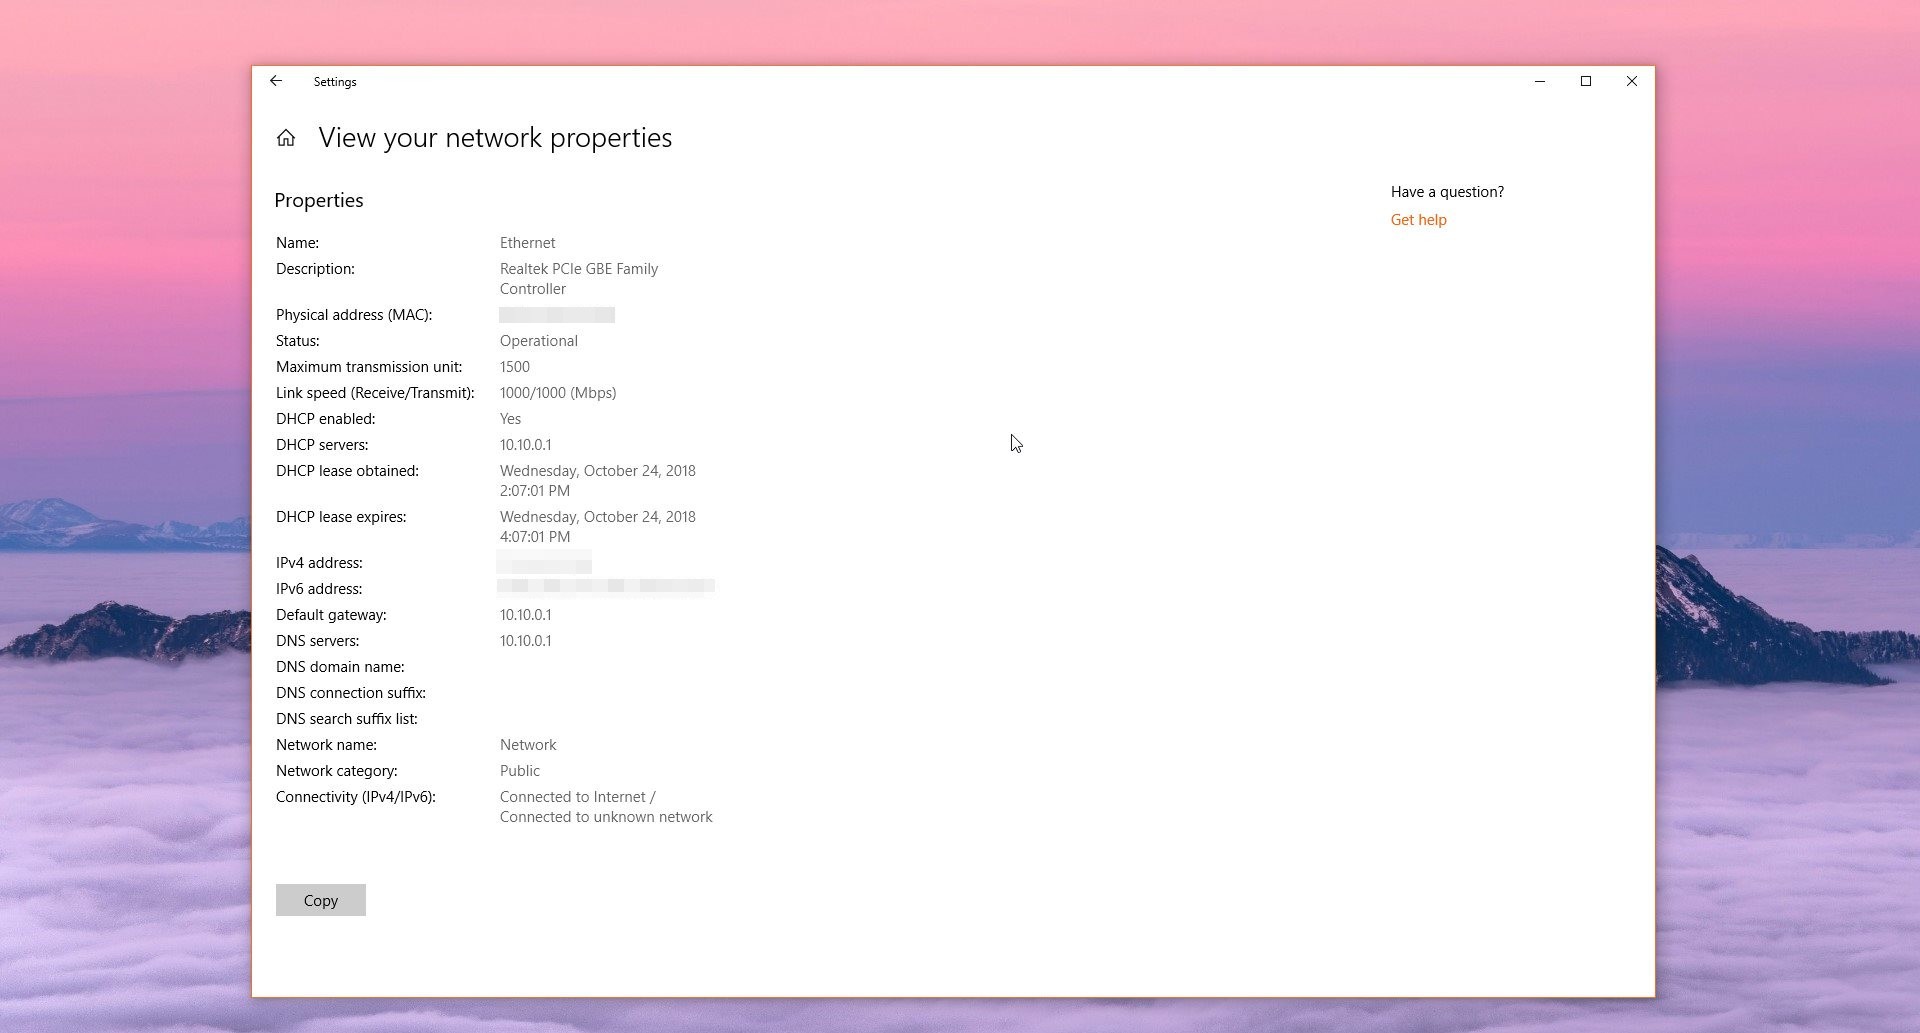
To check the network name in Windows 10 October 2018 Update, simply launch the Settings app and go to the following location:
Settings > Network & Internet > Status > View your network properties
You should then be able to see full details about your active network connection, including the network name in the lower part of the screen. If the hack described above was used correctly, the network name field should be changed to whatever you want.
For some reason, Microsoft does not provide a more straightforward method of changing network names, even though it’s pretty clear that such an option would be necessary. The only chance to get it is to submit feedback about it and hope that the company implements it in the next Windows 10 feature update.
With October 2018 Update already finalized, the next major update for Windows 10 is due in the first months of 2019. Codenamed Windows 10 19H1, this update is already in preview stage and has an April target release date. The RTM build should be ready in March.

 14 DAY TRIAL //


