14 DAY TRIAL //
 With the amount and diversity of threats that can infiltrate your computer from simply navigating the web, it’s always good to have a backup of your important data, or why not, your whole system. A simple method is to use system restore points, but these are saved locally and can get damaged or lost.
You can find the answer to most of your problems by asking around the Internet. It’s also the place where you get the applications you use to work or kill some time, or even keep your system safe.
As such, we put up together a few steps to show you how easy it is to create a bootable Windows PE with all your data, just in case Windows suddenly decides to no longer function. Effort required is not that great, but you need a little time and patience until the environment is built.
Building a Windows Preinstallation Environment
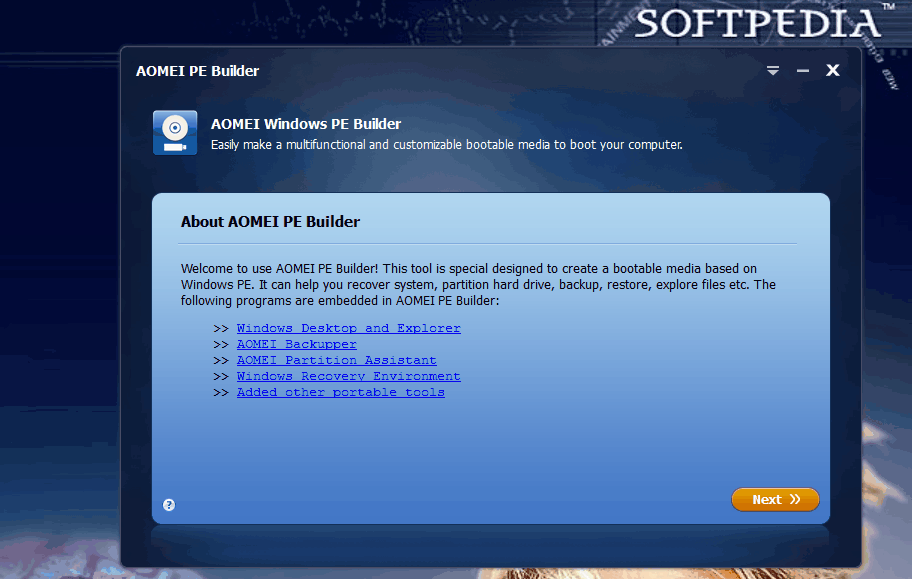
Step 1: Download and install AOMEI PE Builder.
Step 2: Prepare a DVD or USB Flash drive with at least 4 GB of available space. If using a USB Flash drive, back up all data on it first, because it gets formatted in the process.
Step 3: Run the application and press Next a couple of times. The second screen only informs you whether or not your system supports creating a bootable media.
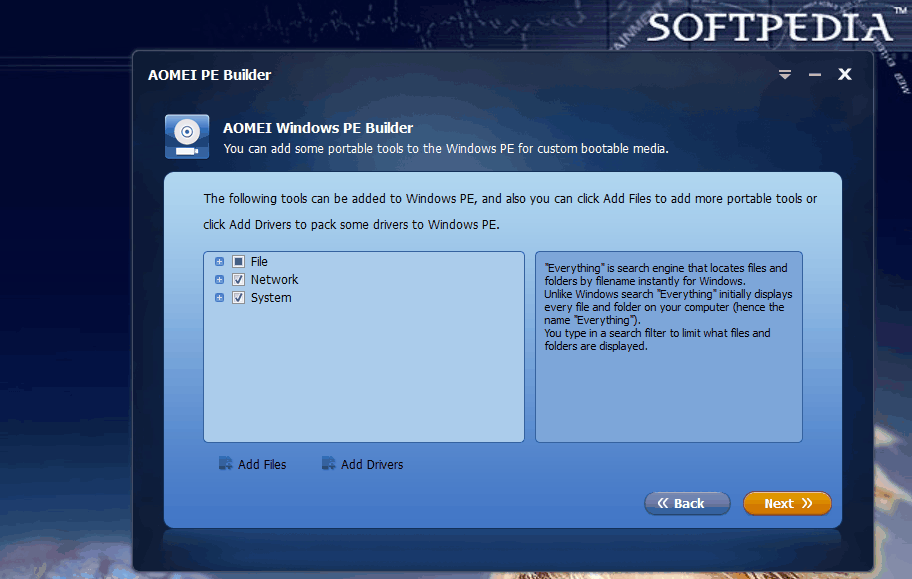
Step 4: Click the Add Files button when reaching the third screen. Here you can select a total amount of 2 GB worth of files to include in the bootable media. It comes in handy for packing portable applications, as suggested, with a few ones already selected, but you can discard them.
Step 5 (optional): Experienced individuals can also add specific Drivers. This is useful for hardware components that don’t support latest drivers and rely on legacy ones, or the target PC doesn’t have an active Internet connection for updates.
Step 6: Choose one of the following options:
-> Burn to CD/DVD copies all needed data to run Windows PE on a disk drive.
-> USB Boot Device lets you create a portable Windows environment. When finished, you can directly load Windows from the removable drive by selecting the specific option in the Boot screen.
-> Export ISO File is the easiest and fastest way, with all needed files bundled inside a virtual disk image you can later on burn to a CD/DVD. It’s also useful to keep as a backup.
Step 7: Simply press Next and wait for the process to finish. Choosing the USB destination formats the entire drive, so make sure you have an extra copy.
If you deployed Windows PE on a CD/DVD or USB drive, your new operating system is ready to go. It can be carried around and used on any PC, and this is done by selecting the proper boot screen option.
In conclusion
Whether you accidentally click on a link that causes your computer to go ballistics, install programs that interfere with the regular functioning of Windows, or simply decide you need a portable, safe operating system on the go, AOMEI PE Builder is sure to help you out, with just a few steps and a little patience.