
 14 DAY TRIAL //
 Zenserver is an operating system based on Zenwalk GNU Linux with the goal of being a powerful and fast Linux server.
Highlights:
■ 2.6.19.7 Linux kernel with the GRSecurity patch ■ Lighttpd ■ PHP ■ Mysql ■ Bind ■ Postfix ■ Samba ■ WebLua ■ Full development tools ■ and ZSAdmin for effective and simple systems administration
Minimum hardware requirements
■ Pentium III class processor ■ 128 Mb RAM ■ 2Gb HDD
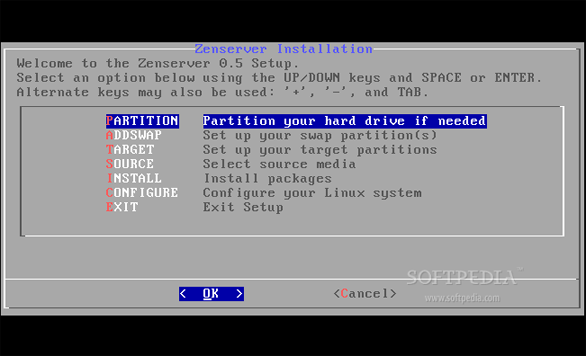
The ISO image has only 260 MB so it should not be a problem for anyone to download it. Burn it on a blank CD when you've finished the download and insert it into the optical drive of the machine you want to install Zenserver on. The installation wizard starts, and you must hit OK to start the partitioning process:
The hard drives will be detected. Navigate with the arrow keys through your hard disks and with the space key select the disk you want to partition:
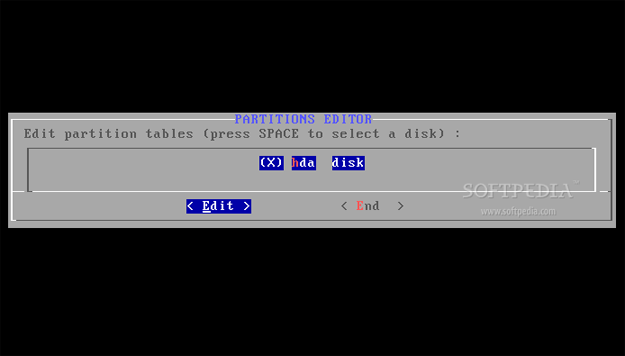
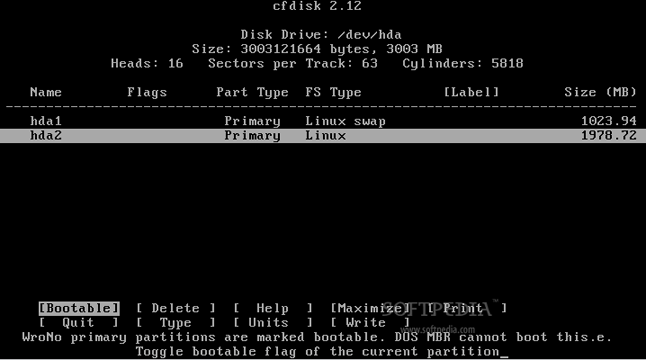
Hit edit and you will immediately enter the cfdisk utility. If you've used cfdisk before, this part will be piece of cake. However, if you have no idea how to use cfdisk, follow the instructions below.
Hard disk partitioning with cfdisk
First of all, you should know how to use cfdisk:
- up/down arrow lets you navigate through partitions/free space - left/right arrow lets you navigate through the existing functions - enter key executes a function when selected
Now, if you have some left over partitions on your hard drive, please select them (one by one) and with the left arrow select the "delete" function. Your hard drive is empty (no partitions) now so you can start the partitioning process:
Create swap partition
1. Select "New" 2. Select "Primary" 3. With the Backspace key delete the existing size (which is the total amount of your hard disk) and type a new size that should be double the RAM of your machine 4. Navigate to "Type", hit enter twice and set the value at 82 (which is default, so all you have to do is hit enter again).
Create root partition
1. Select the Free space with the down arrow 2. Select "New" 3. Select "Primary" 4. Leave the size as it is, or if you don't want to distribute all the remaining space for the server, you can type a new size (minimum 5 GB). 5. Select "Bootable"
Now the swap and root partitions are created, navigate with the left arrow until you reach the "Write" function, hit enter, type yes to write all the changes to disk. Select "Quit" and reboot your machine.
Boot again from the Zenserver CD and now move to the next section, ADDSWAP. Hit enter, and the swap partition will be detected:
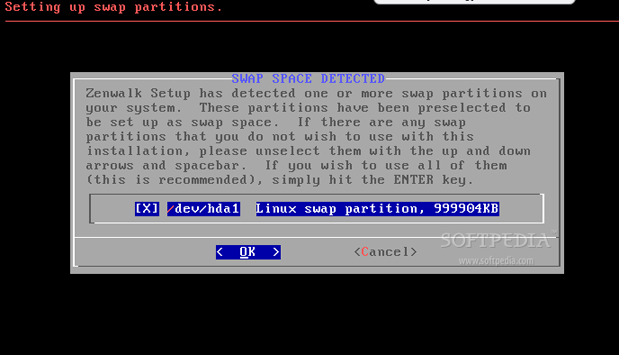
Hit 'OK', then hit 'No' when you will be asked if you want to "Check swap partitions for bad blocks" because it will take a long time:

In a few seconds, the swap partition will be mounted and configured:
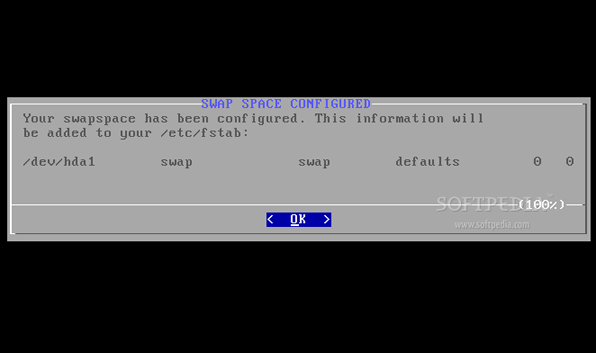
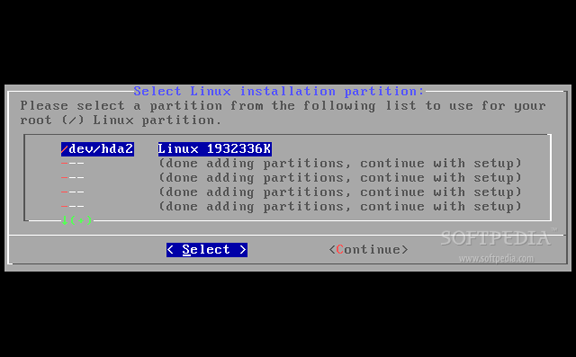
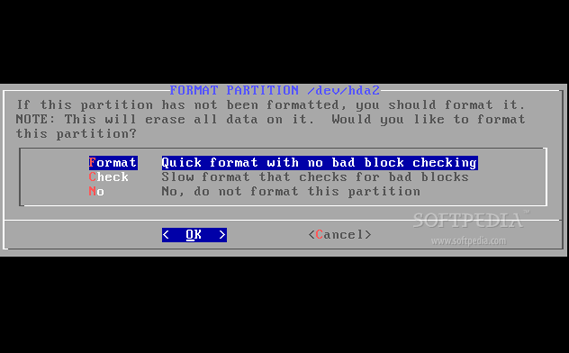
You will be asked to choose the root partition, which is only one and already selected. Hit 'Select' and on the next screen hit 'Format':
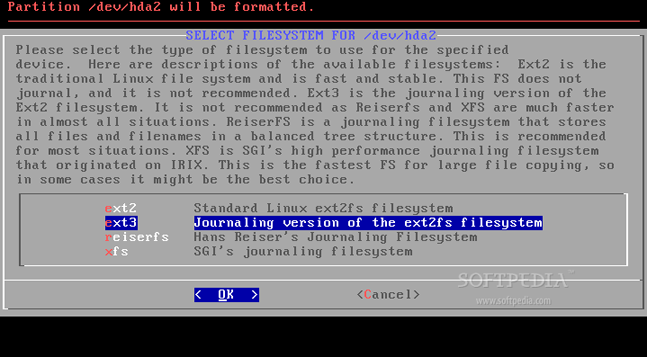
You have to choose a filesystem type for the partition, so I suggest you to choose the xfs filesystem (last option) as it's the fastest filesystem for large file copying and, in some cases, it might be the best choice. Hit 'OK':
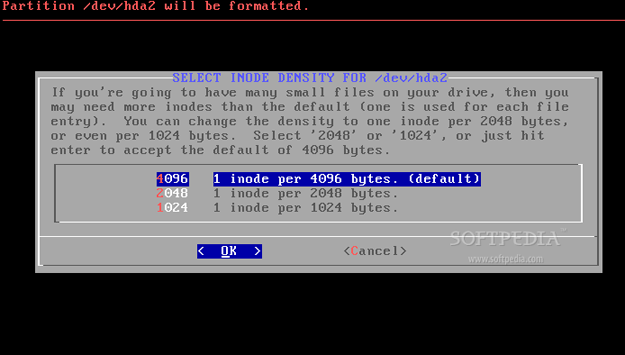
On the next screen, leave everything as it is and hit 'OK':
The format process will begin:
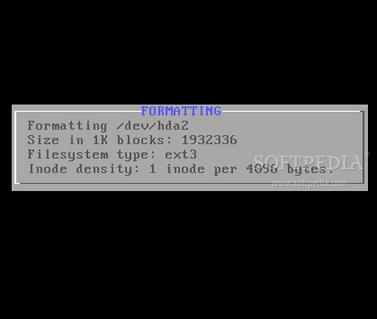
When it's over, you will be notified:
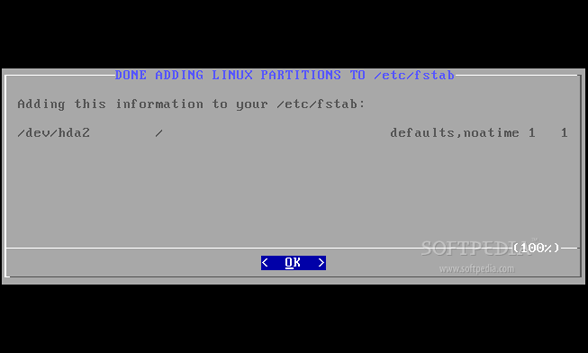
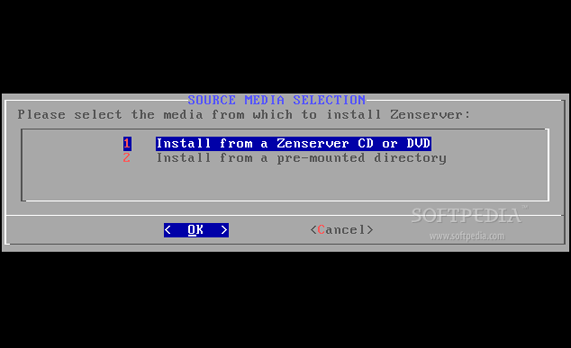
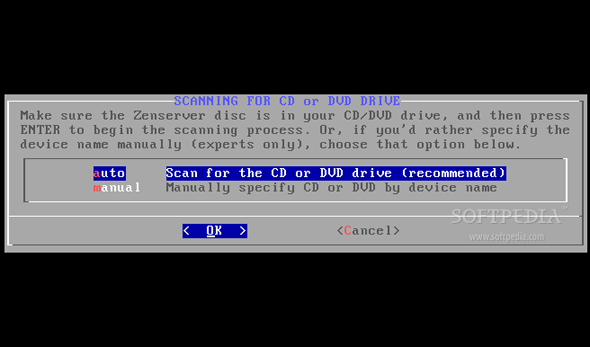
Select the source media "Install from a Zenserver CD or DVD. Hit 'OK":
Select auto and hit 'OK':
The CD will be detected:
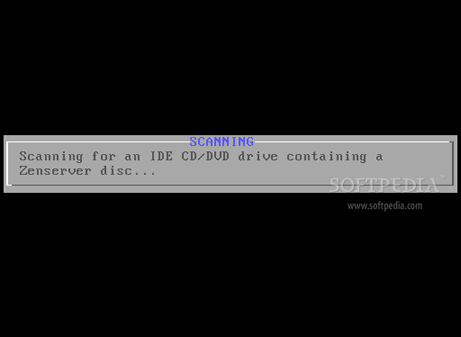
and the installation process will begin:
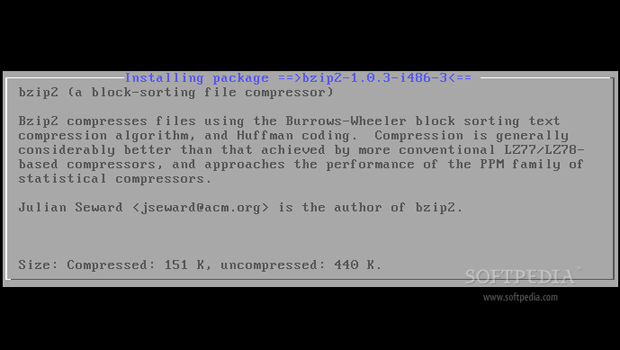
Now you'll have to wait for about 5 minutes for the package installation to finish. When it's over, you will be asked to install the LILO boot loader:

Select the console frame buffer (default is good):

When asked if you want to add optional kernel parameters, hit enter if you don't want to or don't know what to do:
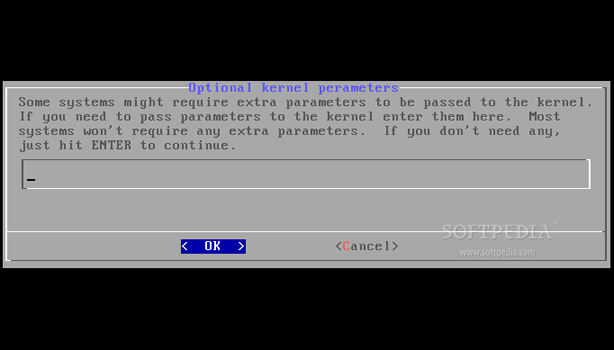
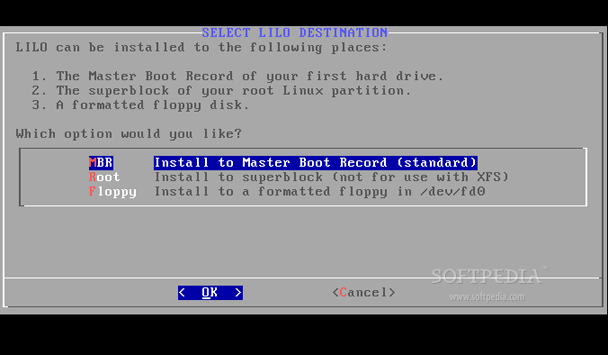
Then select MBR for the LILO installation and hit 'OK':
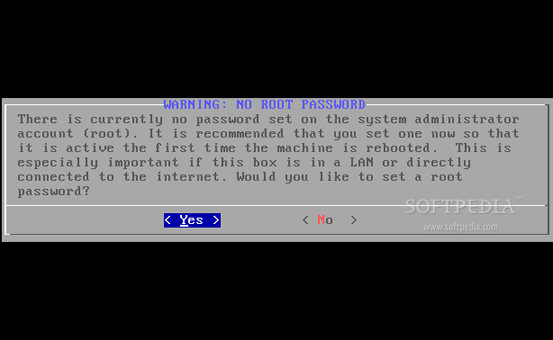
Setup the root (system administrator) password:
Congratulations! System setup is complete:
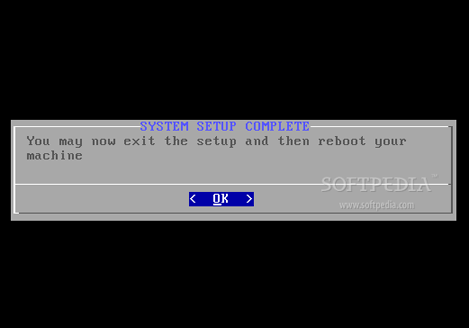
Reboot your machine:
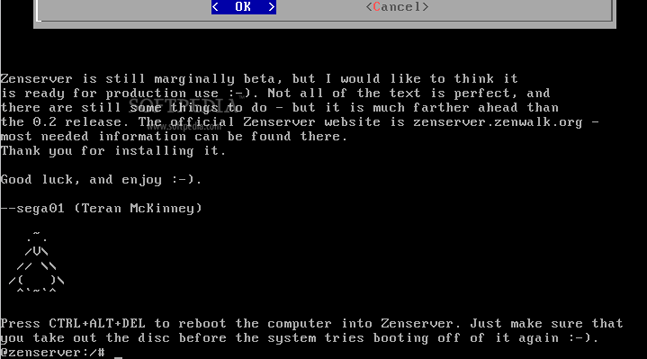
Eject the CD from your optical drive and let the system boot into your brand new Zenserver operating system:
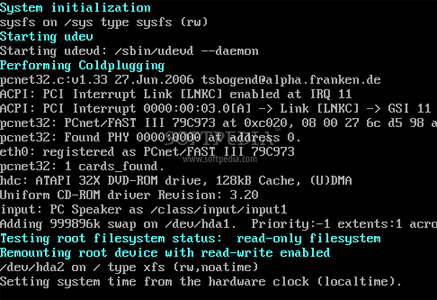
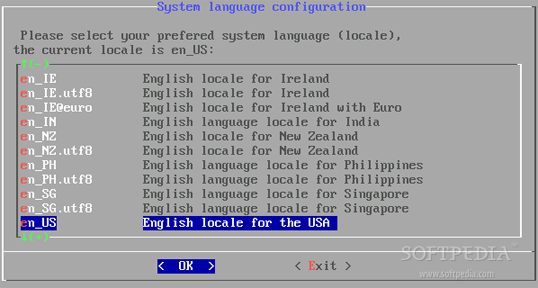
The machine is not yet fully setup, so you will be prompted by a one-time pre-install configuration wizard, and first you have to choose your language::
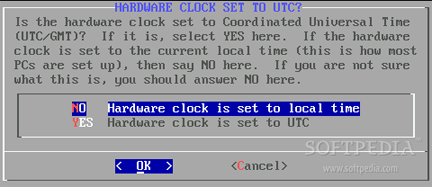
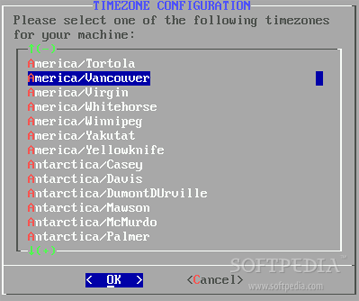
Then set the clock and the timezone:
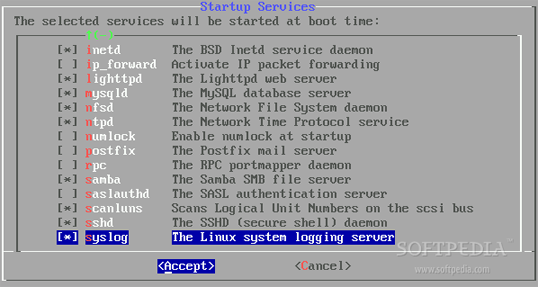
Select the services you want to start at boot time:

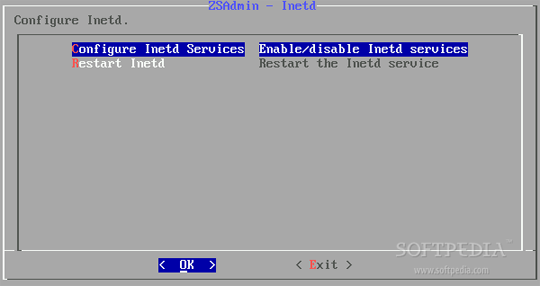
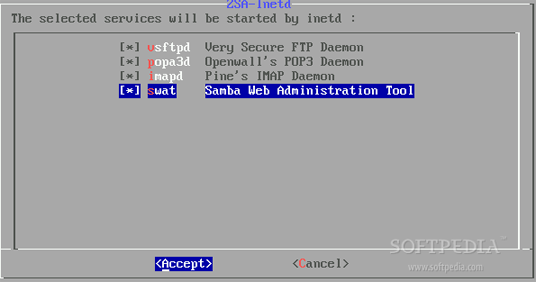
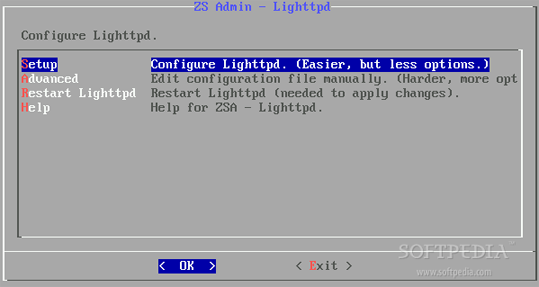
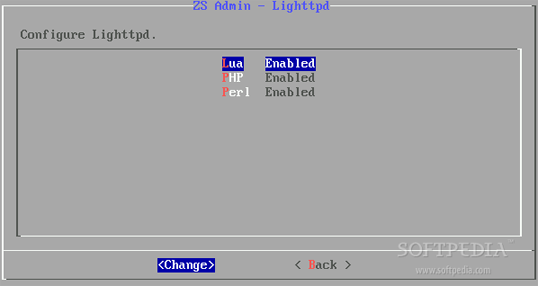
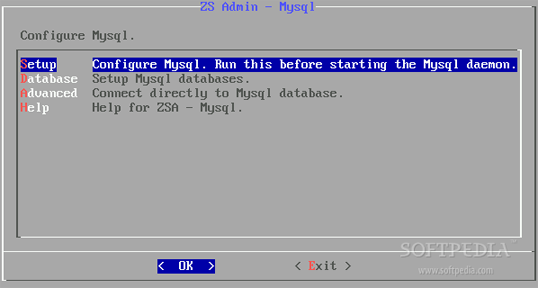
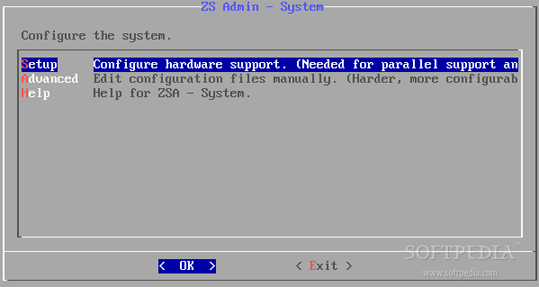
Then you will get to the ZSAdmin, which lets you configure things like Lighttpd, PHP, Mysql, Bind, Postfix, Samba etc:
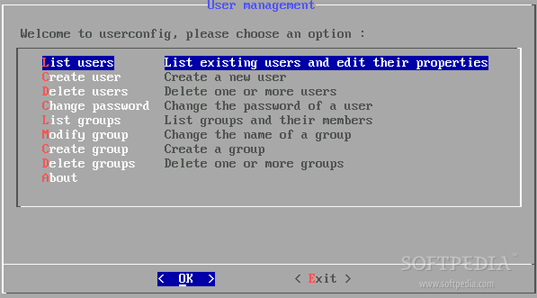
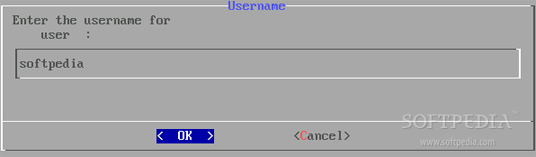
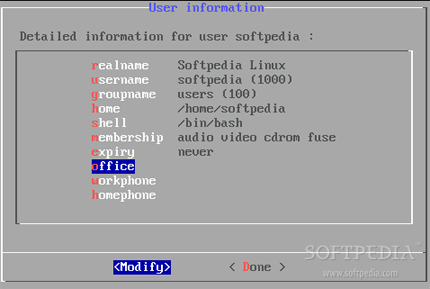
When you have finished with the ZSAdmin, you will be able to create user(s):
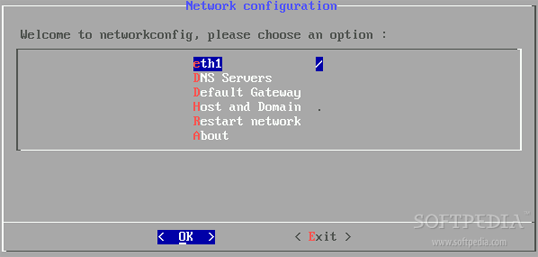
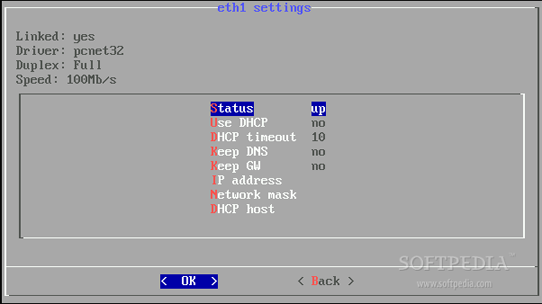
Then configure your network:
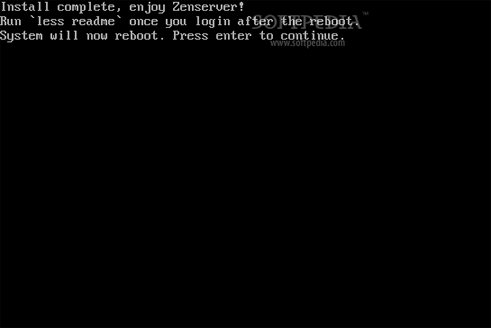
Now the installation is complete! Press enter to reboot your Zenserver system:
And voil?! Zenserver's power is now on your machine:
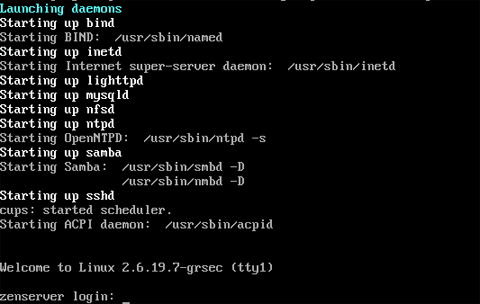
Login as root and don't forget to type less readme for some Zenserver documentation.
You can download Zenserver now from Softpedia.