
 14 DAY TRIAL //
 Plone is a ready-to-run content management system that is built on the powerful and free Zope application server. Plone is easy to set up, extremely flexible, and provides you with a system for managing web content that is ideal for project groups, communities, web sites, extranets and intranets. Although Zope is totally capable of acting as a standalone server, we'll use Apache and its URL rewrite mod for more flexibility and power.
Assuming: - you already have a domain name (or at least a subdomain) configured - port 80 is allowed through firewall or is forwarded properly - you have root access on the machine, open a terminal, switch to user root and type:
(Enter root passwd)
# yum install zope plone httpd
During this guide, I'll use localhost as the example domain. You must replace localhost with your real domain (eg. mysite.com) everywhere you see it.
After yum has finished installing the packages, open Apache's configuration file using a text editor:
ServerName localhost
ServerAlias www.localhost
ServerAdmin root@localhost
DocumentRoot "/var/www/localhost"
CustomLog "logs/example-com_log" combined
ErrorLog "logs/example-com-error_log"
RewriteEngine On
RewriteRule ^/zope/(.*) http://127.0.0.1:8080/VirtualHostBase/http/localhost:80/VirtualHostRoot/_vh_zope/$1 [P,L]
RewriteRule ^/(.*) http://127.0.0.1:8080/VirtualHostBase/http/localhost:80/localhost/VirtualHostRoot/$1 [P,L]
CacheEnable disk /
CacheRoot "/var/cache/mod_proxy"
# /usr/lib/zope/bin/zpasswd.py access
Username: dummy2
Password: passwd2
Verify password: passwd2
Encoding: SHA
Domain restrictions: (none, just press Enter)
chkconfig httpd on
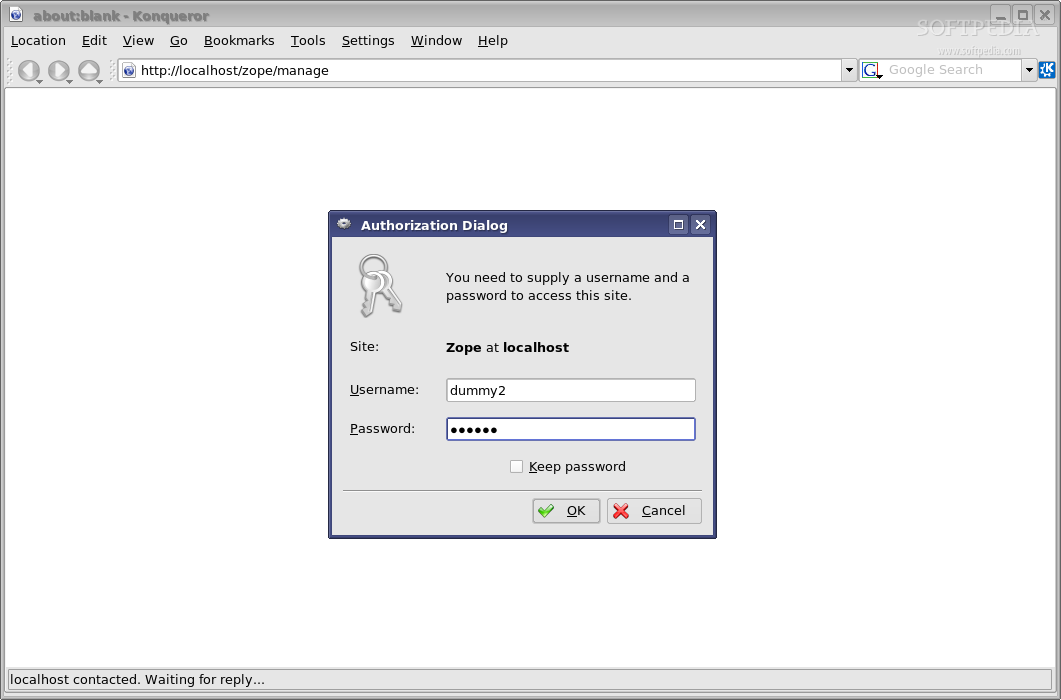
Once restarted, open your browser and point it to http://localhost/zope/manage. When asked for login credentials, enter the second account details. DON'T choose to remember password!
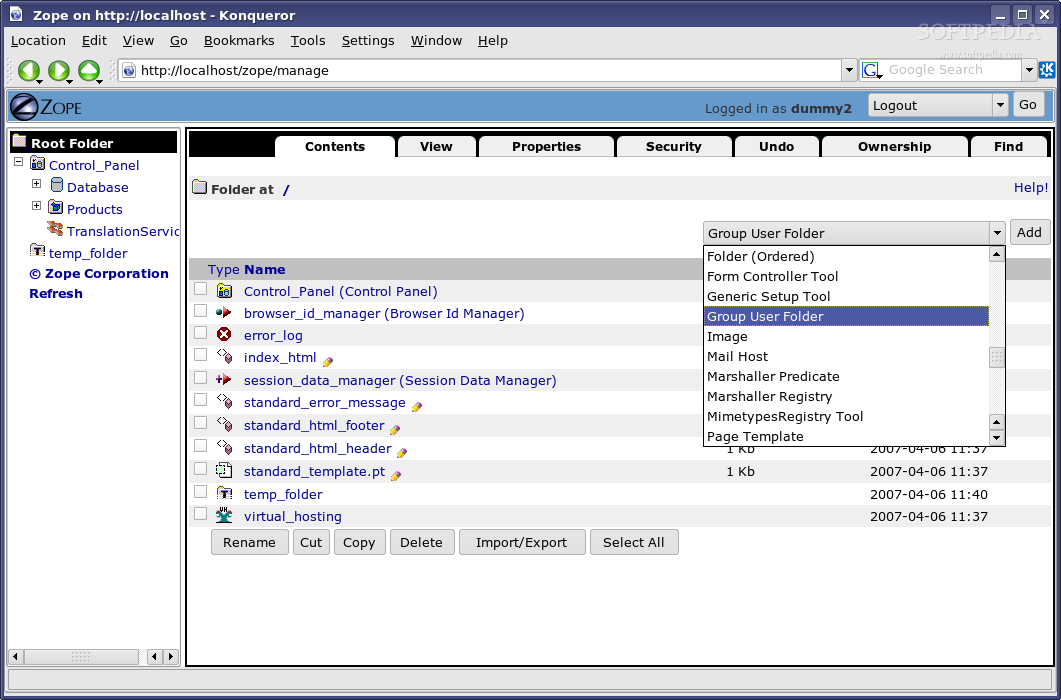
Find the acl_users item, check it and click the Delete button at the bottom.

From the drop-down menu in the upper-right part of the window, select Group User Folder and if you don't get redirected to the new page, click Add.
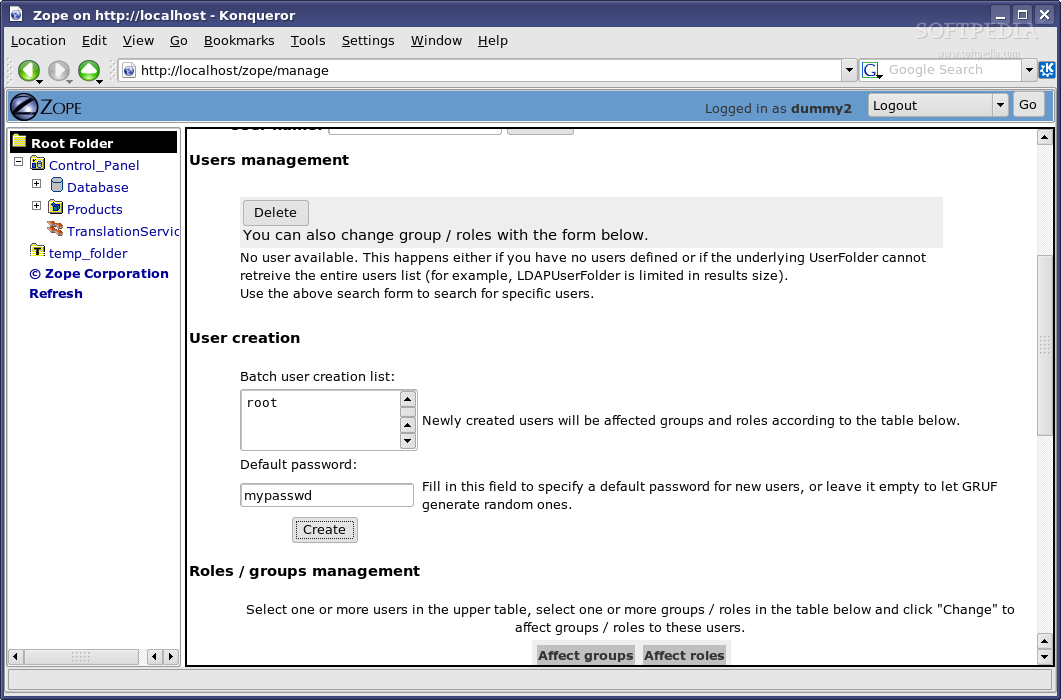
In the new page, click the acl_users item. You will be redirected to the users management section. Here, click the Groups tab and enter the new group name.

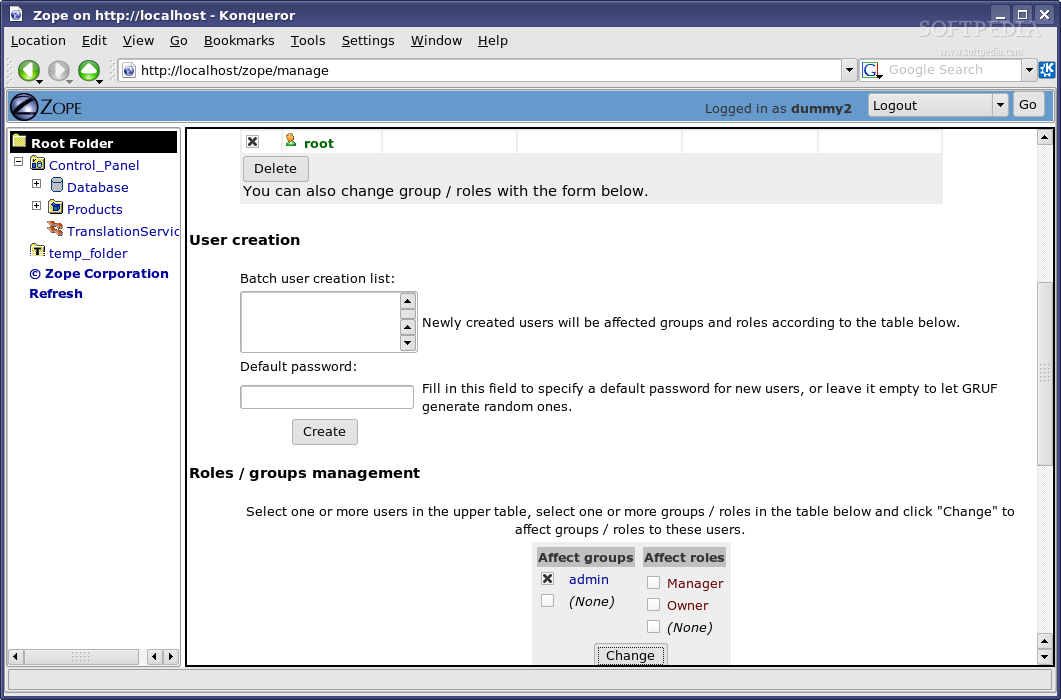
Now check the new group name, check Manager and Owner from the Affect roles section and click Change.

Click on Users tab at the top and enter the username and password you want to use for Zope management.
Check the new user created, then check the group created earlier from the Affect groups section and click Change.
You can now remove the second dummy account (first got deleted with acl_users) and restart Zope to make sure everything is applied. To do this, open a root terminal and type:
# rm -rf access
# service zope restart

From the new page, enter localhost as the ID and whatever you want for Title and Description. Then click Add Plone Site.

Your Plone installation is now ready. You can start to use it by pointing your browser to http://localhost/. Click the join button to create a new account.

For more information and documentation about using Plone, read The Definitive Guide to Plone PDF book.