 14 DAY TRIAL //
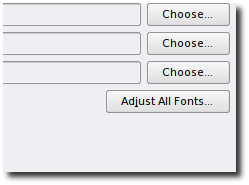
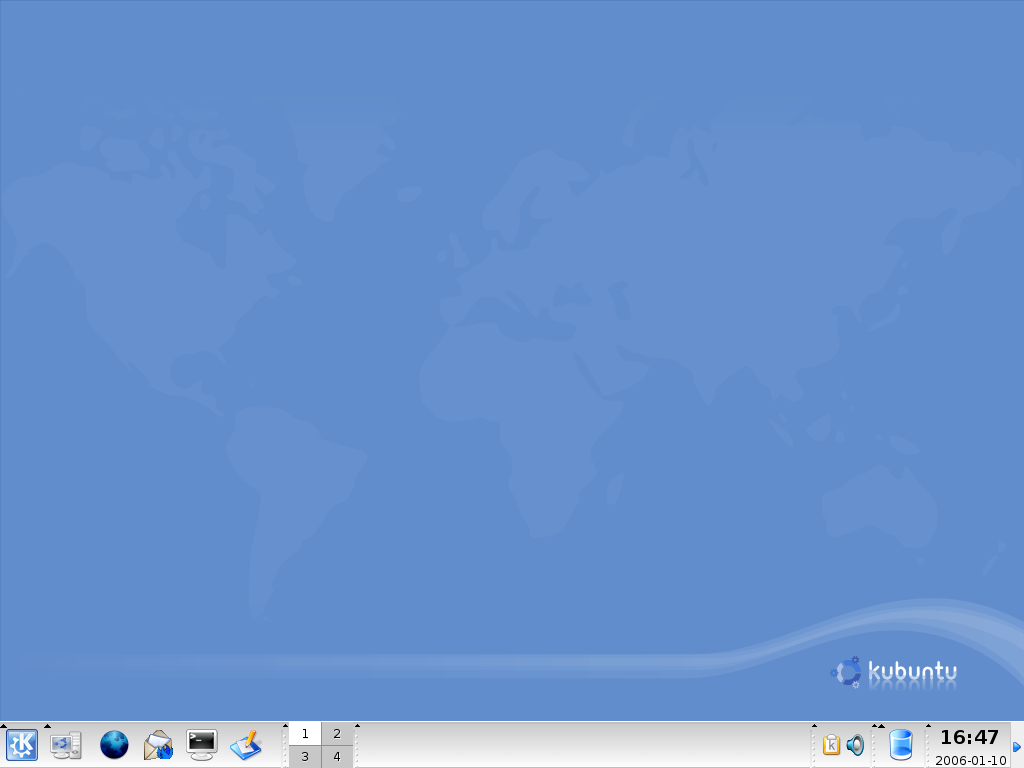
 Welcome to the Kubuntu desktop customization guide where you will learn how to bring your KDE desktop to life! In other words, how to get from:
The desktop resolution used in this guide is 1280x1024 (it's default these days). Good, now let's get to work and bring your desktop to life.Step 1 - Transparency, Themes and Eye Candy Effects
We need to get a nicer theme for the system because "Plastik" is getting old and the point of this guide is to show the world that Linux is anything but old, representing, in fact, the future.
The Theme
Open Synaptic package manager and search for lipstik. It will find a package called "kde-style-lipstik", install it and close Synaptic.
Now go to KDE Menu -> System Settings -> Look & Feel -> Appearance -> Style and select "Lipstik" theme, then hit the Apply button. Wait a few seconds for the theme to be applied and you'll see the buttons and the windows changing into a nice looking theme. You can customize the theme further, if you hit the "Configure" button situated after the drop-down list.
The transparency and some eye candy effects
We need to make the kicker transparent now. Right click on the kicker and go to "Configure Panel," then click on the "Appearance" option in the left and check the 'Enable icon mouseover effects' option and at 'Panel Background' section, select 'Enable transparency' option, then hit the "Advanced Options" button and, in the window that appears, check the 'Hide' option on the 'Applet Handles' section and move the slider of the 'Tint amount' from the 'Transparency' section a little more to Min. Also, check the 'Also apply to panel with menu bar' option. Hit OK and then Apply.
The Desktop Widgets
Every modern desktop has now widgets on it, so we have to add some eye candy widgets on our desktop too. Go to the KDE Menu -> Utilities -> Desktop and click on SuperKaramba Desktop Widgets. A window will appear, click on "New Stuff..." button and choose from the list of widgets that appears the ones you like most and install them. Liquid Weather is the most common and popular desktop widget these days, it shows the weather around the world, but you can have any widget you want on your desktop, from calendars, calculators, system monitors to countdowns and Amarok controllers.
You can get the latest version of Liquid Weather from Softpedia.
Step 2 - Fonts, icons and a nice wallpaper.
We need to get some TTF fonts, a nice icon theme and a good looking wallpaper.
The Icons
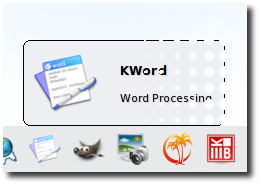
I've chosen the nuvoX icon theme (based on nuovola, nuoveXT, OS-L and some original design) which is very "warm" to the eye. Get the deb file from here and install it automatically from the Firefox browser with GDebi Package Manager. Or if you prefer to download the package first and then install it, all you have to do is to right click on it and go to "Kubuntu Package Menu -> Install package".
Now go to KDE Menu -> System Settings -> Look & Feel -> Appearance -> Icons and select the nuvoX theme that you've just installed and push the Apply button. You will notice that most of the visible icons are changed. To make a full and complete change, you must restart your session (logout and log back in).
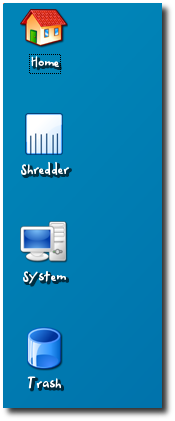
Optional, you can get bigger icons on the desktop if you go to KDE Menu -> System Settings -> Look & Feel -> Appearance -> Icons and click on the Advanced tab, select "Desktop/File Manager" (default option) and choose, in the right side, Size 48. Hit Apply and you'll see bigger and nicer looking icons on the desktop.
The Fonts
Let's get some nice fonts for the desktop icons and for the whole system! I chose to install the msttcorefonts package. After you've finished installing the fonts with Synaptic, you need to log out and then log back in so the fonts can be activated.
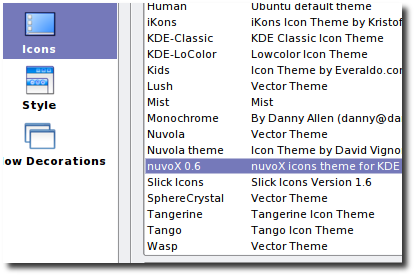
Go to KDE Menu -> System Settings -> Look & Feel -> Appearance -> Fonts and click on the Adjust All Fonts button.
I've selected from the list Trebuchet MS font, Regular and Size 10. Hit the Apply button and you'll notice that the fonts are changed now.
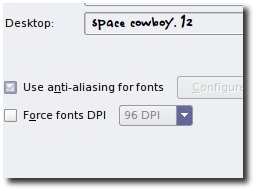
For the desktop icons font, I have found a very nice font called Space Cowboy, which you can get from here. After download, unzip the archive and copy the "cowboy.ttf" file to the "/usr/share/fonts/truetype/msttcorefonts/" folder (as root). You need to log out then log back in for the font to appear in the list of fonts. Go again to KDE Menu -> System Settings -> Look & Feel -> Appearance -> Fonts and choose from the end of the list the "space cowboy" font at Size 12. Click OK and then Apply and the desktop icons will have a new cool font.
The Shadow of the fonts:
Right click on your desktop, go to "Configure Desktop..." option and in the window that appears click the "Advanced Options" button situated in the right side of the window. Now select a color for the desktop font (white is the most used) and be sure that the "Enable shadow" option is checked. Click OK on this window and Apply on the other one, then you should see shadowed font on the desktop icons.
The Wallpaper
The wallpaper I've chosen is called "Kubuntu - In the spotlight" and can be found here. Save it in "/usr/share/wallpapers" (as root) or just create a Wallpapers folder on your home directory and put it there (remember to right click on it and select Actions -> Set as Background -> Centered). You can set or change the background at any time if you right click on your desktop and go to "Configure Desktop..." option. In the window that appears, on section 'Background', select 'Picture' and then choose from the drop down list the wallpaper you want, hit the Apply button and it will change.
You see now that we have improved the desktop. We have good looking fonts with shadows, beautiful icons, a nice wallpaper, transparency and of course eye candy widgets that bring life to your desktop.
Step 3 - You want more pimping? Check the following tips!
The Quick Launcher
Instead of adding application icons to the kicker, I suggest you use a nice applet called Quick Launcher. Right click on kicker and select 'Add Applet to Panel...'. A window will appear and you must search quick launcher; select it and hit the Add to Panel button. Then, you'll see how it appears on the kicker.
To configure the Quick Launcher applet, right click on it and select 'Configure Quicklauncher...'. To add applications to Quick Launcher, right click on it, go to 'Add Application' and select your applications, one by one.
Quick Tip: You can move the icons of the applications in the quick launcher by holding the mouse on them and move it wherever you want to.
NOTE: To move the kicker applets, you need to right click on kicker and select 'Configure Panel...' and then go to 'Appearance' and push the Advanced Options button from the 'Panel Background' section. There, select the option 'Visible' and hit Apply button. You'll see the applet handlers now on the kicker. Just grab the applet handler with your mouse and move it wherever you want.
The Clock
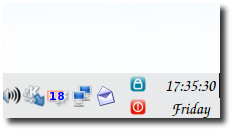
The Clock applet is already on the kicker (right side), but it doesn't look good. So you can right click on it and go to 'Configure Clock' and you can play with the options there 'till they are how you want them to be. I have selected a Plain Clock with options: Seconds and Day of week active and a URW Chancery L font with Size 14 for the text.
That's it, we have managed to pimp your desktop and now, you can really enjoy your daily tasks. Also, these last settings will give you a clean and spacious kicker.
Credits: