 14 DAY TRIAL //
 The sky is not the limit when it comes down to Windows Vista and hardware emulating technologies. Far from it in fact. Virtualization is still a largely unexplored territory and in this context restrictions are inherent. Even before the release of its latest operating system, the Redmond Company debuted on a trajectory designed to bridge the Windows platform with virtualization. Microsoft has little choice in the matter. Behind the company's decision to make Virtual PC a free download there is an entire agenda focused on driving adoption of Windows Vista.
Virtualization is a valid alternative to traditional hardware and software testing scenarios. And Microsoft's hardware emulation technology is designed as an extra incentive to catalyze the migration process to Windows Vista. Provided that your infrastructure will allow you to channel sufficient horsepower into Virtual PC 2007, you will also be able to run an extensive volume of virtual machines, each with its own individual deployment scenario involving everything from the operating system up to legacy and custom programs.
Outside of compatibility, integration and support testing, hardware emulating technologies and in this case Virtual PC 2007 running on top of Windows Vista, also provide a workaround to managing multiple partitions or hard disks. Dual boot and multiboot configurations bring to the table limitations associated with the parallel architecture of operating systems being built. Swapping between platforms is not a streamlined task and it will impact workflow. The same is not valid for virutalization. Users will be able to run multiple operating systems running inside Virtual PC 2007 virtual machines on top of Windows Vista.
Setting Up Ubuntu's Nest
Ubuntu 7.04 is one of the best "vistas" that users can access in Windows Vista. However, first one small detail must be scrapped. I have come across claims that Ubuntu 7.04 cannot be virtualized in Virtual PC 2007 running in Windows Vista. Not true. But as I have already said, virtualization is a young technology and as such reacquires a decent amount of refinement in task execution. I will of course explain the limitations of virtualizing Ubuntu 7.04 under Virtual PC 2007 further down the road.
But for the time being it might be helpful to understand what you need in order to install Ubuntu 7.04 in Windows Vista. And as far as the latest operating system from Microsoft is concerned, what you actually need is a copy of Windows Vista Business, Enterprise or Ultimate. These are the only editions of Windows Vista supported by Microsoft for integration with Virtual PC 2007, and that can also be virtualized without breaking the end user license agreement, as is the case with Windows Vista Home Basic and Home Premium.
The other component that you simply cannot do without is Virtual PC 2007. Microsoft's virtualization technology supports by default only Windows Vista Business, Windows Vista Enterprise, Windows Vista Ultimate, Windows Server 2003 Standard Edition, Windows Server 2003 Standard x64 Edition, Windows XP Professional, or Windows XP Tablet PC Edition as host operating systems. Microsoft also provides limited support for guest operating systems Windows 98, Windows 98 Second Edition, Windows Millennium Edition (Windows Me), Windows 2000 Professional, Windows XP Home Edition, Windows XP Professional, Windows Vista Enterprise, Windows Vista Business, Windows Vista Ultimate, OS/2 Warp Version 4 Fix Pack 15, OS/2 Warp Convenience Pack 1, OS/2 Warp Convenience Pack 2.
If you want to read more about the restrictions associated with Windows Vista and Virtual PC 2007, you will be able to find additional information in Install Windows Vista Ultimate IN(!) Windows Vista (Vista virtualization guidelines.)


One important aspect that you have to notice is that Microsoft does not offer support for Ubuntu, not to mention Ubuntu 7.04, which is a real shame. There are voices that have called out for the Redmond Company to add support for Ubuntu, but I am afraid that the choir will not influence Microsoft's strategy focused on the Windows platform. So we will have to manage with what we've got. And believe me, we've got plenty and more than sufficient to install Ubuntu 7.04 in Windows Vista.
Setting up the nest is equivalent with creating a virtual machine designed especially for Ubuntu 7.04. Now I have already gone through this process when I installed Windows Vista Ultimate edition into Windows vista Business via Virtual PC 2007, but Ubuntu is a different operating system and it requires a different approach.
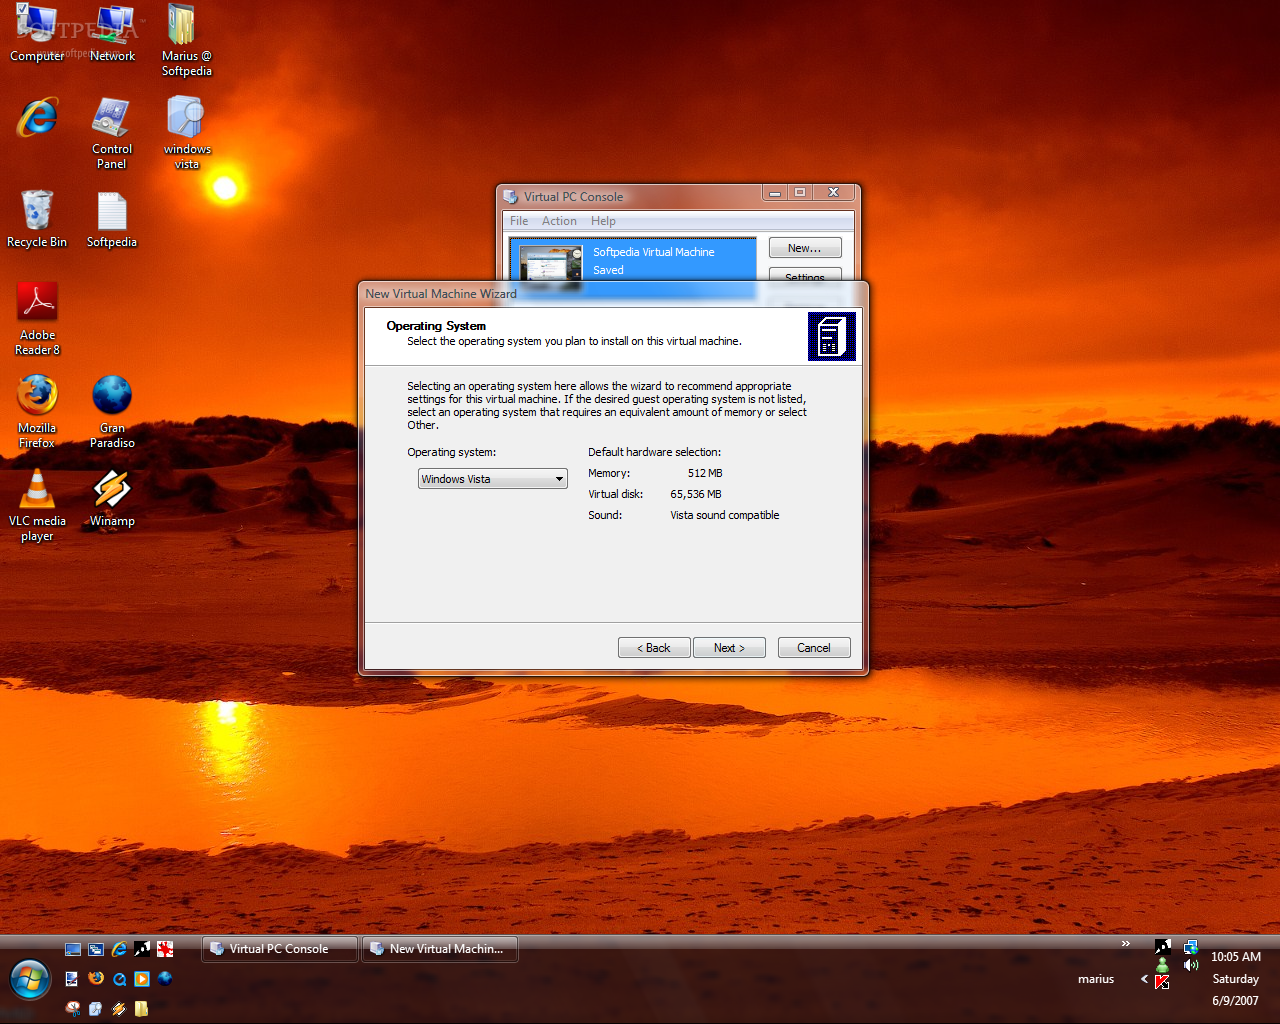
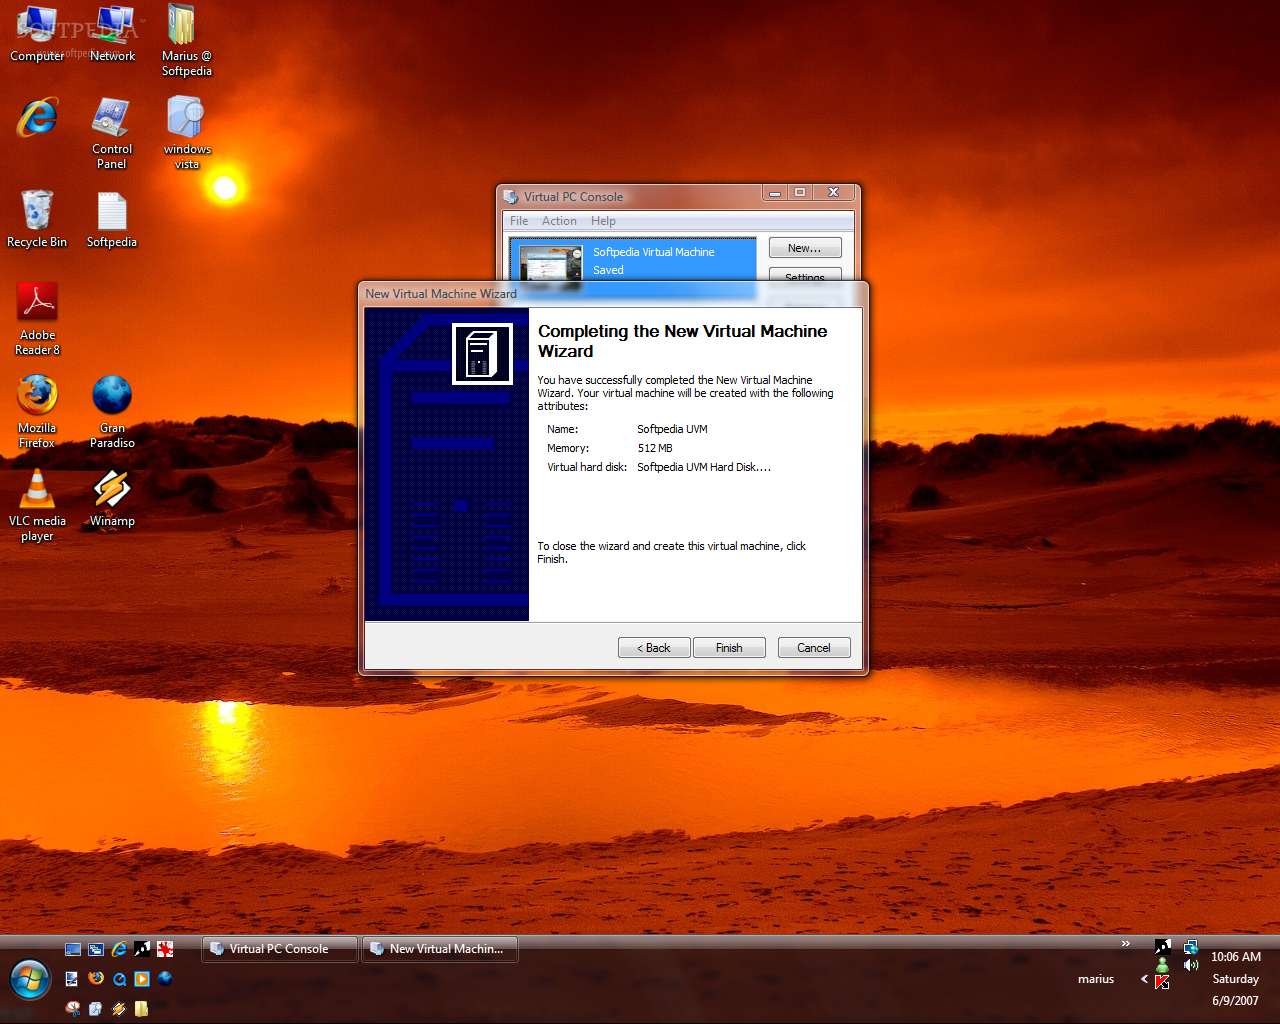
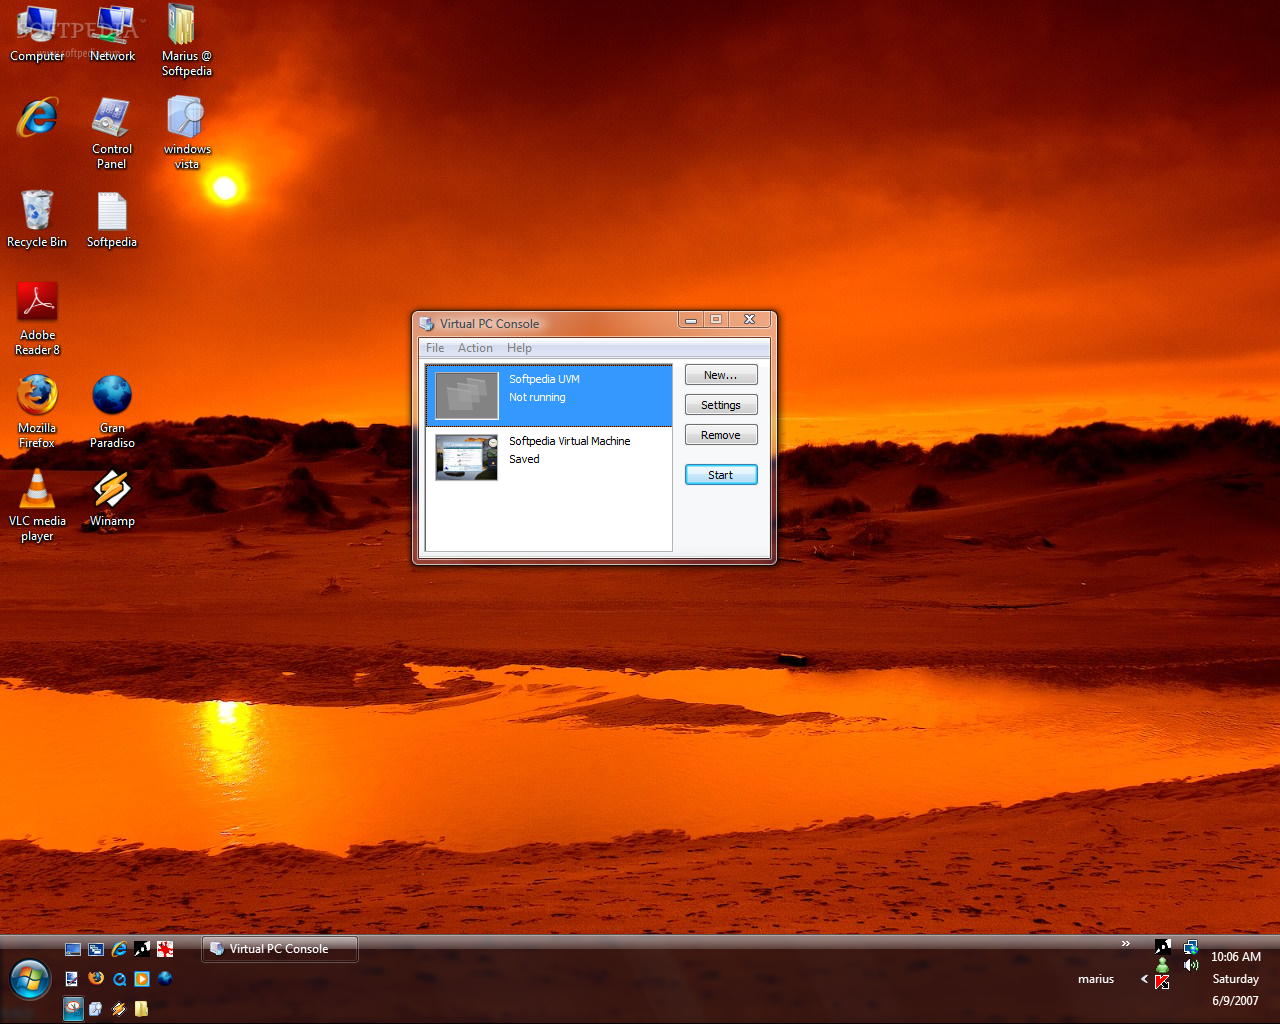
Download and install Virtual PC 2007 in Vista and launch the application. Create a new virtual machine (for visual reference feel free to access the images below), give it a name and select a location (a folder, make sure you have enough space for the installation) on your hard drive. Since I can afford it I gave the Ubuntu 7.04 512 RAM and I even went as high as 1 GB of system memory later in the process, just to speed things up a bit. Also make sure to create a virtual hard disk and to save it on a location with sufficient storage space. Virtualization or not, Virtual PC 2007 will indeed install Ubuntu and will occupy fisical space on the hard drive. Click finish and you are set to go.
Ubuntu Meet Windows Vista... Vista this Is Ubuntu...
Finesse can be associated with artisanship. However, to install Ubuntu 7.04 in Virtual PC 2007 on top of Vista the basic skill that you need is knowledge of bit depth. Sounds impressive? It isn't, trust me. But the lack of native support for Ubuntu also means that we will have to resort to a workaround in order to install the Linux distribution in Virtual PC 2007. The issue is intimately connected to color bit depth. Just to make myself clear, Virtual PC 2007 comes with 16-bit color depth and Ubuntu 7.04 uses the 24-bit color depth by default. Visualizing 24-bit images in a 16-bit color space will not produce the "ultimate" user experience. The restriction is related with the graphics adapter of Virtual PC 2007.
24-bit is the default bit depth, meaning that the display is rendered into 8-bits per channel Red, Green and Blue (RGB), each color having 256 levels of intensity and therefore just as many nuances. Translating that to 16-bit simply won't do. So when it comes down to installing Ubuntu 7.04 in Virtual PC 2007 and in Vista this is the one main thing that you have to keep in mind. In this context, selecting the wight installation resource will do the trick. (this is the "what not to do with Ubuntu 7.04 in Vista" part)
Now, using an ISO image of the Ubuntu 7.04 (Feisty Fawn) Desktop CD can also do the trick, all you have to do is boot into safe graphics more under Microsoft Virtual PC 2007. This will force Ubuntu 7.04 to actually boot from the ISO. Once the open source operating system is running in Virtual PC 2007, press left Alt down together with F1 (your mouse won't work inside the virtual machine, read on to fix this issue). This will open the applications menu at the top, press the left arrow key twice to get to System then make your way down to Administration and select the option that will allow you to actually Install Ubuntu 7.04.
But life is often a question of right choices. And the Ubuntu 7.04 (Feisty Fawn) Alternate CD is a much better choice for the installation ISO image. There is a plethora of Ubuntu 7.04 nuances of the operating system available for download, and Ubuntu 7.04 (Feisty Fawn) Alternate CD for 32-bit and 64-bit systems is just one of them. "The alternate install CD allows you to perform certain specialist installations of Ubuntu. It provides for the following situations: creating pre-configured OEM systems; setting up automated deployments; upgrading from older installations without network access; LVM and/or RAID partitioning; installs on systems with less than about 256MB of RAM (although note that low-memory systems may not be able to run a full desktop environment reasonably)," reads Ubuntu's description of the alternate images.
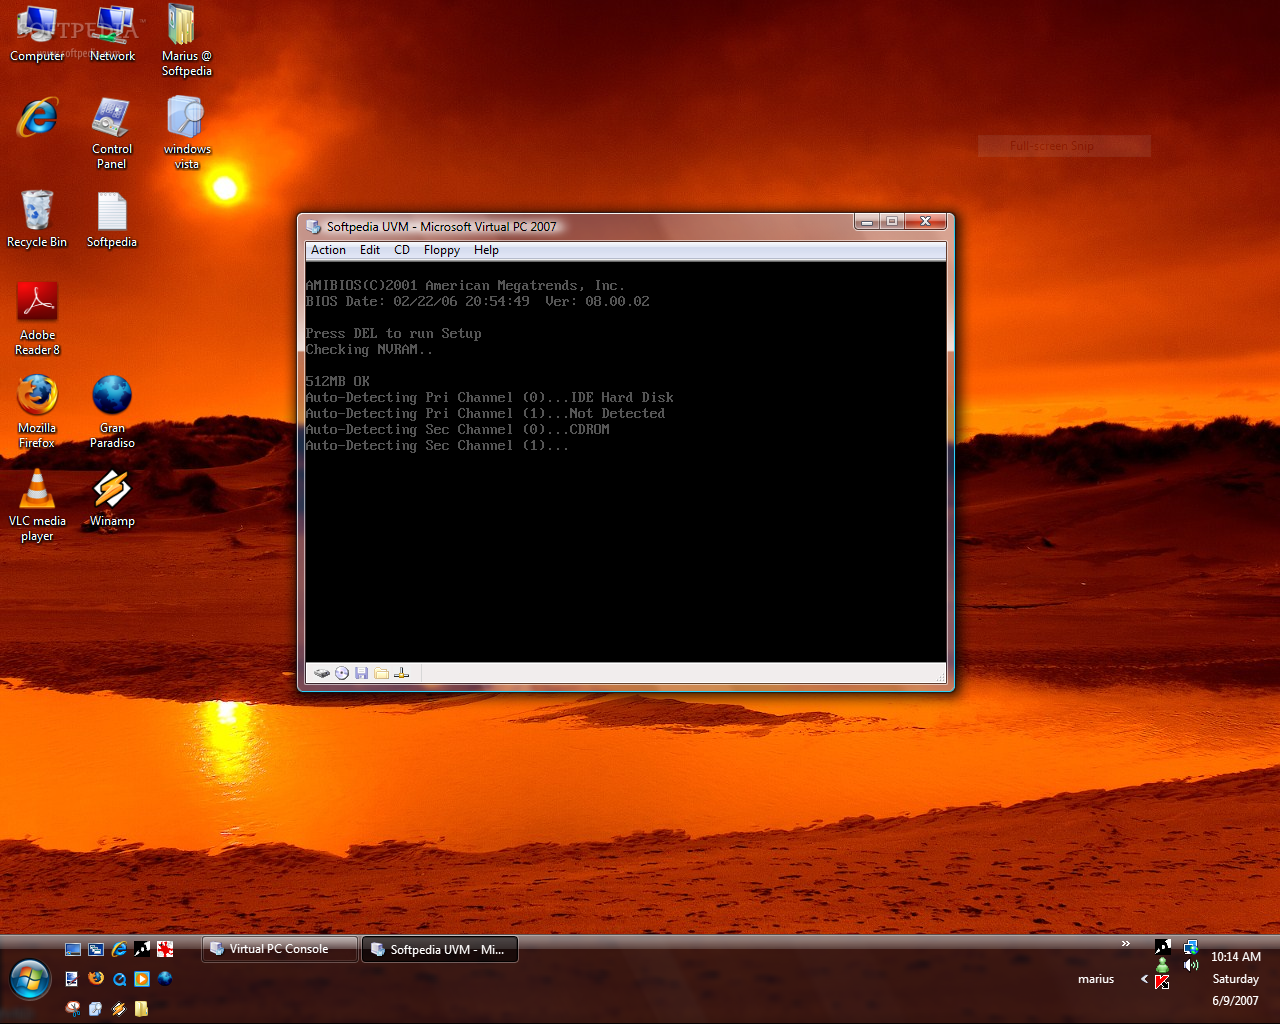


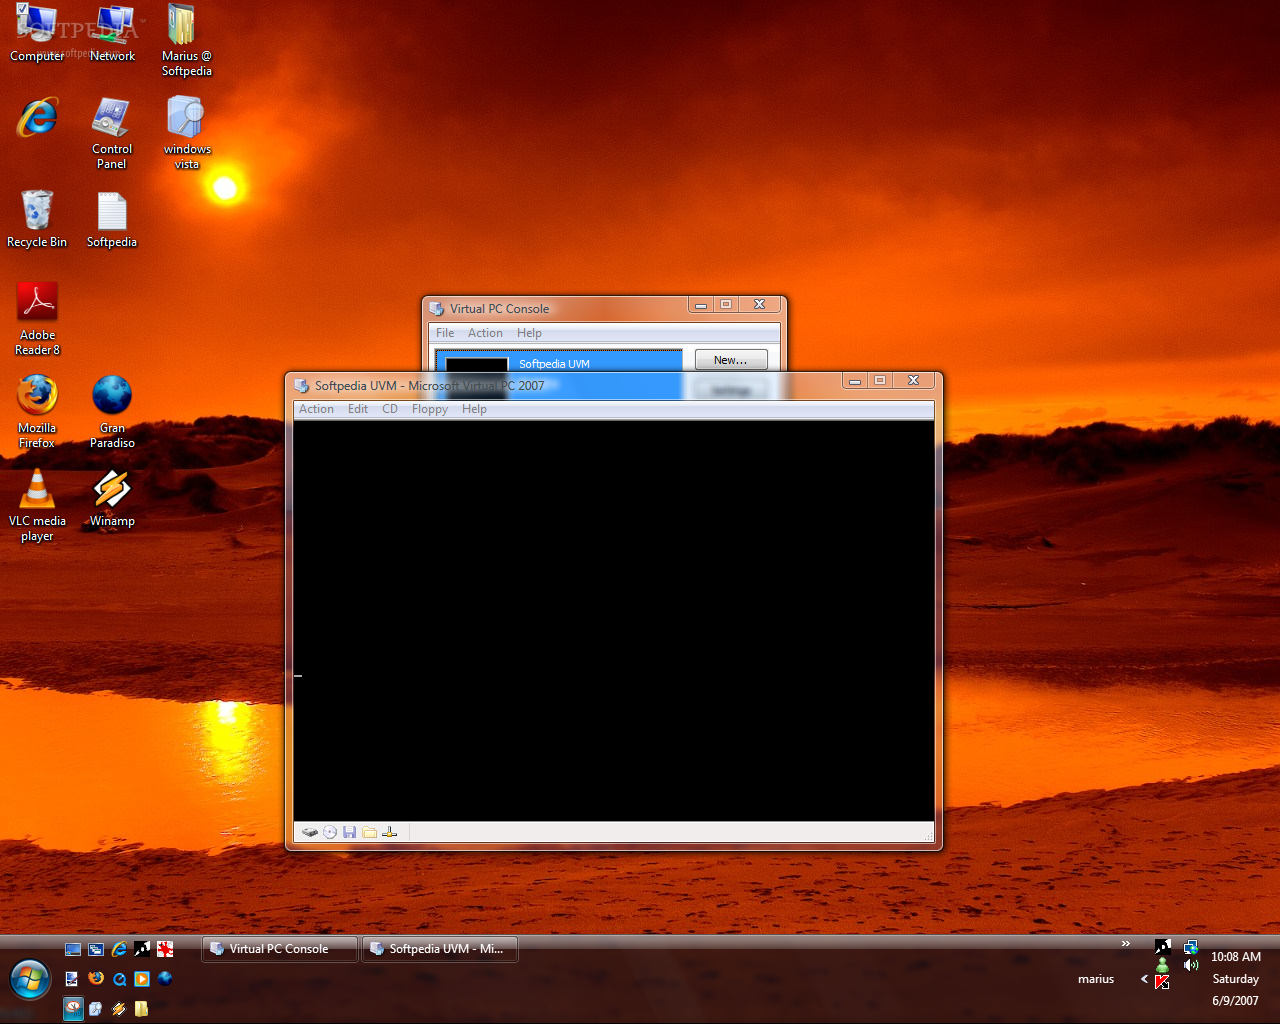
After you have completed setting the Virtual PC 2007 configuration, go ahead and fire up the Ubuntu 7.04 virtual machine. Via the CD option in the menu at the top choose either Use Physical Drive, if you indeed have an installation media for the operating system, or Capture ISO image. The virtual machine will boot as any other computer. In order to control it use right Alt + "P" to pause and to start the virtual machine, right Alt + "R" to restart it, right Alt + Enter to toggle full screen mode, right Alt + Del instead of Ctrl + Alt + Del, right Alt + "I" for Virtual Machine Additions and right Alt + F4 to exit.
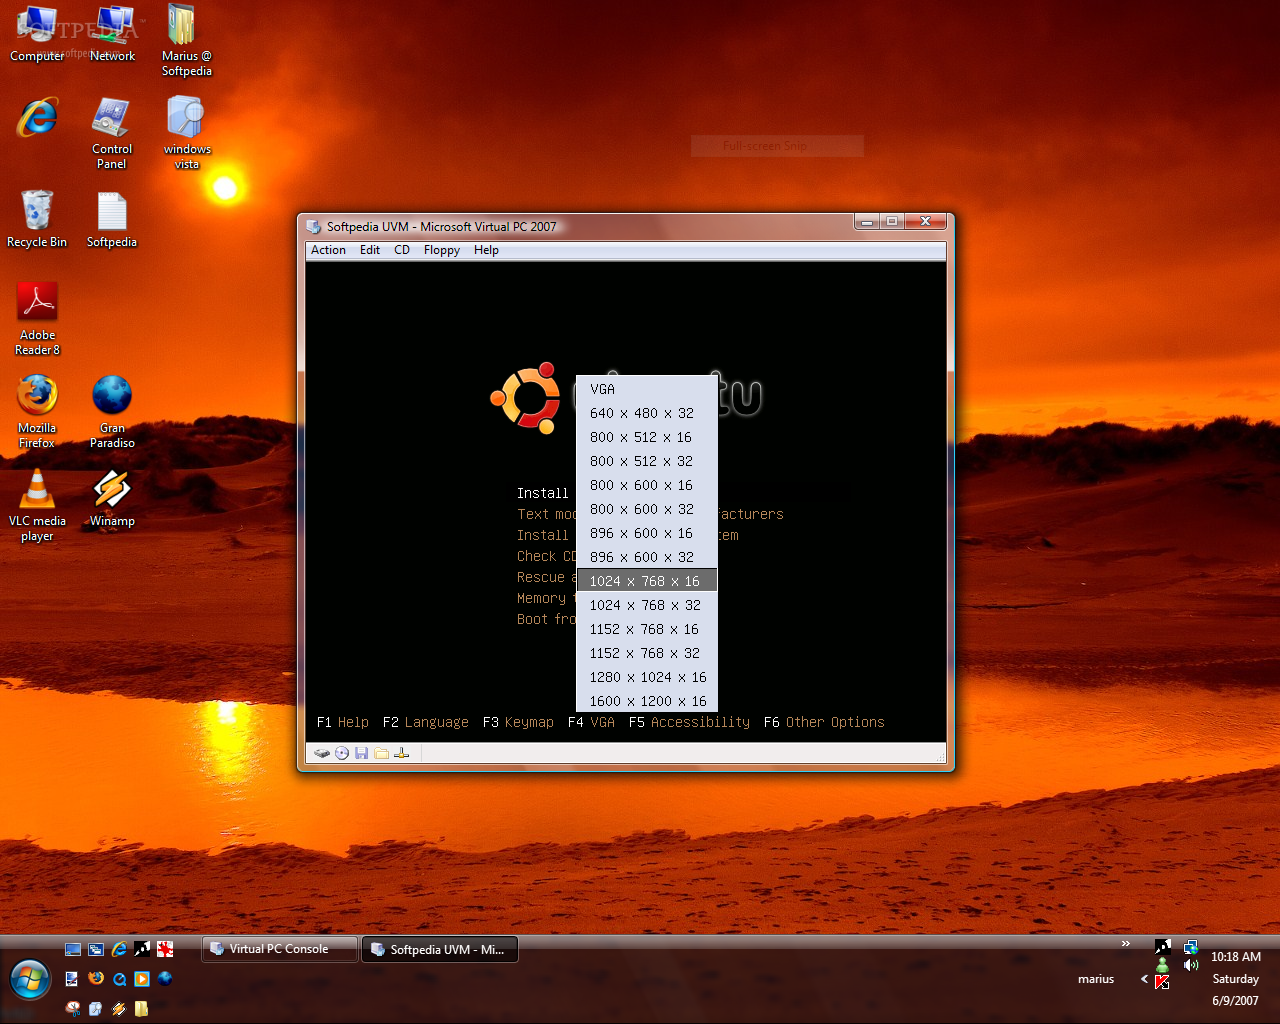
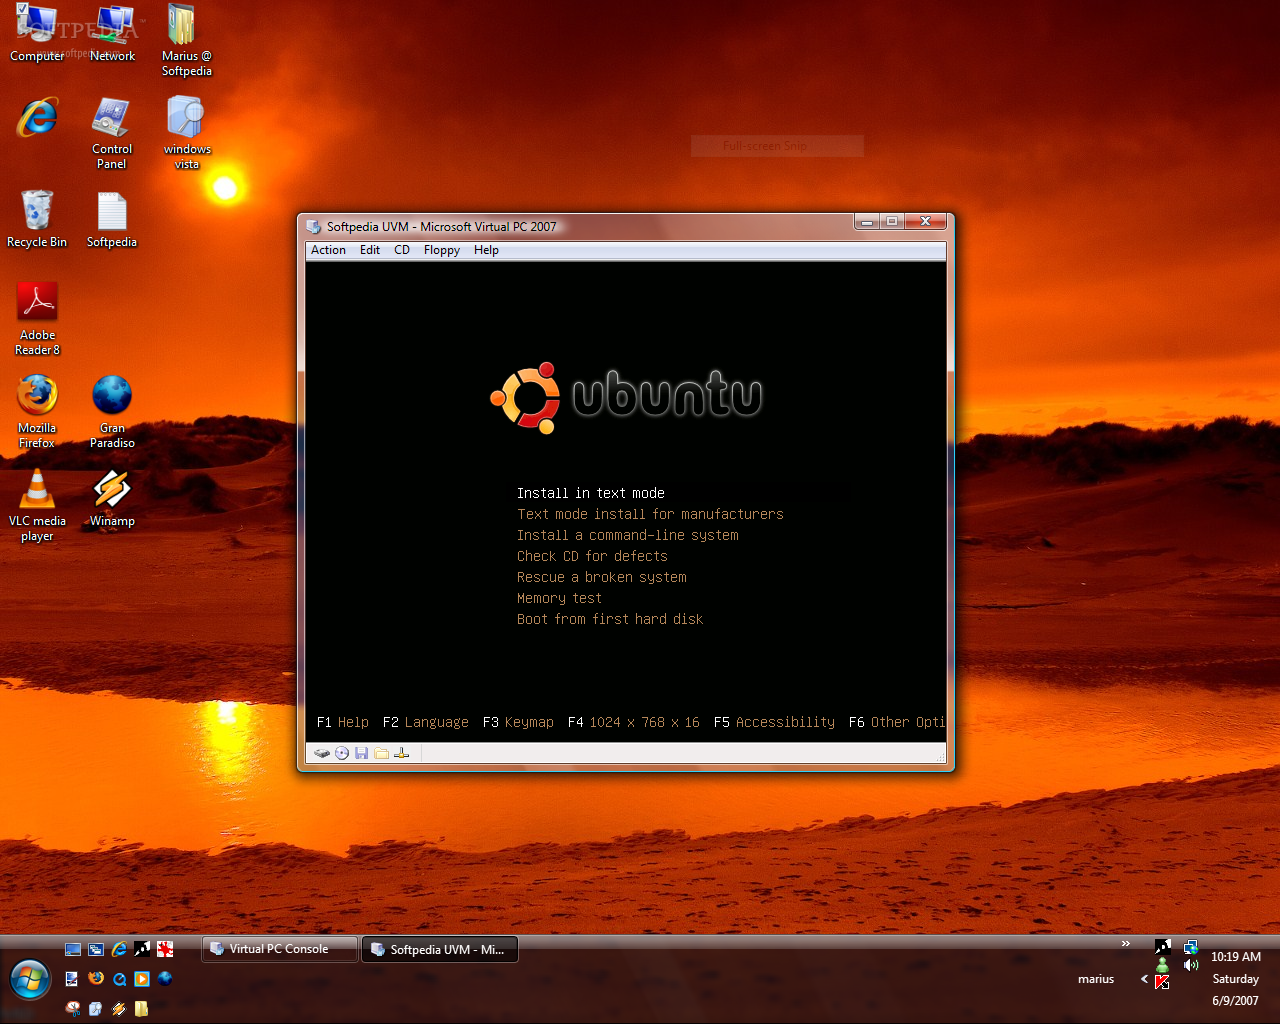
Selecting the ISO image for the Ubuntu 7.04 (Feisty Fawn) Alternate CD will permit you to configure the VGA from the installation menu. All you have to do is, following the initial boot, press F4 and select a 16-bit resolution. As you can see from the images inserted in here I have selected 1024 X 768 ? 16. Next go ahead and install Ubuntu 7.04 in text mode.
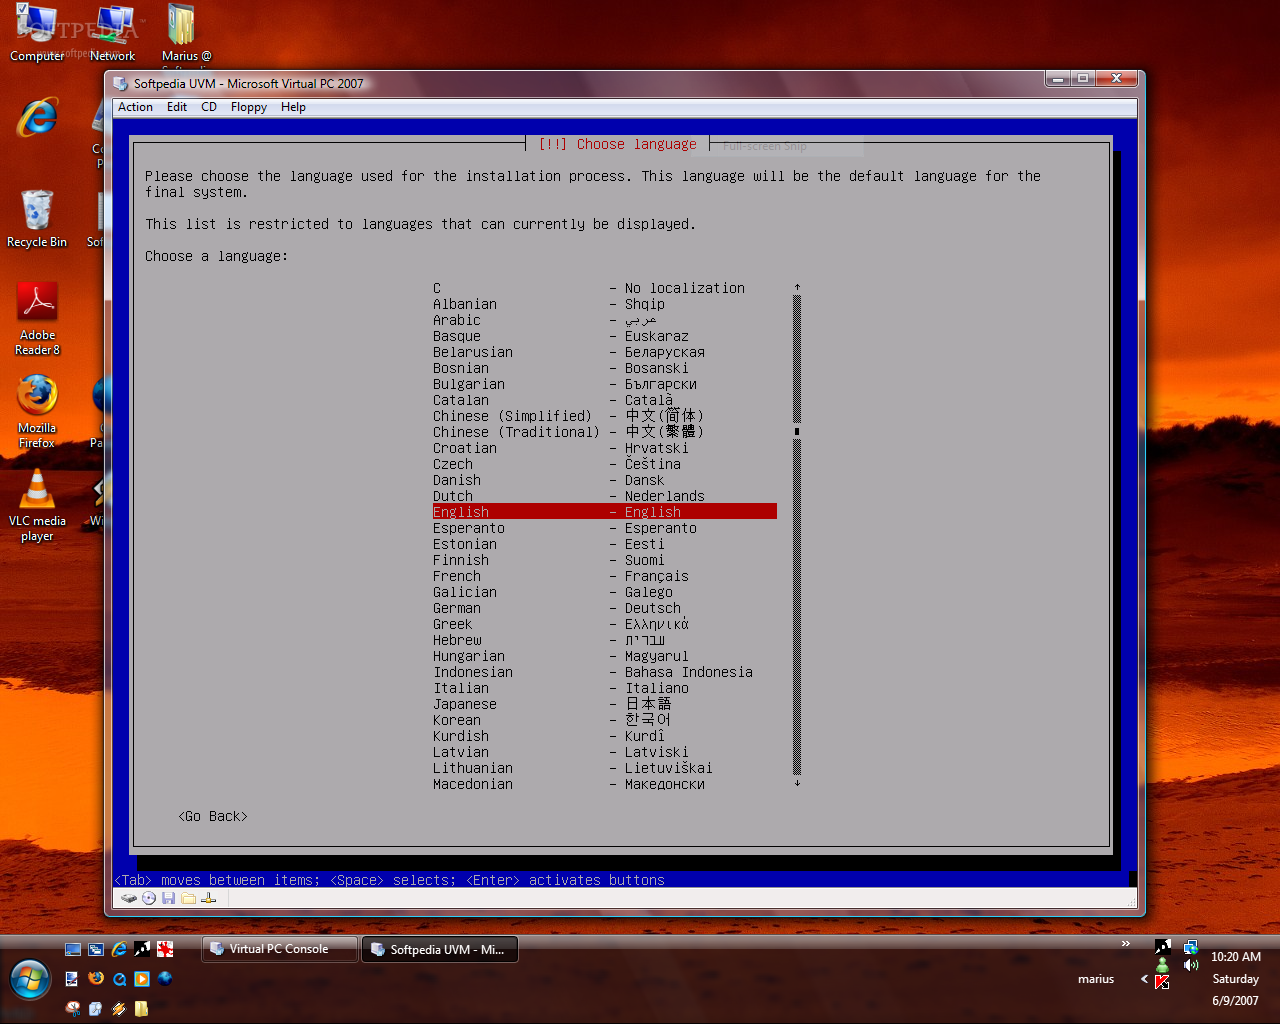
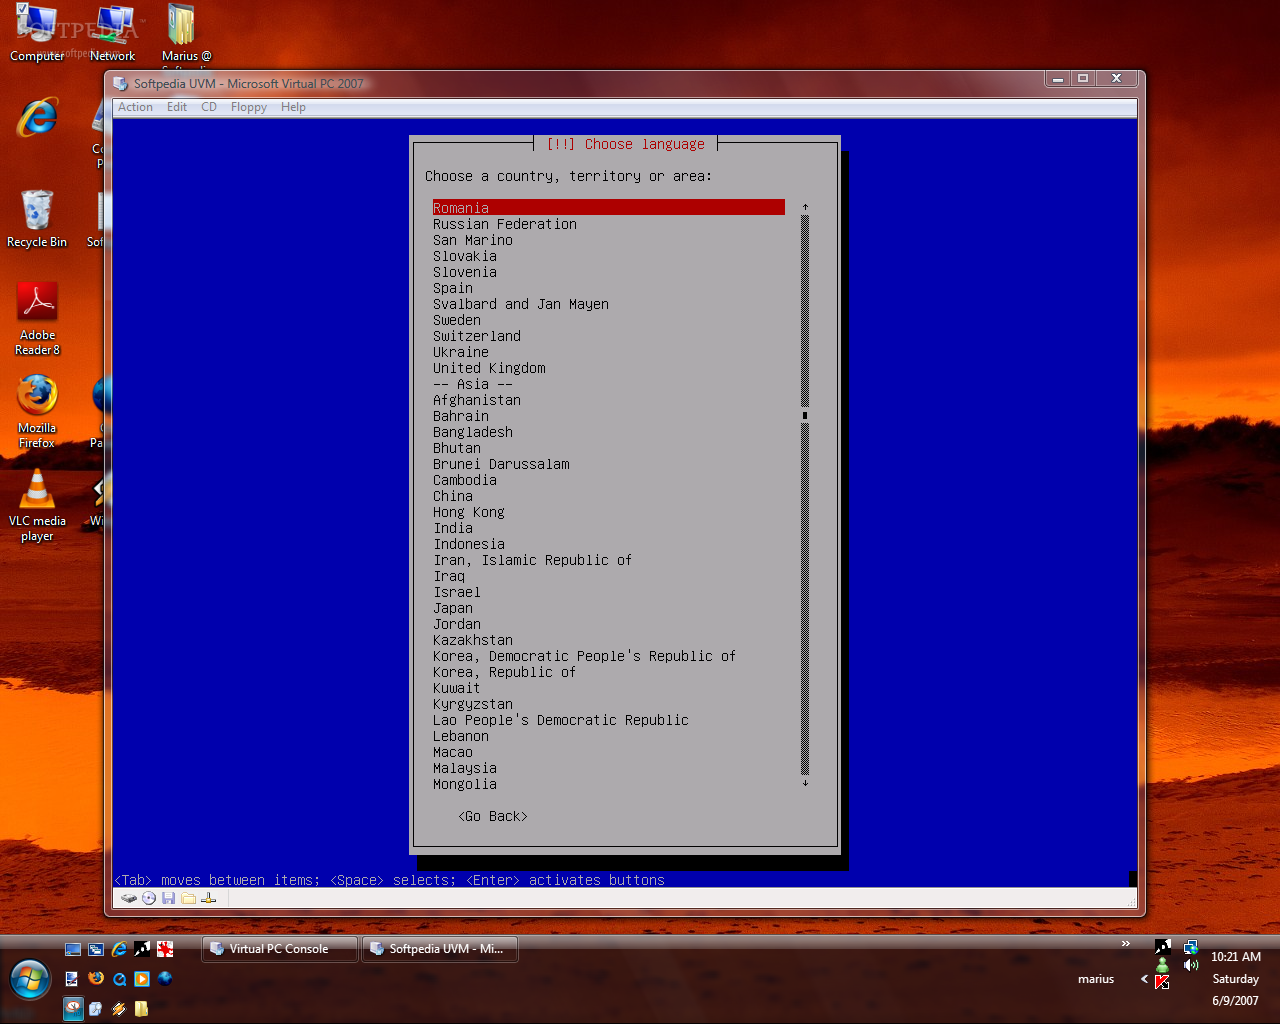
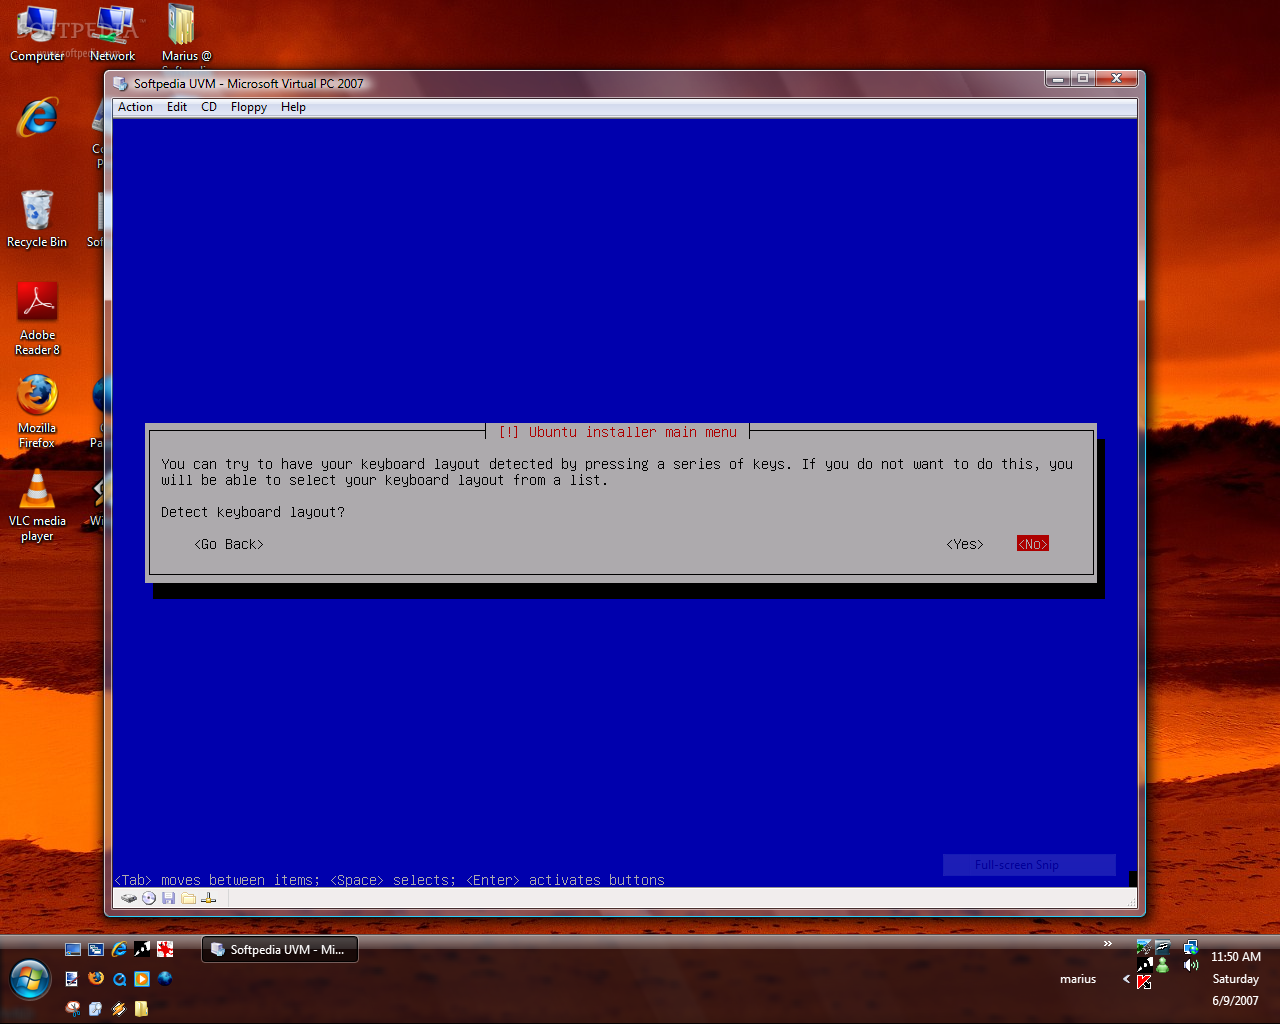
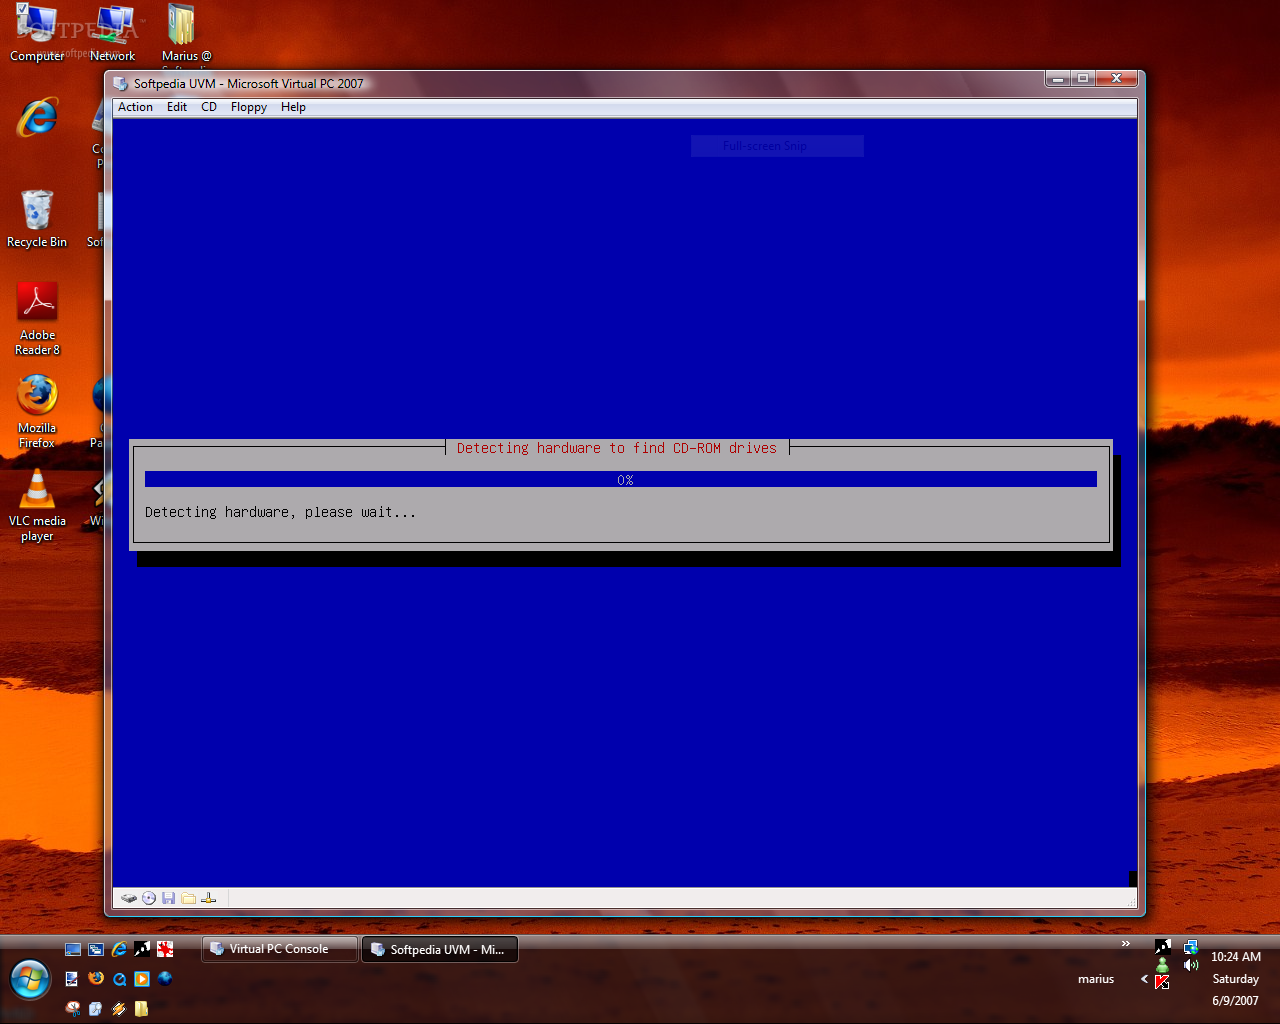
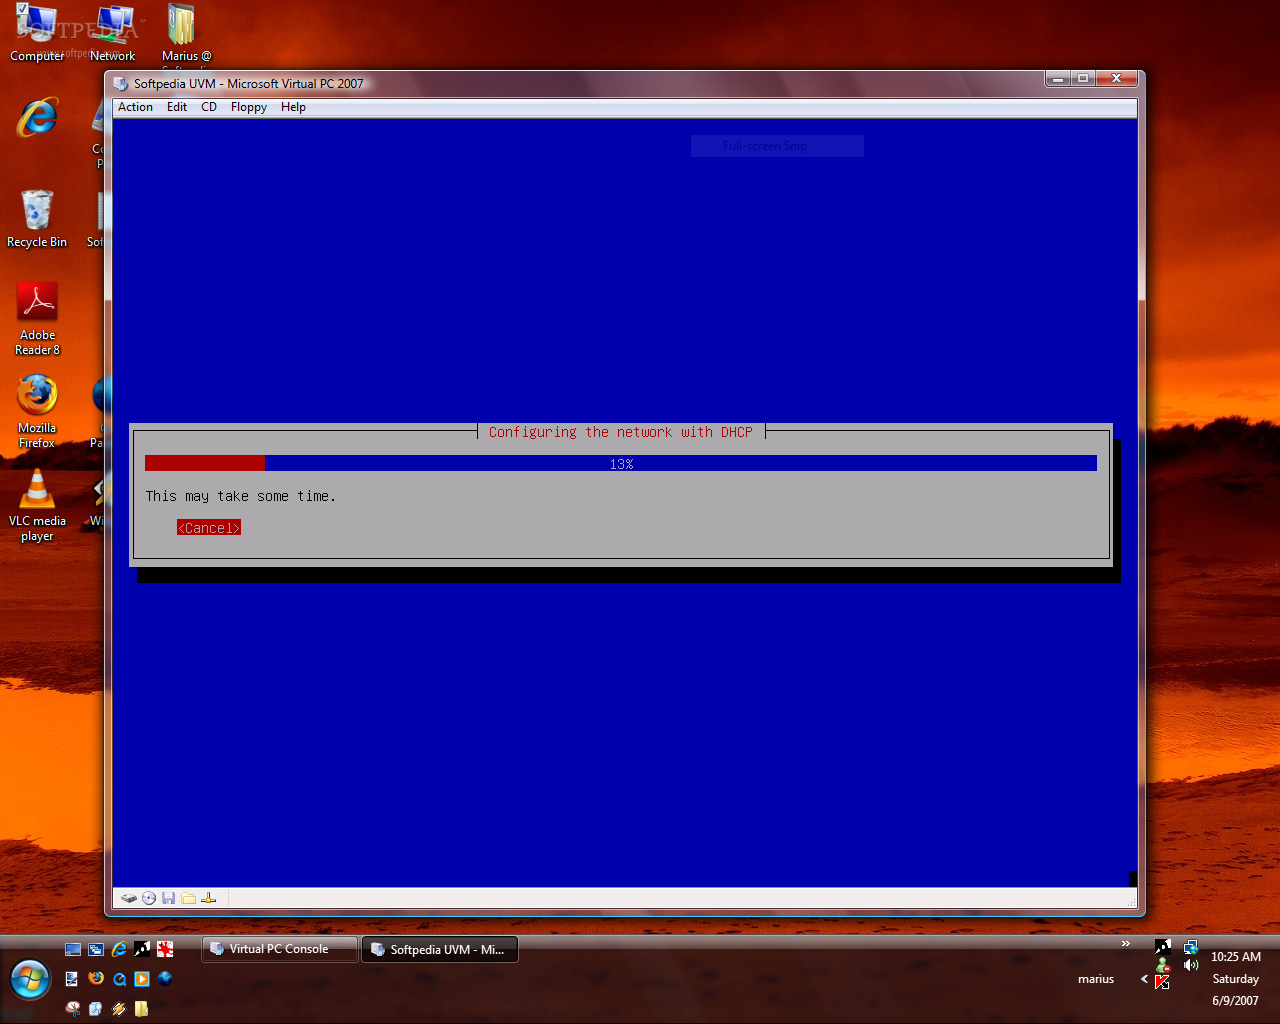
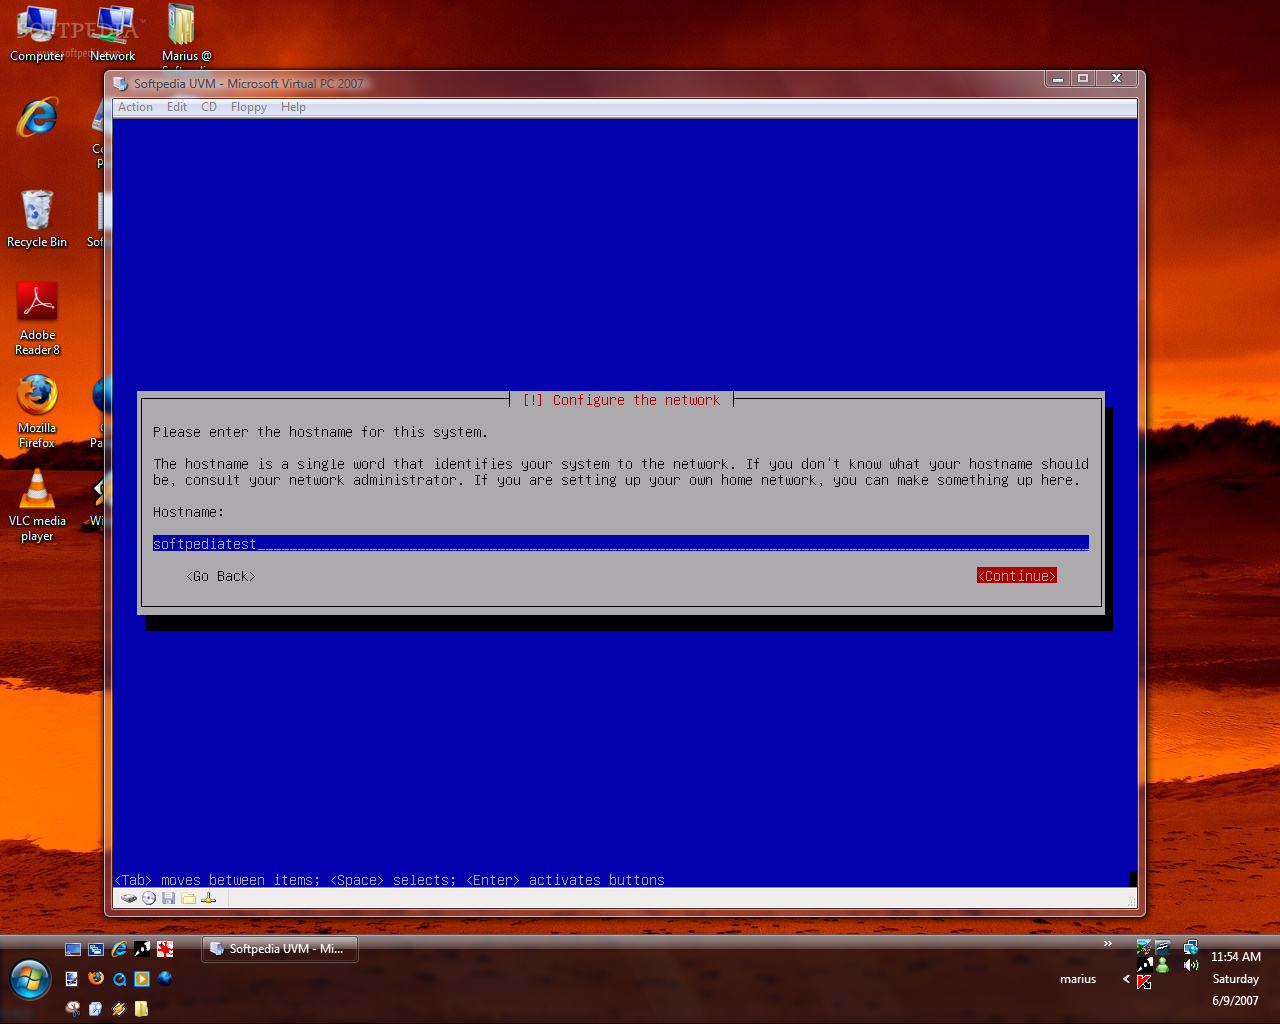
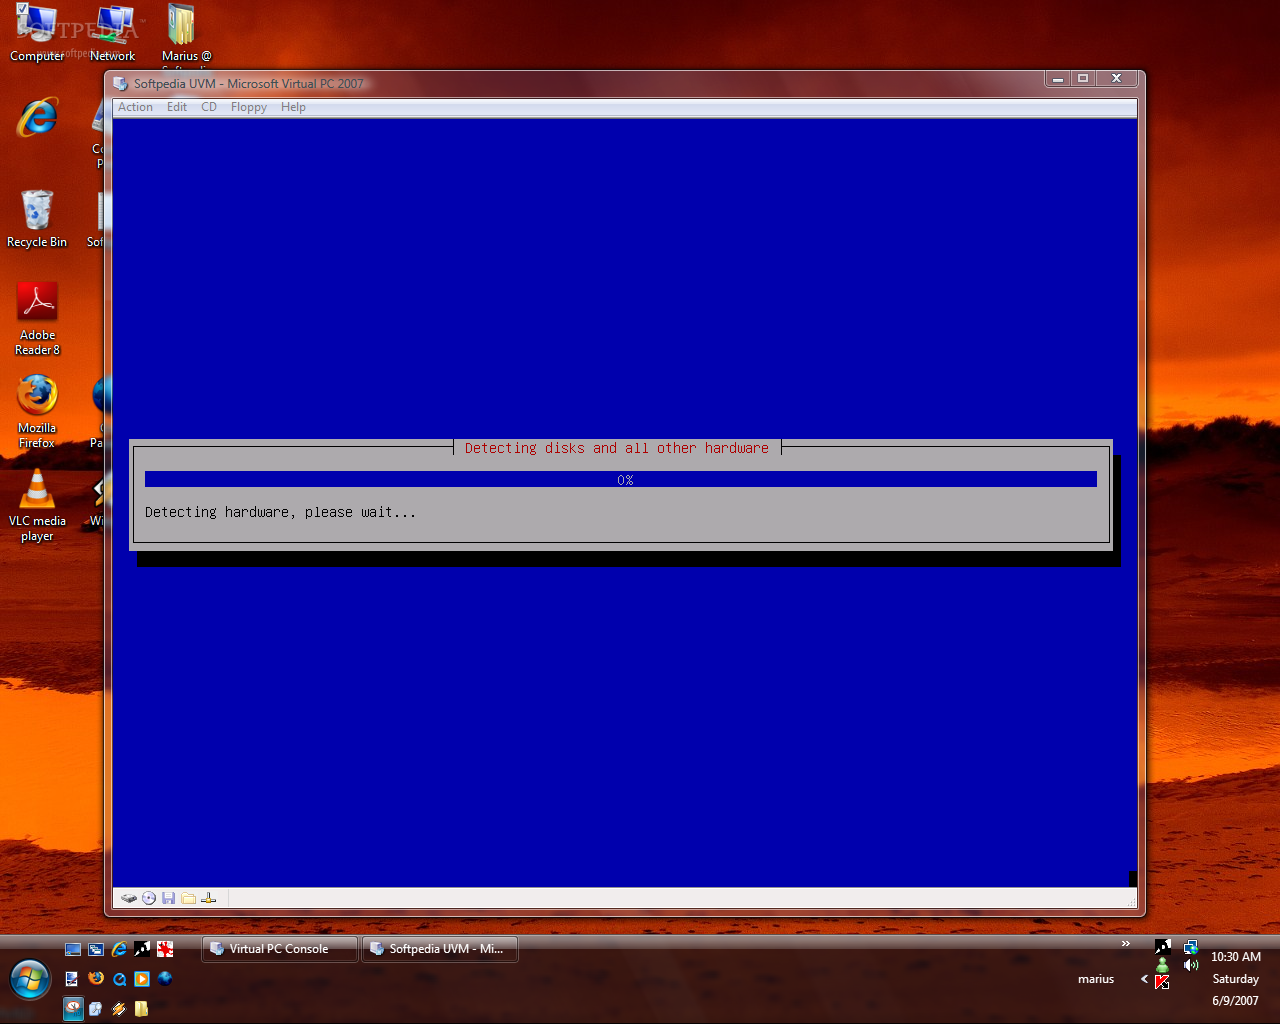
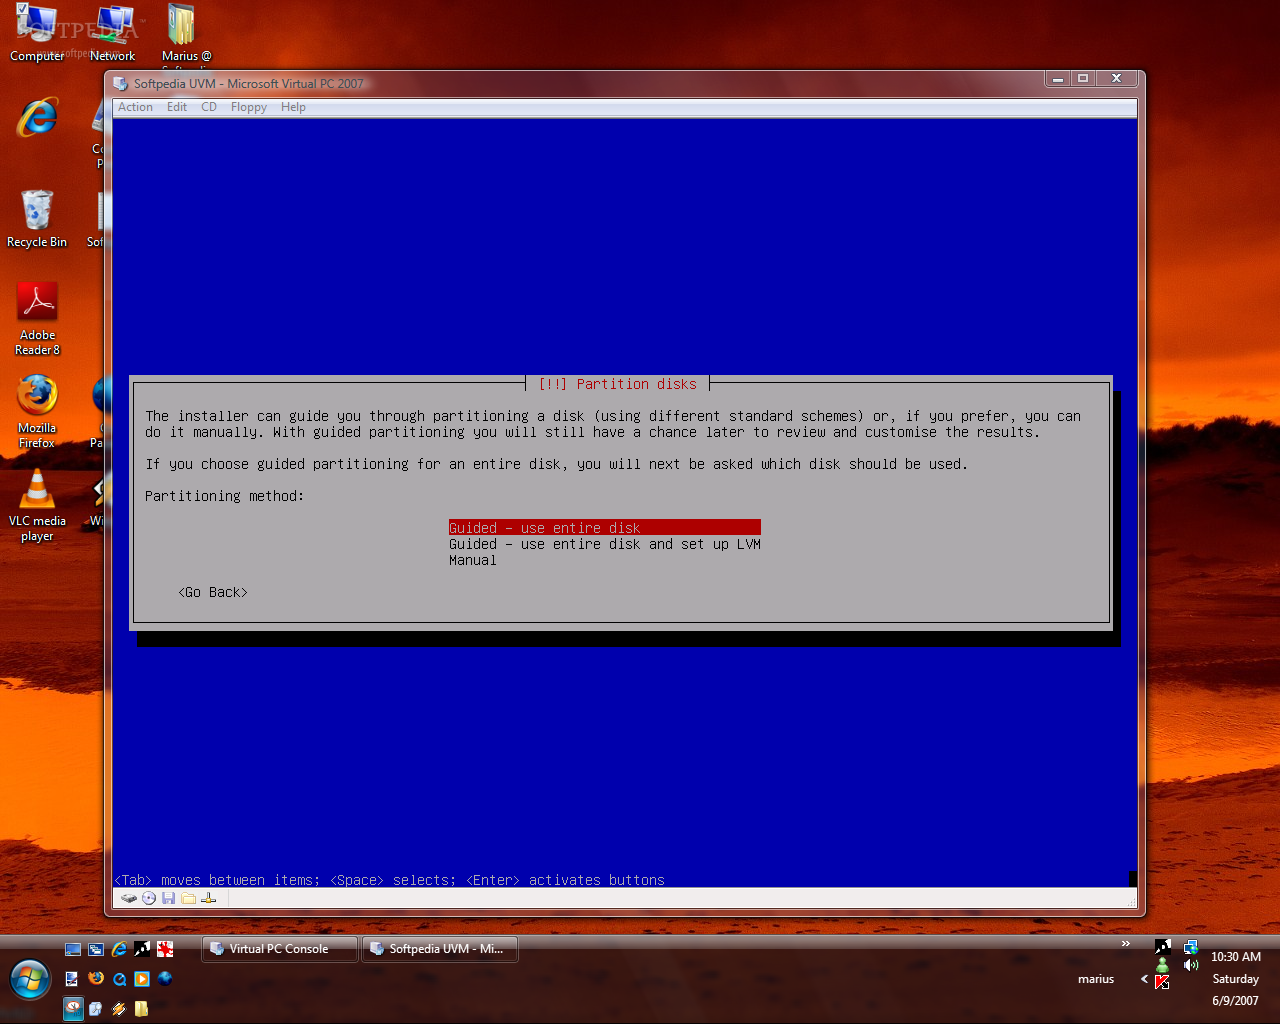
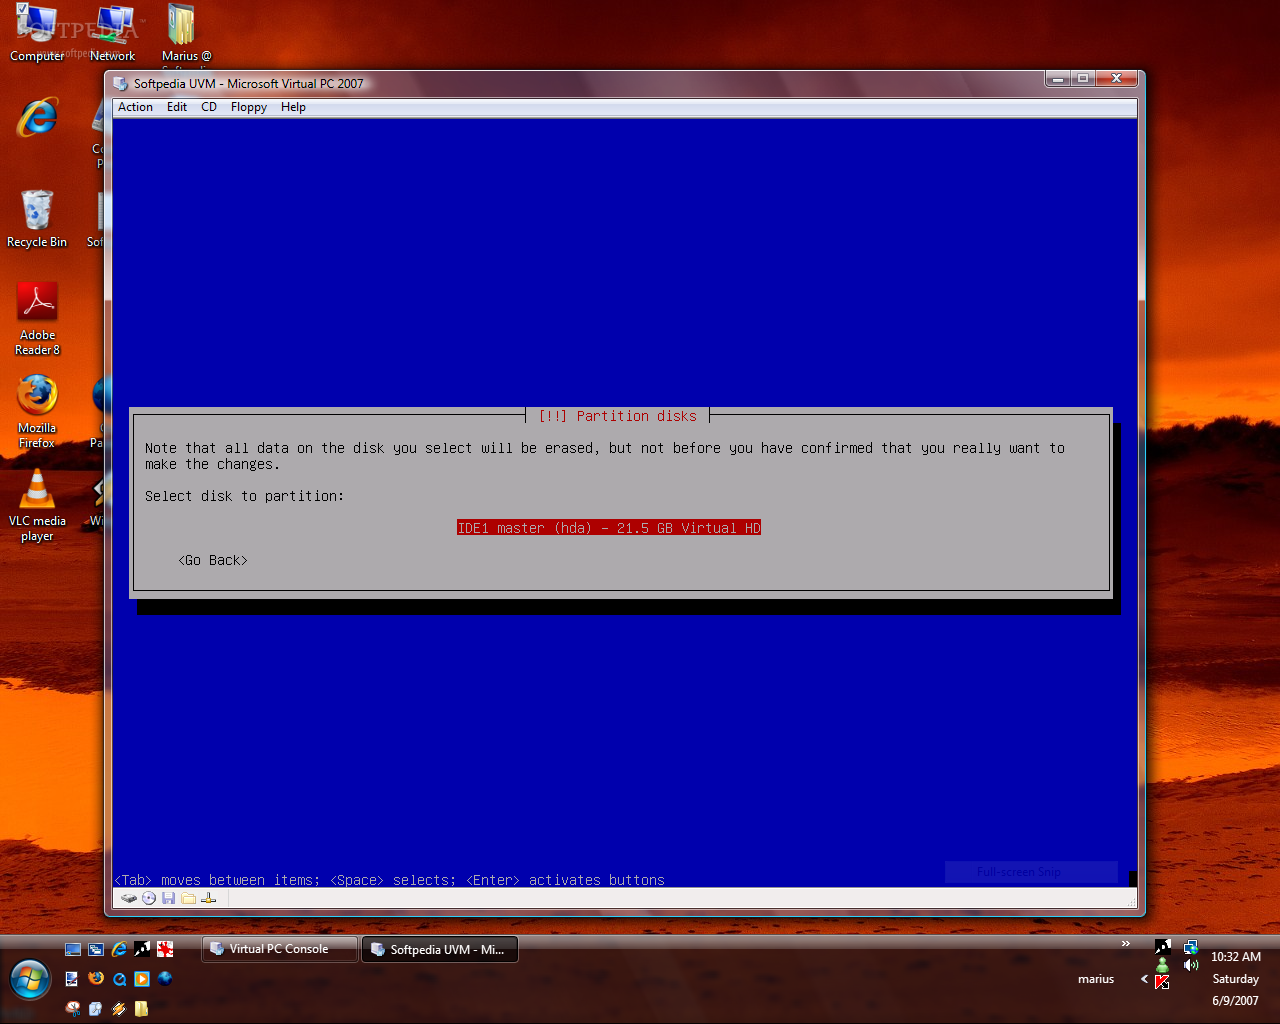
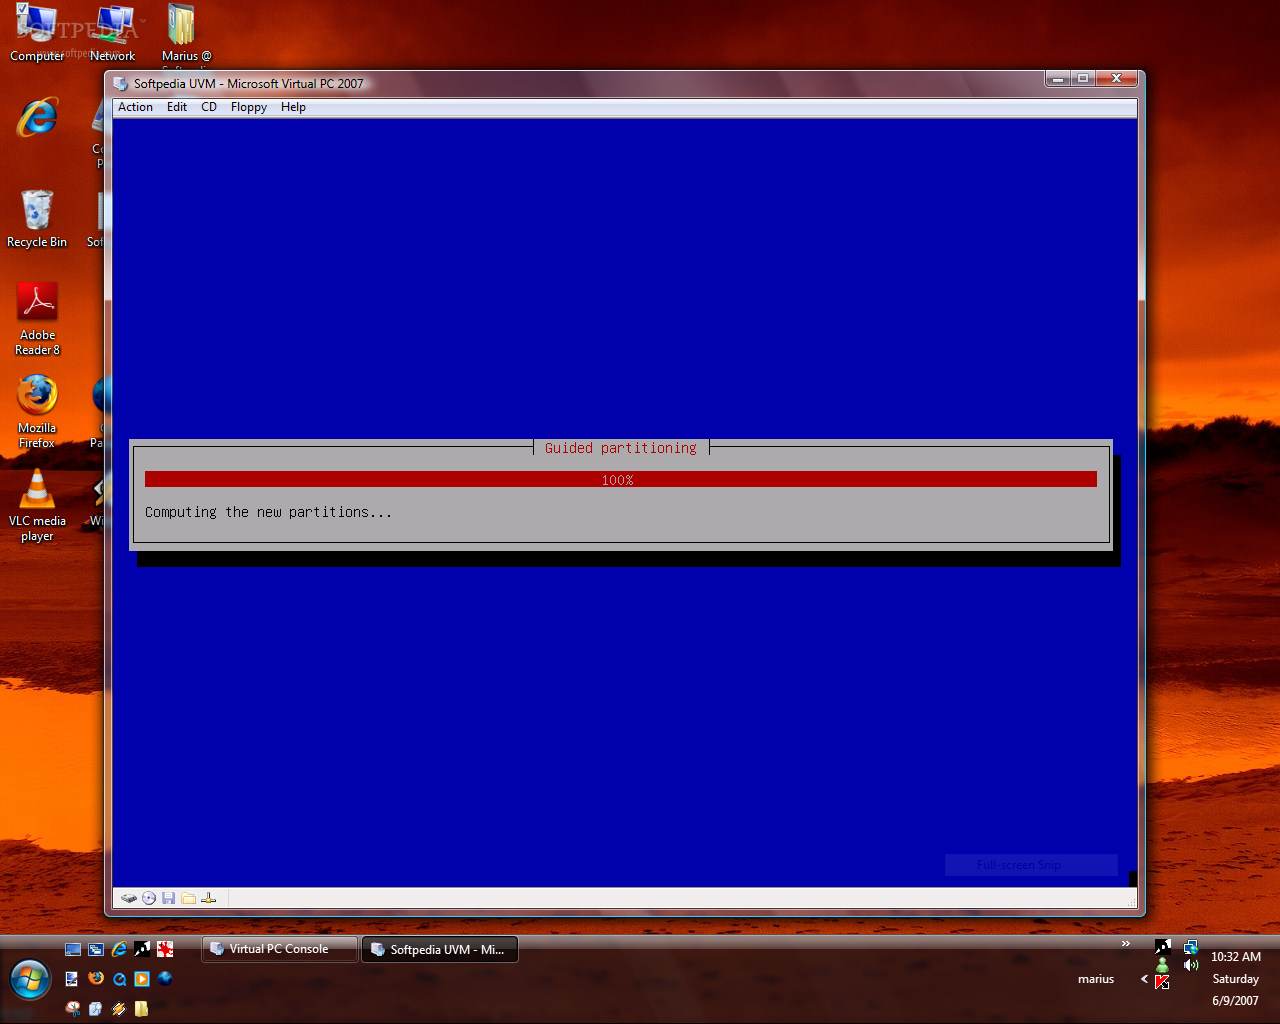
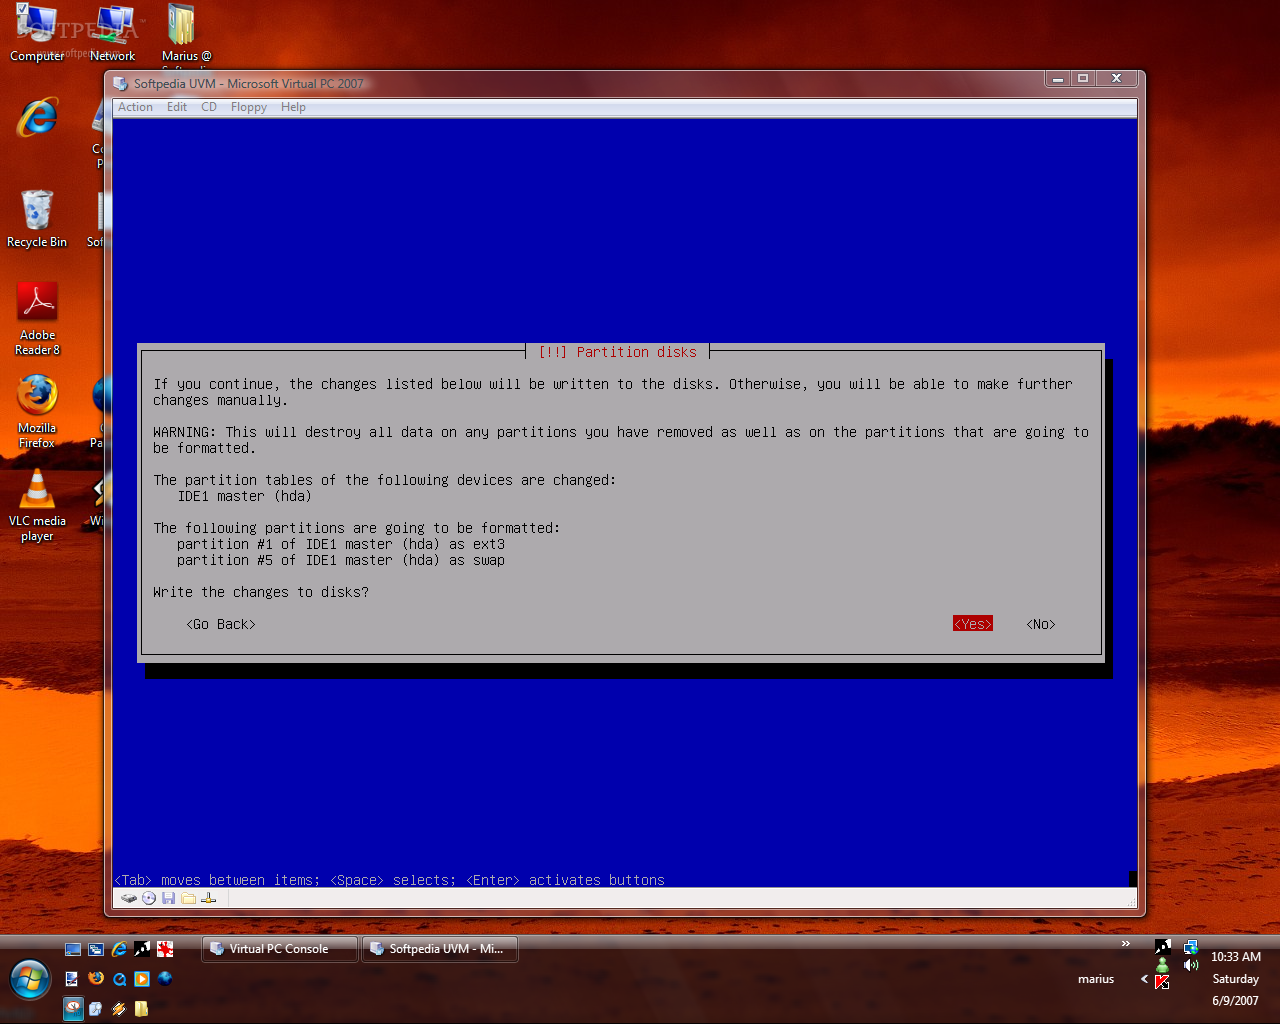
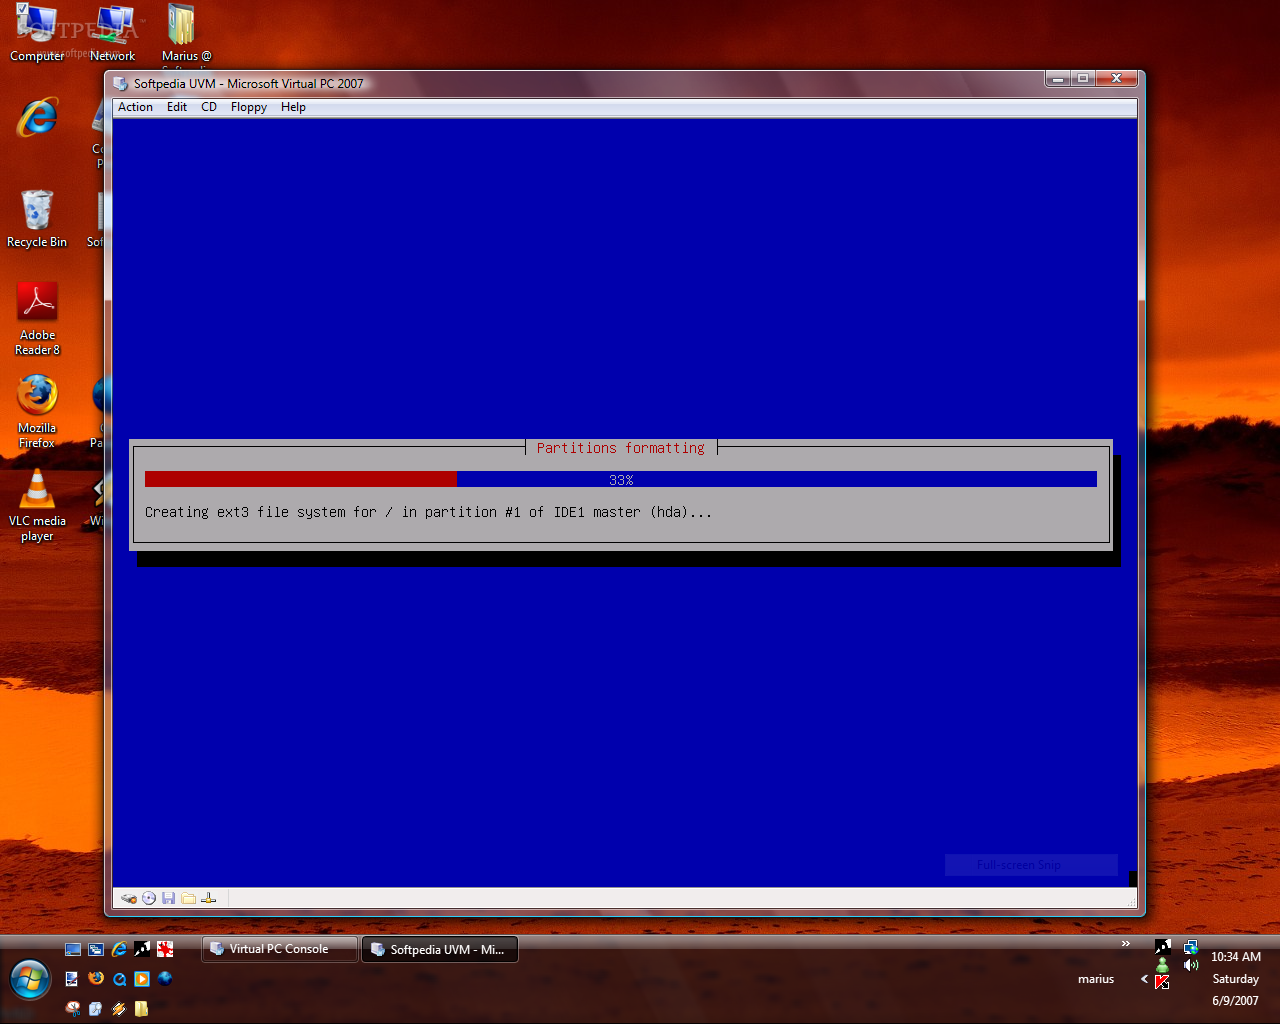
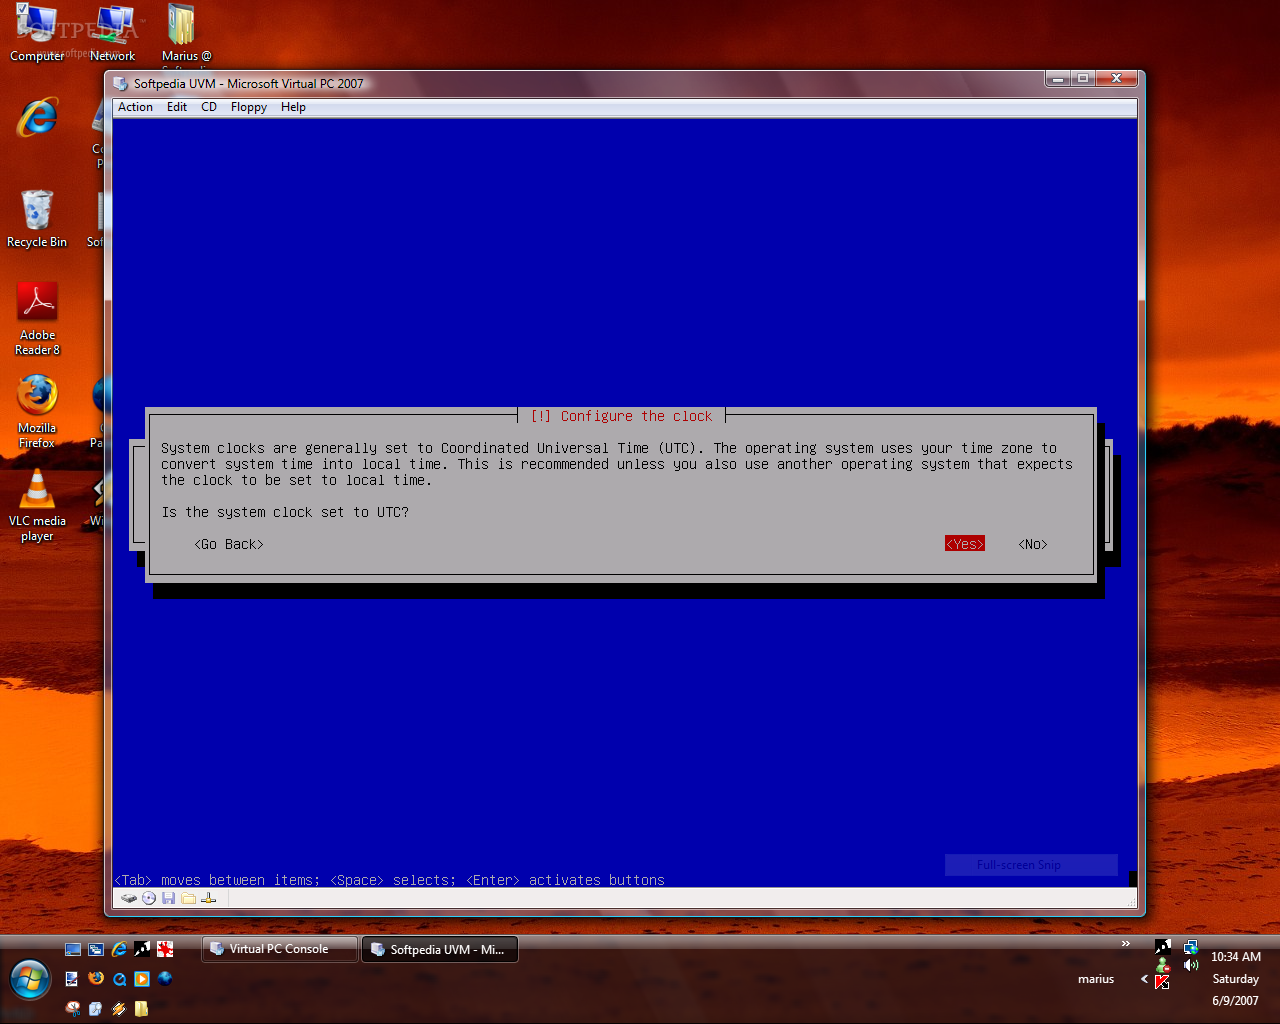
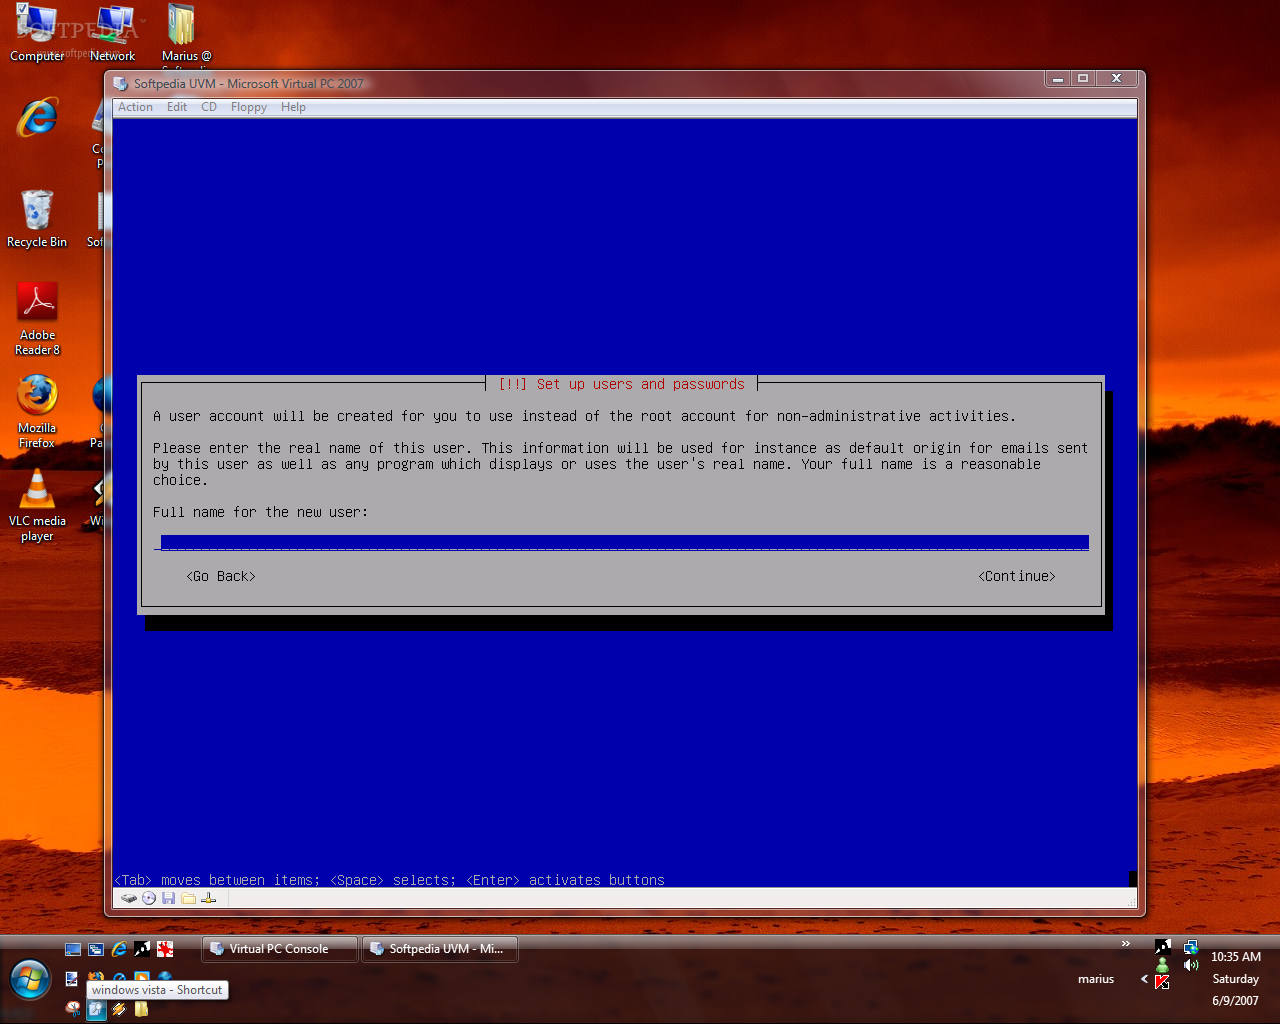
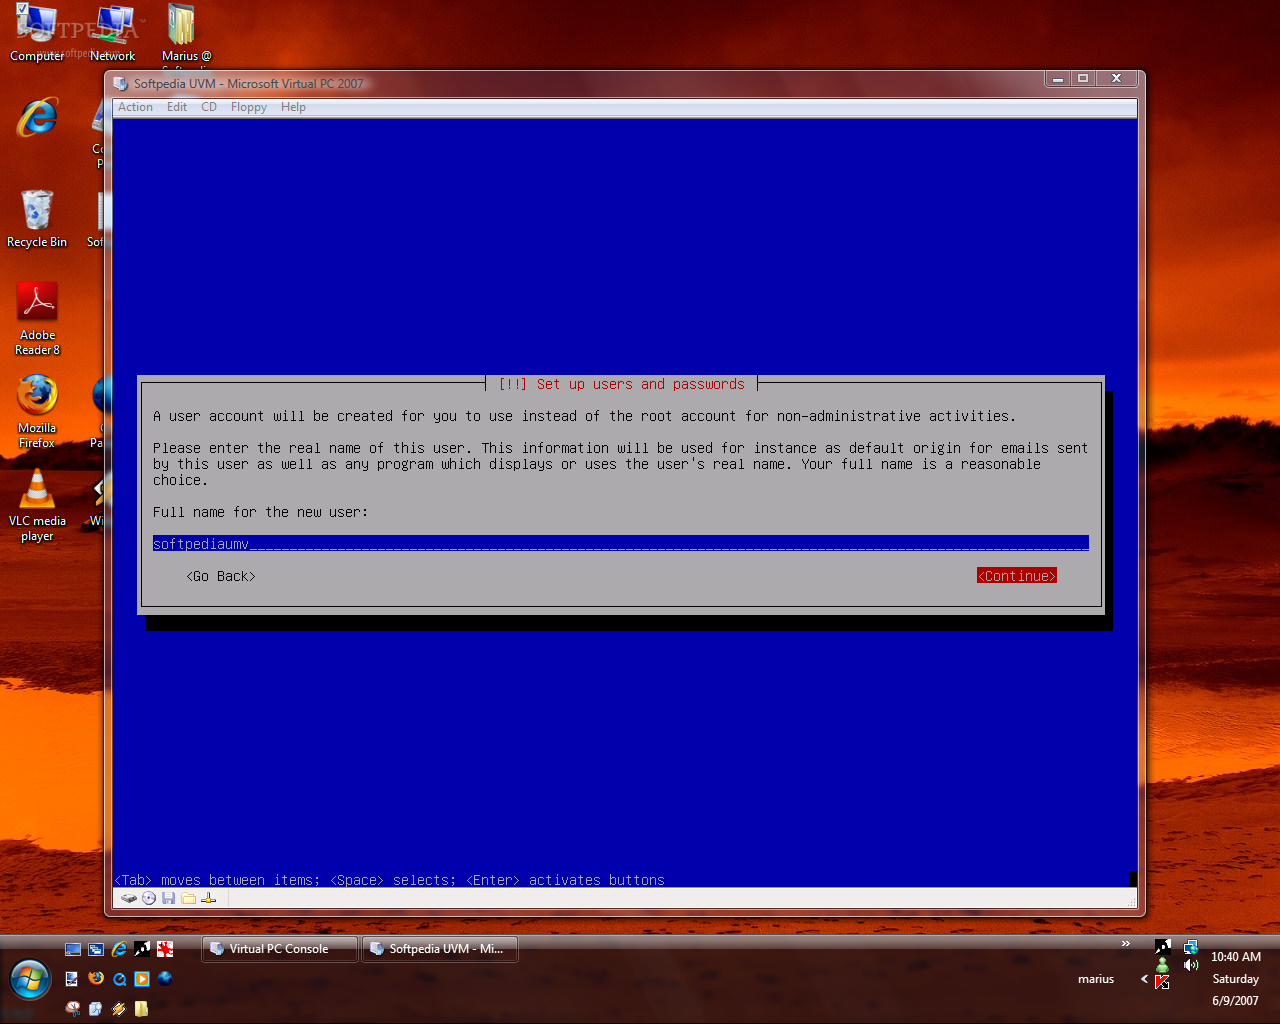
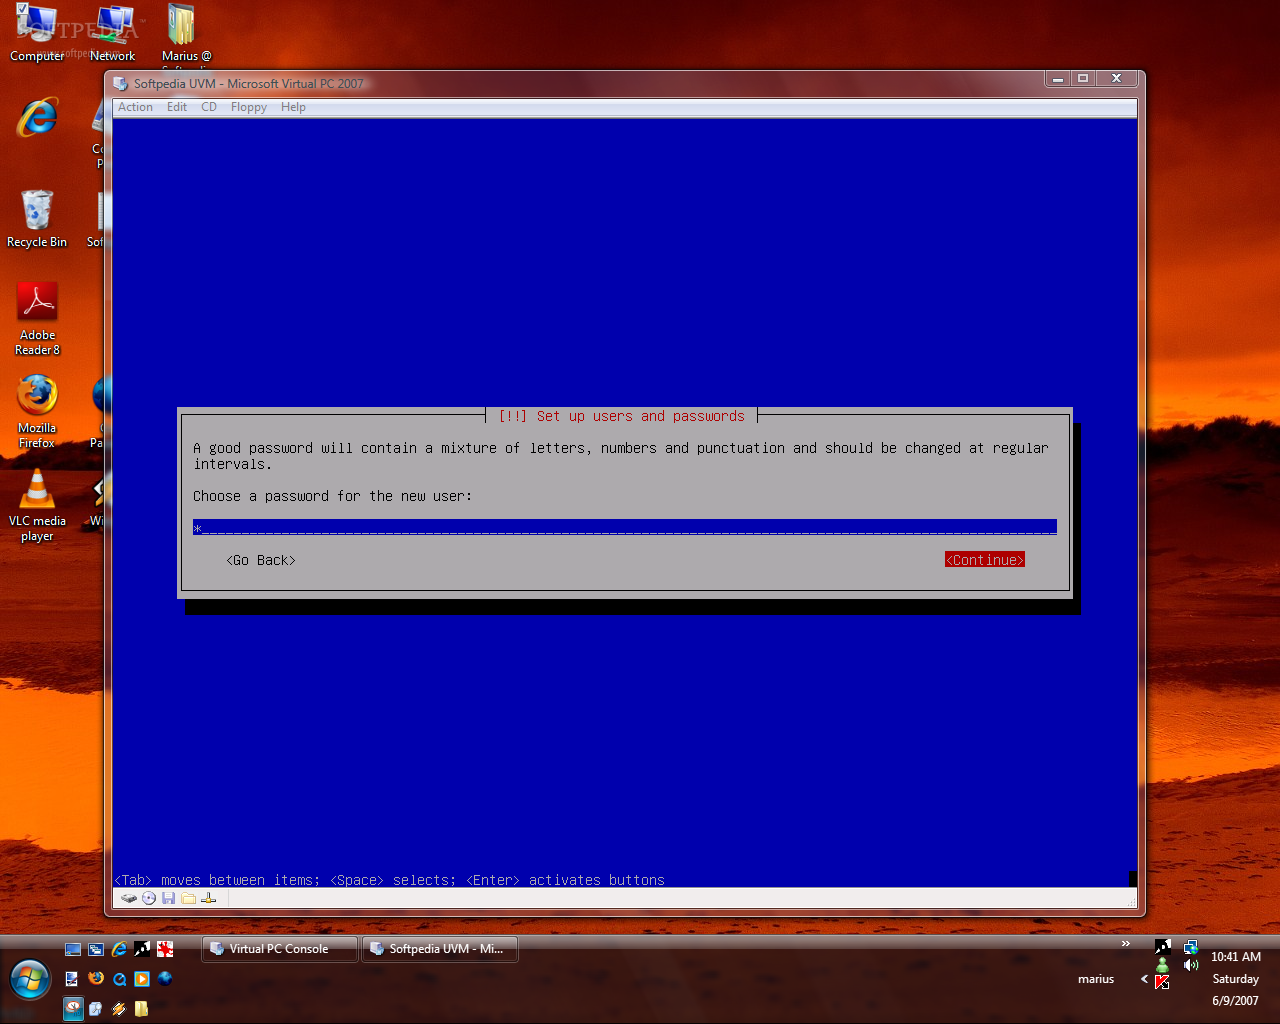
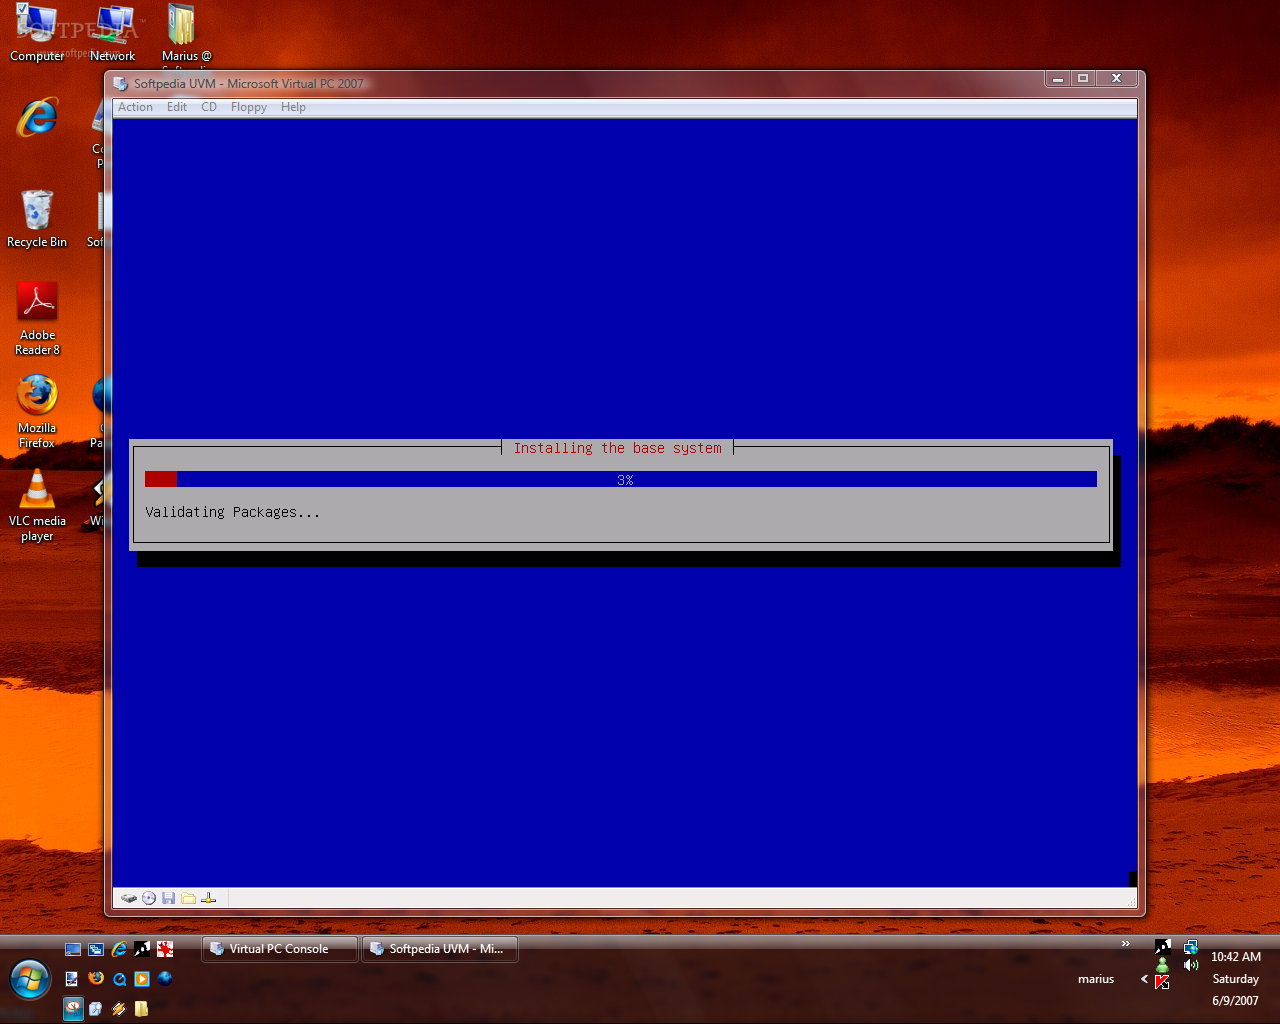
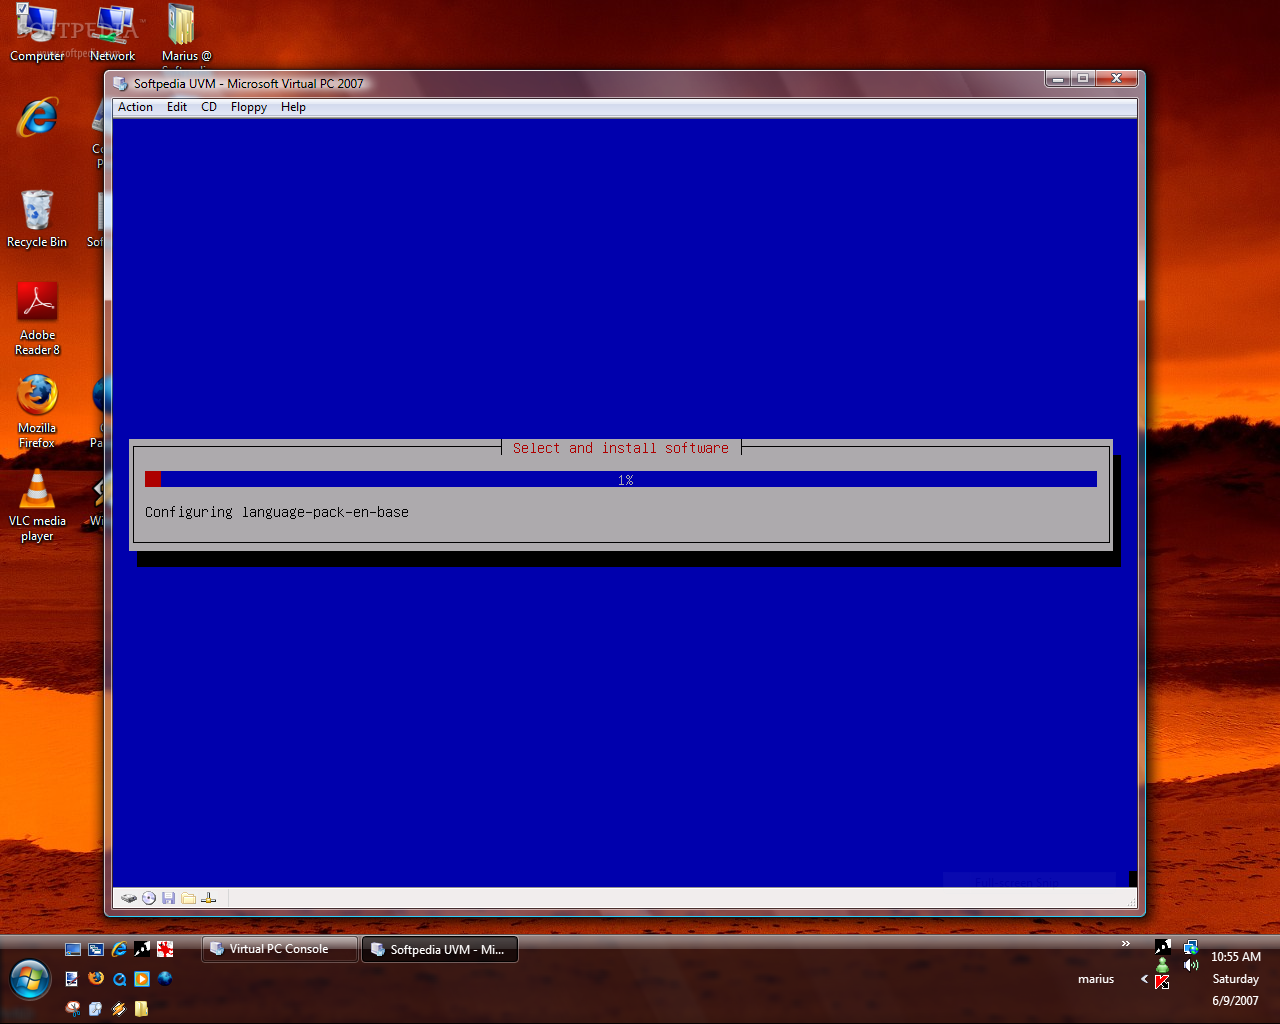
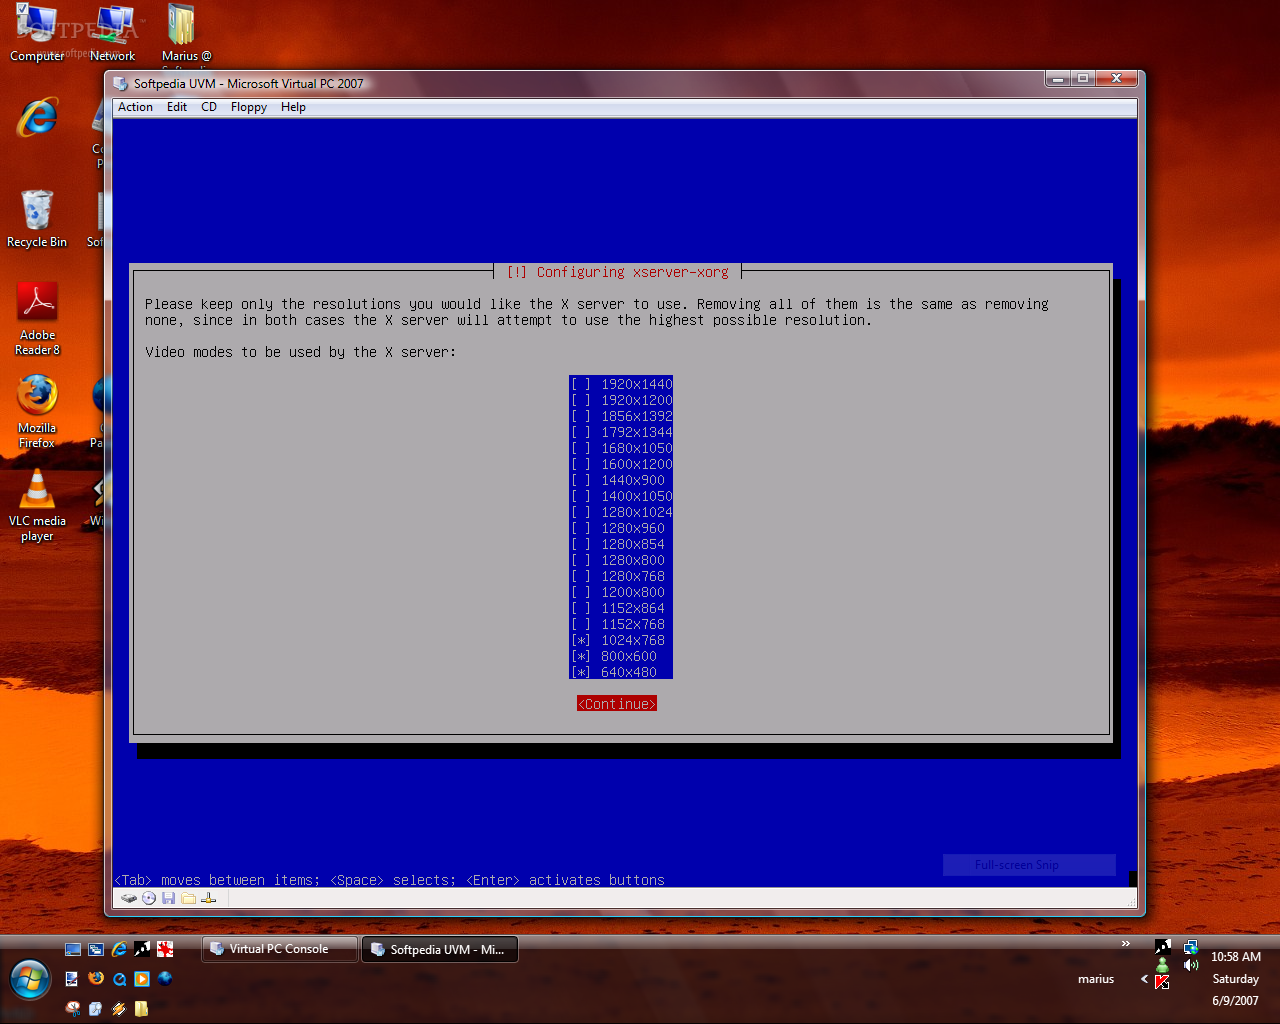
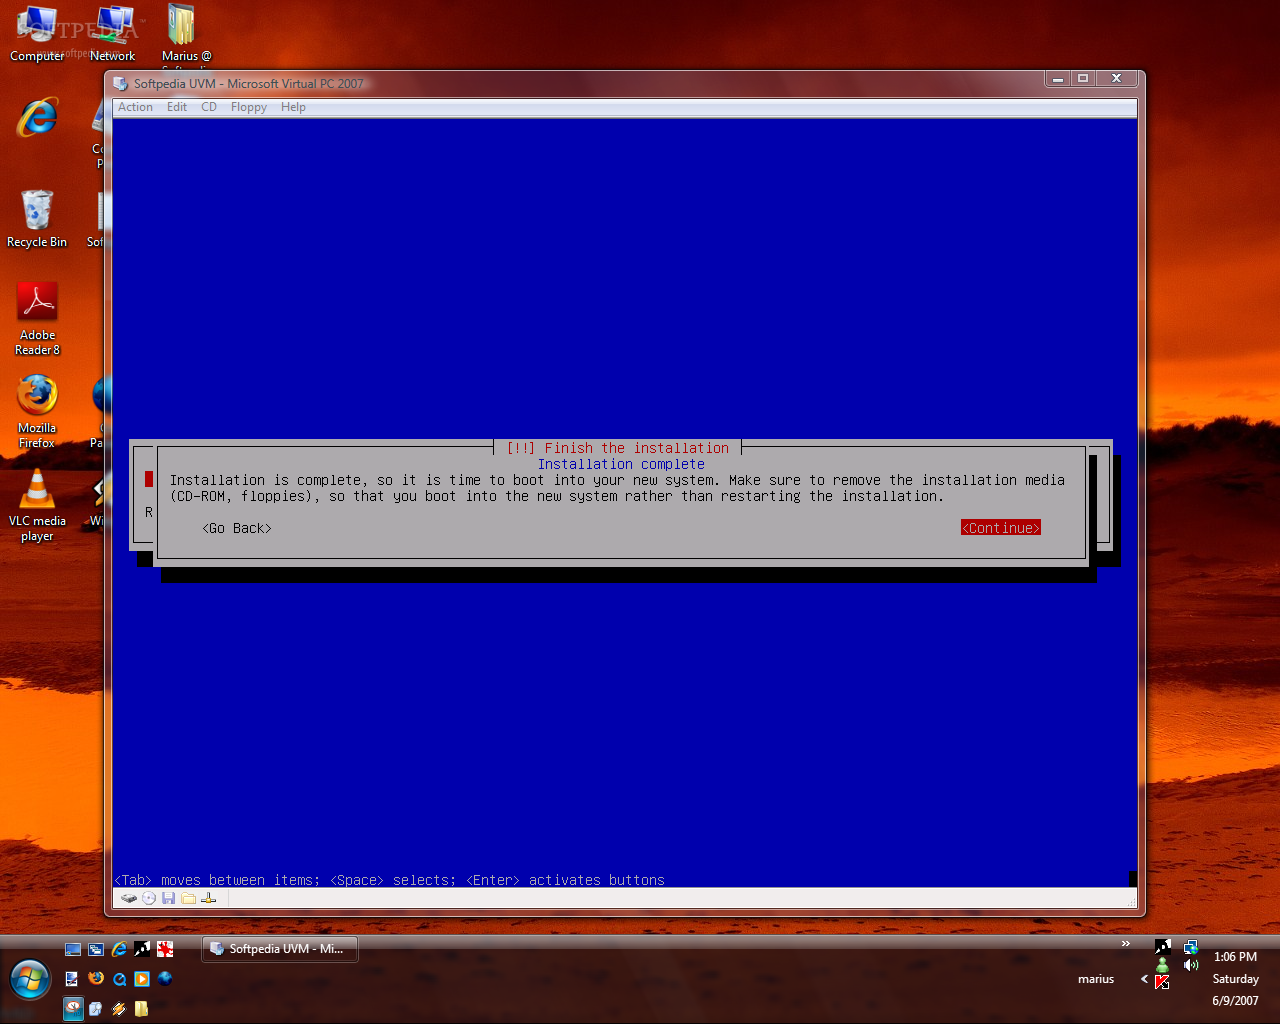
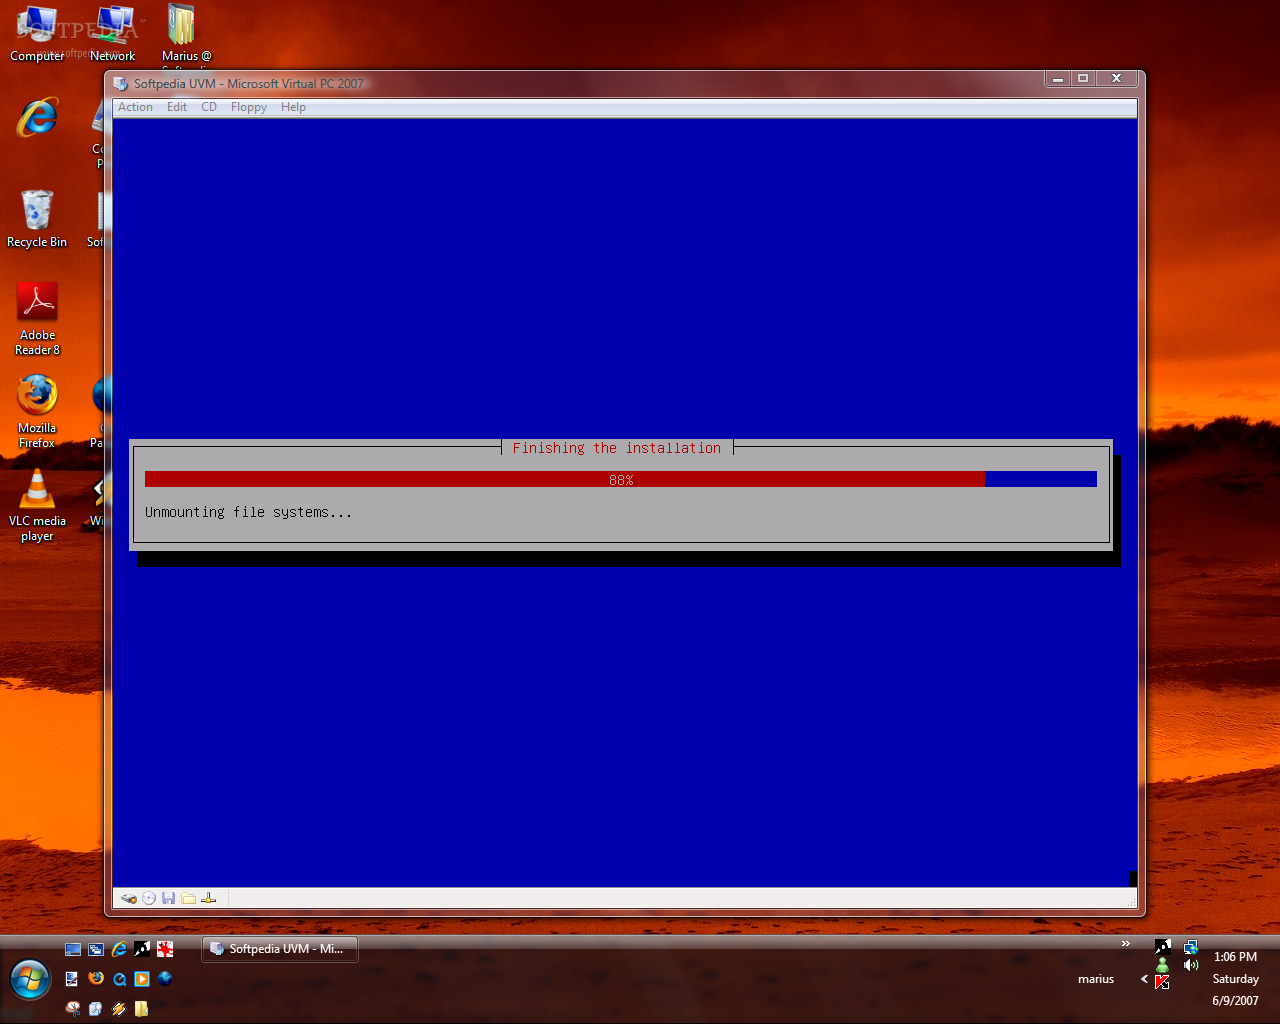
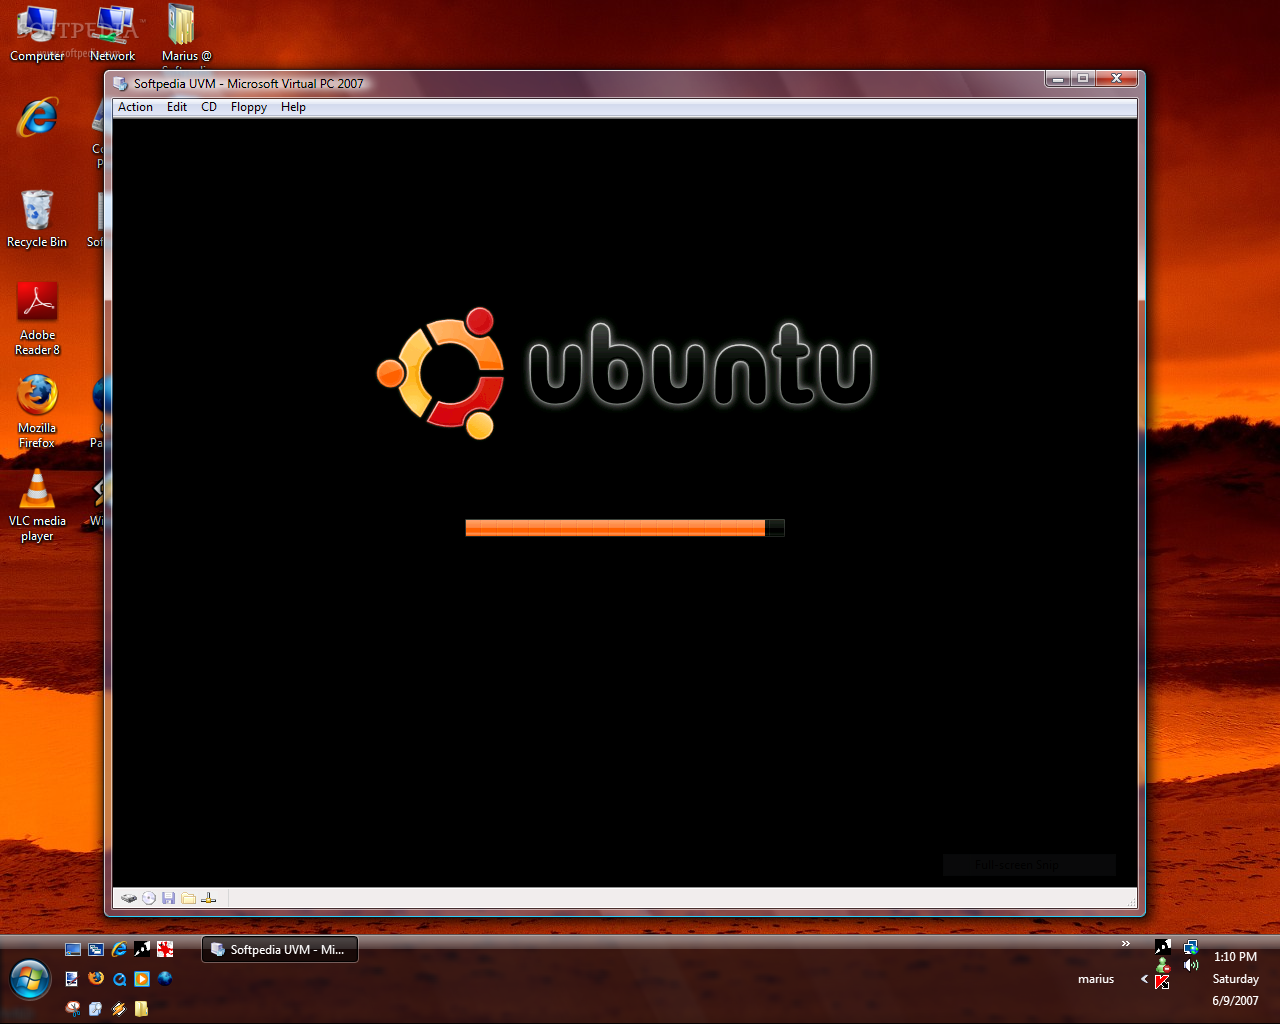
The installation process will prompt you to select the language, then the country, and the keyboard layout, where the NO option will permit you to choose the layout from a list. The operating system will detect all the hardware on the computer, load components and configure the DHCP network. When it comes to the partitions go with the Guided ? use the entire disk option, of course that Ubuntu 7.04 will only use the virtual hard disk. Also make sure to approve the writing of the changes to disk. Move on to set up user accounts and passwords, and the installation of the base operating system will begin. The process is automated so just sit back and relax. Because we are talking about a virtual machine, the installation will also take its due time, but it is also faster compared to deploying Vista Ultimate in Virtual PC 2007. You will be additionally prompted to configure the resolutions of the xserver-xorg before the installation will be complete. Release the ISO image and let the installed Ubuntu 7.04 boot.

What the... !!!
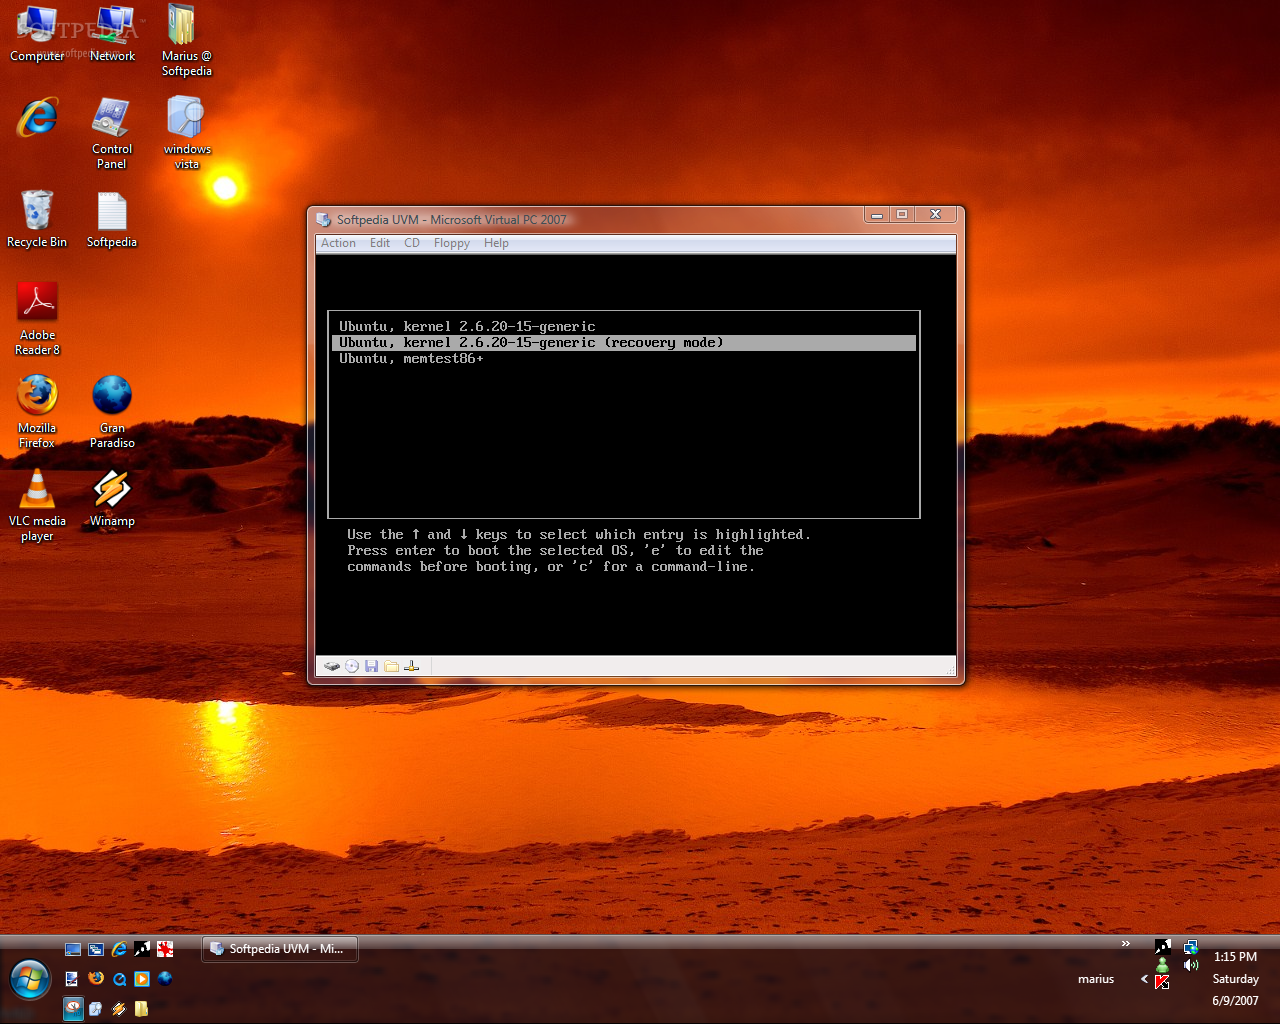
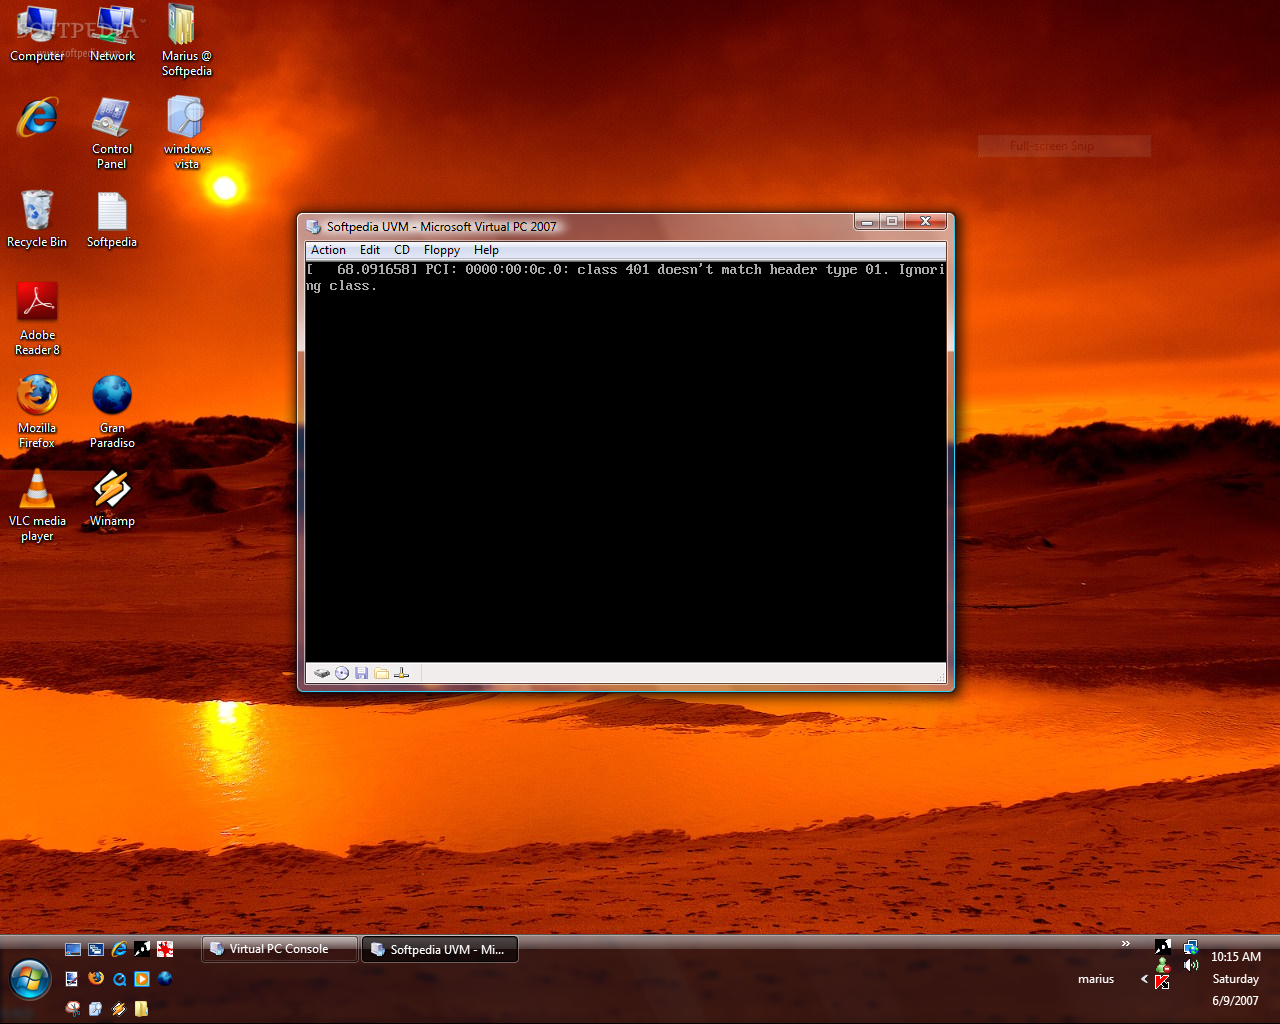
Right, our 24-bit vs. 16-bit pains with Ubuntu 7.04 are not over. If you have let the operating system boot on its own you ended up with a messed up screen in the virtual machine. Not good. What to do? Well the solution is rather simple. And only involves a little typing. Press right Alt + "R" to restart the virtual machine and hit Esc to access the GRUB boot menu. Be advised that the GRUB boot loader starts up pretty fast so you will need your trigger finger... Recovery Mode is the way for you, select the option, press Enter and let the operating system do its thing.
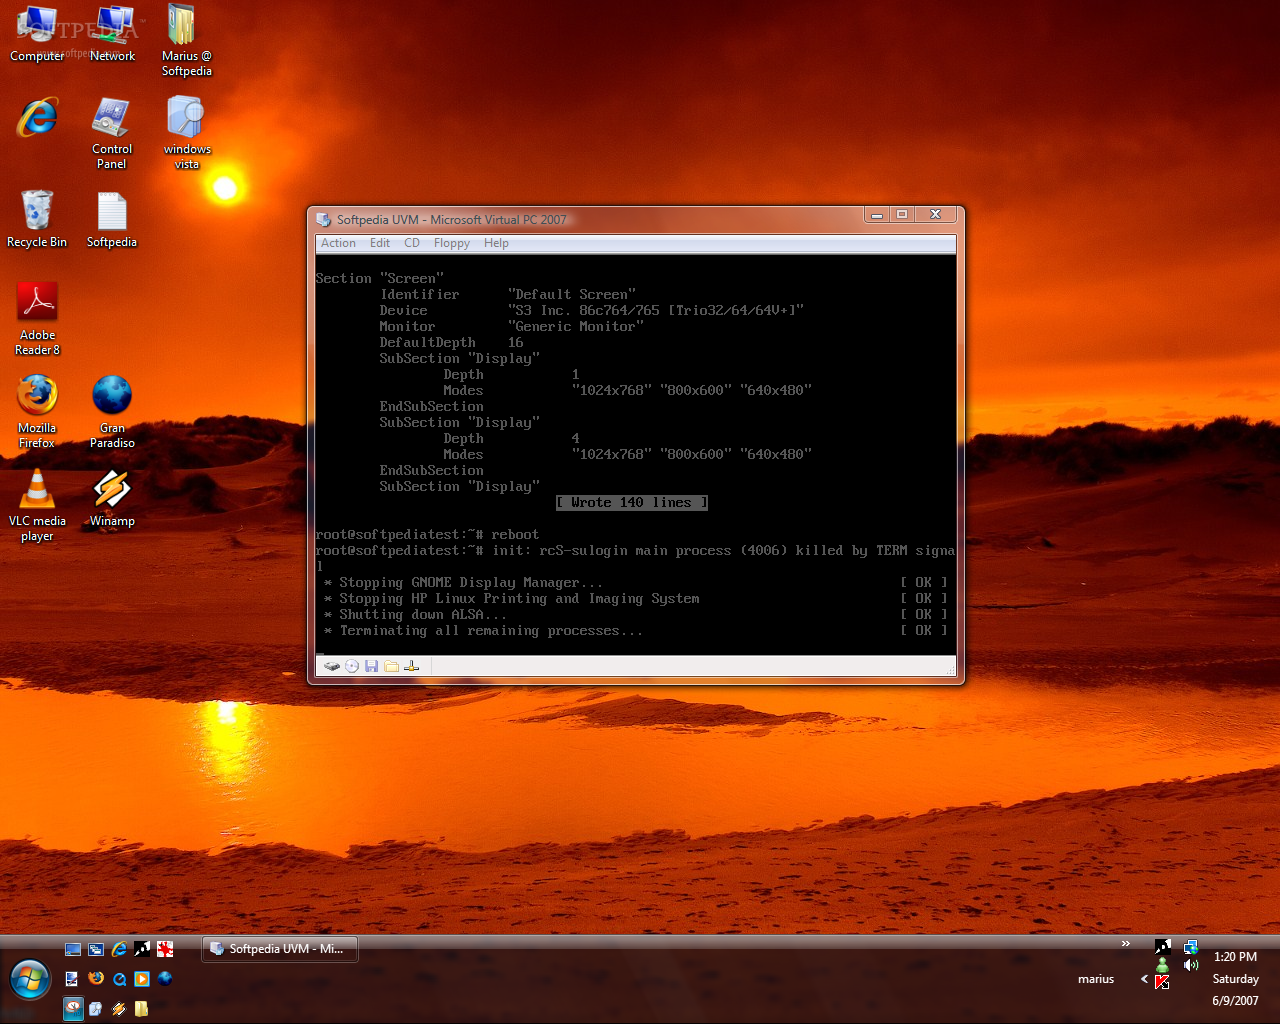
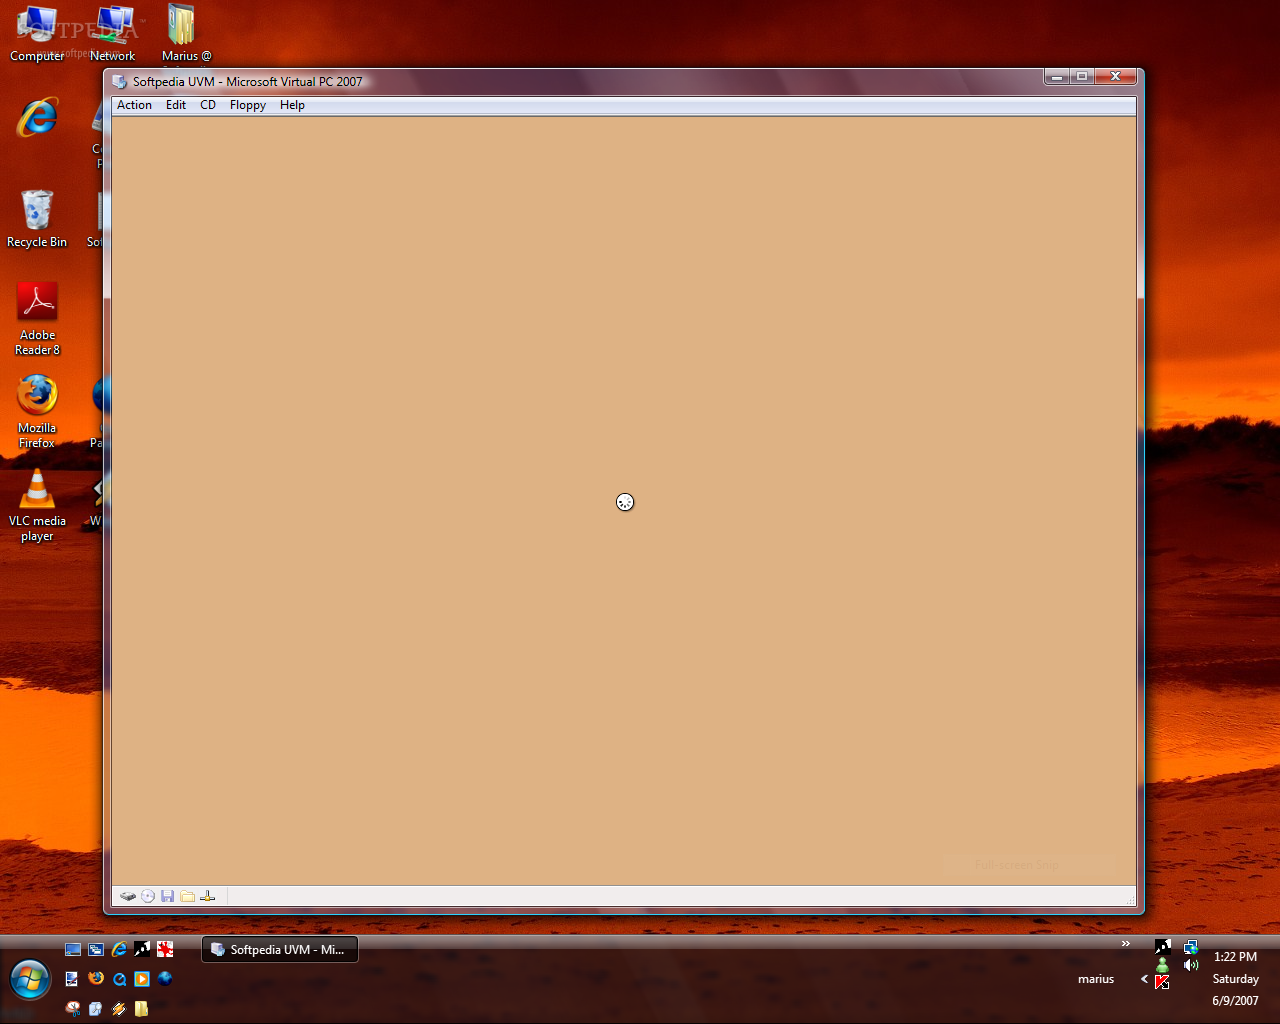
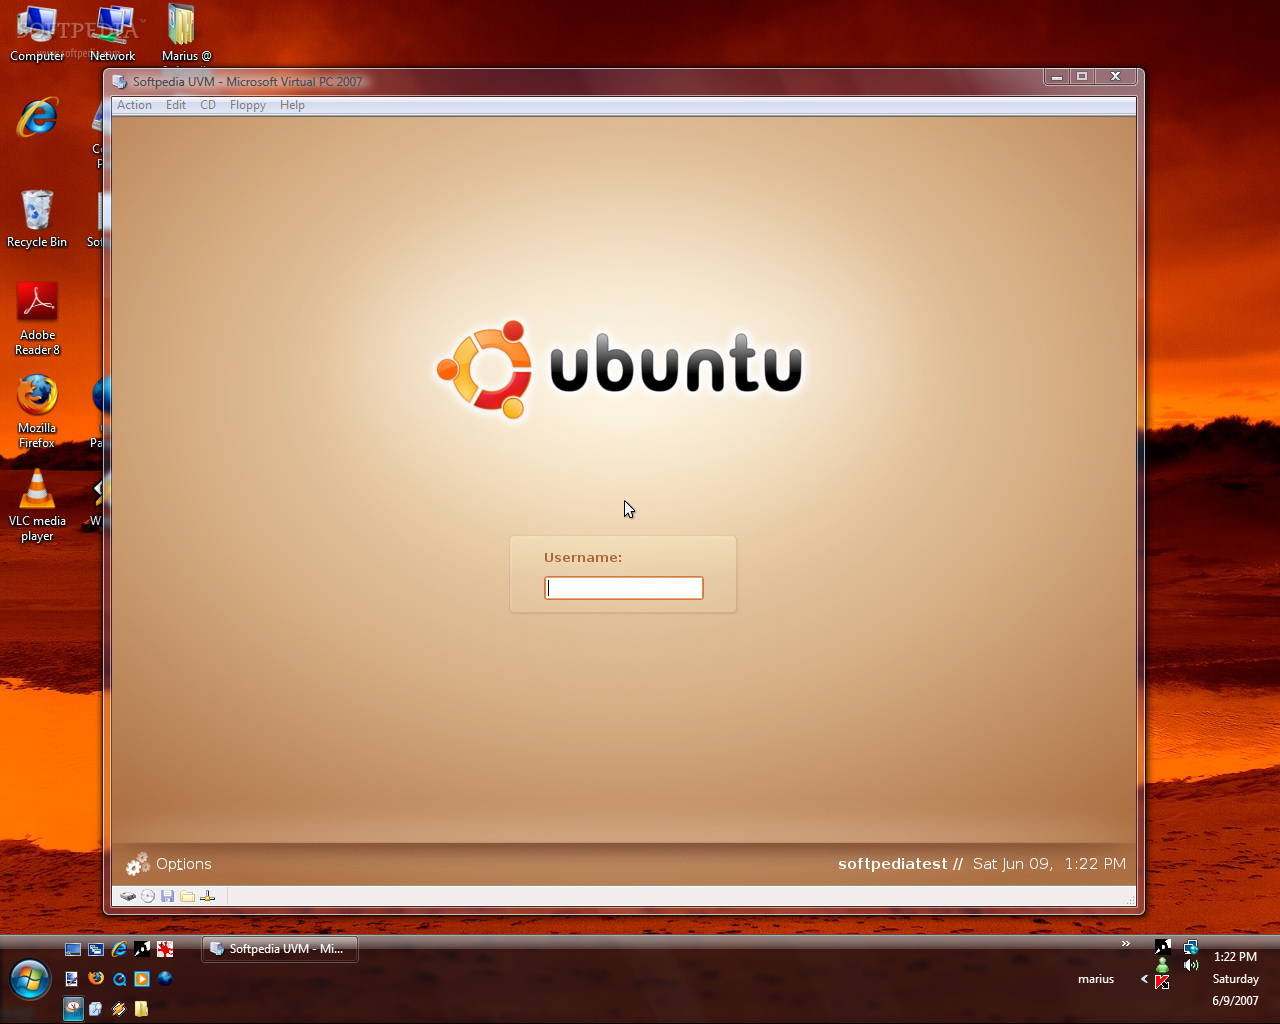
Now it is time to mess around with the configuration of Ubuntu 7.04. I know, I know, this is the sweet moment you have been waiting for... But first back it up, just living healthy. Enter "sudo cp /etc/X11/xorg.conf /etc/X11/xorg.conf.backup" in the command line and press enter to create a copy of xorg.conf. Next write "sudo nano /etc/X11/xorg.conf" and you will have access to the xorg.conf file in the GNU Nano. This text editor offers search functionality, press Ctrl + "W" and search for "DefaultDepth". The default value for DefaultDepth will be 24, delete it and type 16 instead. Hit Ctrl + "O" and Ctrl + "X" to exit. Now type in "reboot" and we're done! Ubuntu 7.04 will start up normally, but in 16-bit, in the Virtual PC 2007 virtual machine on your Windows Vista.

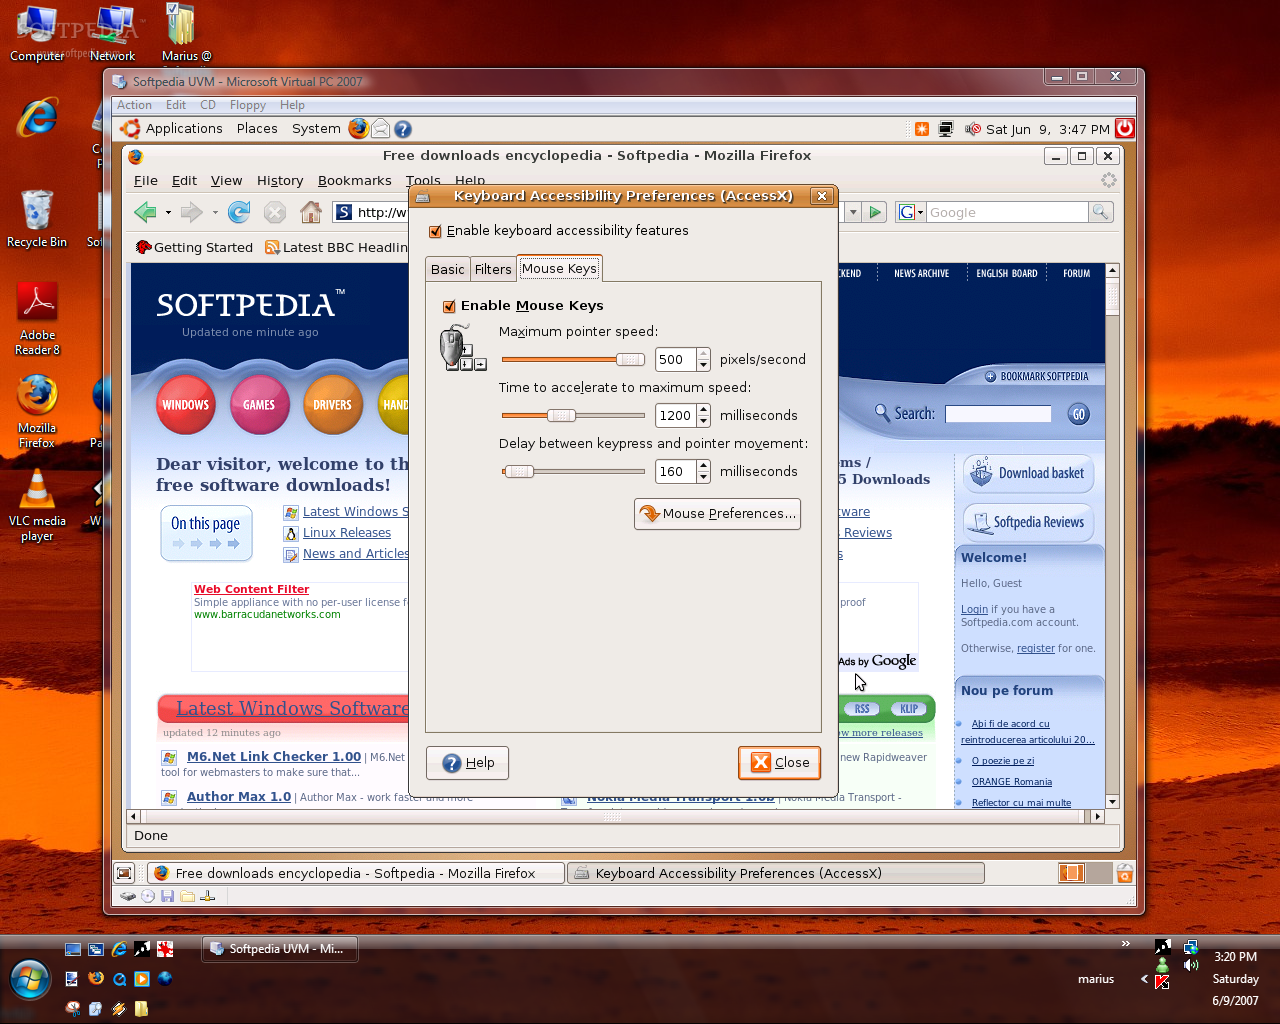
Ubuntu 7.04 Even Has some Cheese for Your Mouse
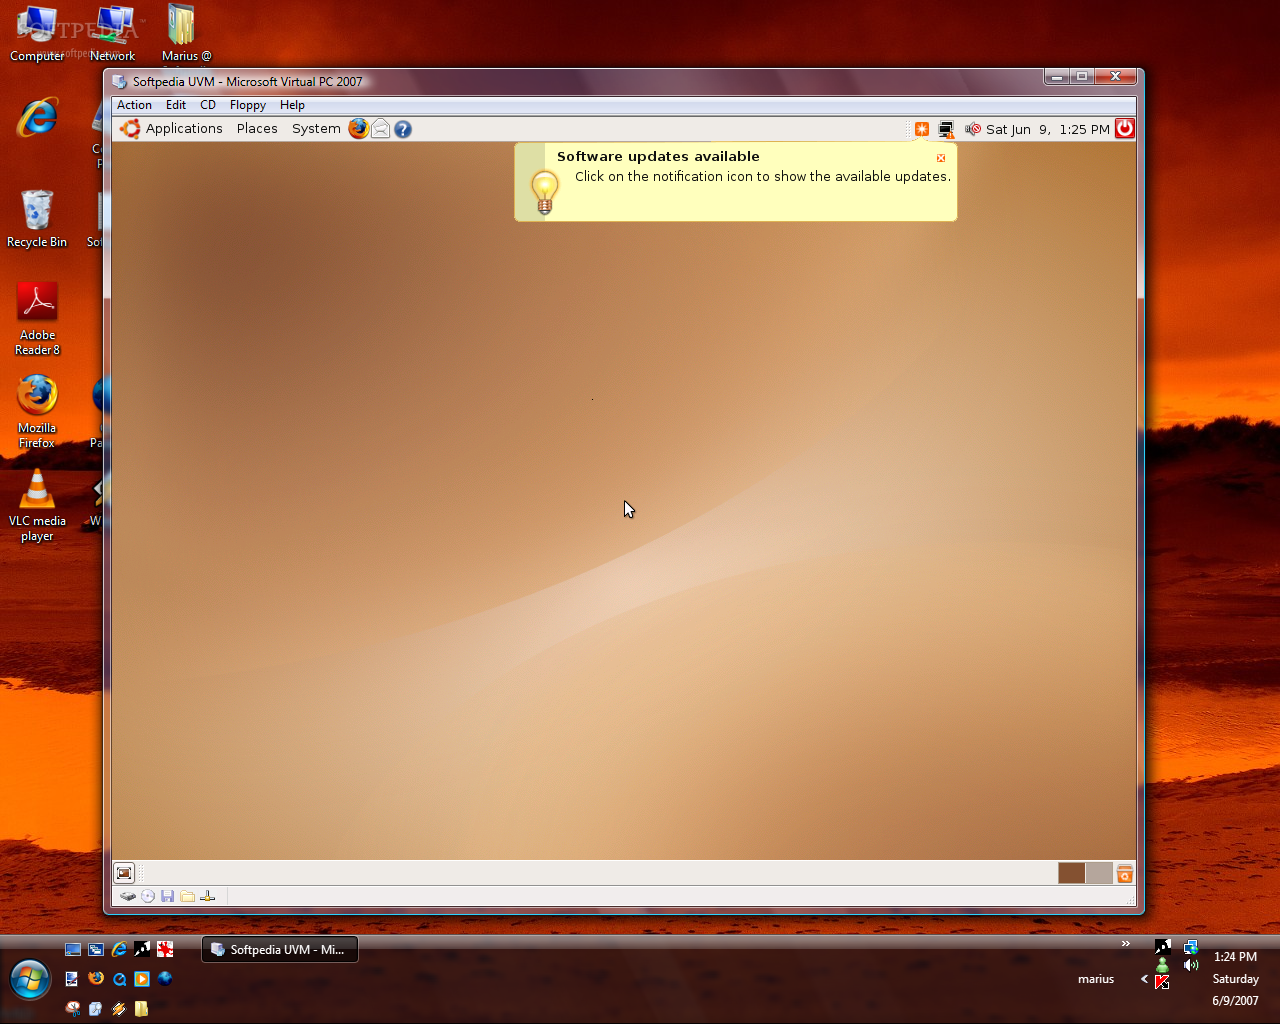
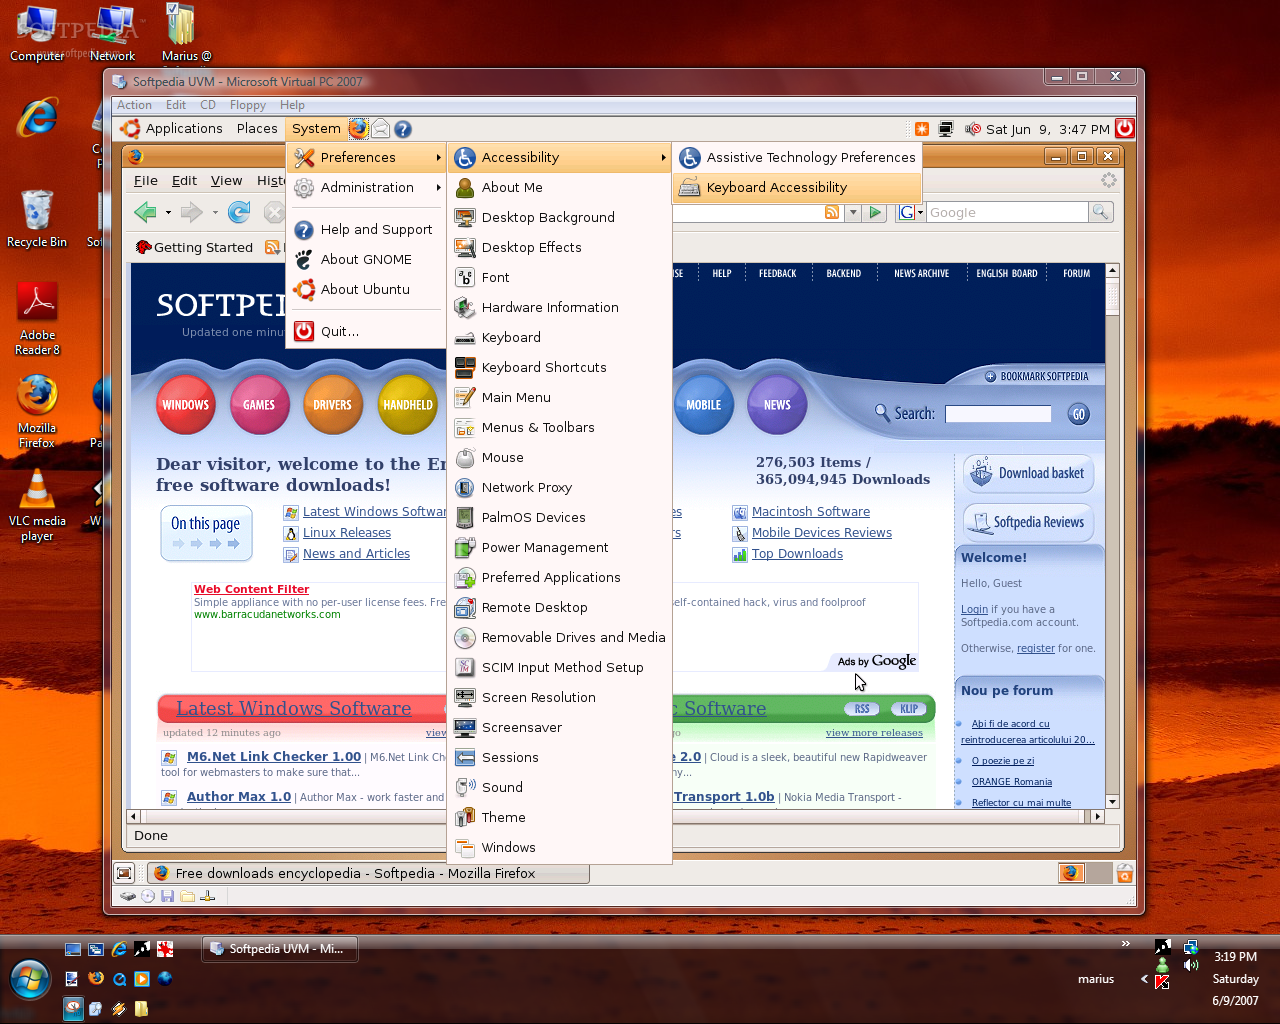
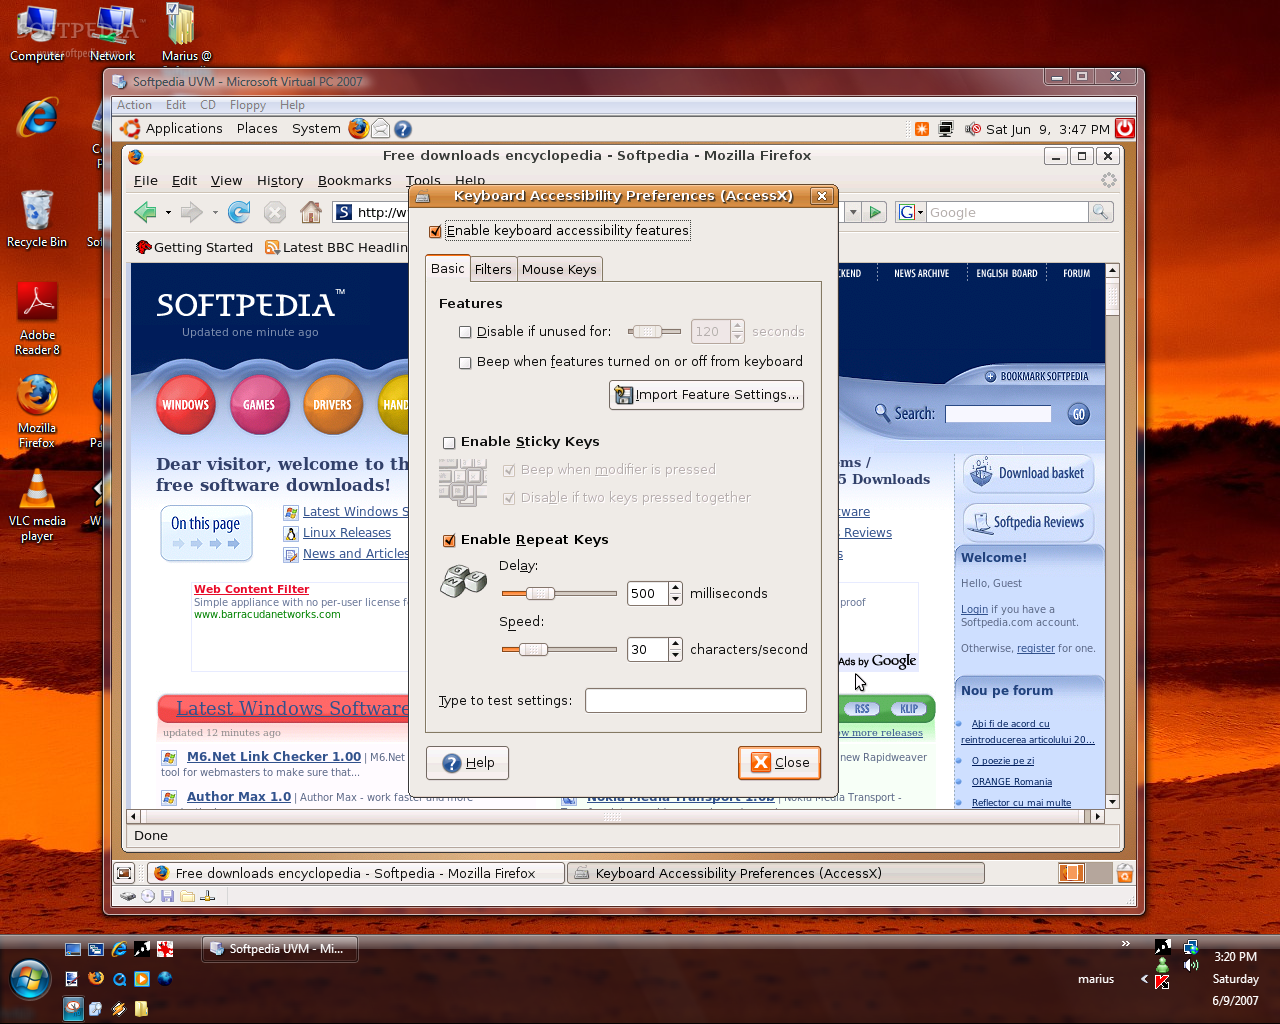
The first thing that you will notice about virtualized Ubuntu 7.04 in Virtual PC 2007 is that the mouse will not work in the virtual machine. In order to get around this problem press left Alt and F1, access the menu, make your way to System by pressing down the left arrow key twice, then navigate to Preferences, Accessibility, and Keyboard Accessibility. Selecting this option will open up a dialog box for the Keyboard Accessibility Preferences where you will have to "Enable keyboard accessibility features." In order to do so navigate with Tab and the arrow keys, and to enable press Spacebar on the selection. You will also have to Tab your way to Mouse Keys and enable the first option at the top. Use the images included here as visual guidelines. And you now have pseudo mouse functionality by using the Num Pad keys, I'll give you a hint, "5" is click... Enjoy!