14 DAY TRIAL //
 Few people understand why some routers cost $15 and some hundreds of dollars.
There are hardware differences and... software differences.
Using a custom firmware (if supported by the router) can give you options/features available on much more expensive hardware.
Such a firmware is TomatoUSB. It's an open source firmware for Broadcom-based routers.
The first step is to see if your router is supported by Tomato, so please check Shibby Tomato Builds. If it is, get the newest version and flash it on the administration interface.
Usually, there are some flavors: AIO (All in One) or VPN (few features, smaller size, perfect for most users).
If it cannot be flashed through Web interface (like Asus RT-N53), you must use the emergency procedure (see router documentation) to upload the custom firmware to the router.
After you install and set up all the usual settings on Tomato (WIFI, LAN etc.), you can go further, and with some work, you can install many programs, for example a webserver with PHP support or Transmission Torrent client (the router must have USB ports).
Different routers have different flash memory sizes. Inside the flash reside the firmware and settings. Depending on the flash size and firmware size (VPN or AIO), some unused space might still remain, so you can create a JFFS partition to install software. This is critical for routers without USB or if you do not want to use a USB drive. If you do want to use a USB drive, read here how to create a partition, and after you create it, continue this tutorial from #3.
So... let's install some software.
1. Create a JFFS partition.
Go to Administration – JFFS – Enable – Format Erase
In the text box paste:
2. Go to Administration – Admin Access and modify the default port settings for router administration (ex: 8082).
Now you can access the admin interface on another port
default: http://192.168.1.1:8082
4. Install Optware package manager:
wget http://tomatousb.org/local--files/tut:optware-installation/optware-install.sh -O - | tr -d '\r' > /tmp/optware-install.sh
chmod 755 optware-install.sh
sh optware-install.sh
This will take some time, depending on your internet speed and router processing power.
5. Install nano (text editor), lighttpd (webserver), and php
ipkg install lighttpd
ipkg install php-fcgi
7. Restart the webserver:
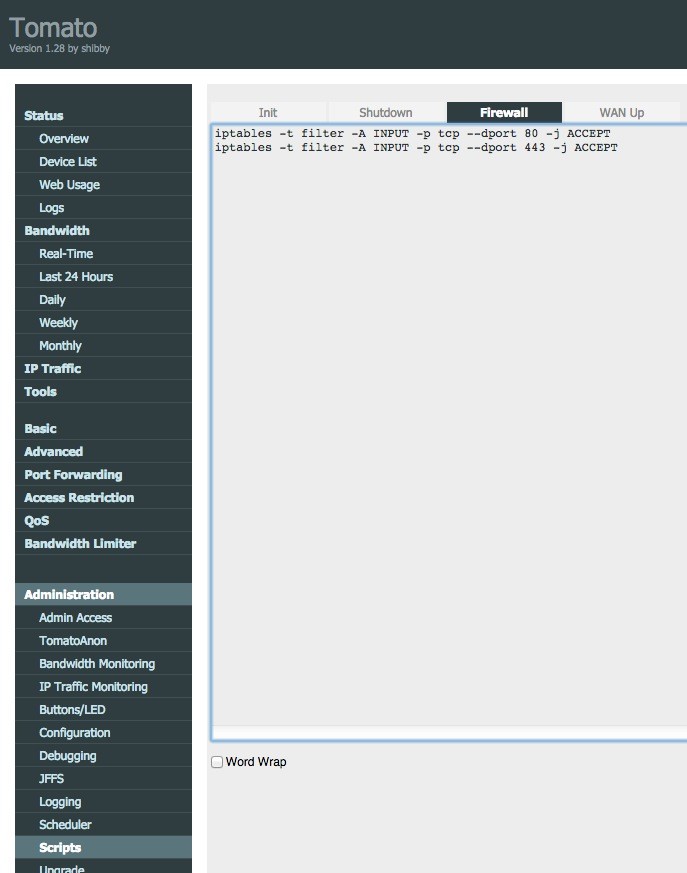
7.1 If you want your webserver to be accessible from WAN, you need to add those lines to the Firewall script (Administration – Scripts – Firewall):
iptables -t filter -A INPUT -p tcp --dport 443 -j ACCEPT
Go to Advanced DHCP-DNSand add this code to Dnsmasq Custom configuration:
Save and close nano - (Ctrl+X, Y)
Restart the dnsmasq service.