As we’ve already learned the hard way, Windows 10 updates don’t always install correctly, and in some cases, they actually do more harm than good.
While Microsoft has reduced the likelihood of updates failing to install, it doesn’t necessarily mean that everything is working exactly as expected.
Living proof is the May 2019 cumulative update shipped to devices running Windows 10 October 2019 Update, or version 1809. KB4494441 installed twice for some users, a behavior which made many believe this is just another botched update that should be blocked altogether.
And because the update was re-offered on Windows Update after previously installing correctly, or so it seemed, some just wanted to remove it and cancel its pending installation.
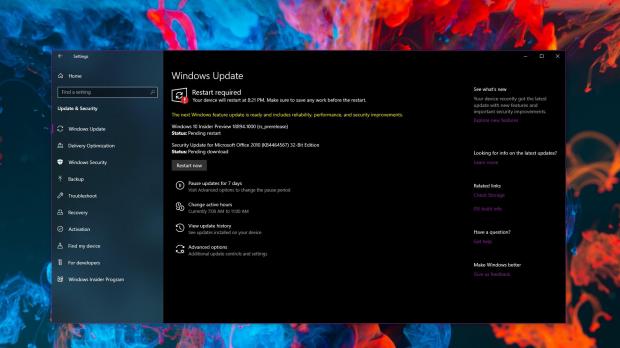
At this point, however, Windows 10 doesn’t come with dedicated controls to cancel an update that’s waiting to install, but fortunately, you can actually do this by following just a few steps.
Back in late 2018, I told you how to cancel the pending installation of Windows 10 version 1809, and a similar method can be used for cumulative updates as well. Today, however, we’re going to rely on the command line entirely, so you can automate this process and adjust it according to every update that you may want to block.
First and foremost, you must be logged in with an administrator account because otherwise you won’t be allowed to interfere with the update process and delete system data.
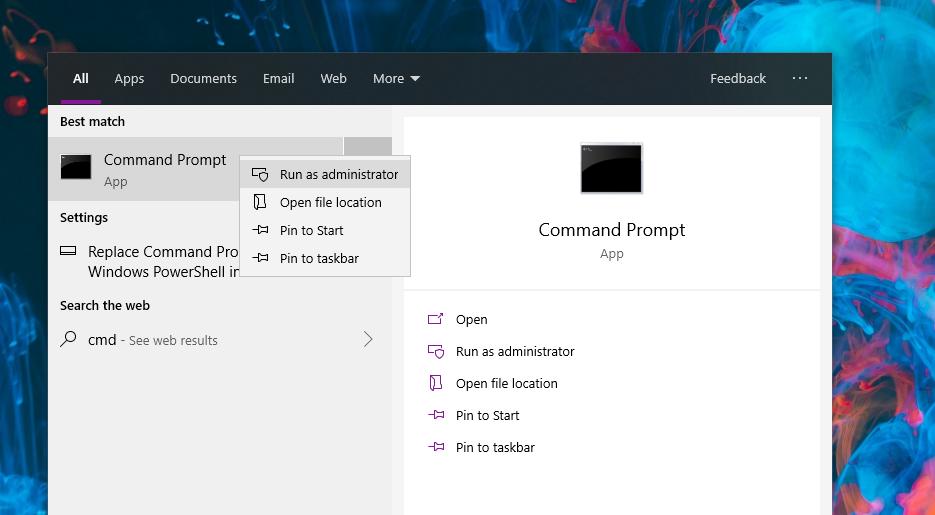
Next, you need to run an elevated Command Prompt, which is an instance of the program launch with administrator privileges. Click the Start menu, type cmd.exe > right-click Command Prompt > Run as administrator.
The first thing you need to do is stop the Windows Update service, which is necessary in order to delete files without getting an error that they are in use. To do this, type the following command in the elevated Command Prompt window you launched earlier:
net stop wuauserv
So to remove the downloaded update files, type the following command in the same elevated Command Prompt window:
rd /s /q "%systemroot%\SoftwareDistribution\Download
At this point, you can already restart the Windows Update service, albeit you should keep in mind that a new check for updates can once again trigger the download of the update that you’ve just deleted. The command to start Windows Update is the following:
net start wuauserv
The same method can be used for OS feature updates and preview builds shipped as part of the Windows Insider program, as the location in the command above includes all files that are downloaded by Windows Update on a Windows 10 device. For example, if you’re an insider that hasn’t updated their computer in a long time, but an older build is waiting to install, you can just remove the pending build to skip to a newer one.

 14 DAY TRIAL //

