I don’t know about you, but Snipping Tool was and still is an awesome app which I use occasionally whenever I want to take a screenshot capture without the need for third-party apps.
On the other hand, I also use a dedicated third-party screenshot app for more advanced things, but for basic screen capturing, Snipping Tool is just perfect.
Microsoft, however, wants the snipping experience in Windows 10 to evolve as well, so it’s replacing it with a modern app called Snip & Sketch. Of course, new features are developed as well, including a Screen snip option that allows you to quickly take a screenshot of a region on the screen, a window, or the full screen.
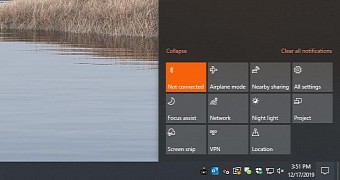
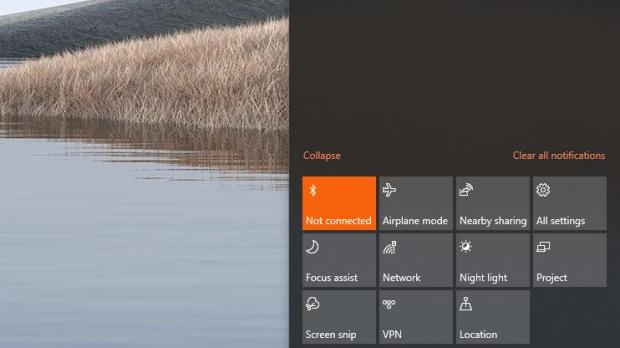
The Screen snip option is located in the Action Center and is offered as a quick action, so a couple of clicks is all you need to launch it. But on the other hand, what if you want to launch the app from the desktop or from the taskbar?
Right now, Screen snip (the option itself) isn’t offered as a standalone app, so what you can do is create a shortcut for Snip & Sketch and then use its interface to take a screenshot.
This clearly isn’t the most convenient thing to do if you want everything to be faster, and the steps below might really come to the rescue.
The solution, in this case, is creating a shortcut for Screen snip that makes it possible to fire up the screen taking option in a more straightforward manner without having to launch Snip & Sketch first.
Fortunately, doing the whole thing doesn’t take more than just a few clicks.
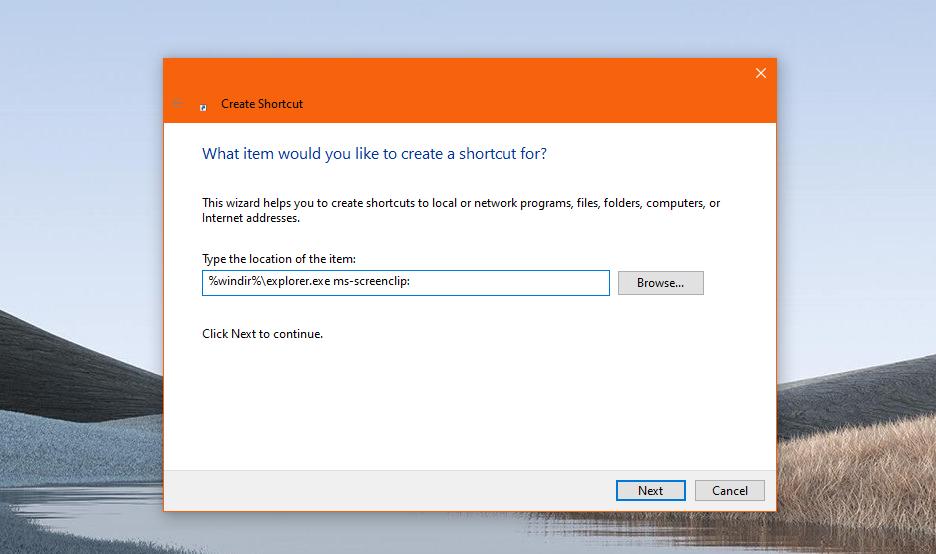
First and foremost, head over to the desktop and right-click it > New Shortcut. When asked to type the location of the item, paste the following code:
%windir%\explorer.exe ms-screenclip:
Double-clicking this shortcut fires up the screenshot taking UI, and you can choose from the same options as before, such as window, area on the screen, or full screen.
From this point on, it’s up to you to decide how you use the shortcut. For example, while most people prefer to keep it on the desktop, you can very well drag it to the taskbar, where it’s even faster to click simply because it’s available regardless of what you do on the screen.
And of course, you can also pick a different icon for the shortcut, either from the default icon pack that comes with Windows or using a third-party icon that you downloaded from the Internet.
The tutorial here works on all versions of Windows 10 where Snip & Sketch is available and the Screen snip option is supported.
As for third-party screenshot capturing apps, there are plenty of them out there, but the one I recommended is WinSnap. It doesn’t come with a free license, but on the other hand it supports all kinds of extra features, including hotkey support, auto-saving, watermarking, and a series of visual effects that can be applied to each screenshot.
Hopefully, Microsoft will continue to improve Snip & Sketch in Windows 10 with more such capabilities, and the feature that I consider mandatory right now is hotkey support. For now, the company hasn’t said anything about such improvements, but depending on the received feedback, such features could become a priority going forward.

 14 DAY TRIAL //

