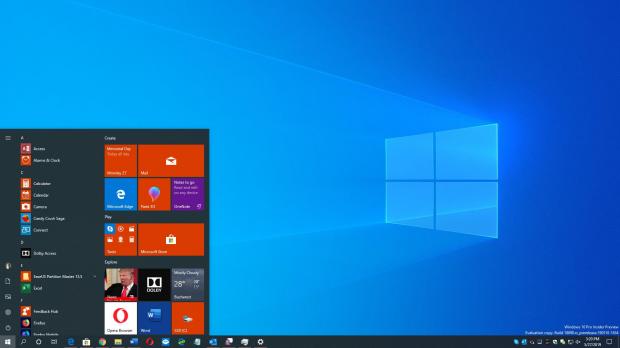
One of the biggest changes in the newly-released Windows 10 May 2019 Update, or version 1903, is that Microsoft created a separate process for the Start menu.
As you probably know by now, the Start menu is one of the most popular Windows features, and its removal back in 2012 backfired quickly for Microsoft.
The company ditched the Start menu in Windows 8 and replaced it with a touch-optimized Start screen. Feeling lost on the desktop, a substantial number of users turned to third-party Start menu apps that brought this feature back to Windows, pretty much ignoring the new Start screen that Microsoft hoped people would love.
In Windows 10, on the other hand, the Start meu returned with a refreshed look that included live tiles borrowed from Windows phones and the Start screen.
And every new feature update for Windows 10 introduced additional refinements, including the dedicated process that I told you about earlier.
The reason for creating a separate process for the Start menu is that it refines the reliability of the feature.
“By insulating Start from potential issues impacting other surfaces, Insiders saw measurable improvements in Start reliability. With the new app in place, Start was opening significantly faster. Even better, because Start is such a big part of the overall Windows experience for most users, we saw these reliability improvements contributing to performance improvements for the entire OS,” Microsoft says.
But creating a dedicated process for the Start menu also gives users more control over this feature, so you can now kill and restart it anytime you want. Doing it is quite easy.
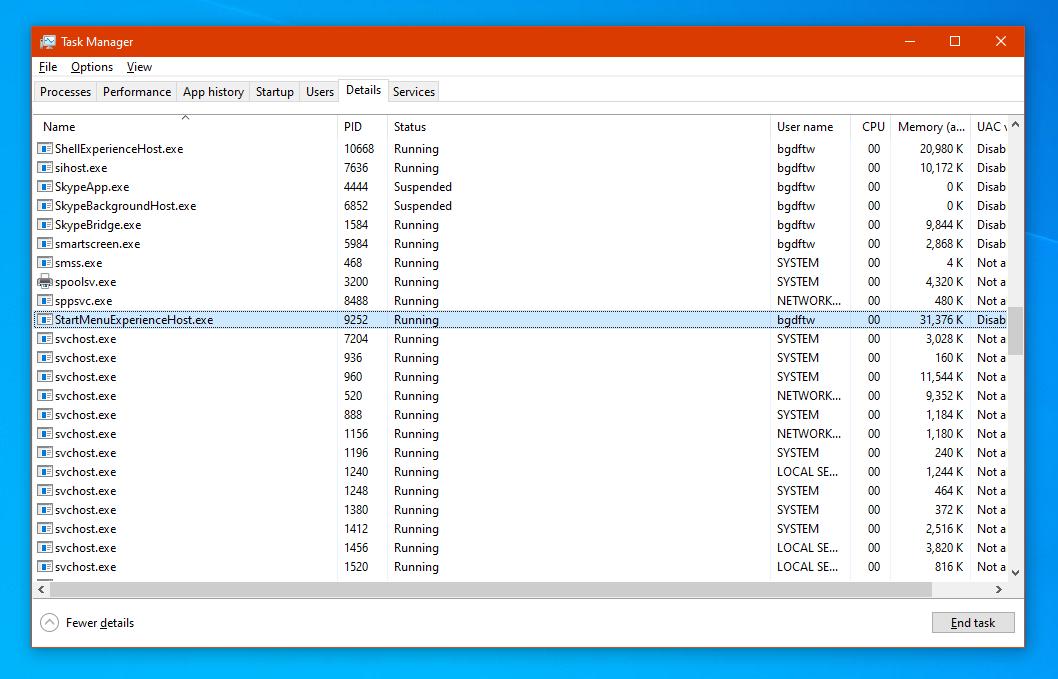
First of all, you can simply turn to the Task Manager to do it. What you need to do is look for a process called:
StartMenuExperienceHost.exe
Right-click Taskbar > Task Manager > Details > StartMenuExperienceHost.exe > End task
At the same time, you can also kill the Start menu process and restart it from Command Prompt. The first step comes down to launch an elevated Command Prompt, which is an instance of the app that you run with administrator rights. To do this:
Start menu > type cmd.exe > Right-click Command Prompt > Run as administrator
taskkill /im StartMenuExperienceHost.exe /f
As to why you’d need to relaunch the Start menu or kill its process, there are several reasons for this.
First of all, the Start menu occasionally becomes unresponsive and clicking the Start button doesn’t launch the menu, as expected, but instead does nothing. Then, there are several users who complained that opening the Start menu sometimes takes more than a couple of seconds, while in some cases, the menu altogether crashes. These are all occasions when you can turn to the aforementioned steps.
Remember that this is only available on Windows 10 May 2019 Update, or version 1903, which is now being rolled out to users on Windows Update. You can also manually force the update to Windows 10 May 2019 Update with the Media Creation Tool if you don’t want to wait for Microsoft to make the release available for your device.

 14 DAY TRIAL //

