With the Linux 4.16 kernel out the door, we bet that some of you out there would want to install it on your Ubuntu or Linux Mint computers, so we've prepared a quick and straightforward tutorial just for that.
Linux kernel 4.16 brings numerous updated drivers and a bunch of other general performance improvements, but it doesn't mean you have to upgrade to this version, especially if everything works smoothly for you. This tutorial is addressed to all those who need better hardware support or want to be bleeding-edge.
Before going into detailed installation instructions, we have to warn you that some things might break after installing this new kernel, such as your VirtualBox kernel modules, or other kernel modules that don't support Linux 4.16, as well as any proprietary drivers (AMD, Nvidia, Broadcom, etc.) you might have installed.
On the other hand, if you rely on the open-source graphics drivers for gaming, we recommend installing the Linux 4.16 kernel because it brings several performance improvements to those Intel and AMD Vulkan and OpenGL drivers. The instructions below are provided for Ubuntu 17.10 and 16.04 LTS, but should work on other derivatives too.
Here's how to install Linux kernel 4.16 on Ubuntu 17.10 and 16.04 LTS
If you're using the Ubuntu 16.04 LTS (Xenial Xerus) or Ubuntu 17.10 (Artful Aardvark) operating systems, or a derivative, such as Kubuntu, Xubuntu, Lubuntu, Ubuntu MATE, or even Linux Mint, on 32-bit, 64-bit, ARM64, ARMhf, or s390x hardware, you should be able to successfully install the Linux 4.16 kernel.
So, you'll need to download either the generic or low-latency kernel (including the headers) for your respective architecture from here (e.g. download linux-image-4.16.0-041600-generic_4.16.0-041600.201804012230_amd64.deb and linux-headers-4.16.0-041600_4.16.0-041600.201804012230_all.deb if you're running Ubuntu on a 64-bit PC.
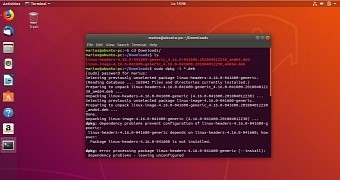
Save the two files in a folder on your desktop or Home directory, then open the Terminal app in that location and run the command below. Wait for the new kernel version to be installed, which could take a few minutes, and then reboot your computer. If you encounter any errors, please try again with the "sudo apt install -f" command.
sudo dpkg -i *.deb
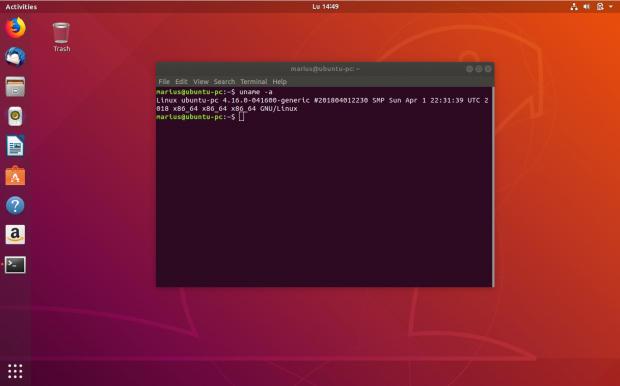
That's it! Your Ubuntu PC is now powered by the Linux 4.16 kernel. Please keep in mind that using this method to install the latest kernel on your Ubuntu computer won't allow you to receive further updates like Linux kernel 4.16.1 or 4.16.2, etc. So you'll have to download newer versions from Canonical's mainline kernel repository and install them manually.

 14 DAY TRIAL //

