Windows 10 version 1903, currently codenamed 19H1, will come with improvements in terms of font installation, allowing users to set up and configure fonts much easier than before.
First and foremost, the basics. As long-time Windows 10 users definitely know, one of Microsoft’s priorities is replacing the classic Control Panel with the Settings app.
While this is a work in progress, the Control Panel will go away at some point, and users would be left with nothing else than the Settings app to configure the operating system.
As part of this transition, Microsoft is trying to make the Settings app as straightforward as possible, so the company not only that is moving features from Control Panel, but it is also implementing a series of changes that make the experience with them more intuitive.
The fonts section, for instance, has already been transferred from Control Panel to Settings, so it’s now possible to install, delete, and manage fonts much easier in Windows 10.
The upcoming feature update that we refer to as version 1903 will continue Microsoft’s efforts in this regard, so fonts management would be significantly revised once the operating system becomes available.
The most recent preview build shipped to Windows insiders, namely build 18317, brings one such overhaul, allowing the installation of fonts using nothing more than a drag and drop. Here’s how it works.
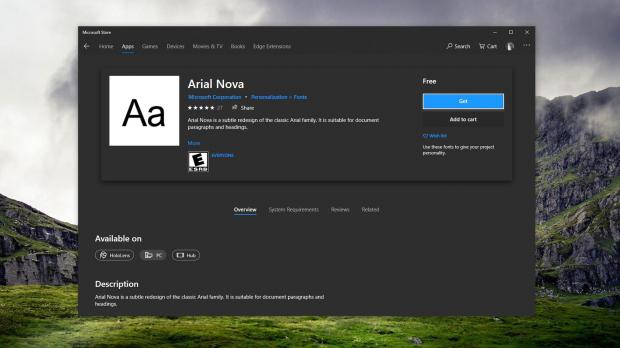
First and foremost, why drag and drop? As you probably know already, Microsoft has published a series of fonts right in the Microsoft Store, so it’s easy now to install new fonts. All you need to do is fire up the Microsoft Store, look for specific packages, and then hit the install button.
However, there are users who keep their fonts files on their devices, no matter if these are third-party fonts downloaded from other sources online or even their very own fonts. So with a drag and drop, users can install fonts from other sources than the Microsoft Store.
In the Settings app, you need to go to the next location:
Settings > Personalization > Fonts
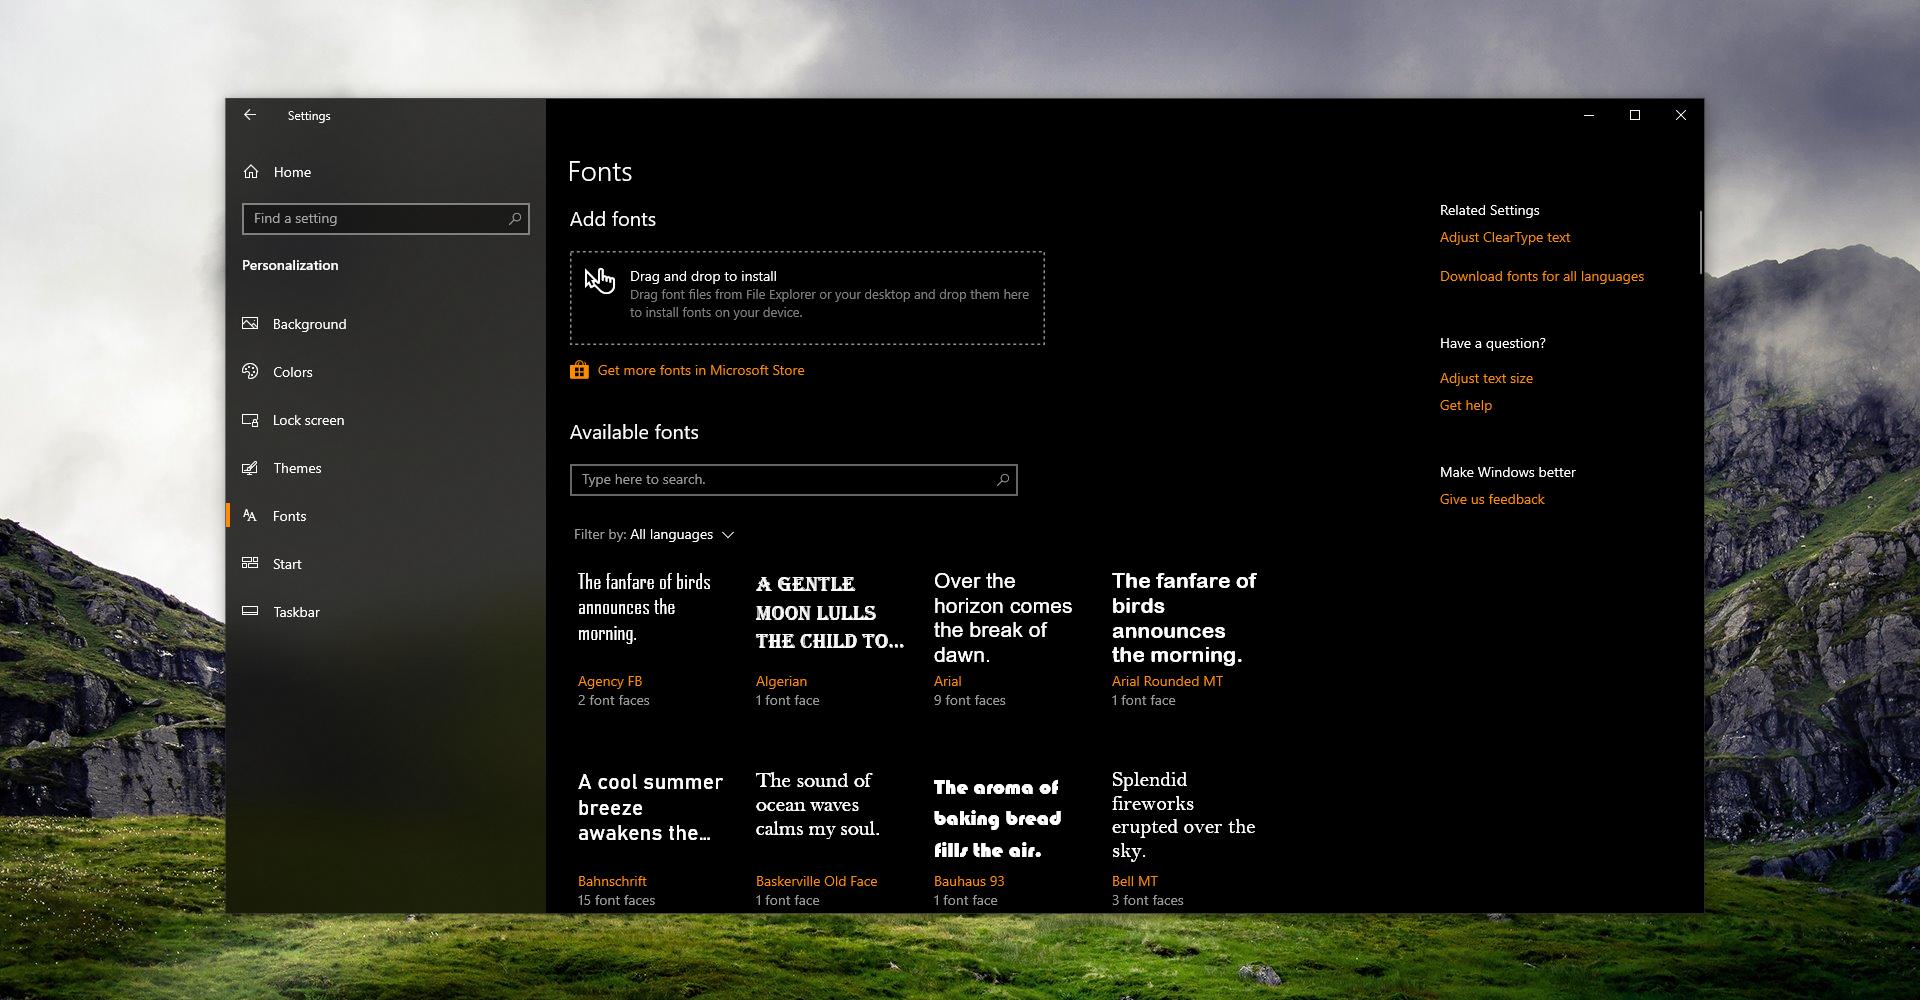
If you updated to this latest build (or if you are running Windows 10 version 1903 when you read this), there’s a new box at the top of the screen that is called Add fonts.
All you have to do to install a new font is to drag and drop it from the desktop (or any other location on your device) to this box in Settings. Once the font is installed, it shows up as number one in the list in the same screen in the Available fonts section.
Clicking this newly-created entry allows you to view all font faces, but also additional information, such as where on your device the font file is located. You can also remove the font from the same screen.
What you need to know is that fonts installed this way do not require elevated privileges, so the process can be done even without an administrator account.
Fonts are installed for each user configured on the device, so no other user on the system would see them. They are created per each user and only that user can manage them.
Rebooting isn’t necessary after installing new fonts, and they should become available in your apps when launching them the next time (if you’re already running a specific app when installing a new font, you need to restart the app to be able to view the font).
Windows 10 version 1903 is projected to be finalized in March this year, while the public rollout for production devices across the world should kick off in April.

 14 DAY TRIAL //


