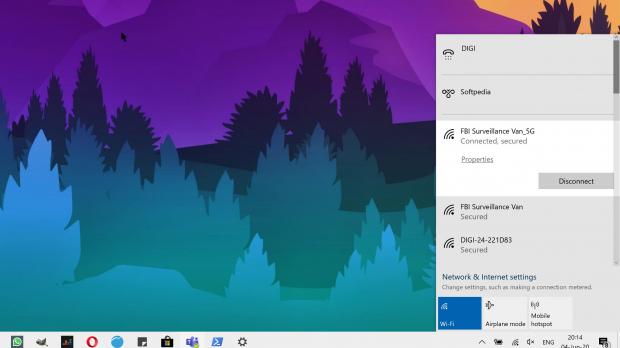
Windows 10 comes with a dedicated network flyout that allows you to manage networks right from the desktop, but at the same time, the Settings app also sports a dedicated network page with more advanced options in this regard.
Connecting to and disconnecting from a network is thus a matter of clicks, and the same thing applies to wireless networks too. The flyout allows you to discover Wi-Fi networks in just a few seconds and then connect without the need for other menus.
Forgetting a specific network is again something that’s at least as convenient as connecting to it. Because all you have to do is click the network icon in the system tray to launch the said flyout, right-click the Wi-Fi network whose profile you want to delete and then click the Forget option.
So technically, forgetting one Wi-Fi network comes down to the following steps:
Network flyout > Right-click Wi-Fi network > Forget
It goes without saying it really couldn’t get simpler than that, but on the other hand, this method only works if you want to do the whole thing for just one network. But what if you want to forget all the saved Wi-Fi networks on your device?
Of course, doing the same thing over and over again for each network isn’t really the most convenient thing to do, and it sometimes takes time, especially because the process could slow down since the network flyout also scans for Wi-Fi networks on launch.
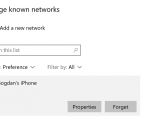
An easier way to go is to just turn to the Settings app for the whole thing, as you can manually click each network and then remove it from the device. To do this, follow this path:
Windows 10 > Settings > Network & Internet > Wi-Fi > Manage known networks > Click target network > Forget
But again, this method also requires you to do everything manually for each network, so it doesn’t help much either.
If you want to simply remove all known Wi-Fi networks at once, PowerShell comes to the rescue. So the first thing you must do is launch PowerShell with administrator privileges:
Right-click Windows 10 Start button or press Windows key + X > Windows PowerShell (Admin)
The command that helps with this is the following:
netsh.exe wlan delete profile name
Basically, this command can be used to also delete a specific Wi-Fi network, just like you’d do the whole thing manually using the instructions above. To do this, all you need to do is to provide the name of the network that you want Windows 10 to forget. To see known Wi-Fi networks in PowerShell, use the following command:
netsh.exe wlan show profile
At this point, you should see a lit of the known Wi-Fi networks in PowerShell. So to delete a specific network, we’re going to use the command above by adding its name displayed in PowerShell. For a network called “Softpedia”, the command would look like this:
netsh.exe wlan delete profile name=Softpedia
On the other hand, if you want to simply delete absolutely all known Wi-Fi networks on your Windows 10 device, the following command is the one you need:
netsh.exe wlan delete profile name=* i=*
You should then see PowerShell confirming that the network profiles are being removed, so if you want to connect to them again, you just need to enter the credentials on your Windows 10 device. Scanning for networks will obviously be required to be able to connect after removing them, and auto-connecting when in range will no longer occur.

 14 DAY TRIAL //

