Windows 10 April 2018 Update is already available for users since April 30, but the experience with this new OS version has so far been far from flawless.
While the huge number of bugs and the various performance issues should be reason enough for most users to delay the upgrade, many rushed to install the Windows 10 April 2018 Update to try out the latest improvements that Microsoft has been working on for the past six months or so.
But here’s something that should really make you think twice before moving to the April 2018 Update: the very first cumulative update for this version bricks some PCs.
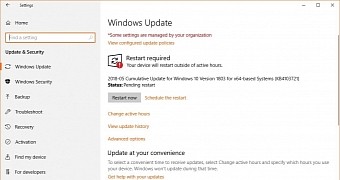
That’s right, some of the systems that are getting cumulative update KB4103721 end up being totally useless, as they’re pushed either to a black screen or to the Startup Repair UI.
Unfortunately, without access to Windows, it might be harder than you think you repair the system, especially without Microsoft yet acknowledging the problem. There are basically three ways to deal with a bricked Windows installation caused by KB4103721, and we’re going to detail them in the next few lines.
#1. Restore points
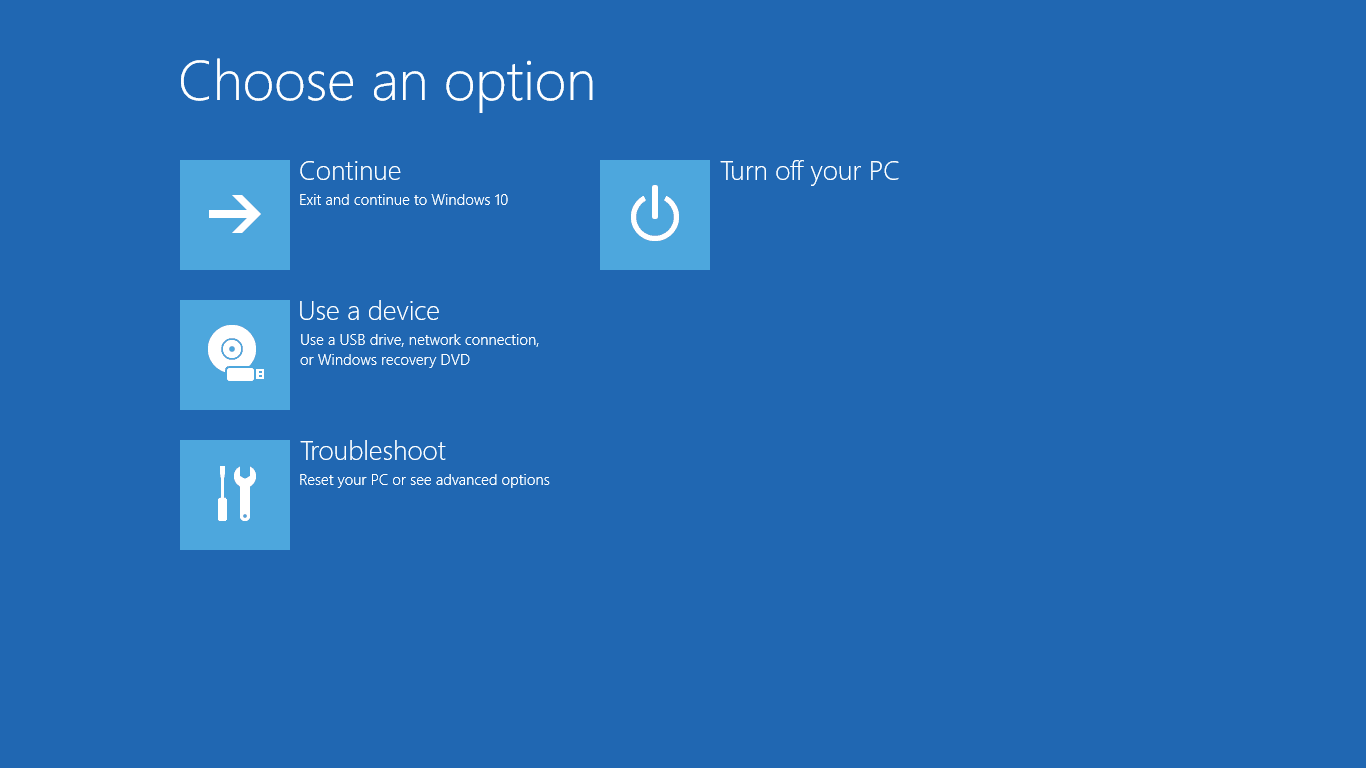
This is pretty much the easiest way to return to a working state of Windows if KB4103721 bricked your system. Even if you’re not able to log back into Windows, the Startup Repair screen allows you to access System Restore and return to a previous configuration of the operating system, such as before installing the update.
Of course, this method only does the magic if you previously created a restore point because otherwise, System Restore has no data to launch.
In Startup Repair screen, head over to Troubleshoot > System Restore and pick the Restore Point that you want to use. You should select the most recent point on your system.
#2. Safe mode
If a restore point isn’t available, you can still get rid of the update, only that you’ll have to do the whole thing manually. The way to go this time is booting in Safe Mode and then removing KB4103721 from the system.
To boot in Safe Mode you can use the Startup Repair screen (or a recovery drive) and then head over to Troubleshoot > Advanced options > Startup settings and follow the on-screen instructions. Once you log into Safe Mode (which should be working anyway despite KB4103721 being installed on the system), go to Settings > Update & Security > Windows Update > View update history > Uninstall updates and select KB4103721 to begin the removal process.
Reboot your system – the computer should now boot in the default mode without any further configuration, and then with the update uninstalled, everything should work as expected.
#3. Clean install
This is without a doubt the most painful workaround, but if nothing works, clean-installing Windows 10 is pretty much your last option.
You’re still going to need a recovery drive and installing Windows 10 from scratch will take more time, especially because without a backup, you’ll lose all your apps, files, and data. This means you’ll also have to install all programs again and reconfigure everything, which in the case of office systems is quite a nightmare.
A clean install should really be your last resort given all of the above, but on the other hand, if you’re running the Windows 10 April 2018 Update on a new or testing system, it could also be a smart way to go because it might eventually address other OS bugs as well.
Regardless of the solution you choose, don’t forget to hide KB4103721 to avoid getting it installed once again, potentially leading to the same issues as before.

 14 DAY TRIAL //

