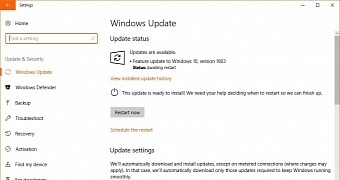
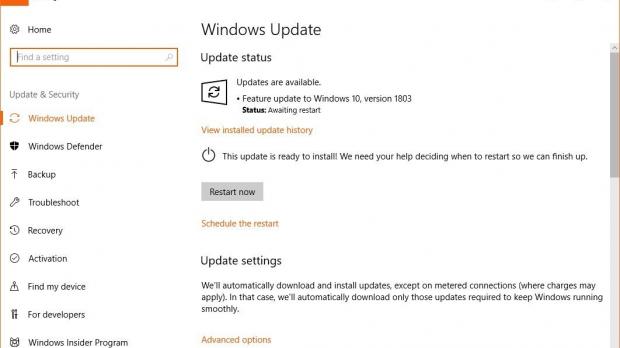
Now that Windows 10 April 2018 Update is available for download and Microsoft is shipping it via Windows Update, more and more computers are expected to complete the upgrade in the coming days, and needless to say, this is a good thing for both the company and its users.
Of course, this is only valid if we don’t take into consideration the increasing number of bugs, but that’s a completely different story, and we’re not going to talk about it today.
In essence, the process of moving from one Windows 10 version to another comes down to Windows Update automatically downloading the necessary files, unpacking them, and then performing the upgrade. But in the case of PCs with limited storage, or for those running on low space on drive C:, this is quite an issue.
Downloading the update files isn’t possible, therefore completing the upgrade to Windows 10 April 2018 Update cannot be done. But what if you change the download location to a different folder on another drive or partition?
At first glance, this cannot be done easily, and obviously, Microsoft does not offer any options to do this. Changing the Windows Update download location could affect system stability, so if you follow this tutorial, make sure that you create a backup in advance.
The first thing you should know is that updates are downloaded by default in a folder called SoftwareDistribution on the C: drive and hidden in Windows 10. Changing the download location isn’t as straightforward as you’d expect and requires you to be logged in with an administrator account.
Before anything, the new file location we’ll use in this tutorial is on drive D: and it’s a folder called NewUpdateFolder. You can change its name to whatever you want, only that you need to make sure that you do this for every step detailed below.
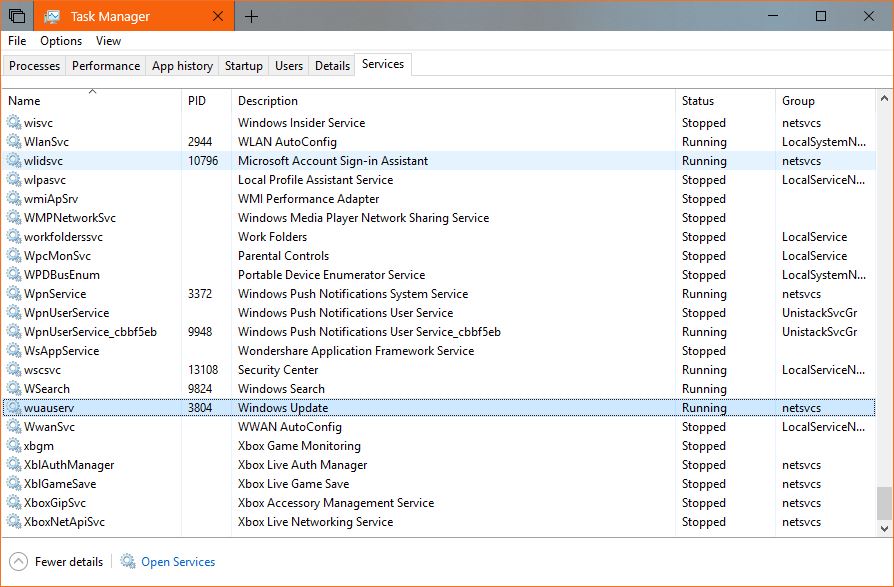
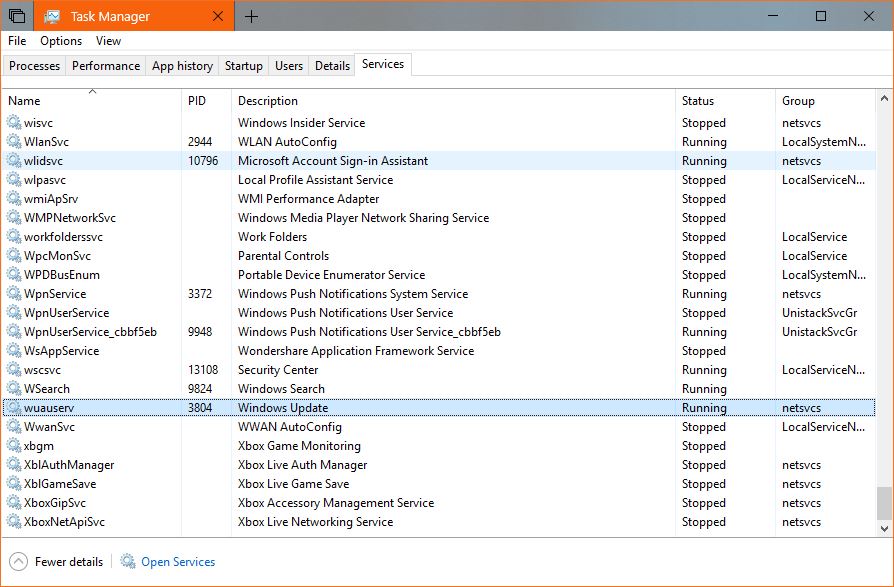
First of all, you need to stop the Windows Update service. Launch Task Manager (right-click the taskbar > Task Manager), to go the Services and then right-click wuauserv and click Stop. Do the same thing for the service called BITS.
Next, you need to completely remove the SoftwareDistribution folder in C: > Windows. Remember that administrator rights are needed for this.
Now that the original folder has been removed, you have to create a link between the original folder and the new one. To do this, you have to launch a Command Prompt window with administrator privileges and type the following command – remember that you need to change the new folder according to your own settings:
mklink /J SoftwareDistribution D:\NewUpdateFolder
Then, simply start the wuauserv and BITS services from Task Manager and your new updates should automatically download in the configured location.
If all these steps are too complex for you, you can easily create a BAT file that takes care of everything. Just create a new text document on the desktop called whatever you want, like WindowsUpdate, paste the following lines inside, save the changes and then modify the extension from TXT to BAT. Run it with administrator privileges and that’s it – again, modify the folder name according to your settings:
net stop wuauserv
net stop bits
if exist C:\Windows\SoftwareDistribution rmdir /S /Q C:\Windows\SoftwareDistribution
rmdir /S /Q D:\SoftwareDistribution
if not exist D:\SoftwareDistribution mkdir D:\NewUpdateFolder
CD /D C:\Windows
mklink /J SoftwareDistribution D:\NewUpdateFolder
net start wuauserv
net start bits
Don’t forget that creating a backup is mandatory before everything else because this way you can return to the previous configuration in case something goes wrong. Also, if you encounter any issues, the first things you should check are that you have administrator privileges, the Windows Update services were shut down correctly and the locations are accurately provided.

 14 DAY TRIAL //


