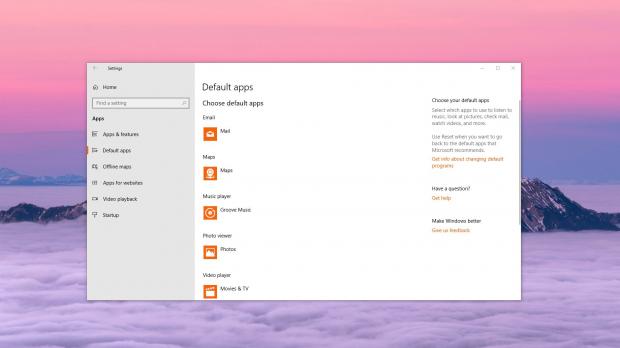
The default app setup in Windows 10 has become quite a hot topic after the latest OS feature updates released by Microsoft, as some users claimed their configurations were reset when the operating system was upgraded.
Basically, a number of Windows 10 adopters suggested that Microsoft automatically reset their default apps when upgrading their computers to the new releases, in an attempt to convince them to stick with apps like Microsoft Edge browser.
And while this is something that has never been confirmed, backup up the default app configuration is something that could help deal with this issue quite easily. And at the same time, the same configuration can be restored after the OS reinstall or upgrade with just one command.
The same trick comes in handy to system administrators who are trying to set the same defaults on more than one system in their organization.
Technically, they can create a backup of the default app setup on one system and then restore it to other PCs in the same network, all by using the methods described below.
How to save file associations
Fortunately, the whole process comes down to just a few steps, but in order to do this, you’re going to need administrator rights to be able to run them.
First and foremost, make sure you create the default file associations that you want to preserve or transition to another computer. Once you’re done, launch an elevated Command Prompt windows and run the following command (to do this, click the Start menu, type cmd.exe, right-click the result and click Run as administrator):
dism.exe /online /export-defaultappassociations:PATH\myfileassociations.xml
This command will export your associations to a file called myfileassociations.xml stored at the defined location – make sure you edit the PATH in the command with the location you want to use. For example, I used as destination folder the folder called bgdftw stored on the C: drive. So the command looks like this:
dism.exe /online /export-defaultappassociations:C:\bgdftw\myfileassociations.xml
The exported file should include all your file associations, and opening it should let you see what program you configured Windows 10 to use for files like multimedia, web links, and documents.
The XML file can then be imported on another computer or on the same one after reinstalling the operating system. This time, the command is the following:
dism.exe /online /import-defaultappassociations:PATH\myfileassociations.xml
Once again, you need to modify the PATH string, so in my case, with a bgdftw folder stored on the C: drive, the command would be something like this:
dism.exe /online /import-defaultappassociations:C:\bgdftw\myfileassociations.xml
Users running Windows 10 Pro can also configure the import process using the Group Policy Editor. In this case, you need to launch it by typing gpedit.msc in the Start menu and then navigate to the following location:
Computer Configuration > Administrative Templates > Windows Components > File Explorer
In the right side of the screen, look for a policy called Set a default associations configuration file and double-click it to open.
By default, this policy should be set to Not Configured, so click Enabled to activate it. In the lower part of the screen, there’s a box called Options where you need to indicate the default associations configuration file that you must use.
Provide the path to your file and then click OK. Reboot your system and the default file associations should now be configured based on the information stored in the XML file.
If you want to disable the policy at a later time, you need to follow the same steps mentioned above, only that you have to set the policy to Not Configured or to Disabled.

 14 DAY TRIAL //


