Running Windows apps with administrator rights makes it possible for the program to apply system changes that would otherwise be blocked thanks to the security features implemented by Microsoft.
Launching an application with elevated privileges is quite easy and most often, it’s enough to just right-click the executable file, click the option that reads Run as administrator, click yes in the User Account Control prompt, and you’re good to go.
Some IT pros like to do this the hard way using Control Panel. They launch CMD with administrator rights (type cmd.exe in the Start menu, right-click the result and click Run as administrator), then they manually browse to the location of the app and launch the app with elevated privileges automatically.
Certainly, these solutions should be enough for the majority of users, but when you have to do this over and over again for the same app, isn’t it a lot easier to just configure the app to launch with elevated privileges every time?
It sure is, and fortunately, Windows 10 allows you to do this with just a few clicks. And all it takes is a shortcut for the application that you want to tweak.
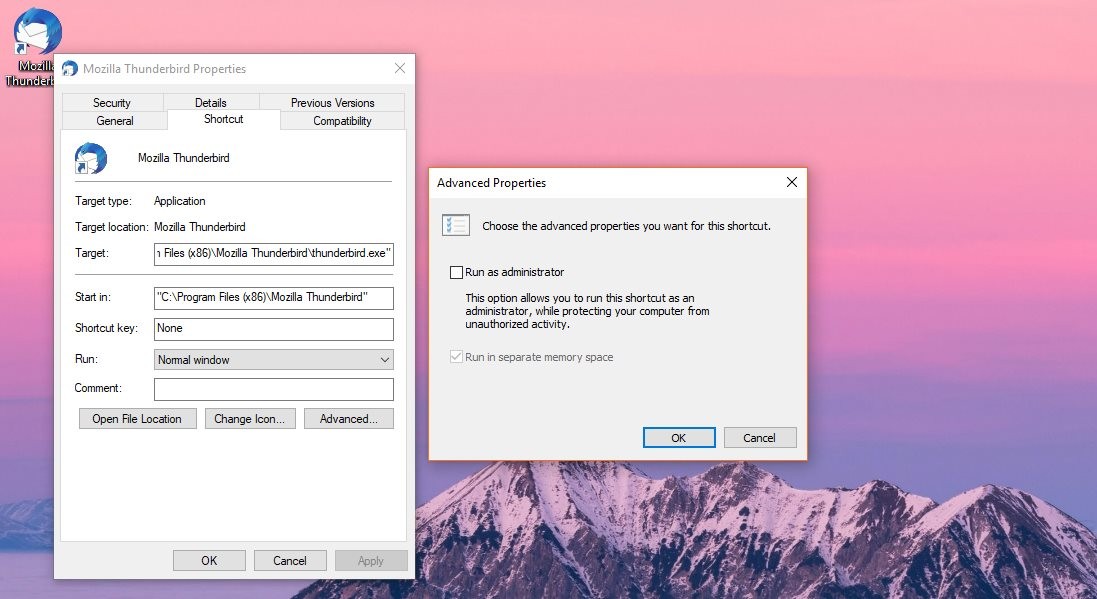
We’ll use Mozilla Thunderbird as an example in this tutorial. After creating a desktop shortcut for the email client, right-click it no matter where it’s stored (shortcuts are most frequently located on the desktop, but you can move it anywhere you want), and click Properties.
Make sure the Shortcut tab is selected and click the Advanced button in the lower-right corner. Check the option that reads Run as administrator and that’s pretty much it. The next time you launch the app from the shortcut, it’ll run with elevated privileges, and needless to say, you must be extra cautious not to make any changes that may affect system stability or security.
The same trick can be used for pretty much any application, including those that come with Windows 10, like Command Prompt, PowerShell, Paint, Paint 3D, or Snipping Tool.
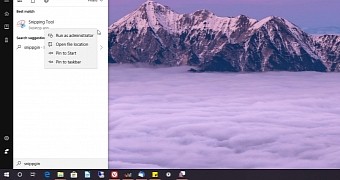
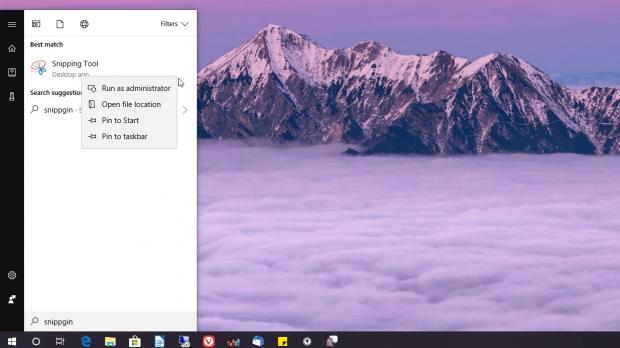
In this case, however, you need to use the Start menu to make the said changes. For the Snipping Tool, for instance, what you have to do is type its name in the Start menu, right-click the result and then click Open file location.
Windows 10 will then get you to the location where the shortcut is stored, so you can do the same hack as the one mentioned above. Just right-click the Snipping Tool shortcut, go to Properties > Shortcut > Advanced > Run as administrator and that’s pretty much all about it.
This tutorial covers all Windows 10 versions, not just the most recent stable release, which at this point is the April 2018 Update. Users can follow the same steps in the October 2018 Update too, though this particular version is on hold after Microsoft discovered a critical bug potentially removing user files stored in libraries.
However, it’s critical to keep in mind that running apps with elevated privileges all the time opens your system to additional risks, and it’s not only caused by the changes you make while running it.
Hackers could use an application running with administrator rights for deploying further malicious payloads on a compromised system, so it’s super-important to always check twice before download and executing certain files.
As said, this tutorial was made on Mozilla Thunderbird, and we selected the mail client for a reason. Cybercriminals could try to compromise your system using infected attachments, and without antivirus protection and with the email app running with elevated privileges all the time, it’s easy to figure out what could happen.

 14 DAY TRIAL //

