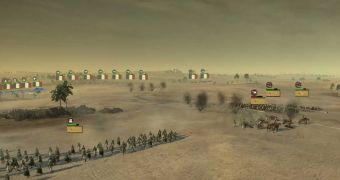
In the sulfurous heat of the desert, the best laid strategies can quickly melt and be replaced by all out chaos. Especially when the initial disposition of the troops is bad, when artillery threatens to take out one of my flanks and when the Mamluk cavalry is quick enough to run circles around my water-deprived French revolutionary troops.
The Battle of the Pyramids is one tough challenge, especially with the difficulty turned all the way up. Unfortunately, The Creative Assembly cheapens the challenge a bit by pointing out several times that box formations must be used to survive the battle. I went out of my way not to do that.
The right flank of the French position is a bit exposed and I face the option of reinforcing it and centering my whole battle line on the village or of splitting my force to hold that flank while also going to the left and taking out the enemy cannons while protecting the five batteries I can use in my center.
Only on the right will I use squares to buy some time, while forming a cavalry reserve for the center and advancing by line on the left. This is not what Napoleon did in this battle, with all his divisions forming squares (a misnomer, there were more like rectangles) and advancing on the middle of the enemy line.
My historically unorthodox tactics finally carried the day after a close fought battle near the cannons. My right gave out first, with my heavy infantry out of the fight but giving my center enough time to redeploy in good order and present a united front.
The cavalry charge of the Mamluk force found my front line and even flanked me to the left, but I managed to sweep around with my own cavalry and deliver a decisive blow, then moving on to the enemy cannon. With the enemy cavalry out of the fight, the rest was a simple matter of mopping up the enemy general and the other batteries spread on the battlefield.

 14 DAY TRIAL //