The final version of OpenSuSE Linux 11.0 was released a couple of hours ago, after approximately 7 months of hard work. It brings lots of new features for end users, developers and system administrators.
Among the new features, we can find a redesigned and professional installer, a live installer, new and glamorous artwork, PackageKit software manager, Microsoft Office file compatibility with the latest OpenOffice.org office productivity suite, and enhanced multimedia support. What more could an ex-Windows and future Linux user want? Therefore, if you have decided to install openSUSE 11.0 on your computer, right below is a full tutorial, complete with screenshots.
First of all, you will need to download the openSUSE 11.0 CD or DVD right now from here. We recommend you download either of the GNOME or KDE Live CD editions, as they are smaller in size (about 700 MB compared to the 4.3 GB DVD edition), and you can also test it before you install it. Burn the CD with your favorite CD/DVD burning application and insert/leave it in the CD/DVD unit of the computer on which you want to install openSUSE. For this installation, we've used the 32bit GNOME Live CD, but the KDE4 Live CD installation is absolutely the same!
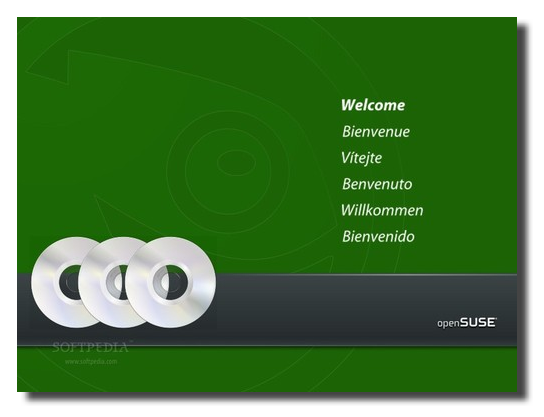
You will be greeted by a very nice welcome screen...
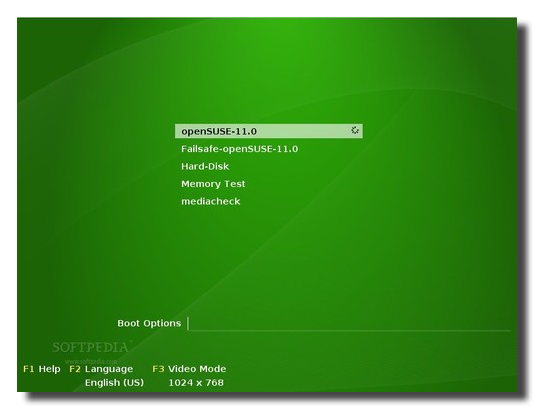
Hit Enter on the first option, "openSUSE 11.0"...
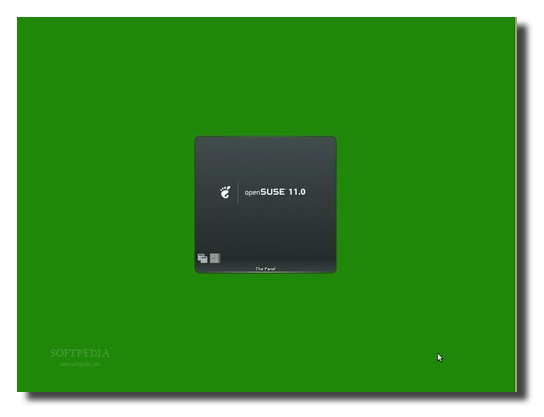
Wait for the Live CD to load...
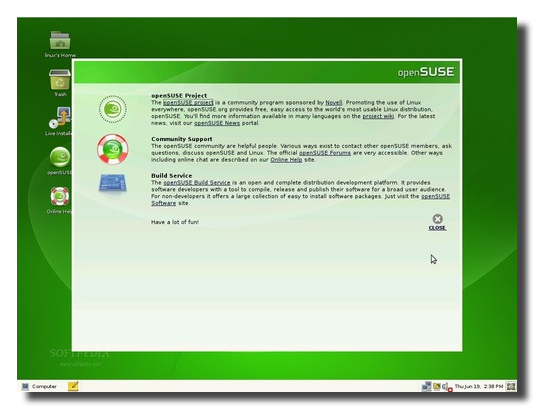
The desktop will appear in about 1-2 minutes...
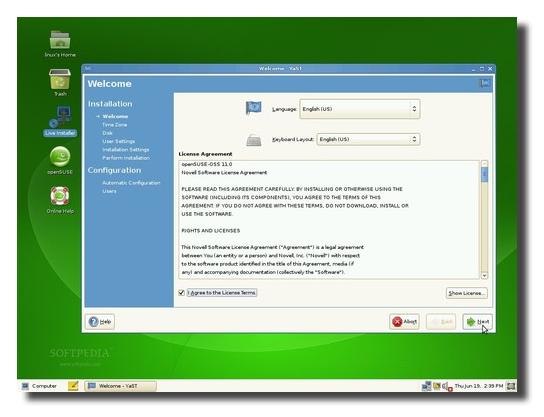
Double click the "Live install" icon from the desktop and the openSUSE 11.0 Live Installer will appear. Agree to the license agreement...
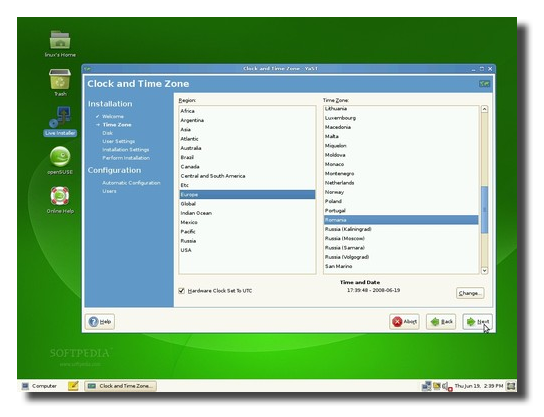
Choose your time zone and set up the system clock...
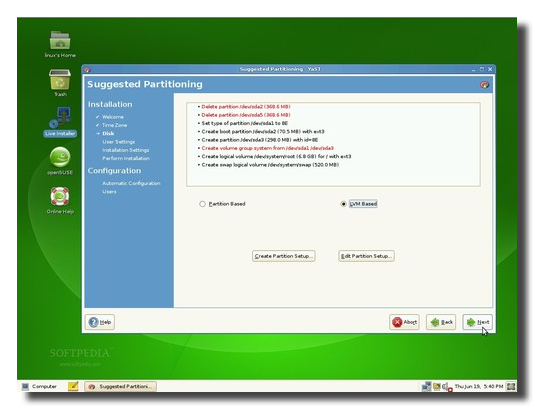
Select the "LVM Based" option on the partitioning screen, as it will create a separate /home partition for future upgrades...
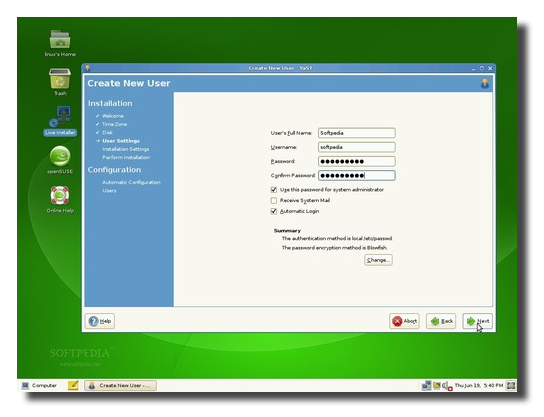
Create the default system user. Here, you'll find an option to enable automatic login with this user every time the computer starts and to use the password for system administrator, if you so wish.
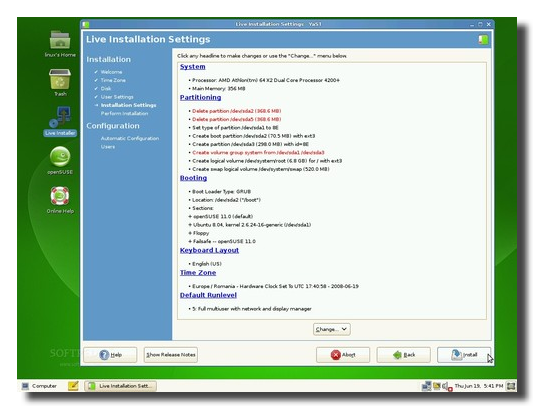
Now, the system will be analyzed and you can change the settings if they don't suit your needs...
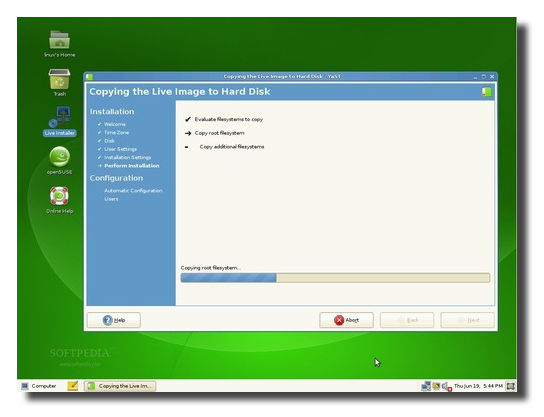
Click the 'Install' button and wait for installer to copy all the necessary files to your hard drive...
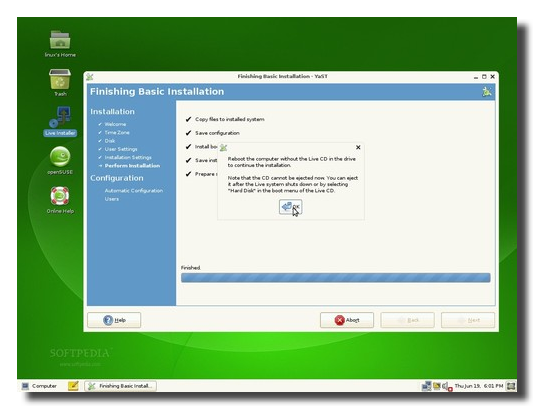
When the installation is over, click 'OK' on the notification window...
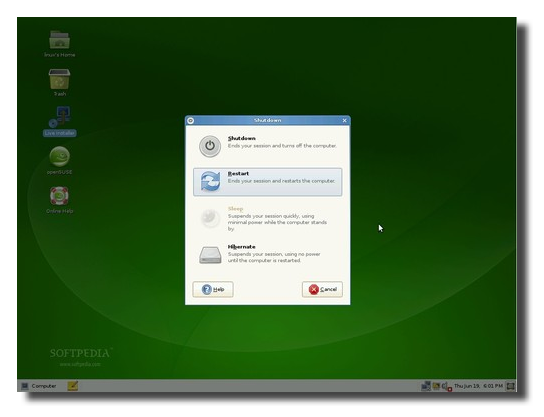
Reboot the computer...
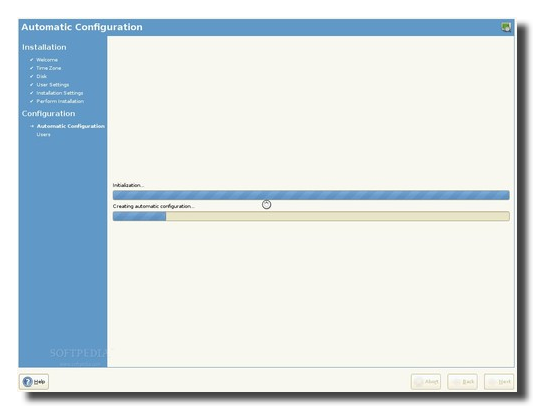
After reboot, eject the CD and wait for the system to do an automatic configuration...
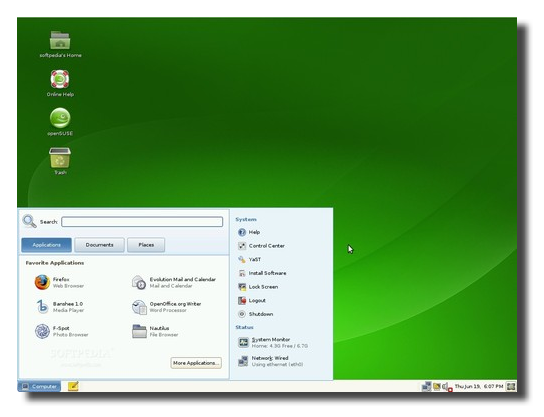
That's it! Congratulations! You'll be automatically logged in and we really hope that you will find openSUSE 11.0 a great, useful and wonderful Linux distribution!
 14 DAY TRIAL //