 14 DAY TRIAL //
 Since Windows Vista was released, a lot of users looking to update their operating system avoided to do this because they were aware that their computers' configurations might be incompatible with this product. However, some of them managed to upgrade their systems and proceeded to the next step: the installation of Windows Vista. For the inexperienced users, the installation and the configuration of an operating system might be a little bit difficult because the settings will affect the future functionality of the computer. That's why I wanted to present you today most of the steps required to successfully install Windows Vista and its predecessor Windows XP.
Windows Vista
The installation of Windows Vista is quite easier than for XP because it doesn't require too many user actions and options. The setup process tries to configure most of the settings automatically, allowing the administrator to change them after the operating system was successfully installed. To make it easier, I divided the installation in two steps, both of them requiring minimal user involvement.
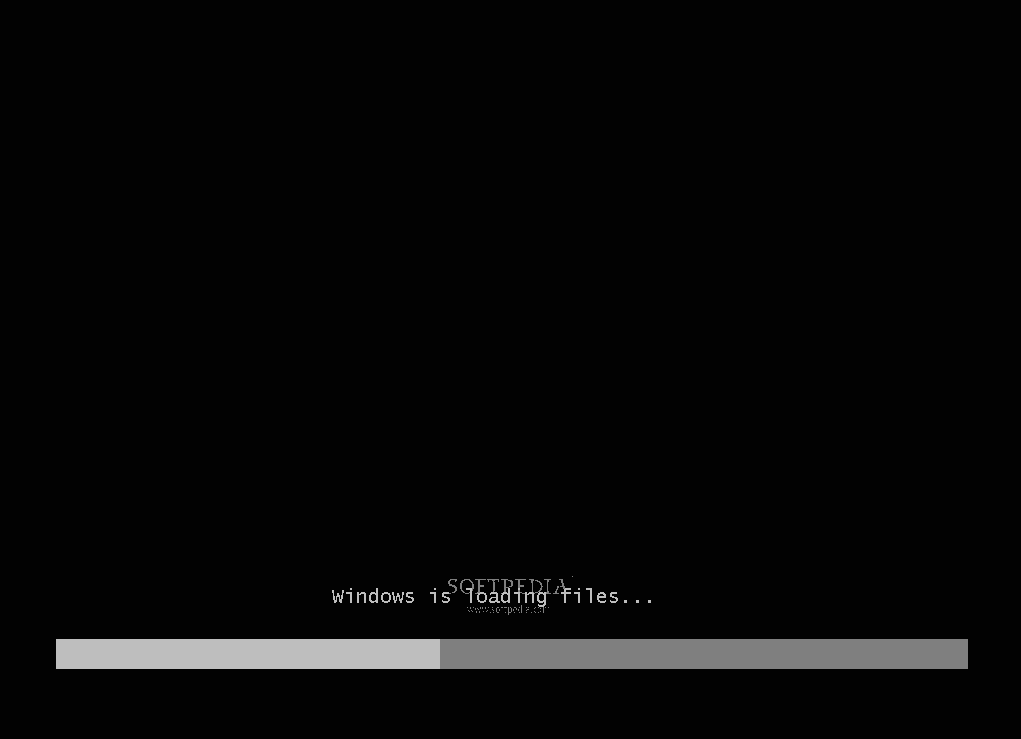
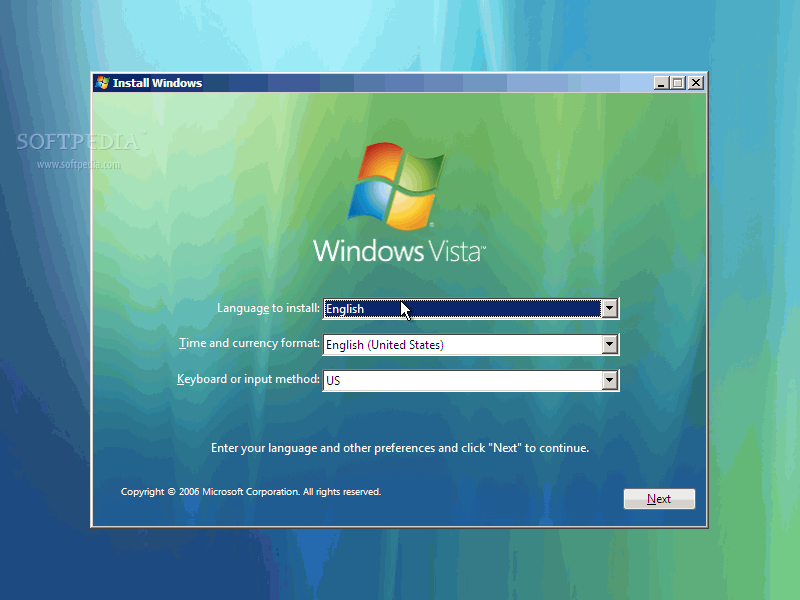
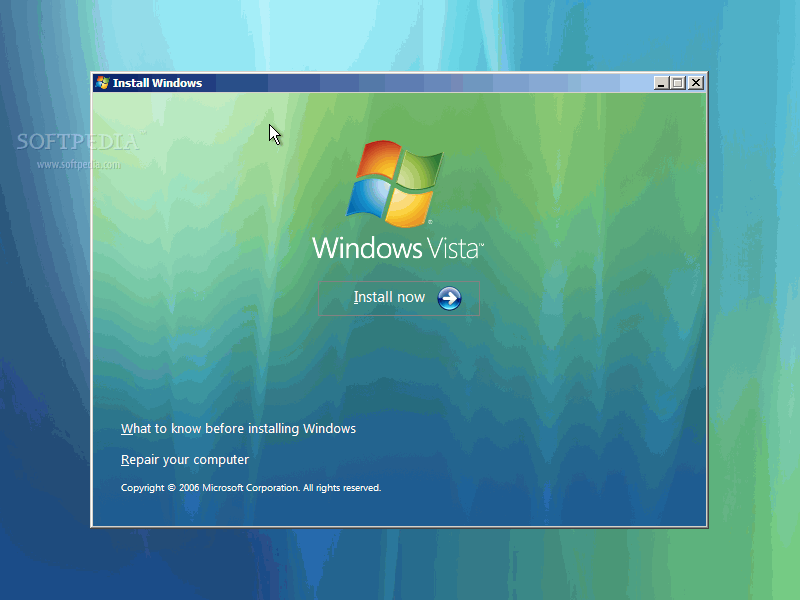
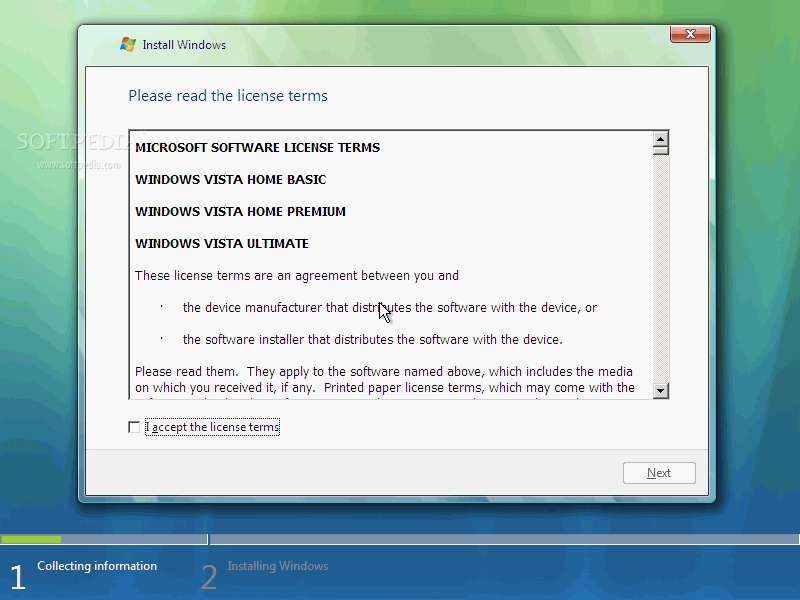
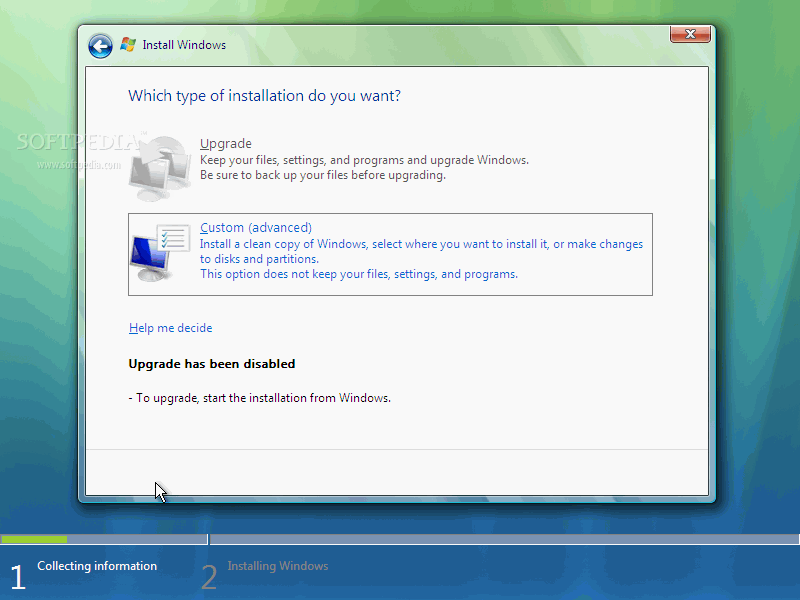
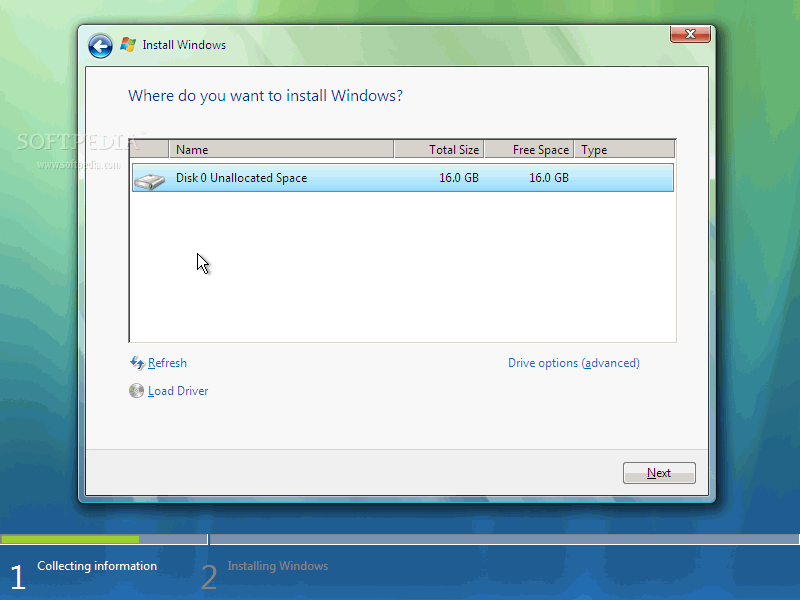
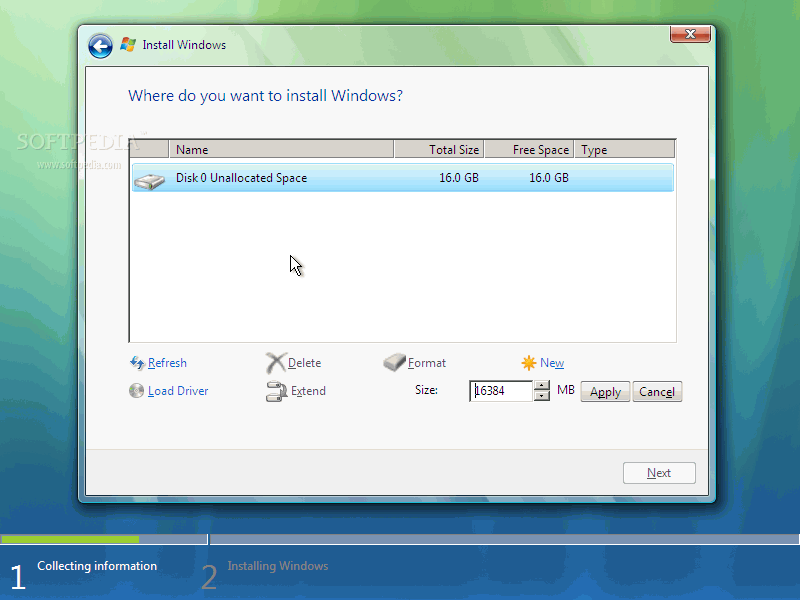
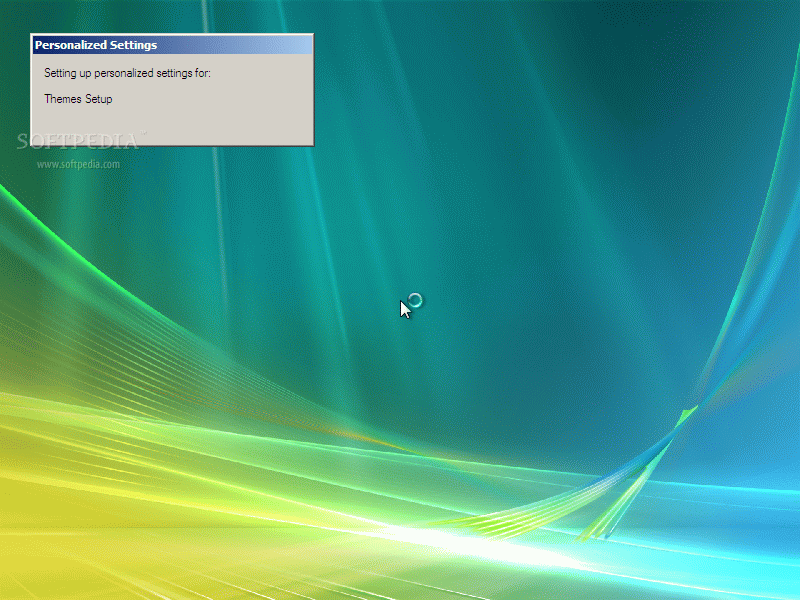
As you can see in the photos published below, the setup menu will be automatically loaded and will provide three options concerning the language of the installation menus. Then, you are required to choose between installing a clean copy of Vista or repairing an already installed version of the operating system. Of course, you'll choose the "Install Now" option to go further. After you read the license terms and agree on them, you'll have to choose between installing a custom version of Windows and upgrading an older edition of the application. Obviously, we'll select Custom and we'll proceed to the location of the upcoming operating system. As you can see, you have multiple options to allow you to select the partition, modify it or even create a new one. I recommend you to format the partition before proceeding to the next step. Basically, the next button starts the entire installation process because the computer will be automatically restarted and the Vista files will begin to be transferred on your computer.
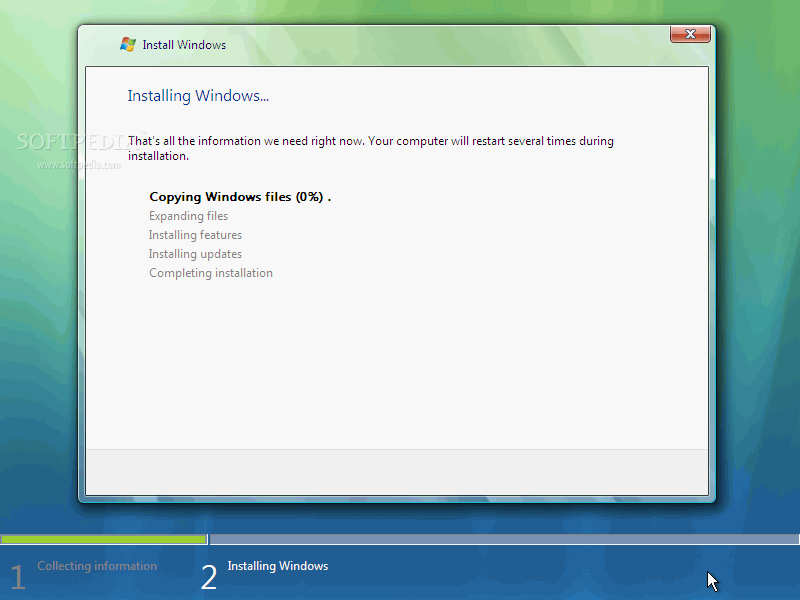
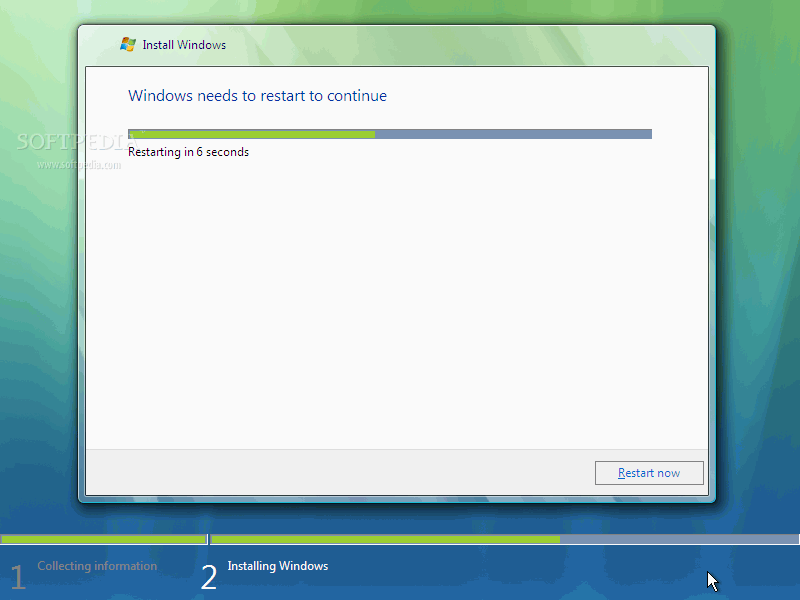
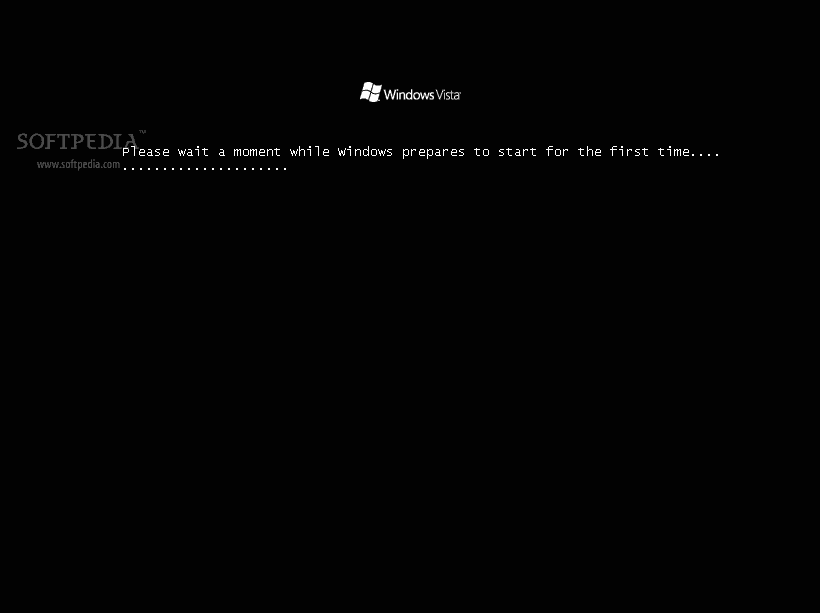
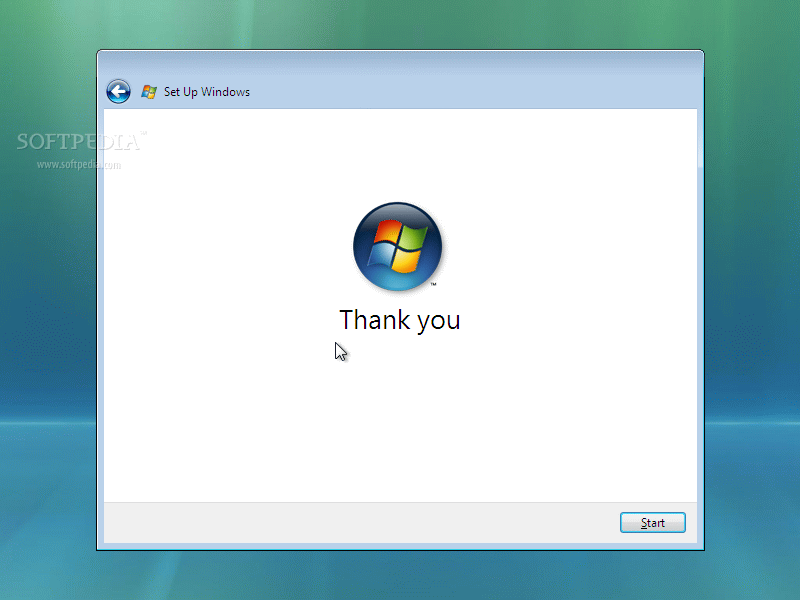
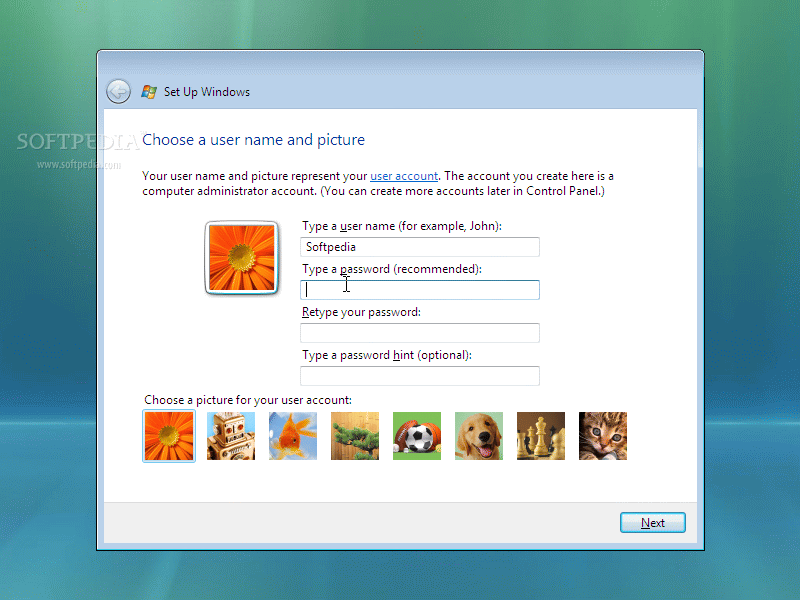
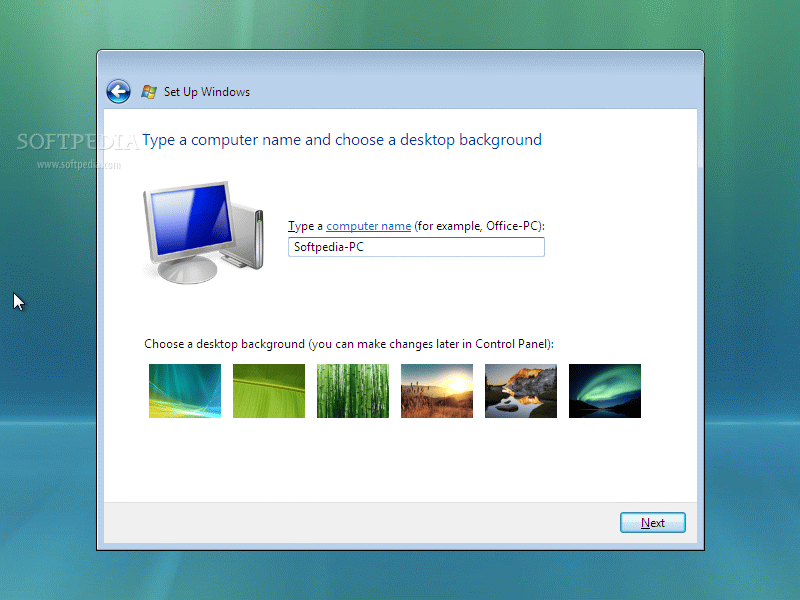
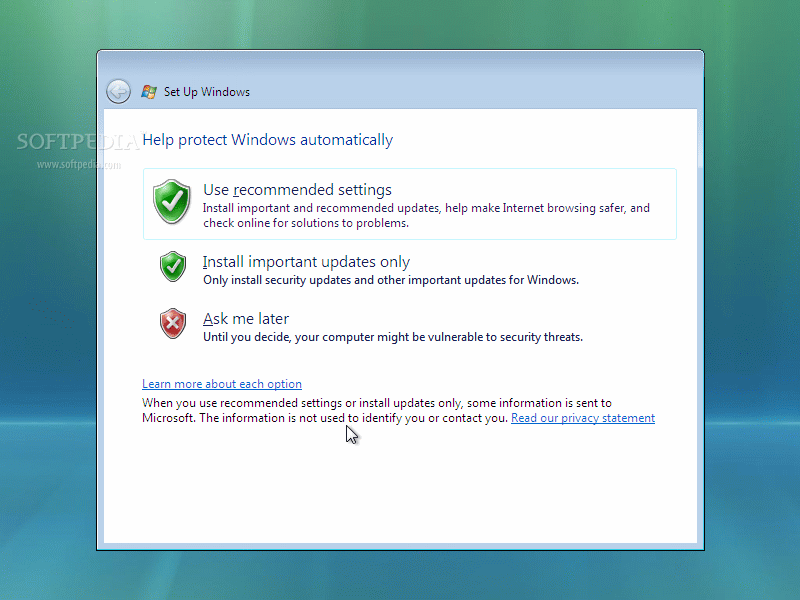
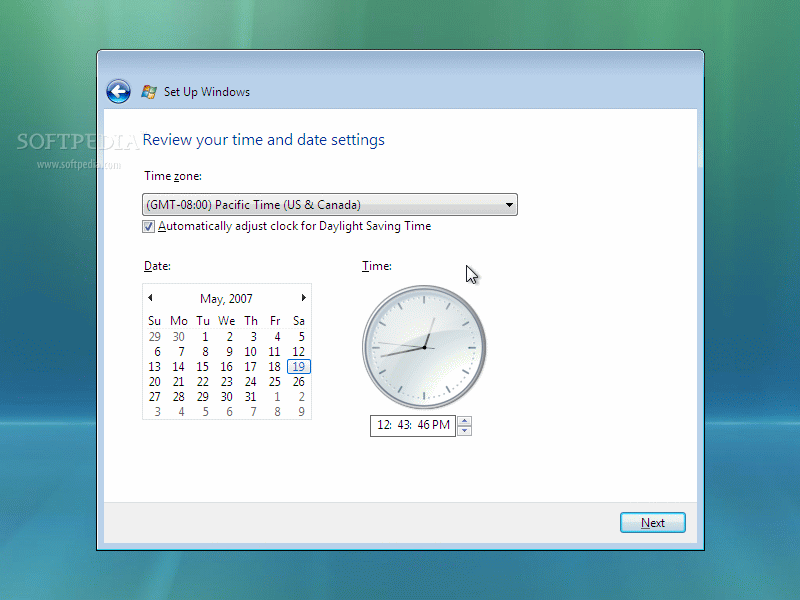
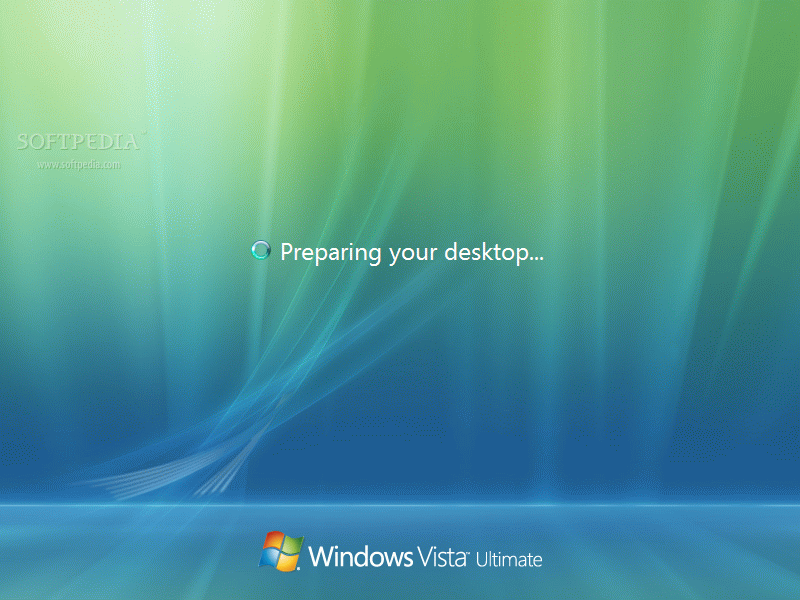
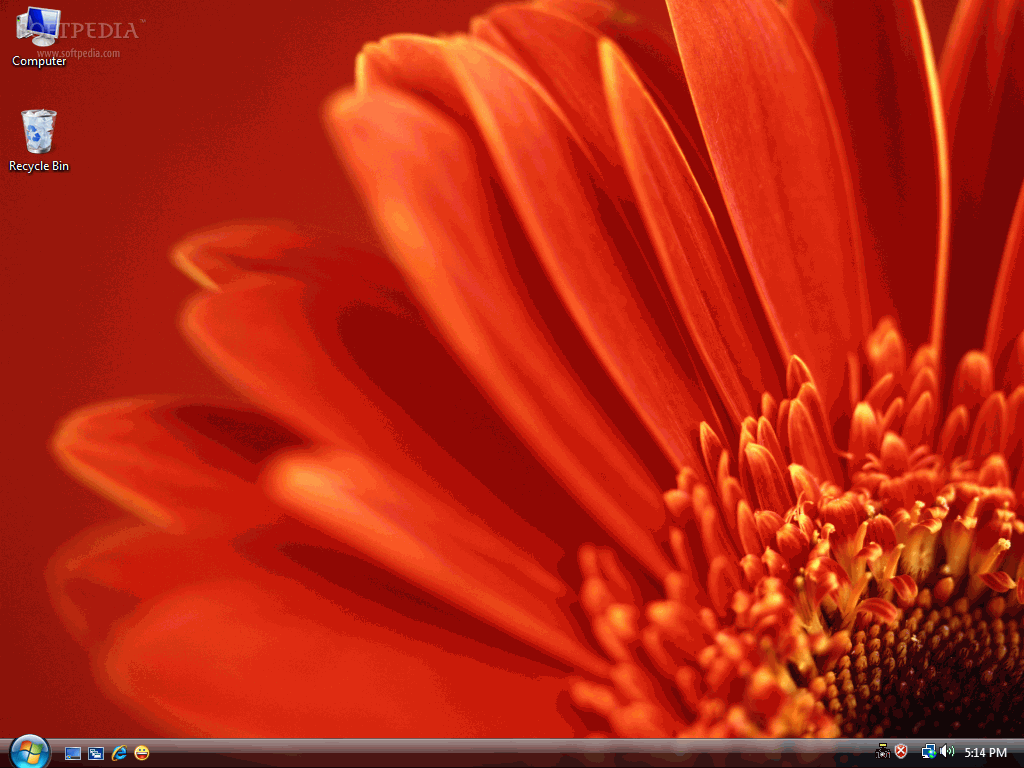
From now on, all you need to do is to enjoy a drink and wait until the operating system will be entirely installed on your computer. When the setup process is finally ended, you'll be required to make some simple settings concerning your administrator account and basic functions for the operating system. First, you need to enter your username and the password, if you need one, for the administrator account. Then, you must enter the computer's name that will be based on network identification. The next step concerns the Windows Vista update function and asks you to select the frequency of the update process. We choose "Use recommended settings". Next, you must choose your time zone, configure the date and the time and you're ready to go. All you need to do now is wait a while until Windows Vista makes the final configuration on your computer. When the setup process if finally ended, you should see the desktop of your computer and the Welcome Center window.


Windows XP
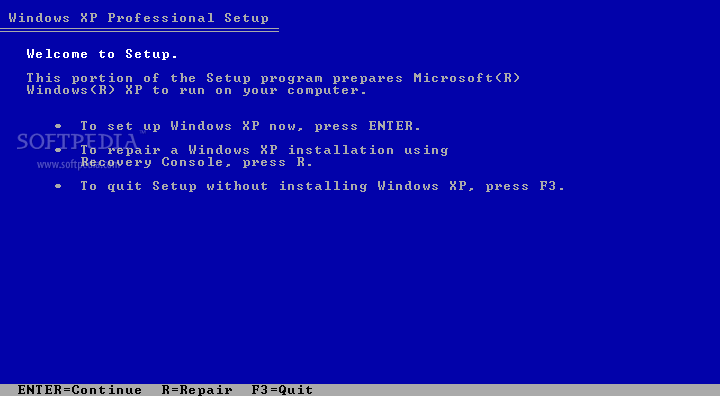
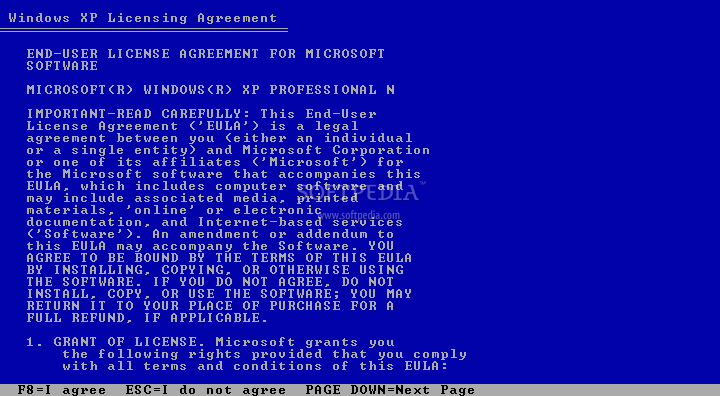
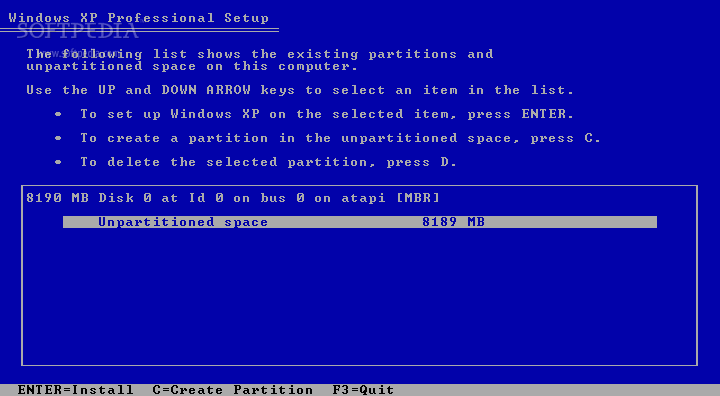
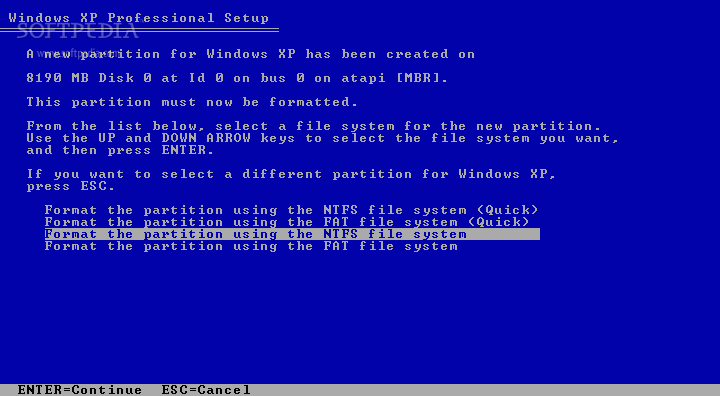
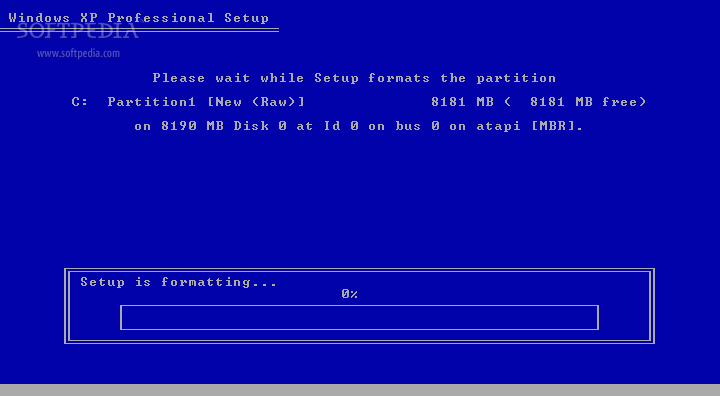
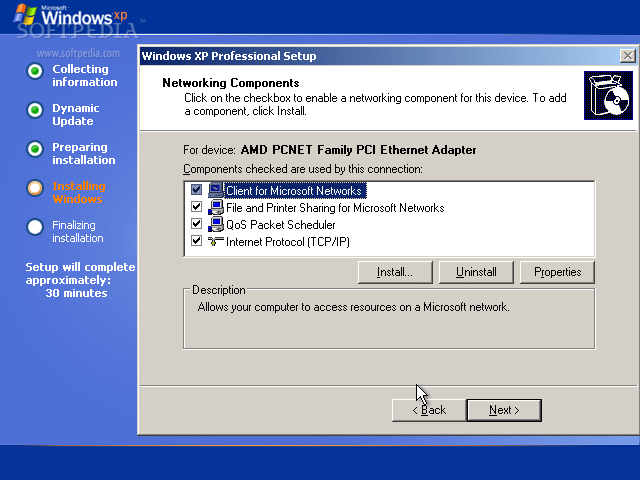
Basically, I guess all of you already know how to install Windows XP. But, because I described the installation process of its successor, I'll also present you the setup menus of Windows XP to make a comparison between the two operating systems. The installation of XP is also divided in two steps that will help you observe the differences easier. First of all, Windows XP provides an old-style blue screen that is quite ugly in comparison with Vista's setup appearance. The first step requires you to choose between installing a clean copy of the operating system or repair an existing version of Windows XP. Obviously, we choose the first option. After we have read the license terms and pressed F8 to continue, we must choose the location of the operating system by highlighting the partition and pressing the Enter button. Then, you should format it in the NTFS file system format. Now, the Windows XP setup files will be automatically transferred on your computer and, after this job is done, your computer will be restarted to enter the main setup screen.
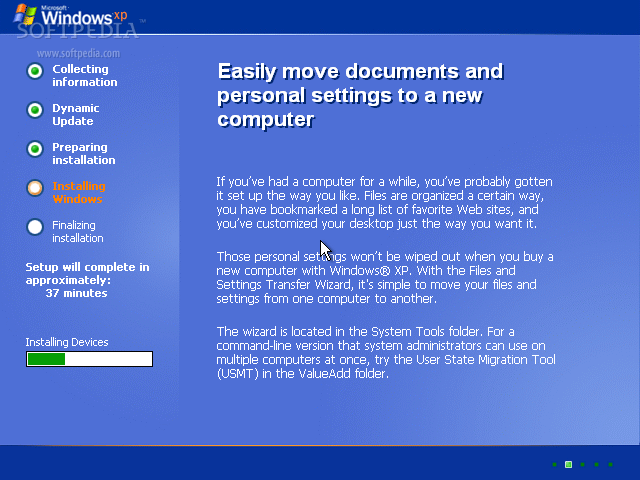
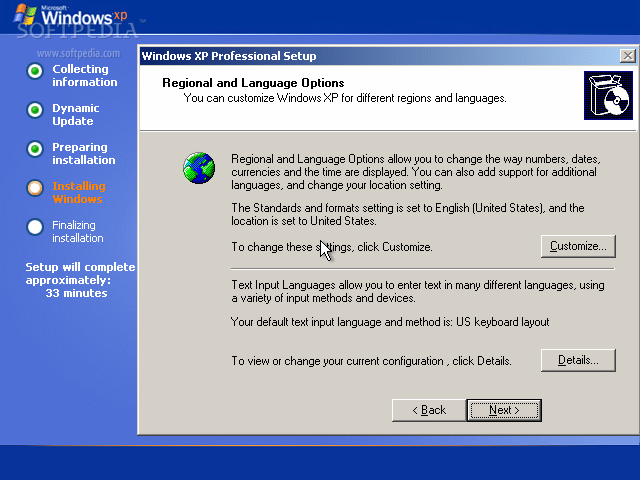
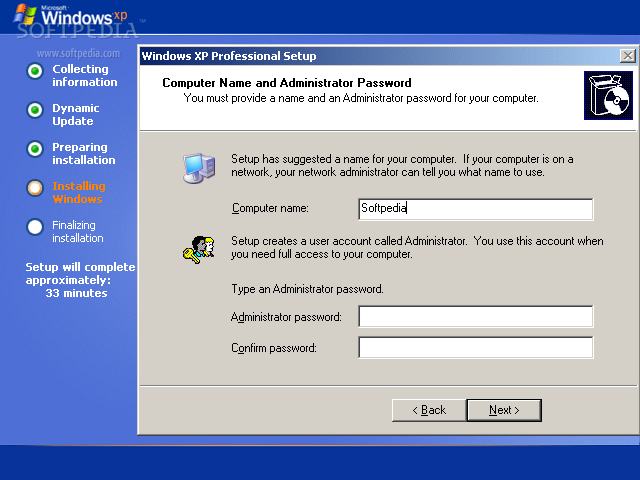
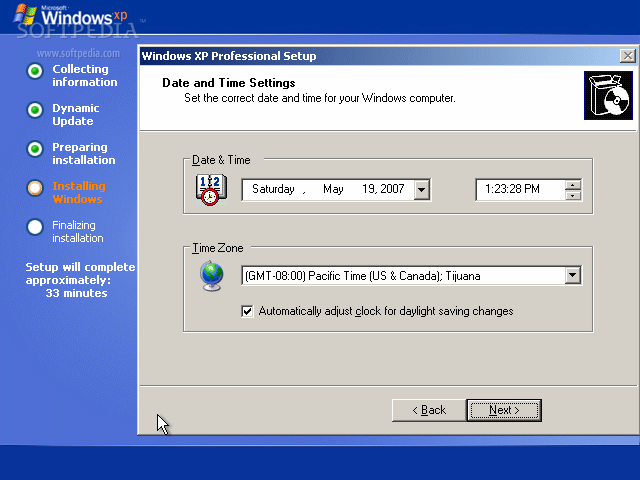
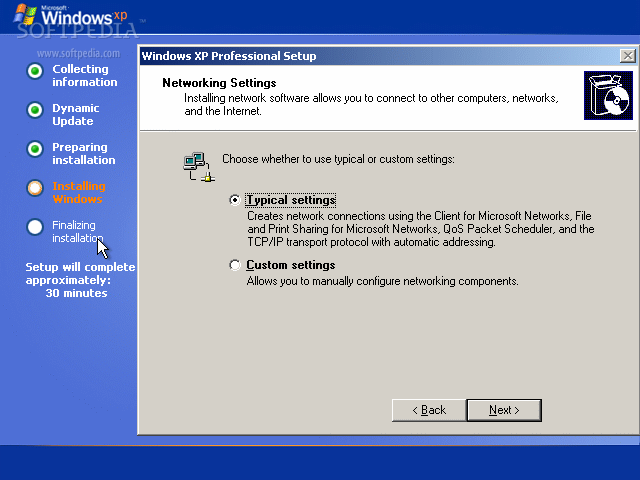
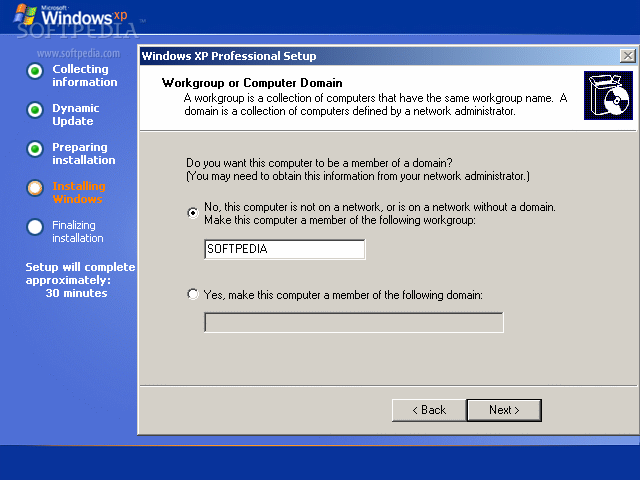
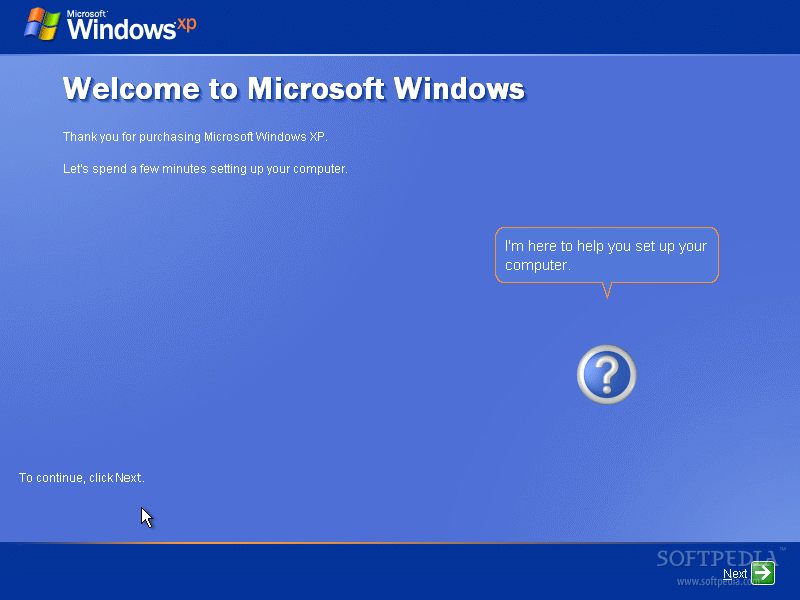
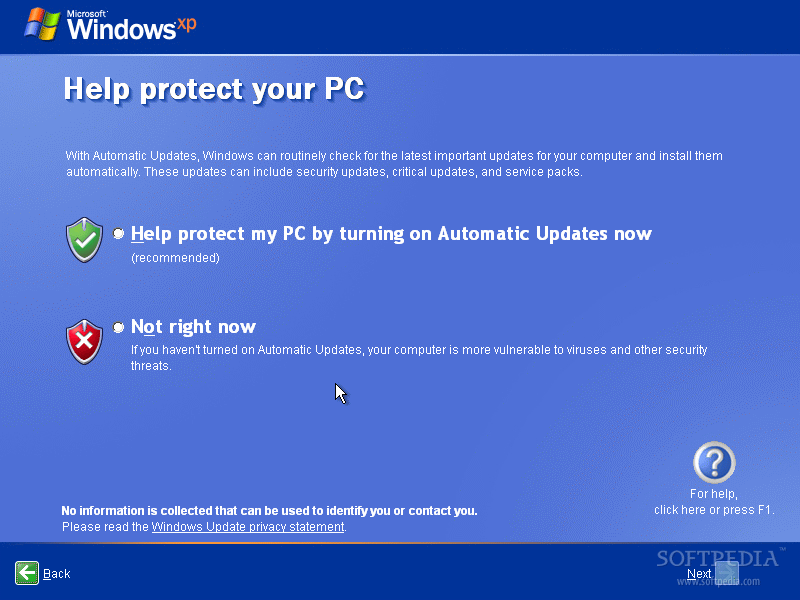
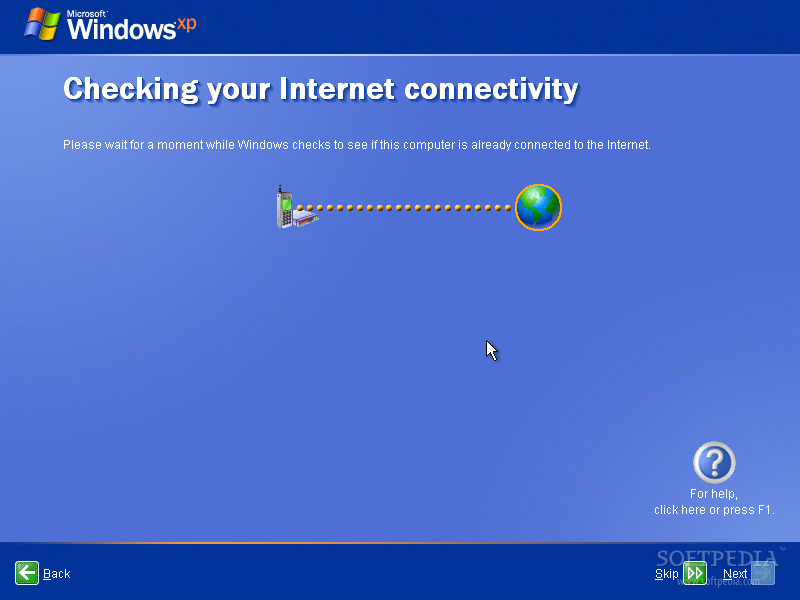
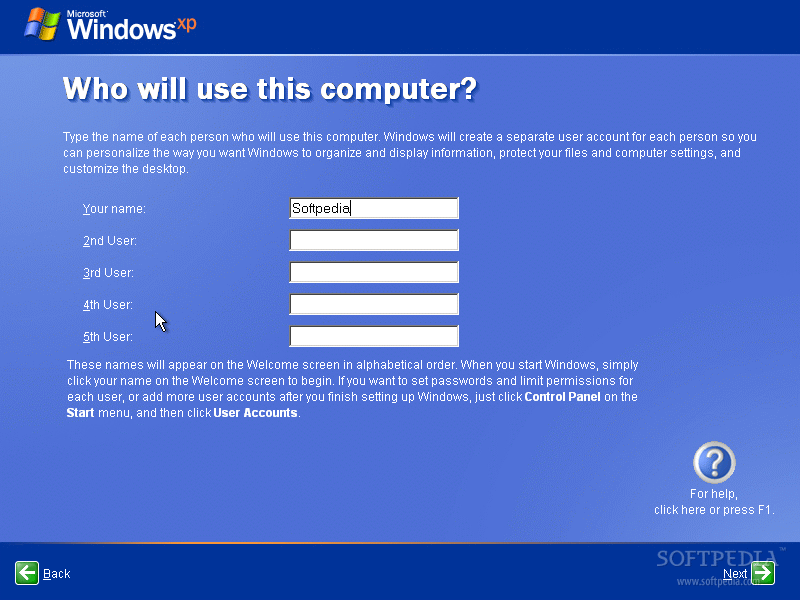
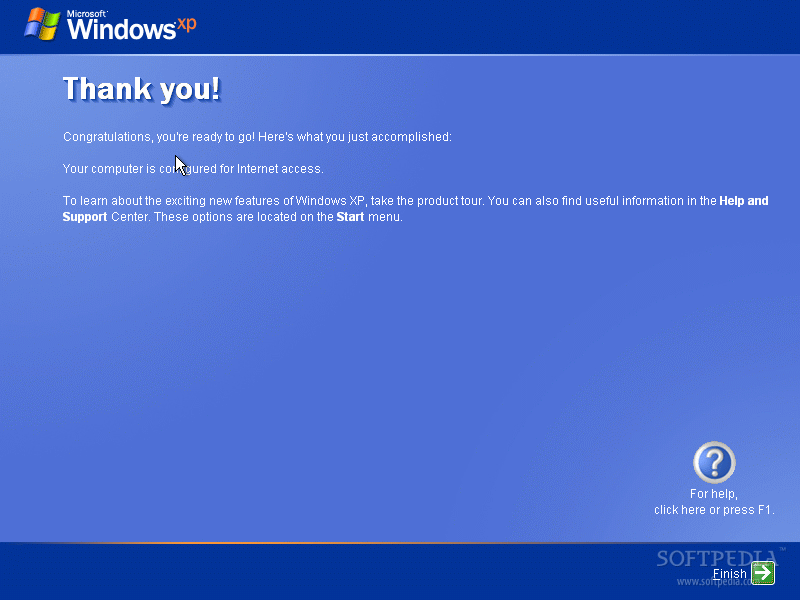
From now on, you should be a little bit more careful because you're required to choose a lot of options for the upcoming operating system. It all starts with the Regional and Language Options where you must choose the language of the computer and of the keyboard. Then, you must enter your name and your organization, of course both of them being purely informative. The next step is quite important because it asks for the computer name and the administrator password that will be used for full control over the system. Configure the date, the time and the time zone and press next. After you wait a while, the network configuration screen appears and requires you to choose between a typical setup and a custom one. If you have a DHCP-based network, you can choose typical. If not, you should select custom and manually configure your network. After you press next, you should enjoy another drink and relax until the operating system in installed on your computer. At the end of the installation, you need to setup the automatic updates, the Internet connection and the usernames of Windows XP. Have a look at the photos below to see what you must do.


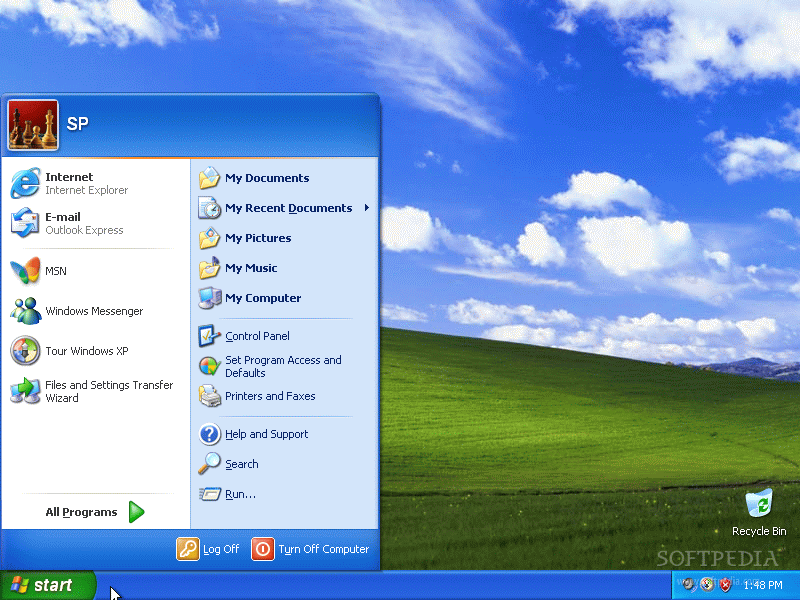
I want to remind you just one thing. Remember that these are the most important steps of the installation process of the two versions of Windows and I recommend you to be careful and read the help provided by the setup menus. As you can see, both Windows Vista and Windows XP provide detailed options and menus so it can't be too difficult to setup your own operating system. Now, go on, try it for yourself!