14 DAY TRIAL //
 The latest version of OpenSuSE Linux (10.3), which was released a couple of weeks ago, brings new features for the end user, including a flexible Linux-Windows dual-boot configuration, Microsoft Office file compatibility with the latest OpenOffice.org office productivity suite and enhanced multimedia support.
What could an ex-Windows and future Linux user want more? Therefore, if you decided to install openSUSE on your PC, here follows a complete tutorial with screenshots.
1. First of all, you need to download openSUSE now from Softpedia. I suggest you to download a CD version (KDE or GNOME) or maybe both of them, so you can test and see which one suits you best.
2. Burn the CD with your favorite CD/DVD burning application and insert it in the CD/DVD drive of the computer on which you want to install openSUSE.
3. You will be prompted with a boot menu.
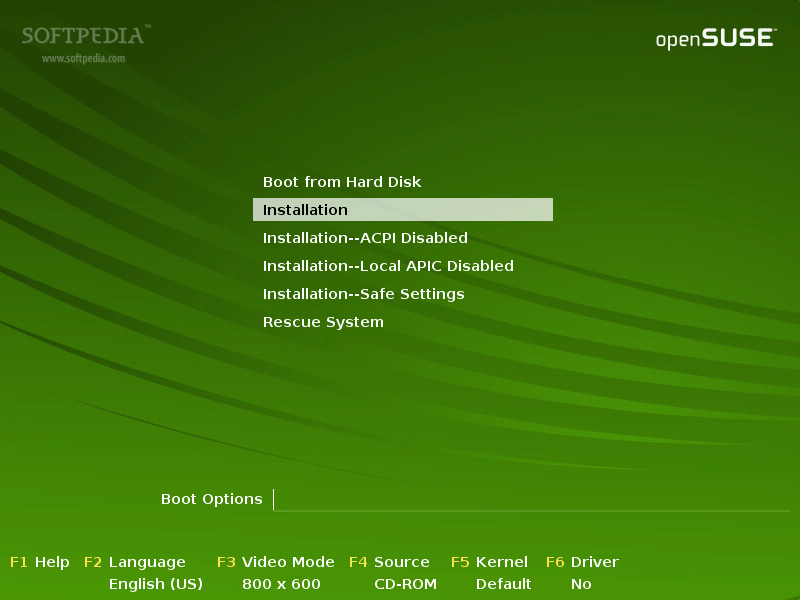
You have a couple of options here, like F2 if you want to choose another language for the installation process (English is default) or, to select the resolution and the installation source, use F3 respective F4 buttons. If the default settings are OK with you, then just select the "Installation" option and hit Enter.
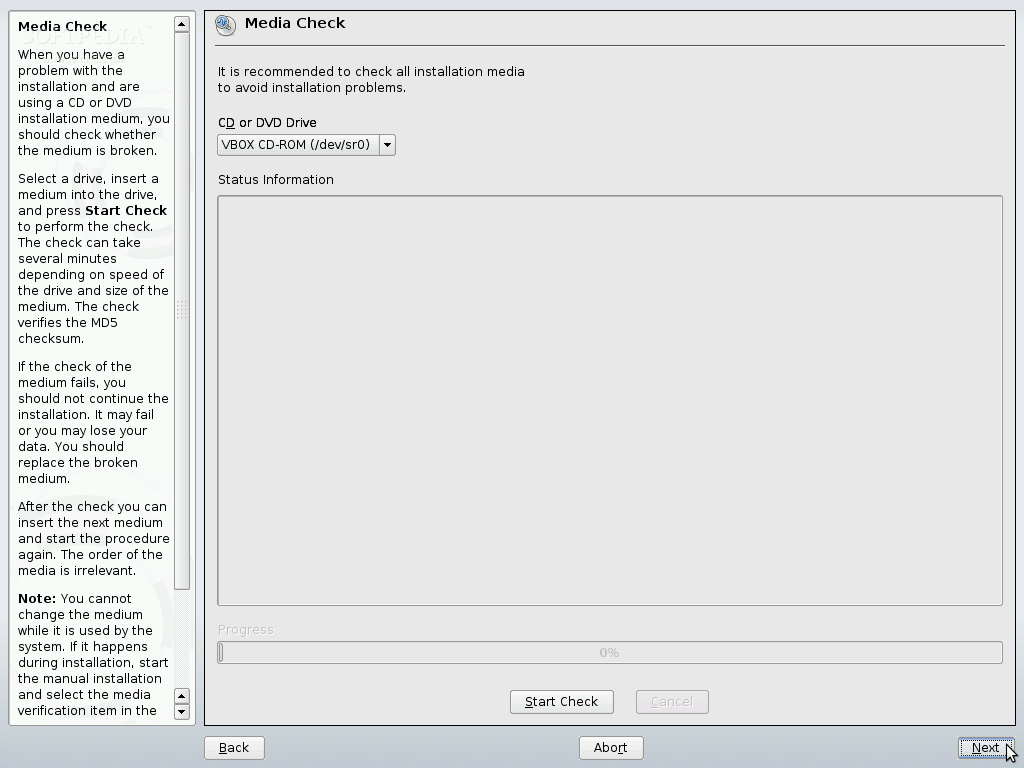
You'll see a very nice openSUSE green boot screen. The installation wizard appears, asking you to choose and test the installation media. Hit Next:
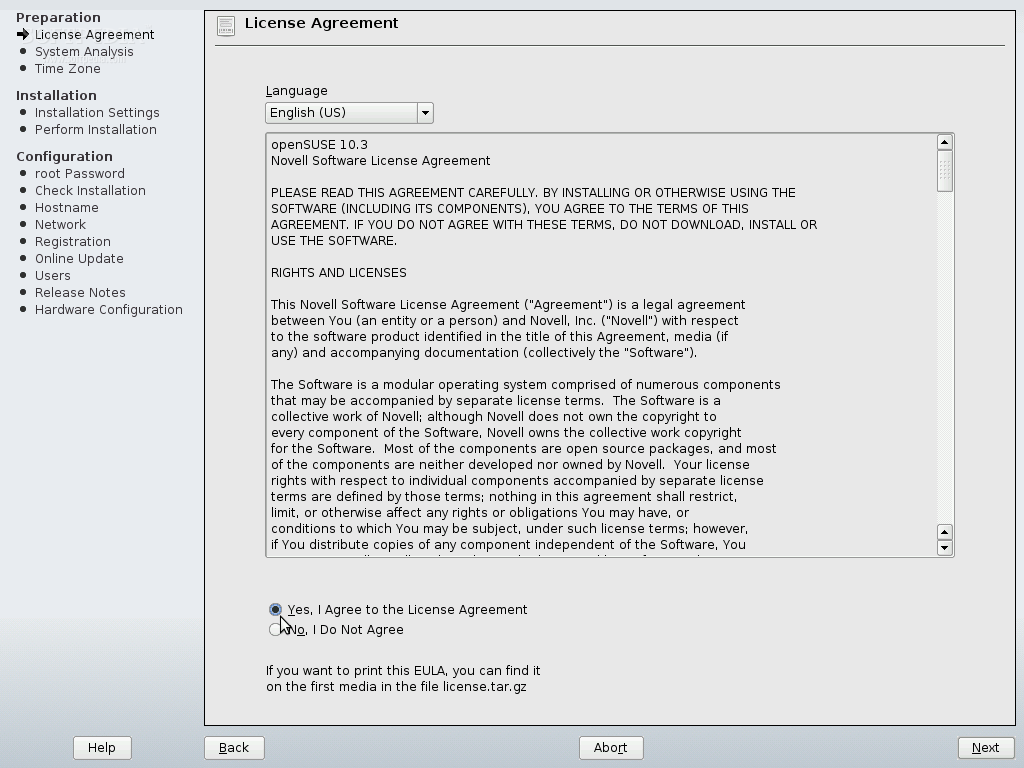
Agree with the openSUSE license, which is 100% FREE of course:
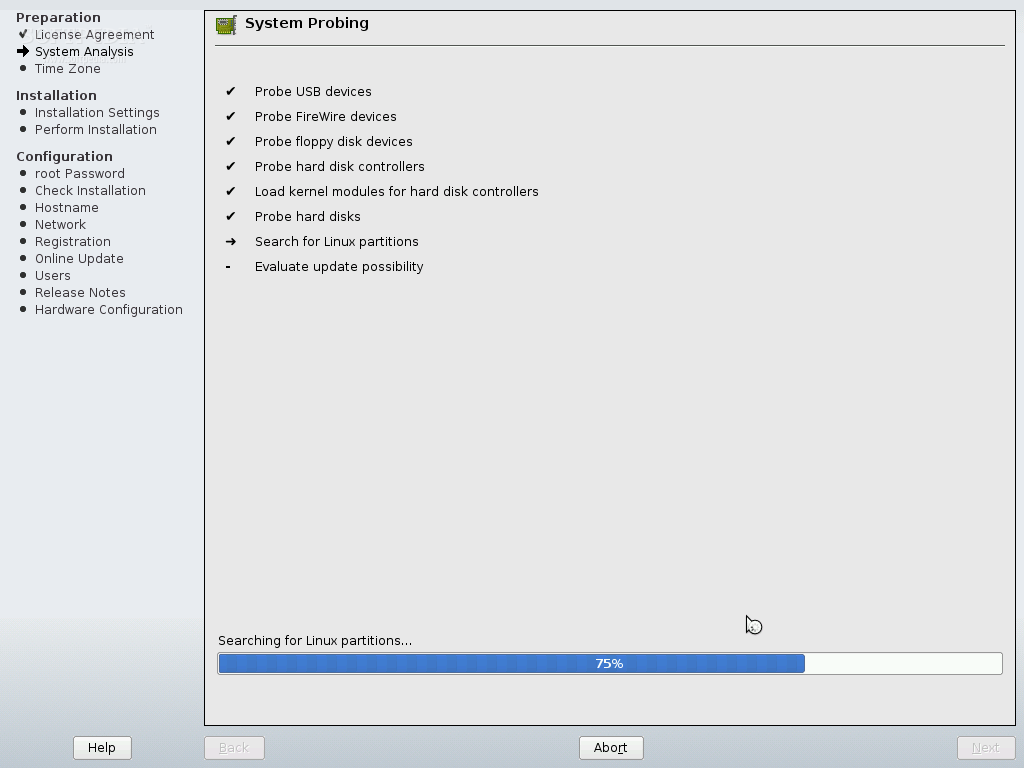
Your system will be quickly analyzed:
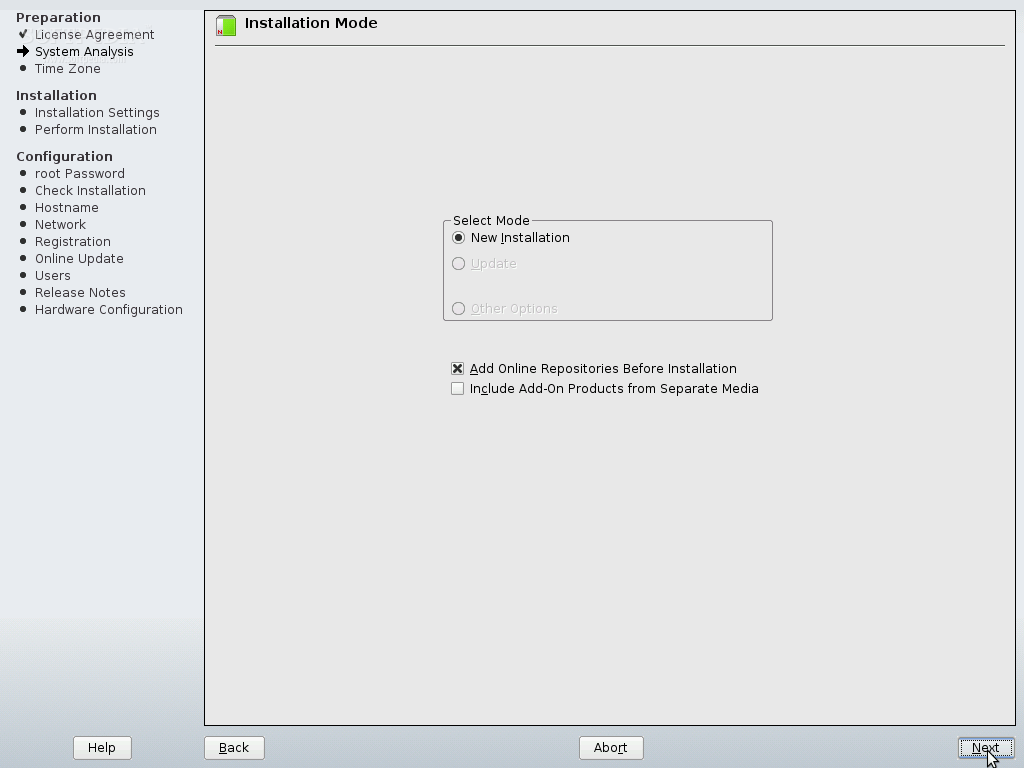
And then just hit Next when you arrive at the Installation Mode screen:
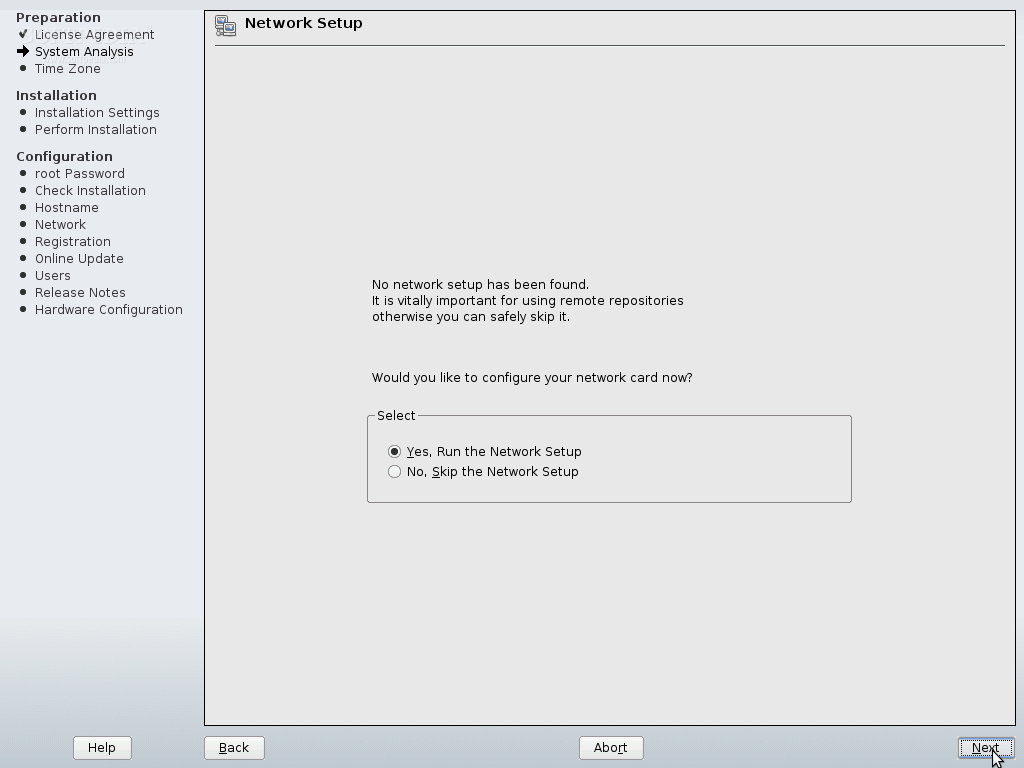
Hit Next to setup your network:
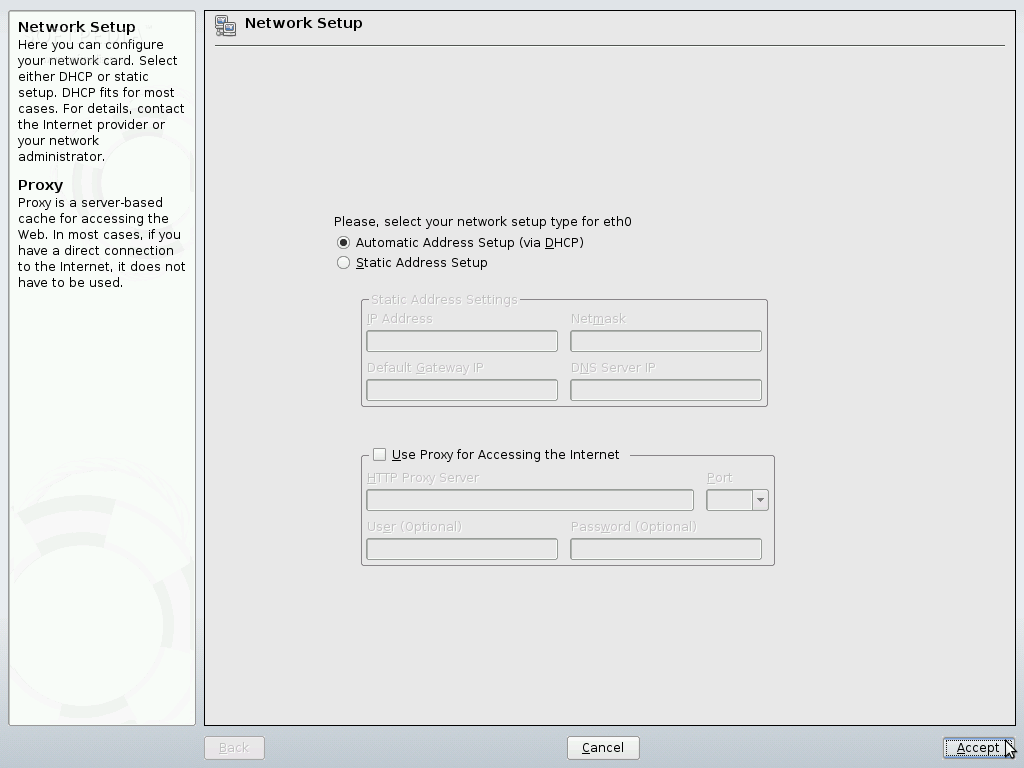
Now, if you have DHCP (dynamic IP address) then continue the installation wizard, by hitting the Next button:
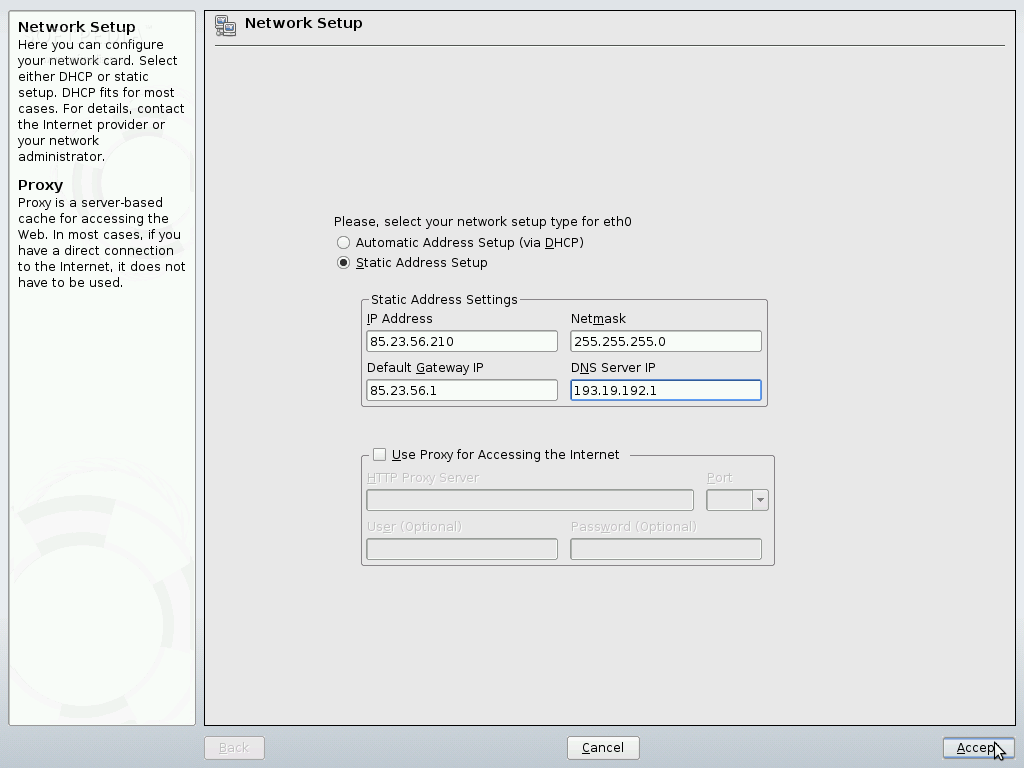
If you don't have DHCP and you have to manually configure your IP address, select the "Static Address Setup" option and fill up the required fields (IP, Netmask, Getway, DNS) and when you're done, hit Next:
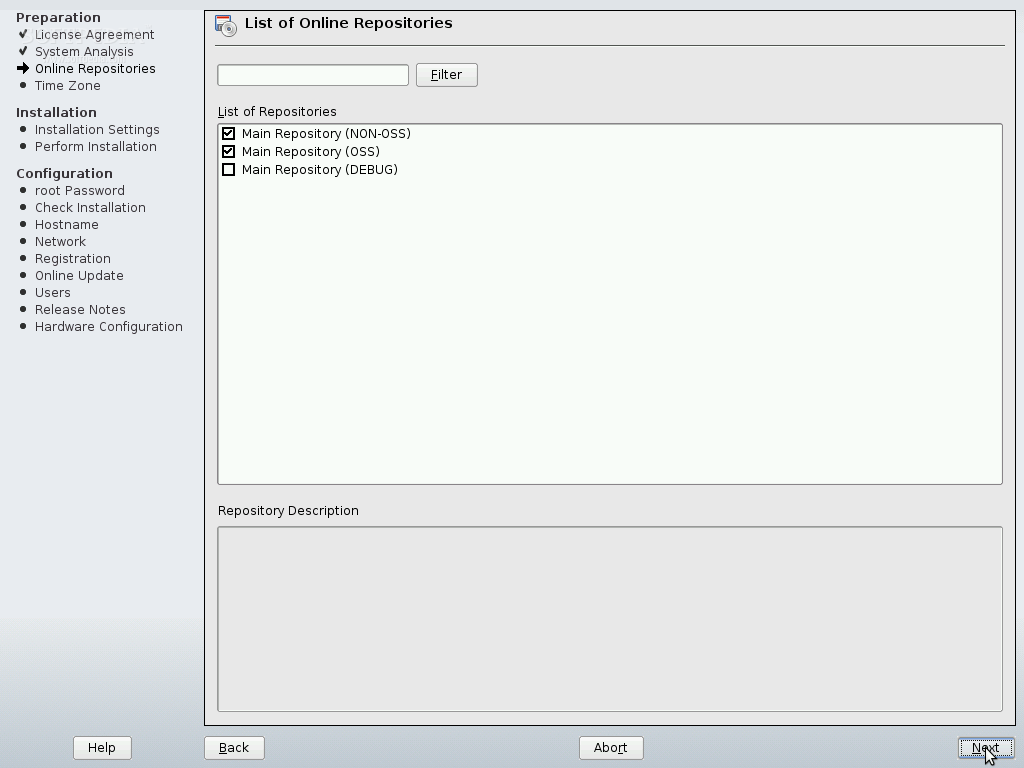
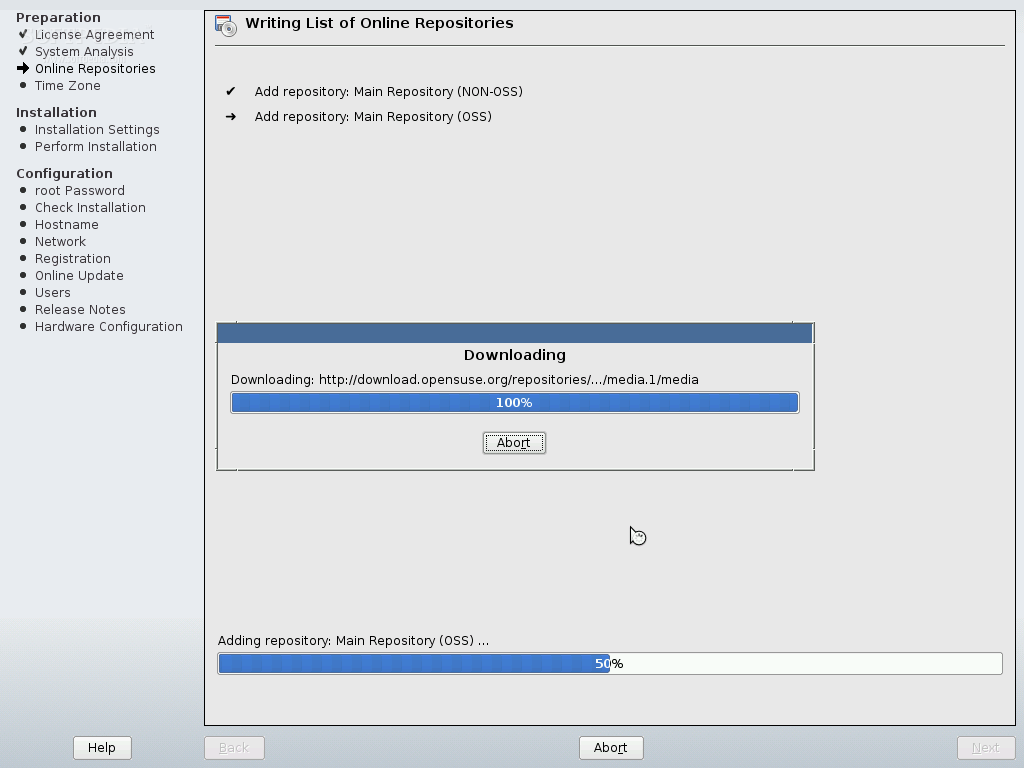
Now you are able to select the openSUSE software repositories. The default selection is OK; just hit Next to proceed:
It will take a couple of minutes to build the software database:
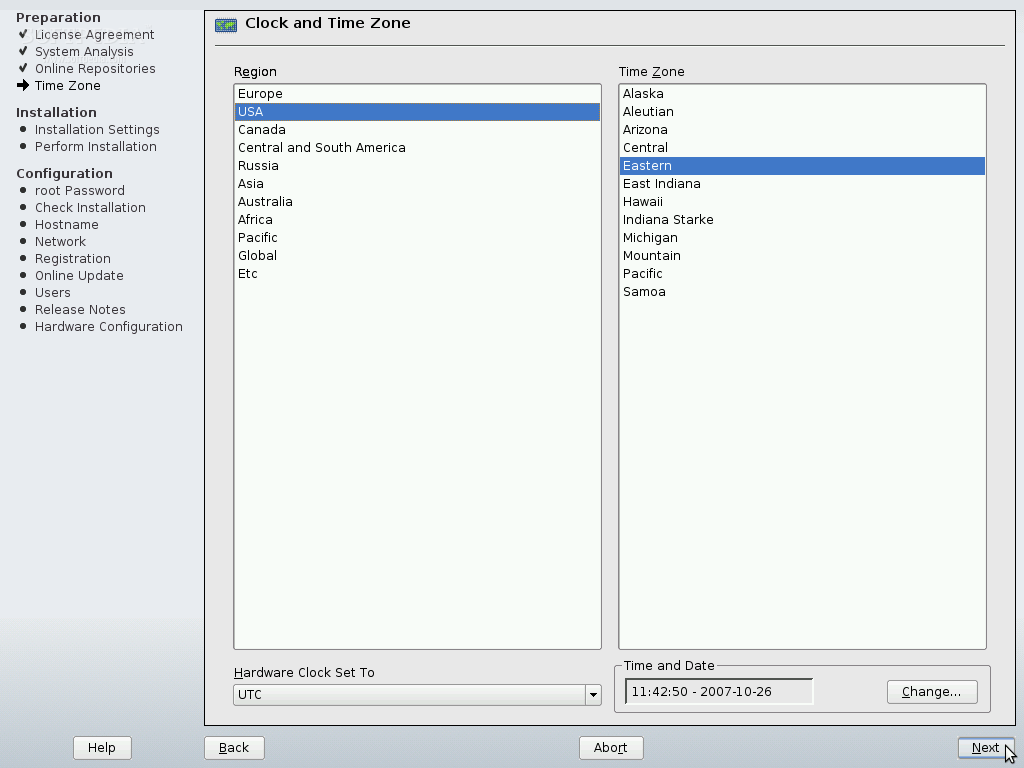
Now you have to choose your time zone and setup the clock:
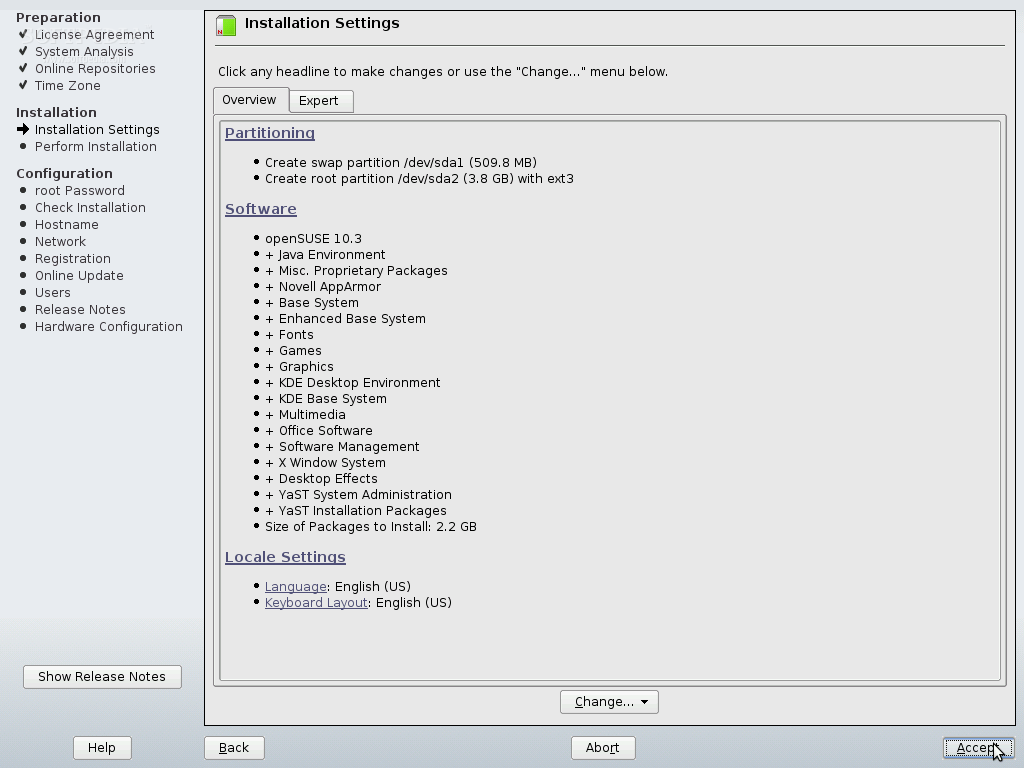
You'll arrive at the Installation Settings screen. If everything is ok with you here, click Accept to continue the installation wizard:
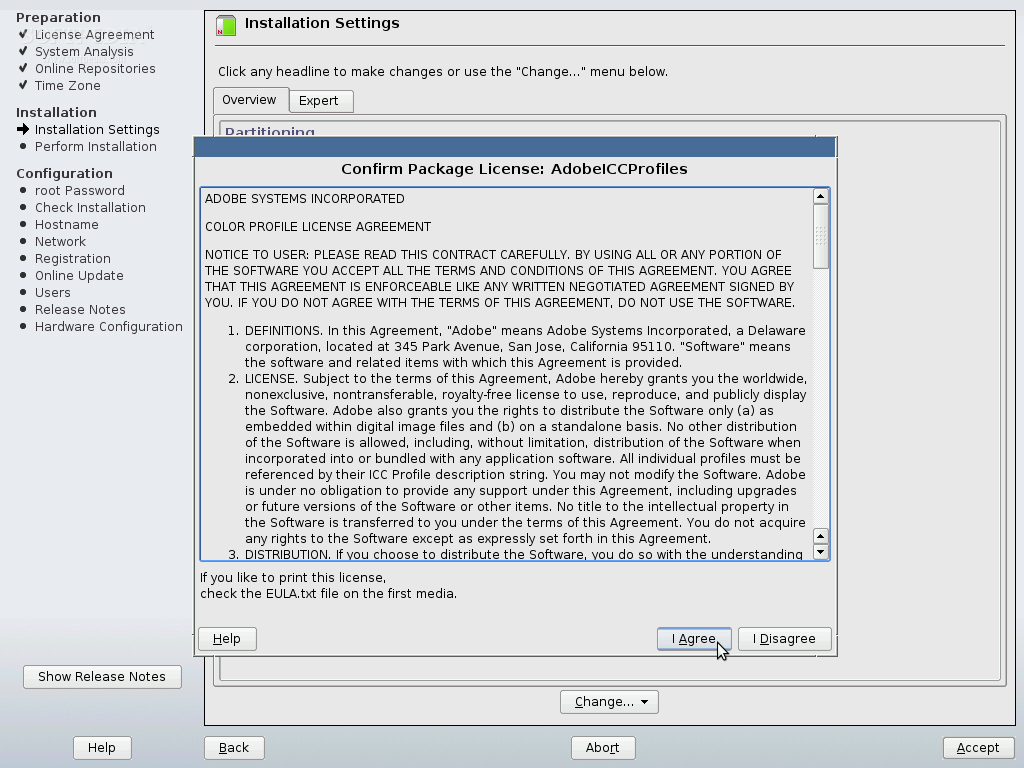
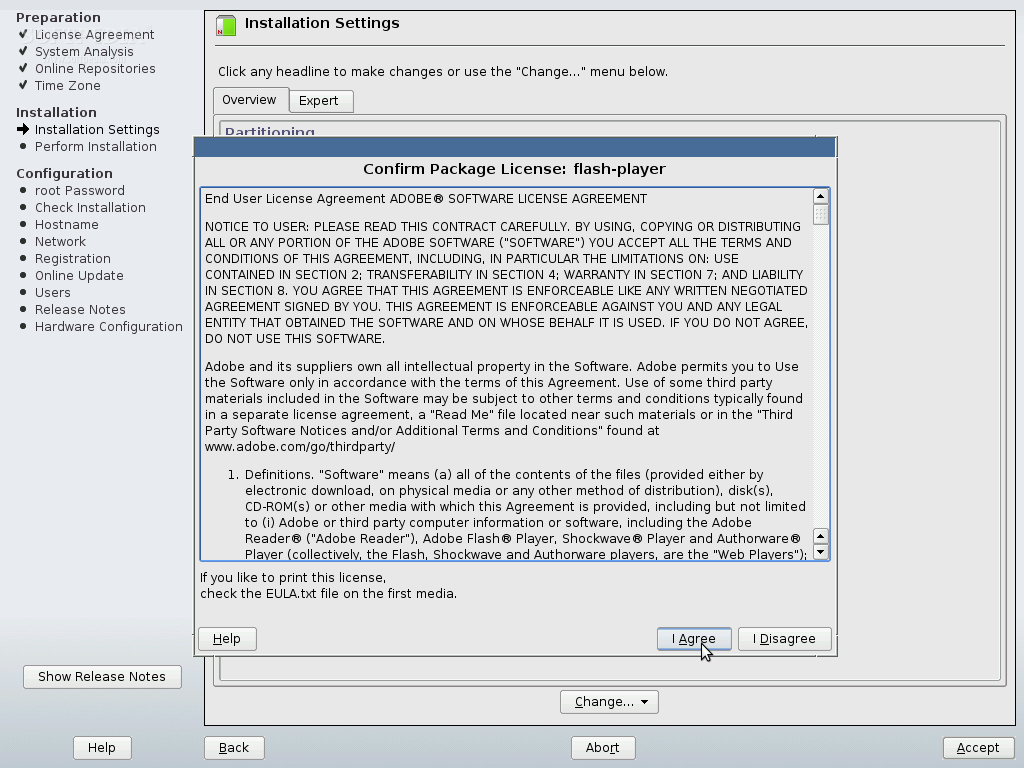
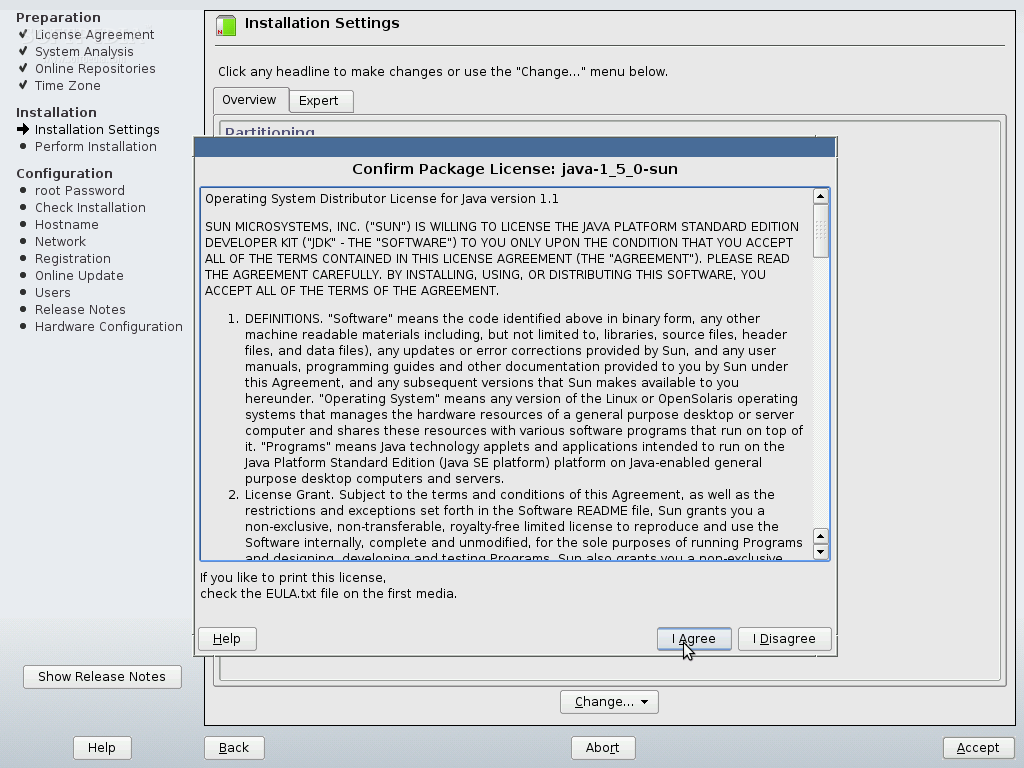
Confirm all three licenses (AdobeICCProfiles, Adobe Flash Player and Sun Java):
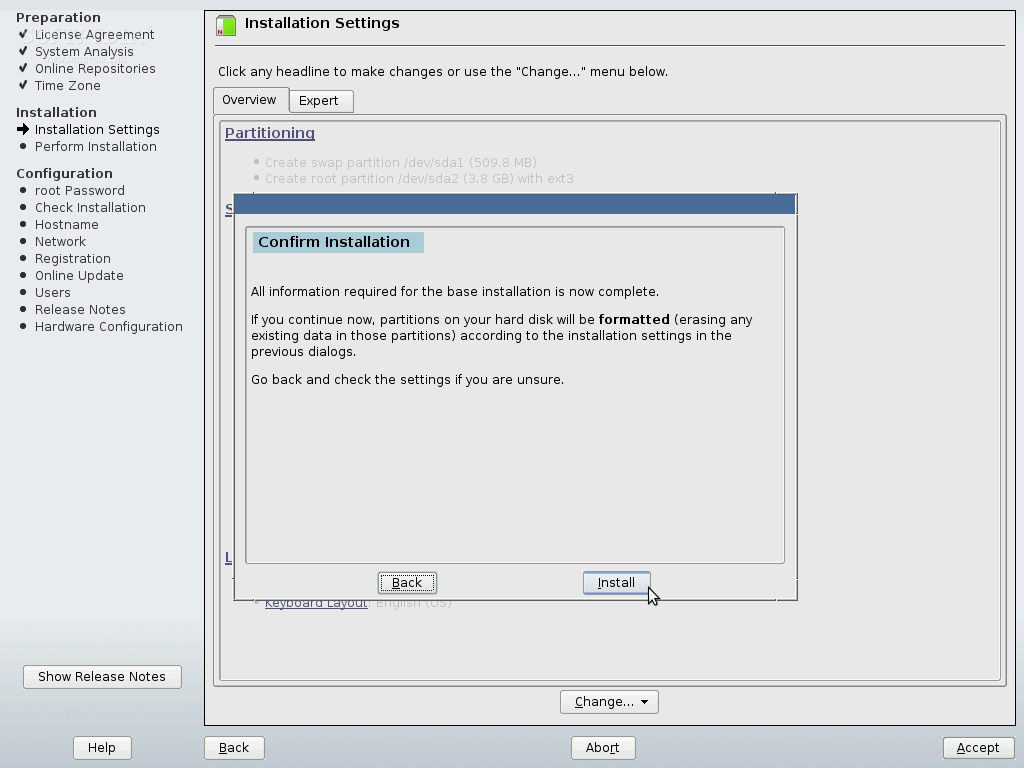
Click the "Install" button to start the installation process:
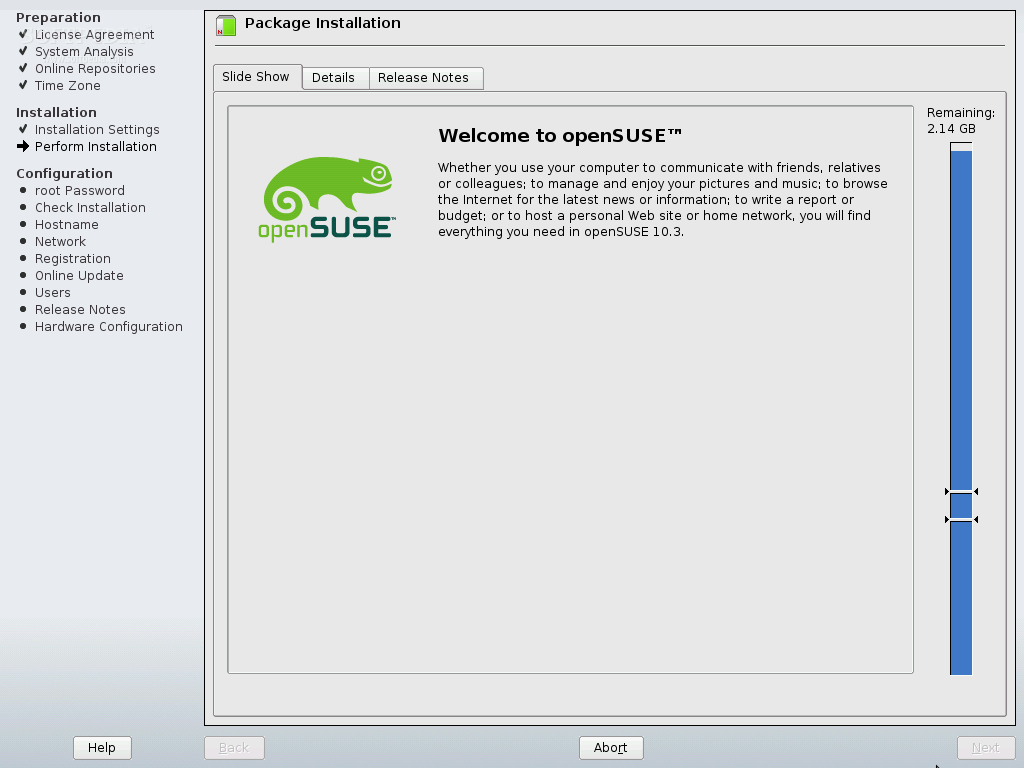
The installation will begin and it will take about 20-30 minutes to complete:
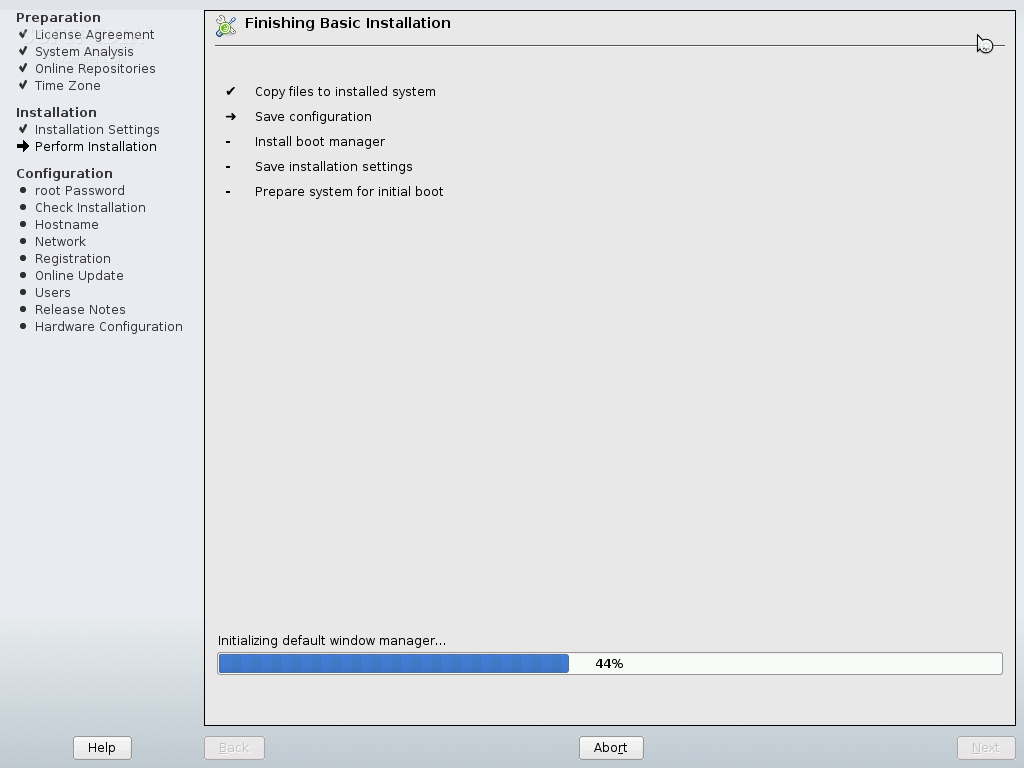
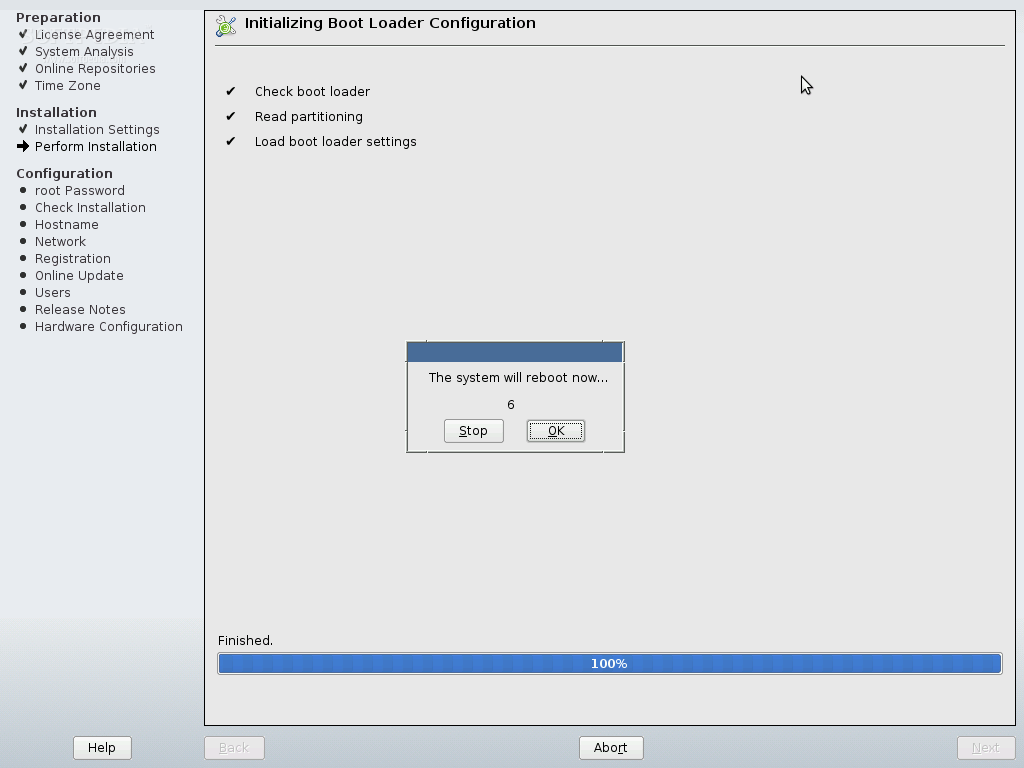
When the install process is over, the system will automatically reboot:
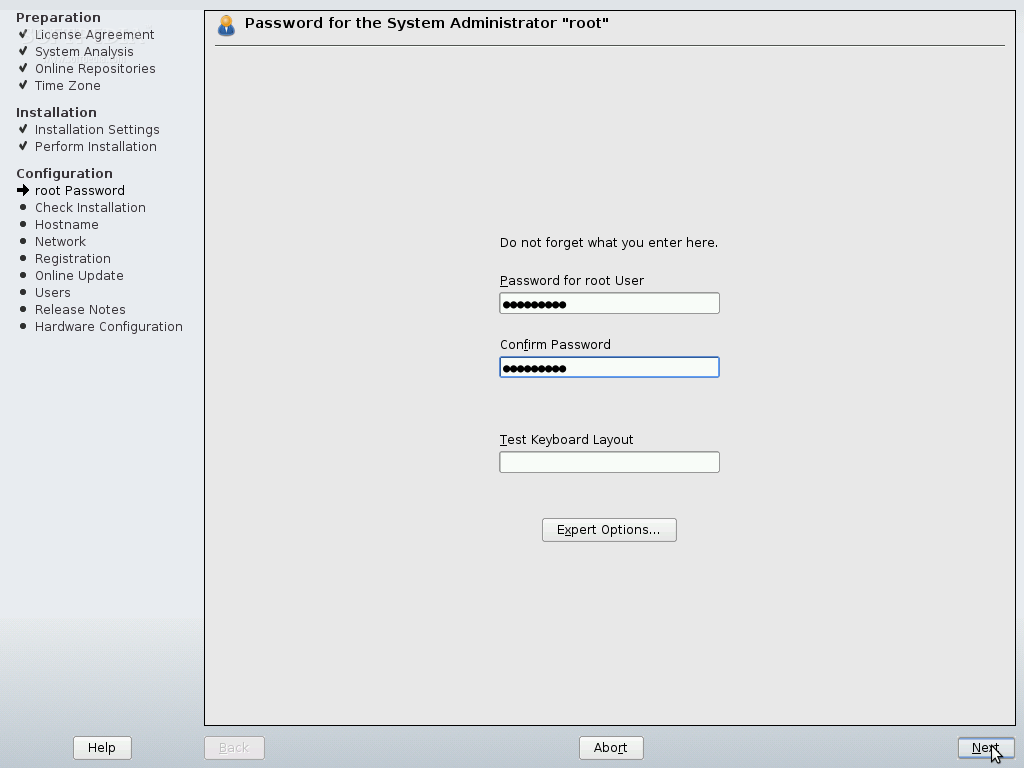
And it will continue with the final configurations for the system. First, you must select a root (System Administrator) password:
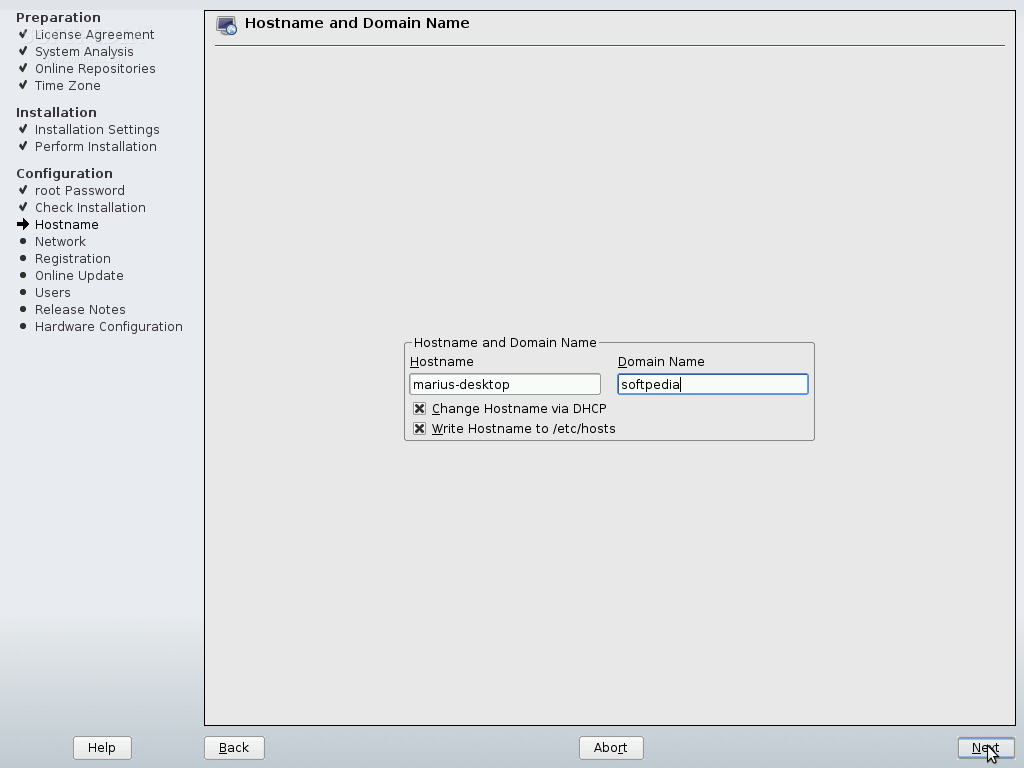
Then you have to choose a Host Name and Domain Name for the system:
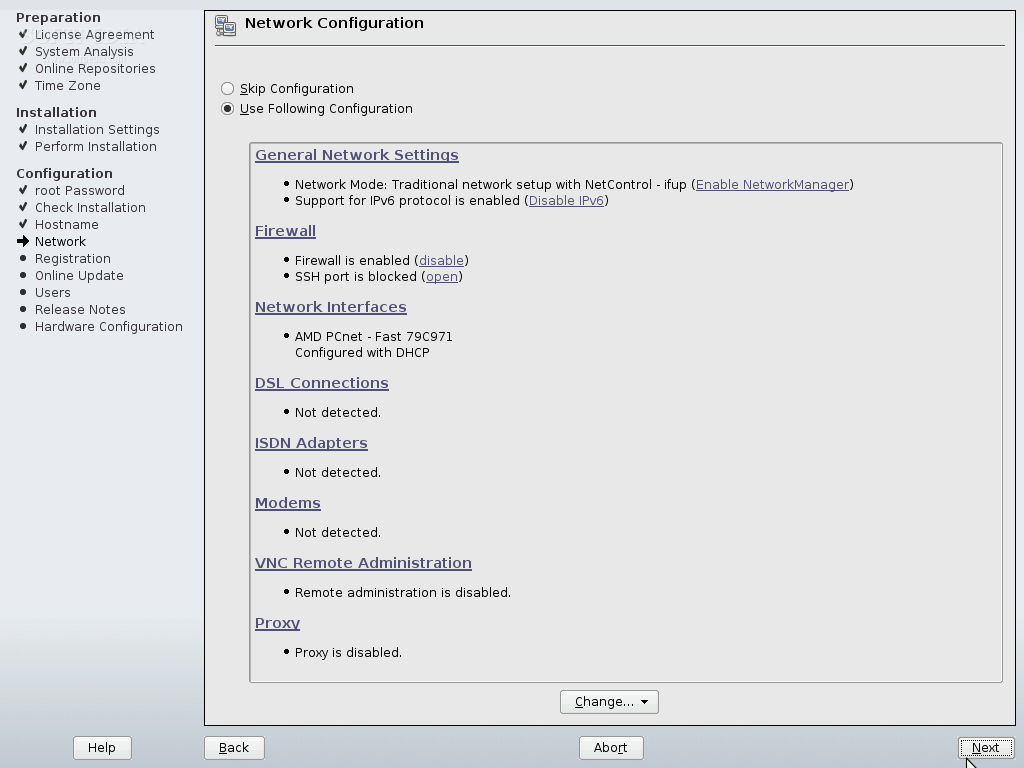
After that, you will see the Network Configuration screen. Hit Next to continue:
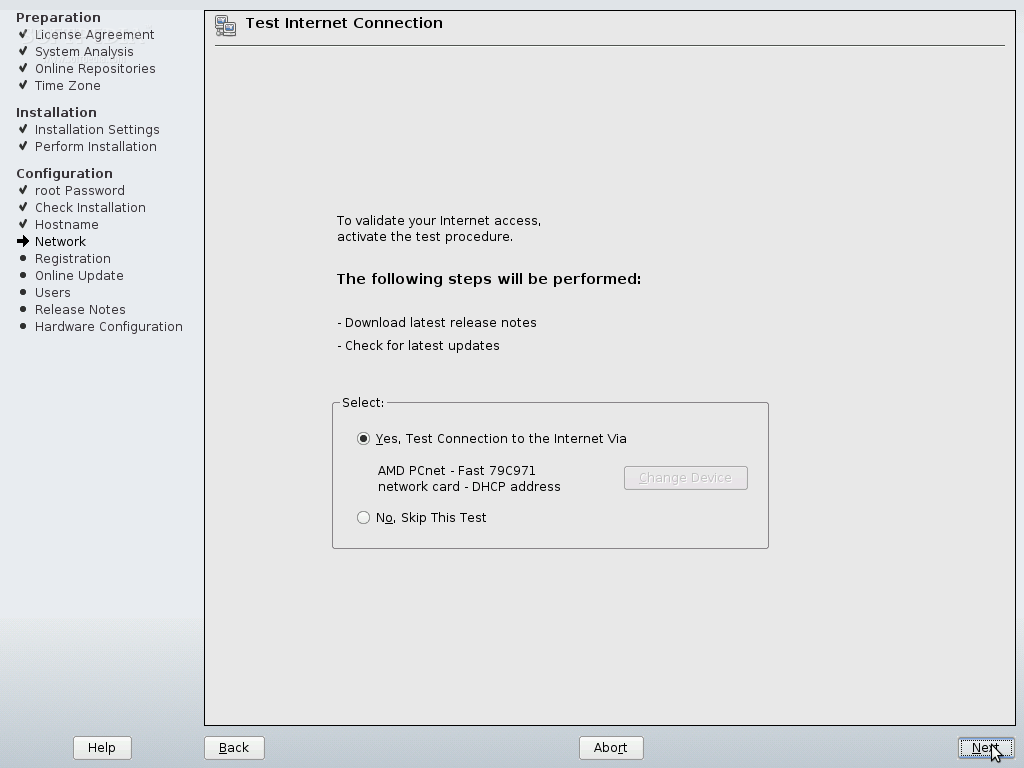
And now you have the possibility to test your network connection:
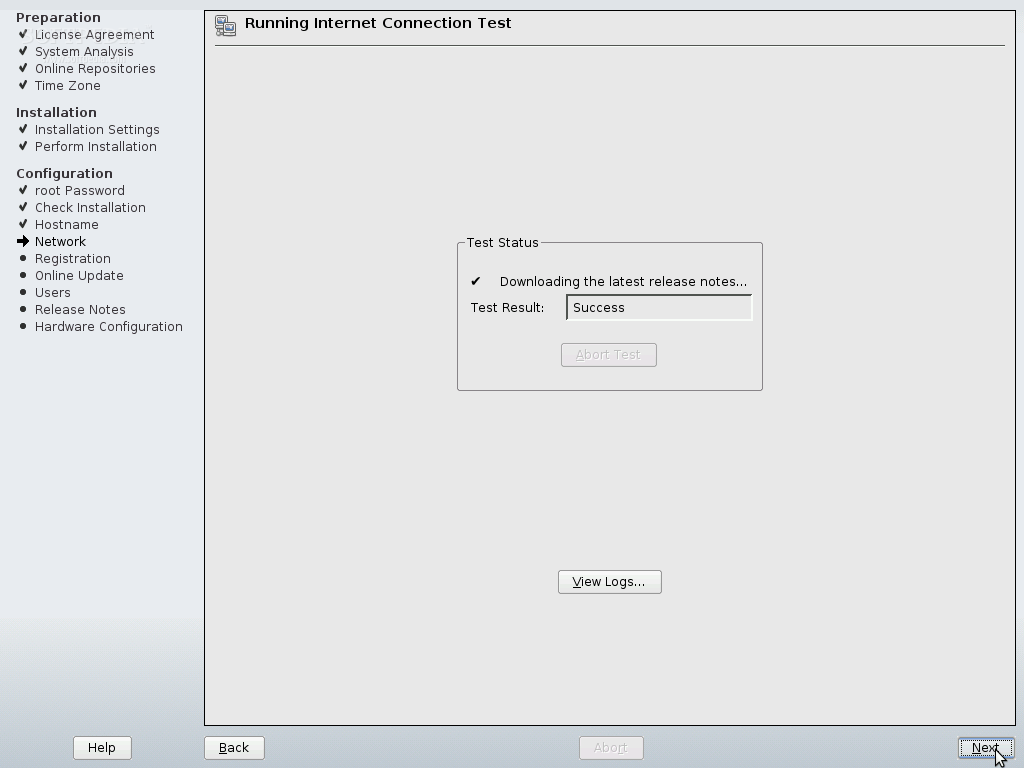
Mission accomplished! Your Internet connection is working:
Click the next button and you'll arrive to "Online Update Configuration" screen, where I simply suggest you to click on the "Configure Later" option and carry on with the installer.

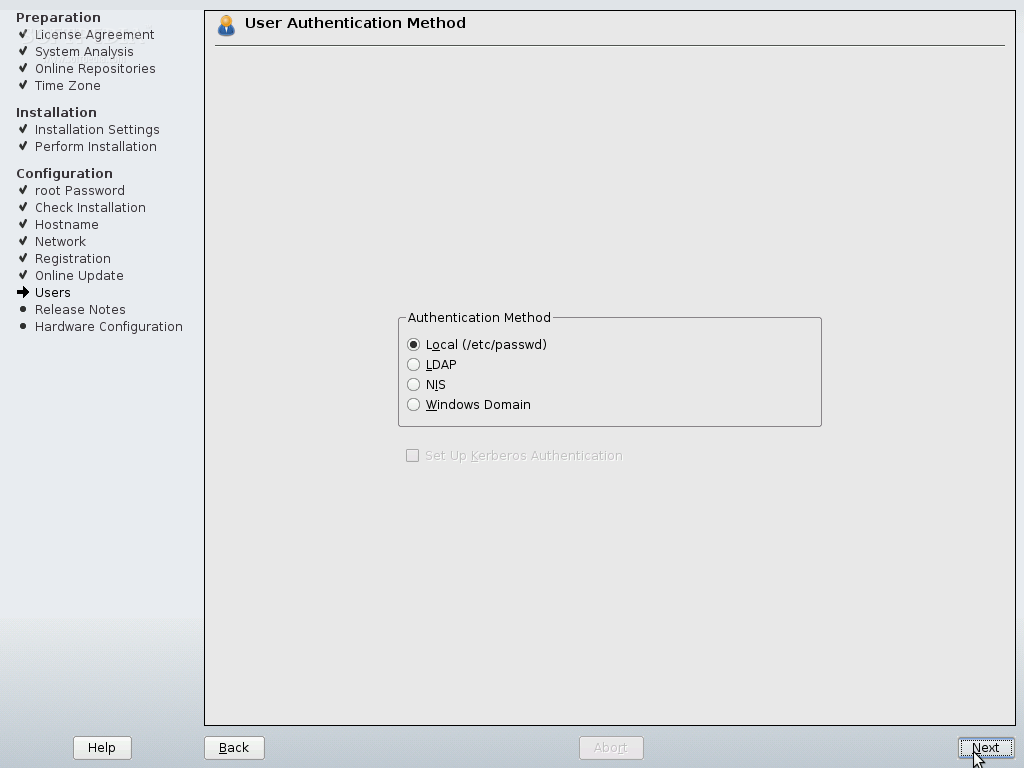
On the next screen, you can choose the authentification method for the system:
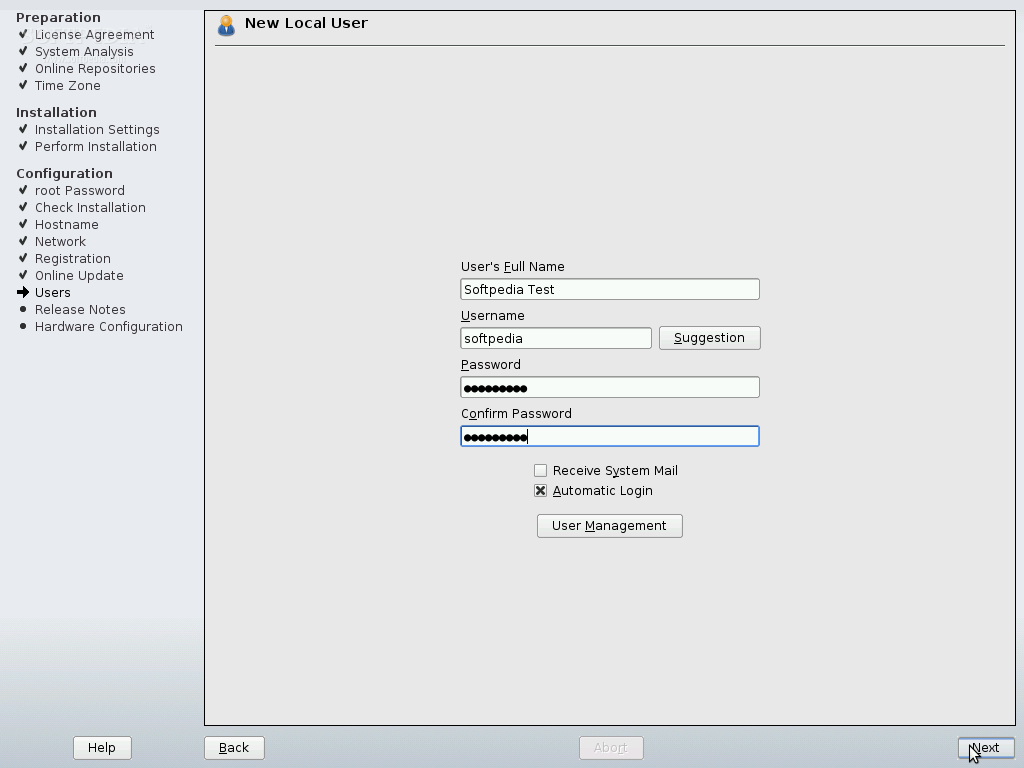
Now you must create a user for the system, because it's not a very smart idea to operate a Linux system as root, especially if you're a beginner:
The installer will write the system configuration:

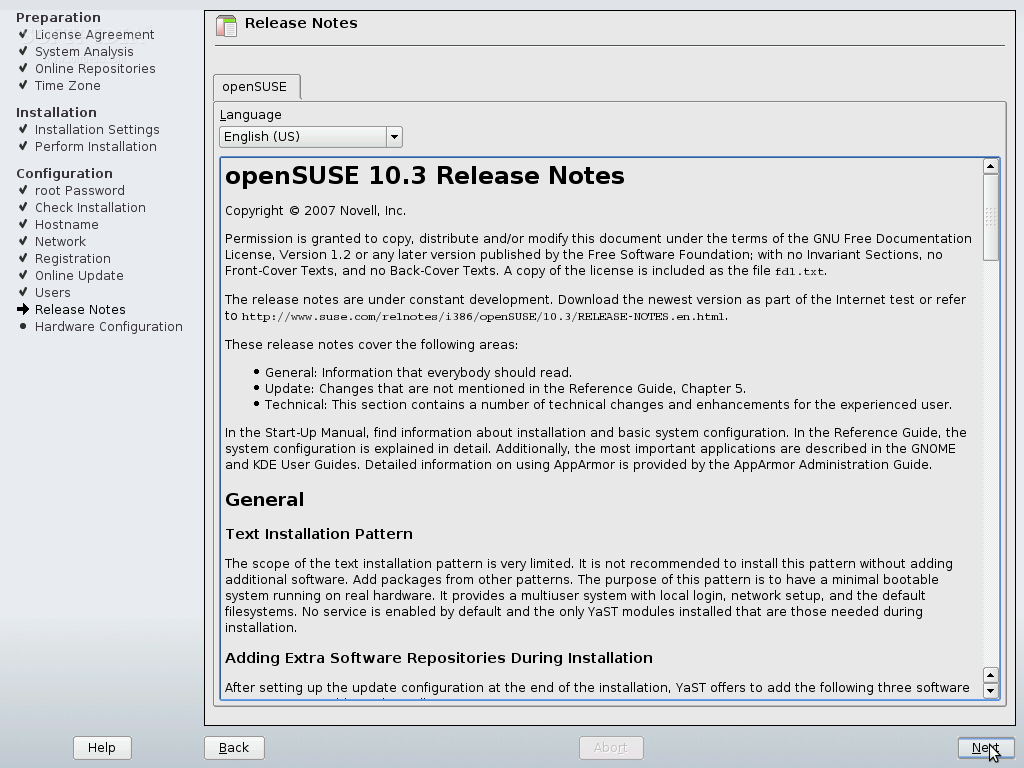
You will see now the release notes for openSUSE 10.3, which you can view later on the Yast control panel:
Hit Next and the installer will scan and automatically setup your computer hardware. Take a good look here to see that everything was recognized as it's supposed to be. Normally, the installer will recognize and setup all your hardware correctly; if not, you can click on the hardware component that you consider it was not set up correctly and do extra configuration.

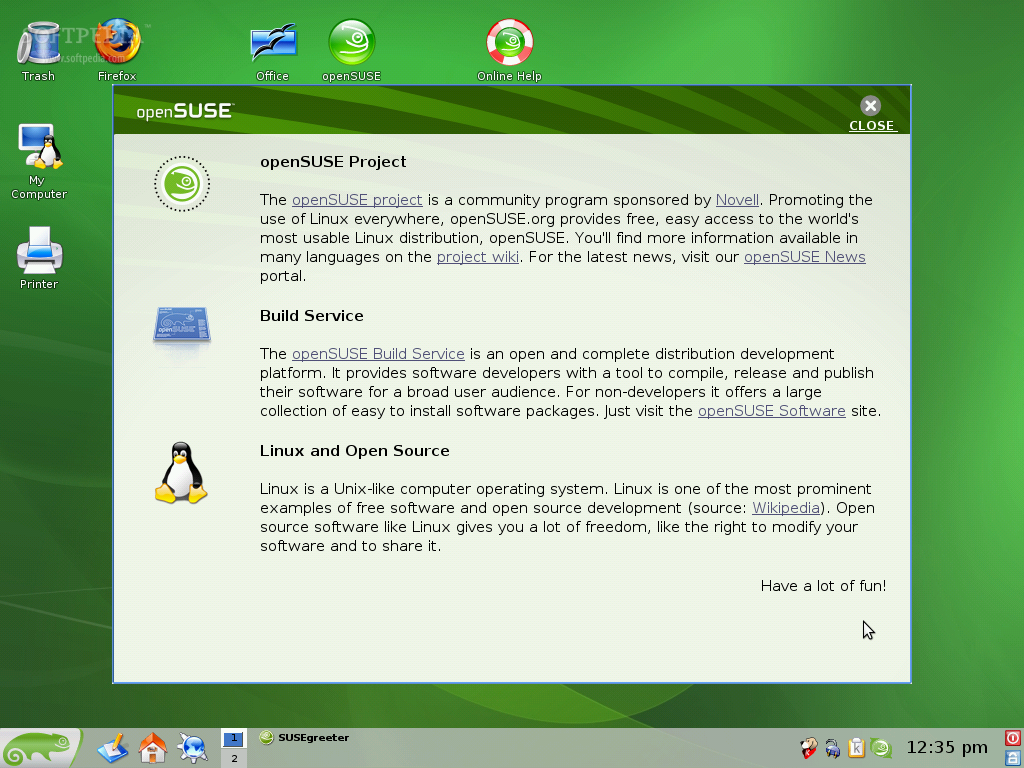
That's it! Congratulations! Click the "Finish" button and you'll be automatically logged in to your new openSUSE machine:

I hope you will find openSUSE 10.3 a great, useful and wonderful Linux distribution!