
 14 DAY TRIAL //
 So, you have decided to make the first steps into the Linux world, and you're asking yourselves: "What distribution should I try?" Even though I guess you've already heard about the Novell/Microsoft deal and about the SUSE Linux distribution for Enterprise Bussiness, you should know that Novell also sponsors a FREE and complete Linux environment made with the help of an entire worldwide community, OpenSuSE. The latest version of openSUSE Linux (10.2) which was just released a couple of days ago brings many new things for the end user, like KDE and GNOME feature improved start menus compared to upstream, latest versions of Linux kernel and X.Org server and also new and improved package managers. Well, maybe you have never heard about X.Org, KDE or GNOME, if you're a beginner of course, but let's just start with the installation of this Linux operating system and later, you will learn more things about Linux, if you'll stick to it.
First of all, you can download openSUSE now from Softpedia. I suggest you download a DVD version (x86, 86_64 or PPC) if you have a DVD-ROM drive in your PC or laptop, so you won't have to change the CDs all the time. You can also take a look at the hardware requirements and other installation methods here.
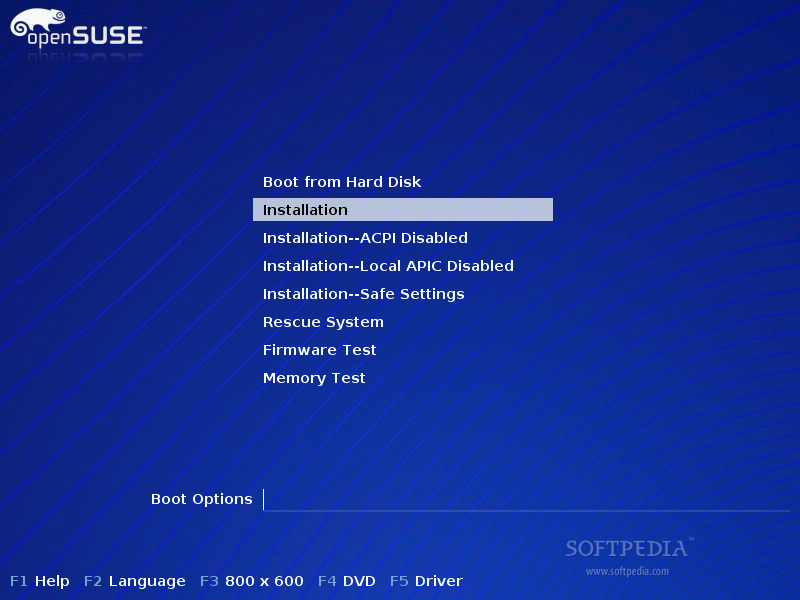

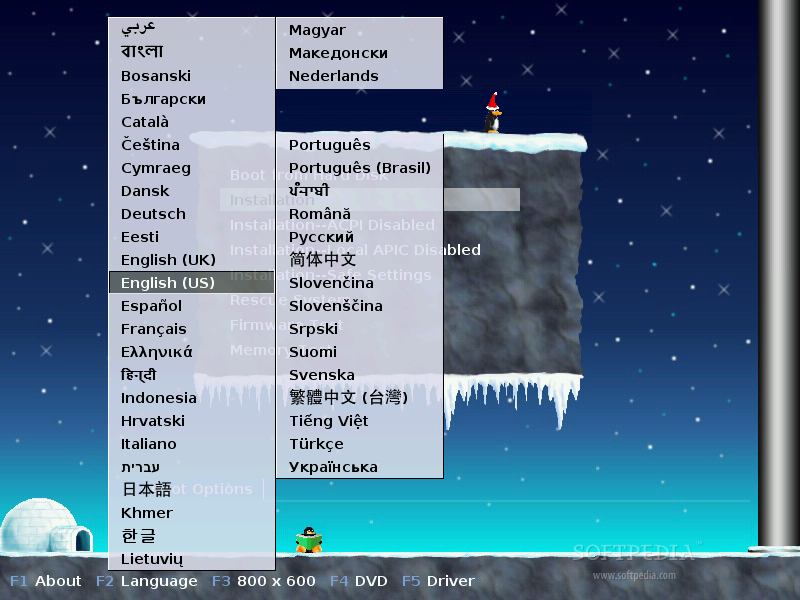
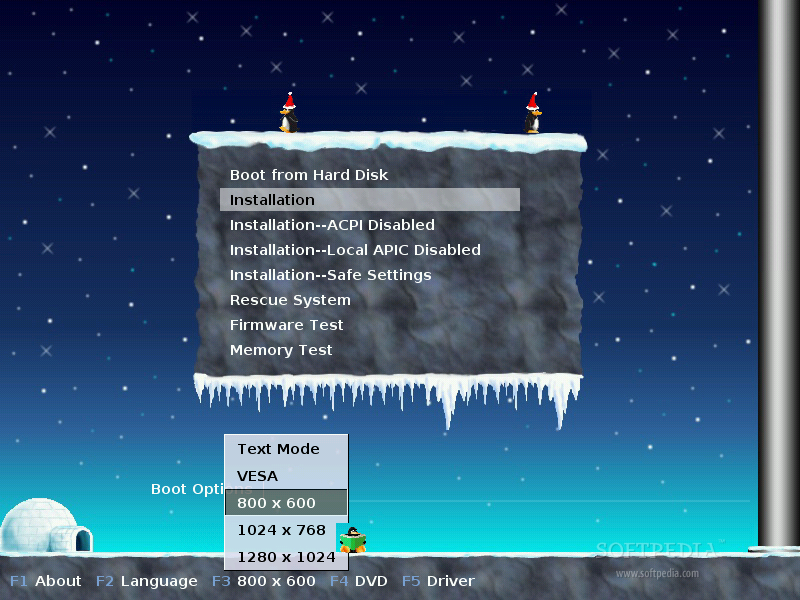
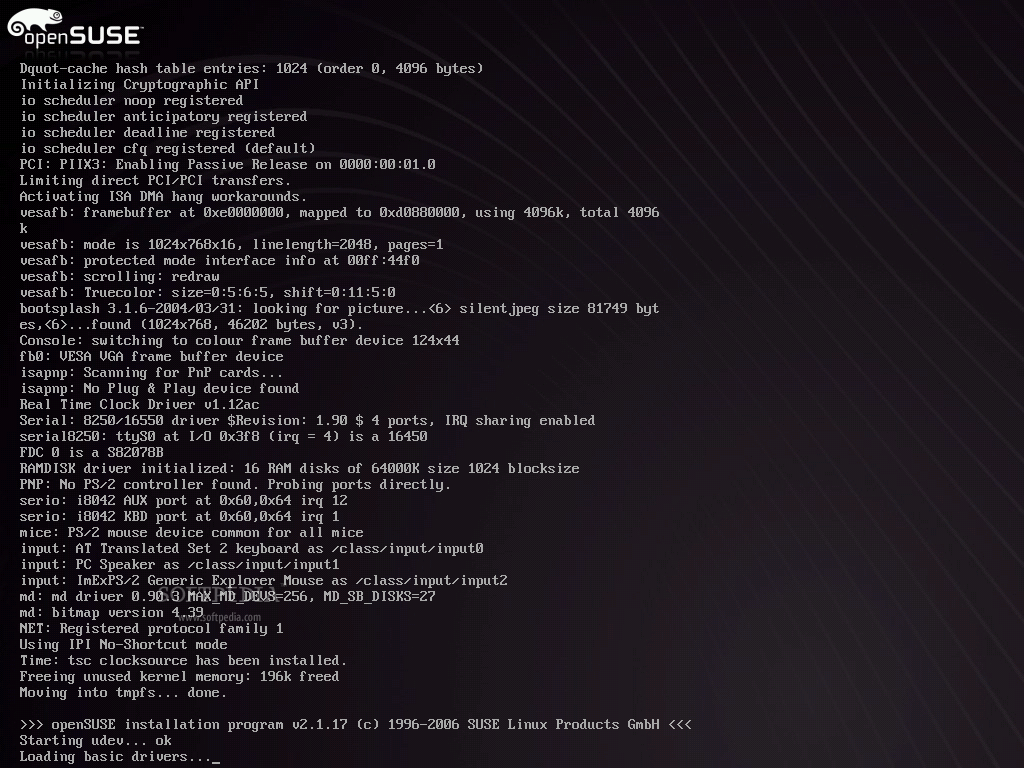
Insert the CD/DVD into your drive and boot from it, you will be prompted with a boot menu, you have a couple of options here, like F2 if you want another language for the installation process (English is default) or to select the resolution and the installation source use F3 respective F4 buttons, then just select "Installation" option and hit enter. After the kernel will be loaded and you'll see a very nice openSUSE blue boot screen, the wizard appears, asking you to choose the language of the installation process and to agree to the openSUSE license.


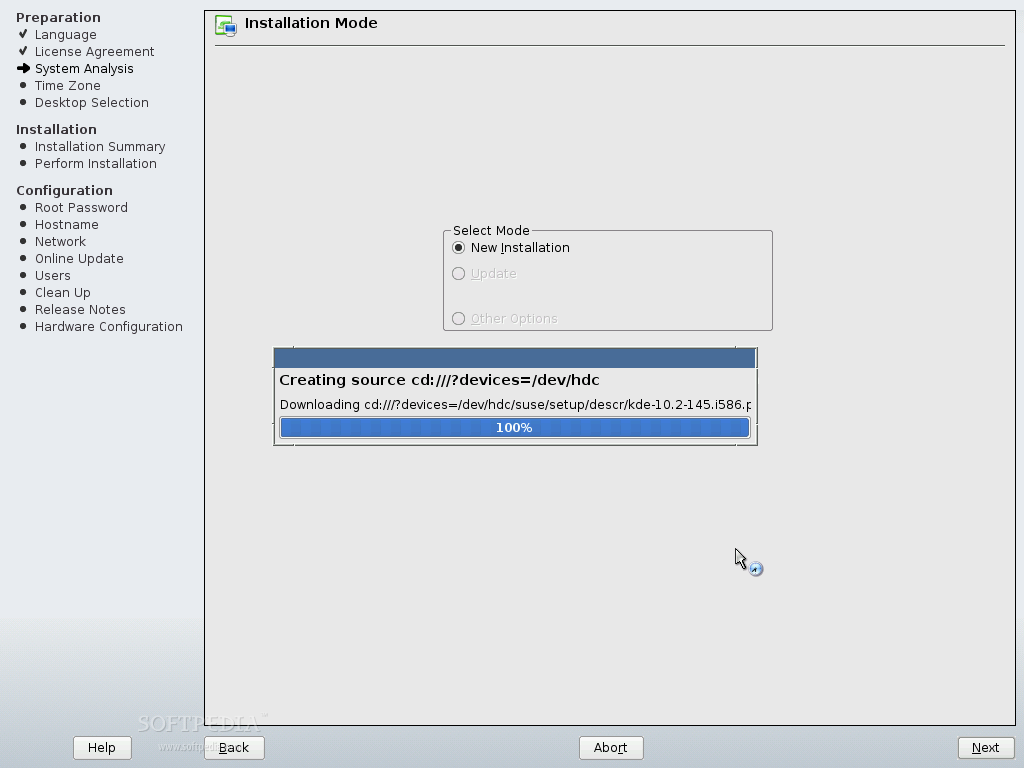
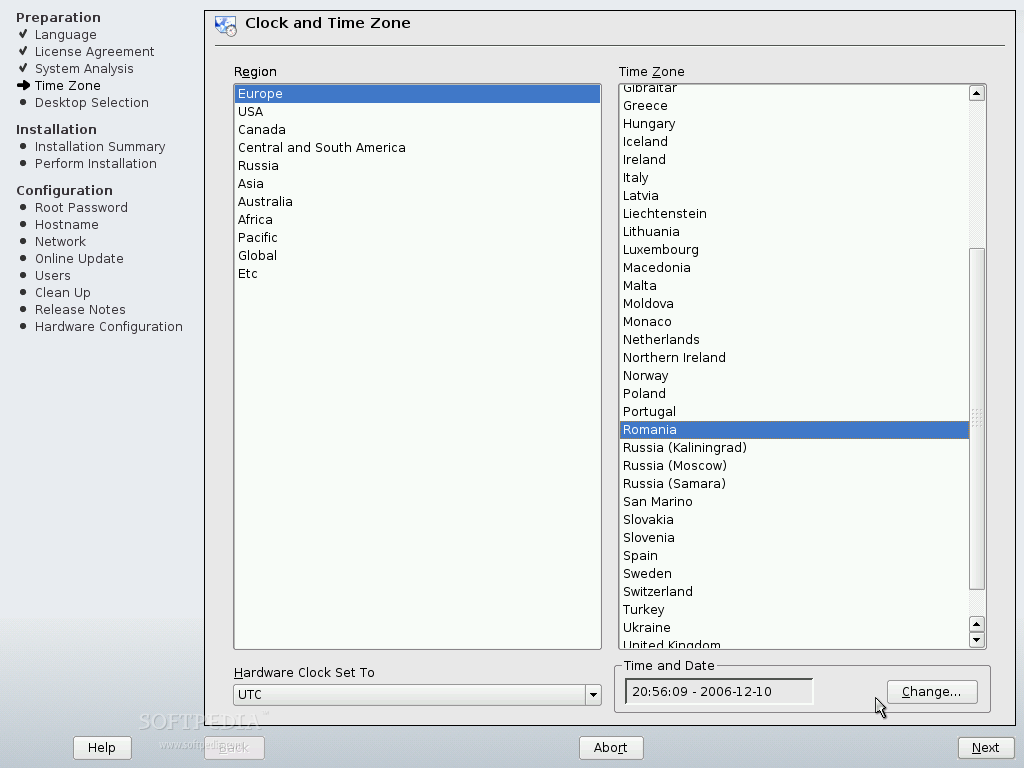
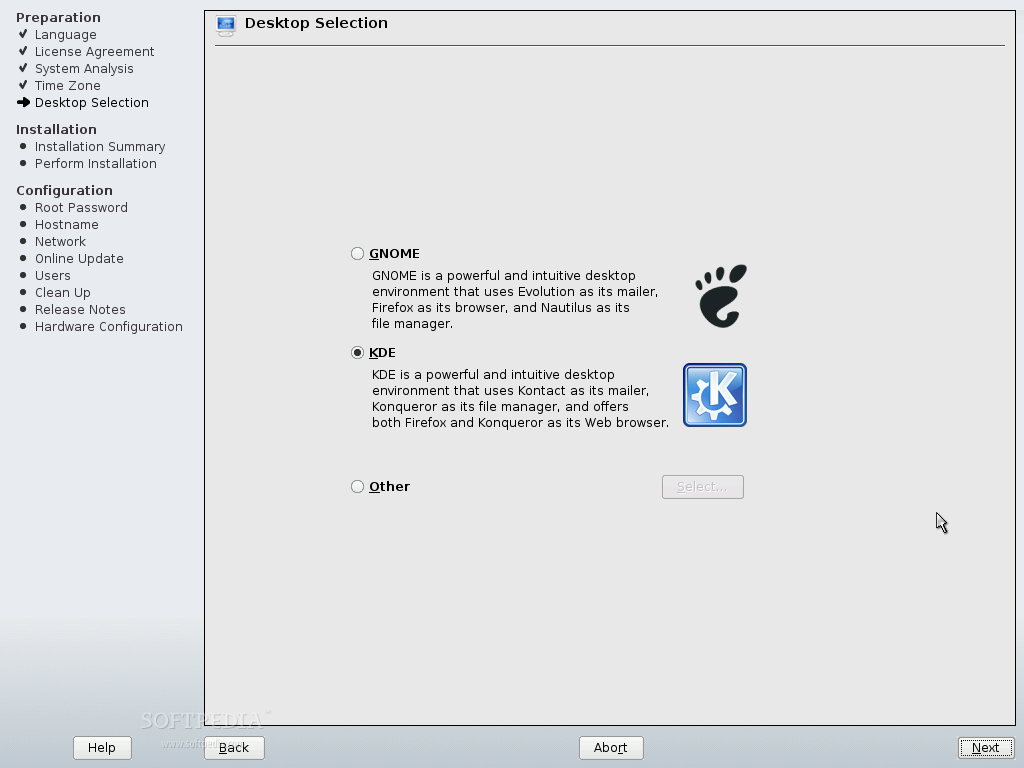
At the Installation Mode screen just hit next and then you have to choose your time zone for the system clock. After you've hit next at the Clock and Time Zone screen, you will have to make a big choice, select a desktop environment, GNOME or KDE are the biggest rivals right now on the Linux desktop battle, but you also have an option to choose another window manager. I suggest you stick to both KDE and GNOME, so right now, at this screen, choose either GNOME or KDE, because on the next step of the installation process, we will choose the other desktop environment as well.


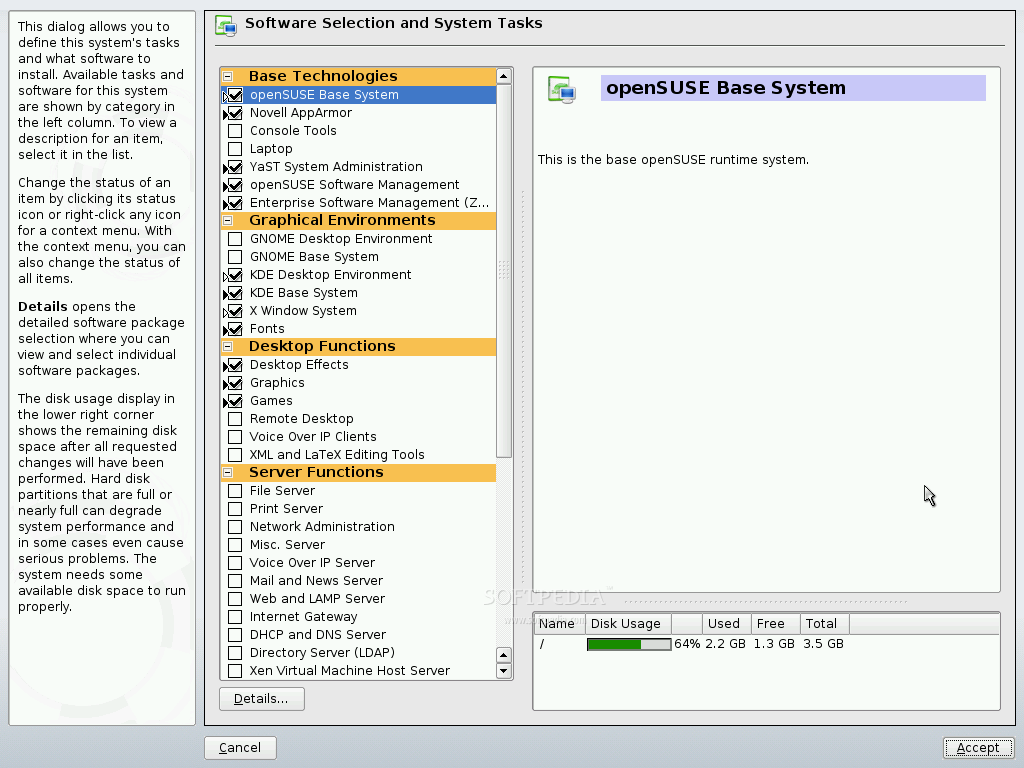
You will see now a summary of the Installation Settings, which comes in a Standard (default) and Expert (for power users) view. I will suggest using an empty hard drive for this installation; that means no other operating system on it, ok? The partition process is automatic and it will erase all your data from the selected hard drive. Now click on the "Software" link and you'll arrive to the detailed software selection screen. Here, as I've told you a few rows above, you can select the other desktop environment (Graphical Environments section), and also more other software, regarding your needs.
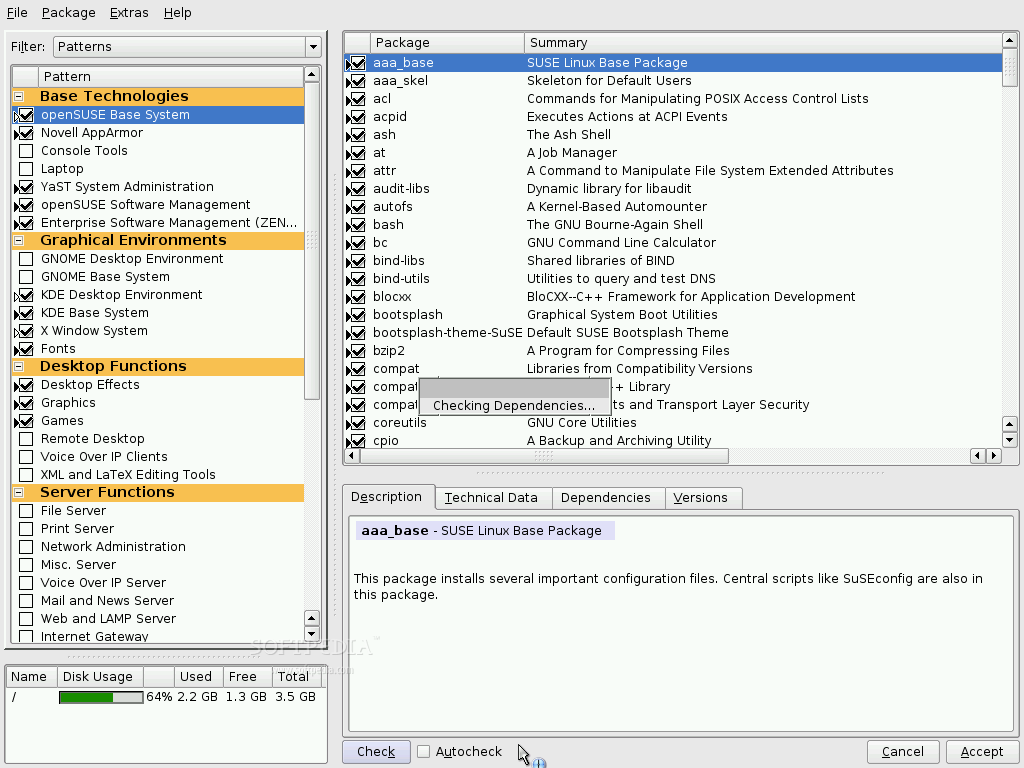
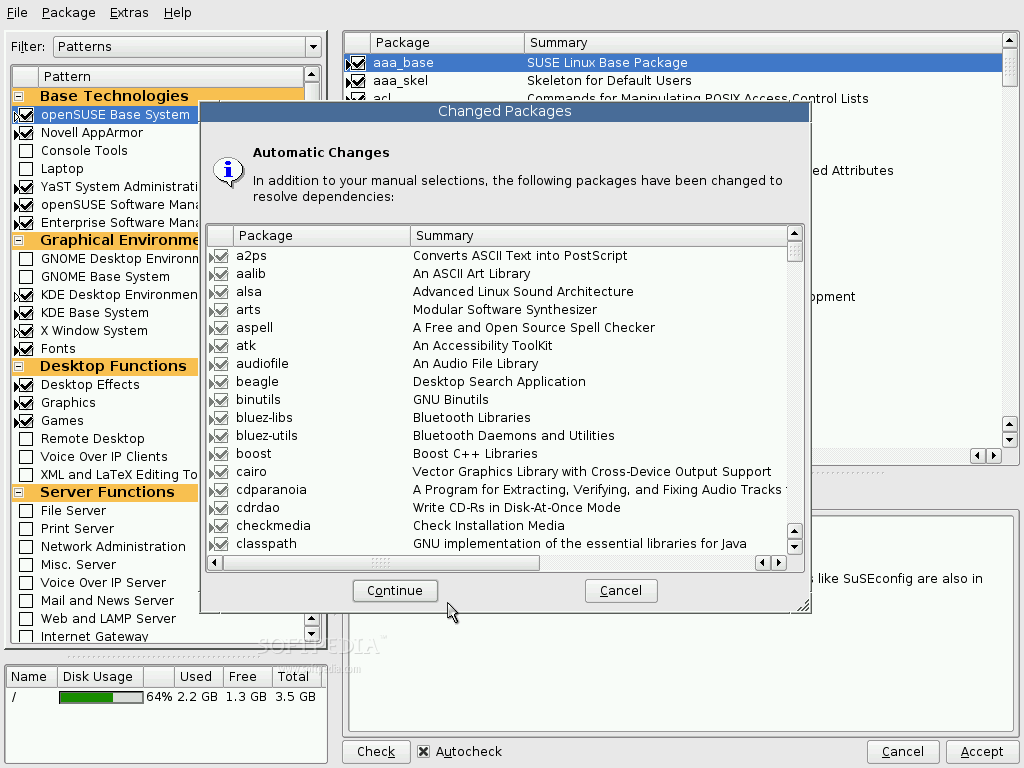
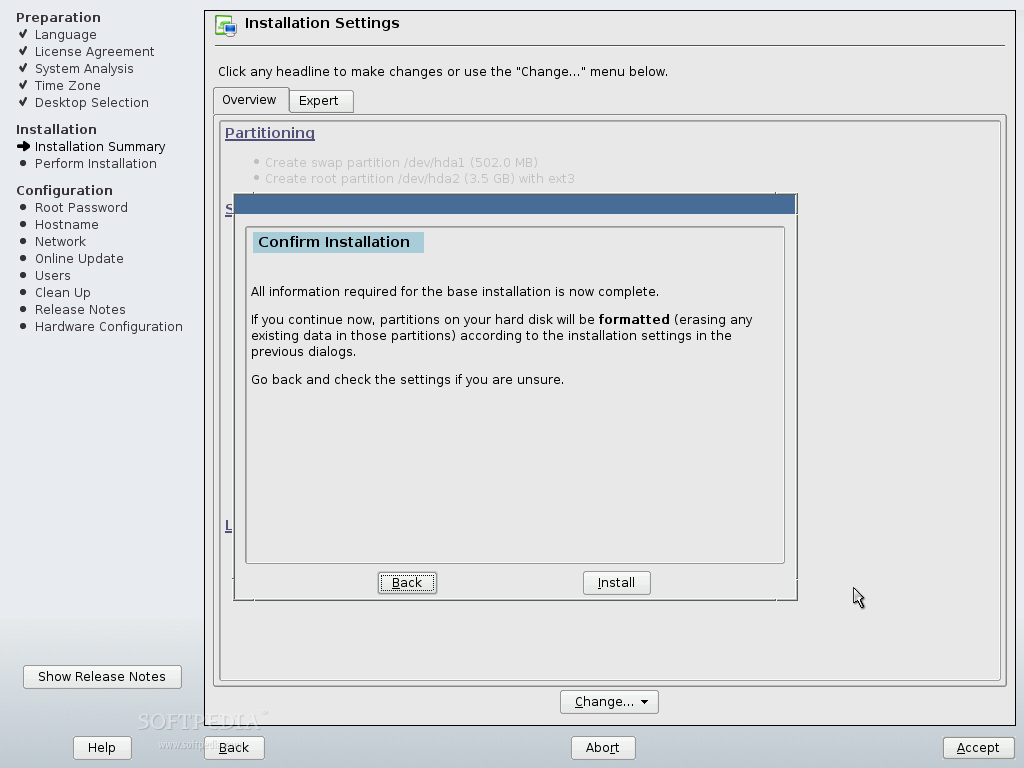
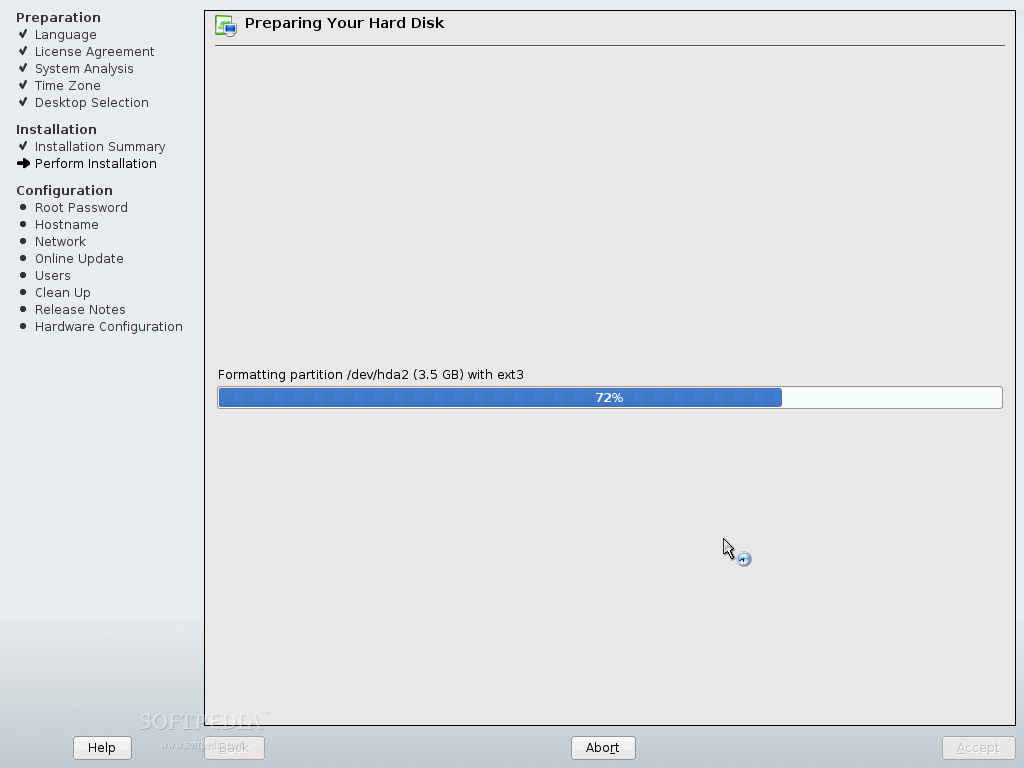
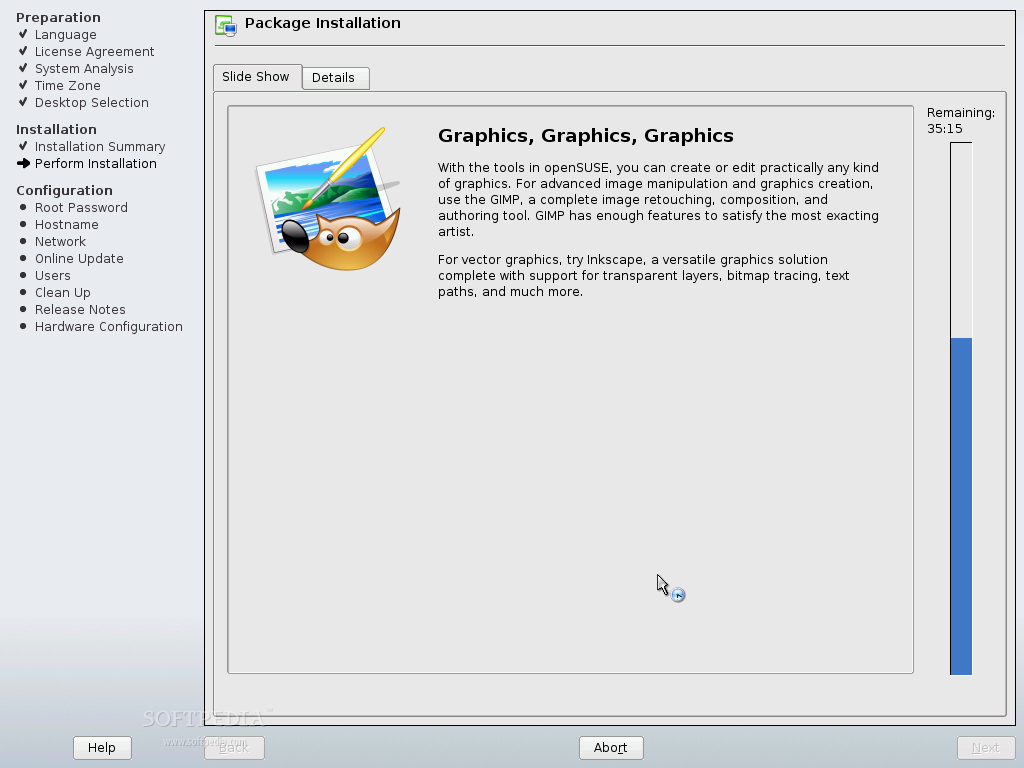
After you have finished with the packages selection, click the "Accept" button to return to the initial screen (Installation Settings) so you can carry on with the installation process. Before you will return to the Installation Settings screen, you may see some windows that notify you about the modification in the package selection or to accept some licenses of non open source software. Now hit again the "Accept" button and an installation confirmation will appear, hit the "Install" button and the installation will begin. It will take about 20-30 minutes, depending on the software selection and specs of your PC.


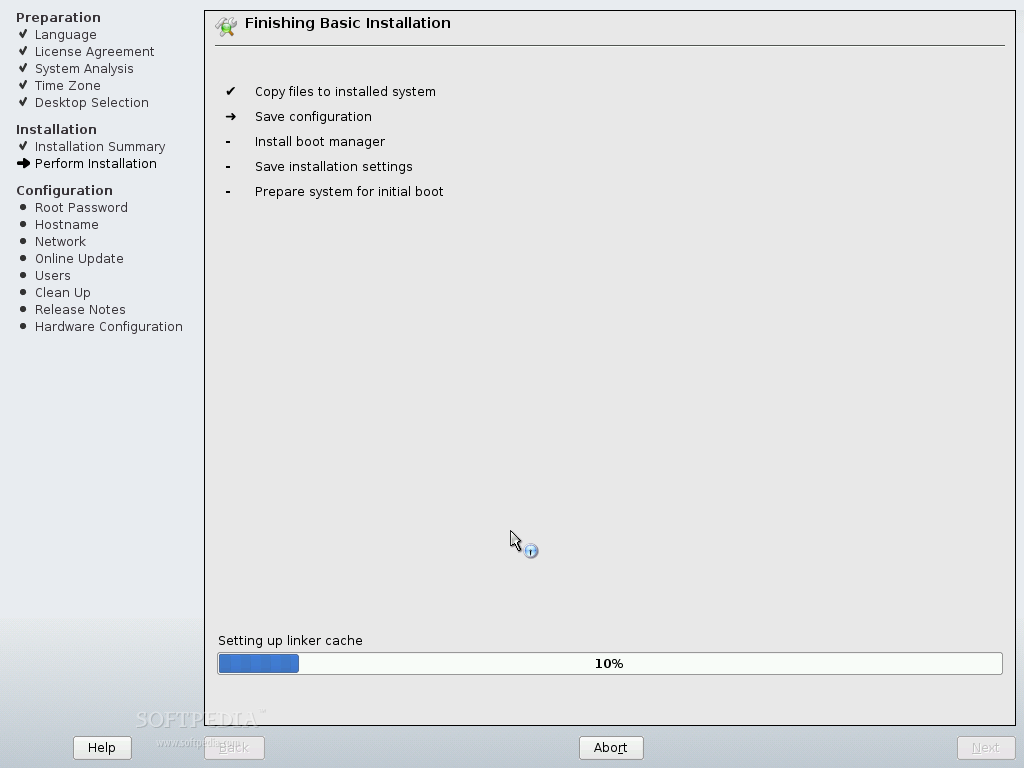
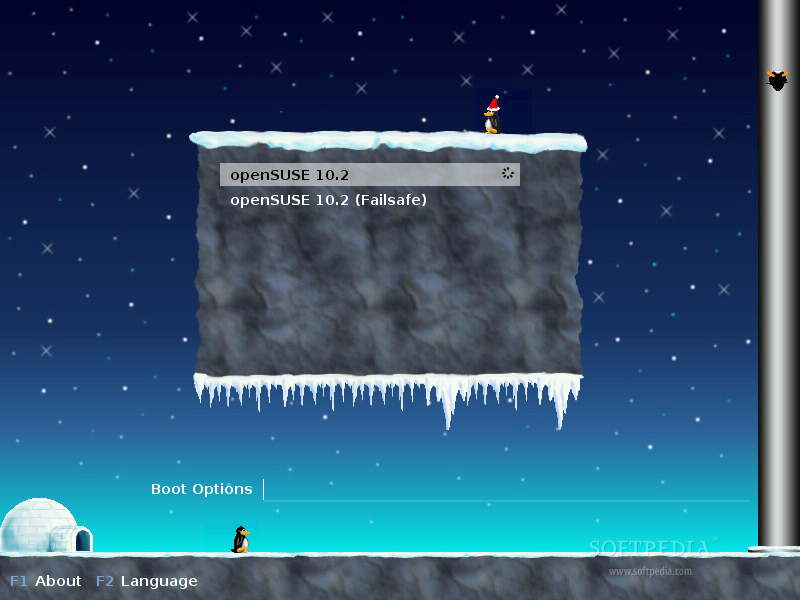
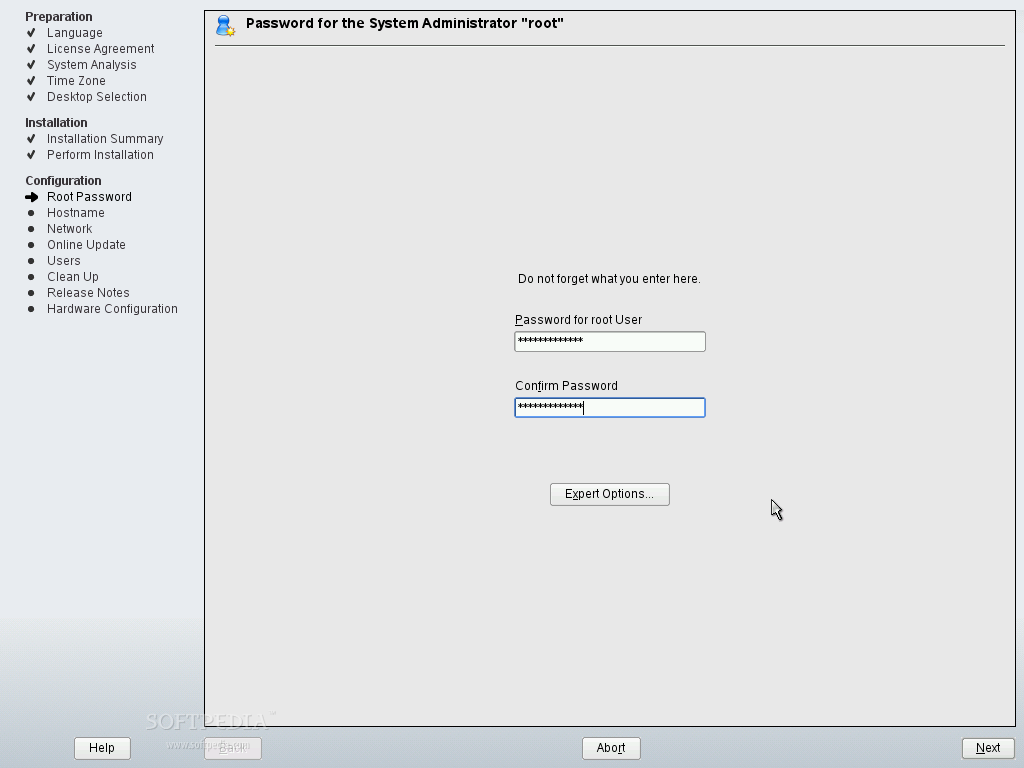
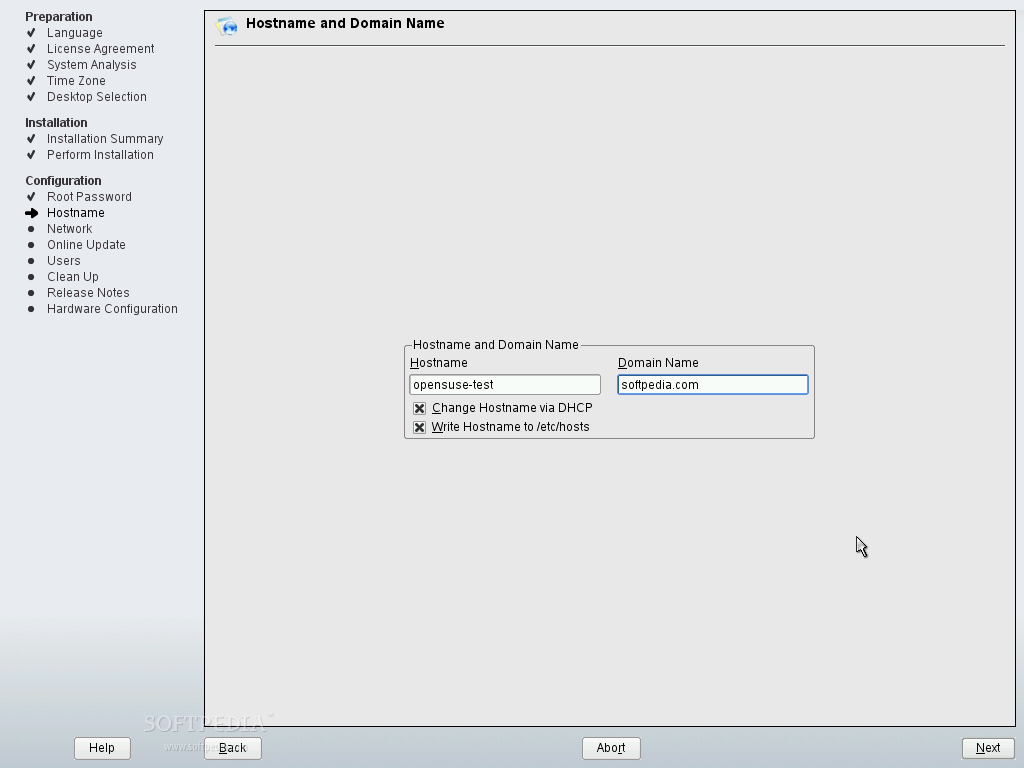
When the install process is over, the system will automatically reboot and it will continue with the final configurations for the system. First, you must select a root (System Administrator) password, and then, you have to choose a hostname and Domain Name for the system. After this, you will see a screen with Network Configurations.


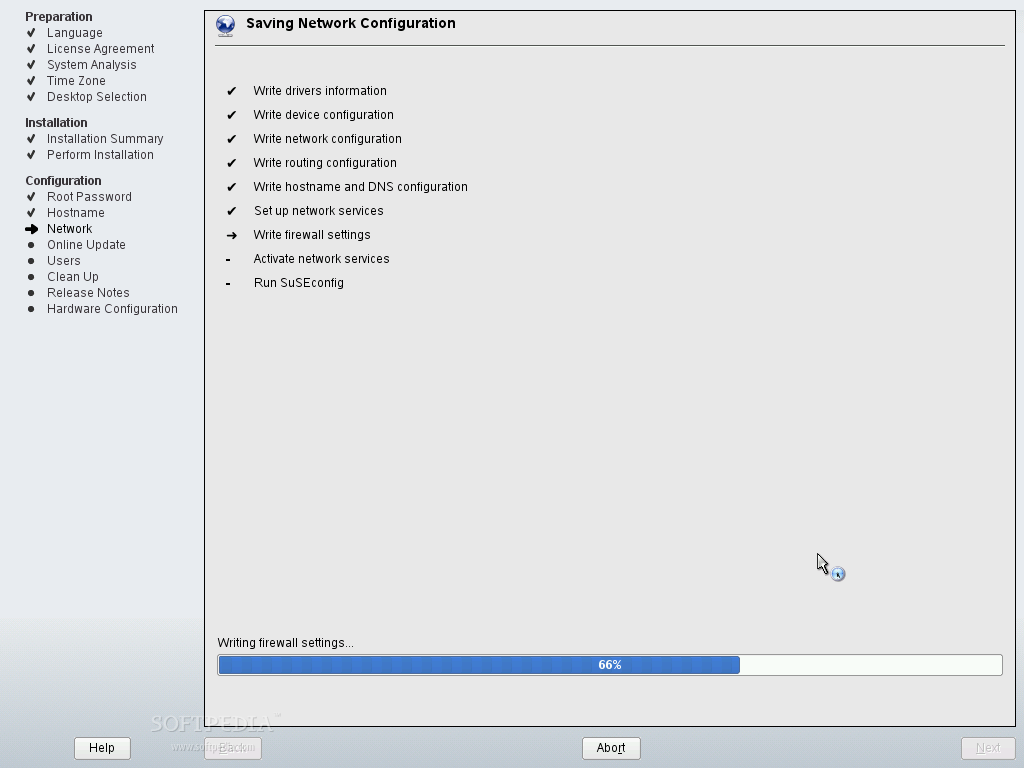
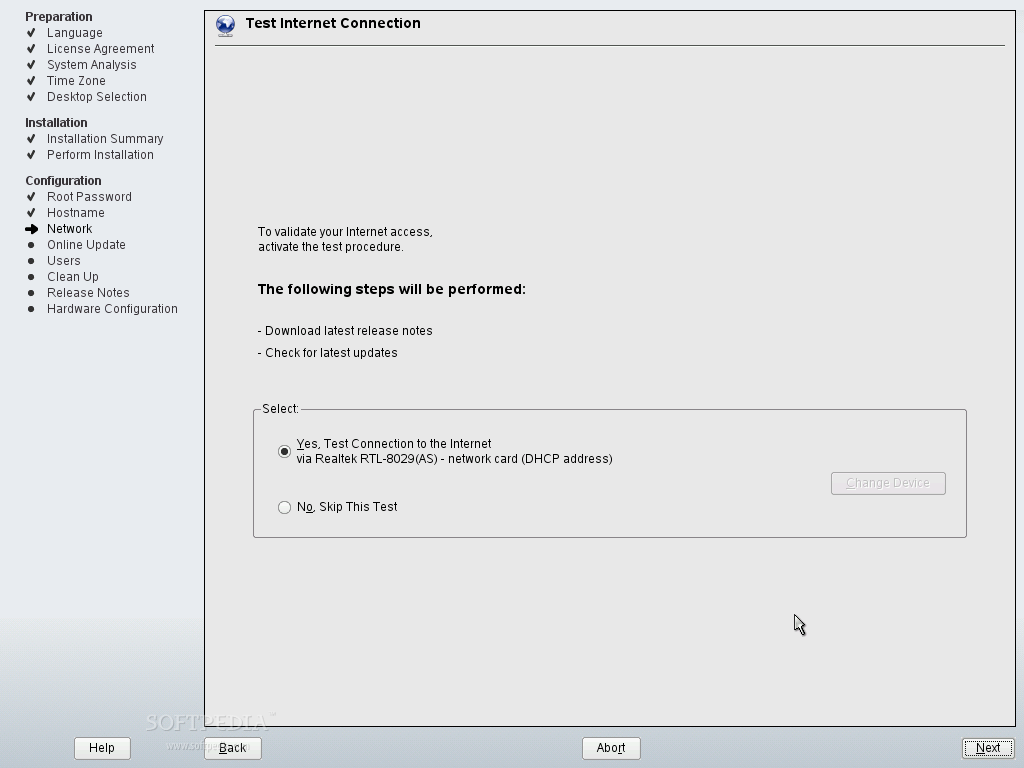
By default, your network card will be configured with DHCP (dynamic IP address), but if you have a static IP address, you must click on the "Network Interfaces" link and setup your IP manually (you must know the Netmask, Gateway and DNS from your provider). Just hit next after you've done all the settings here, and then you have the option to test your network connection. If everything is successful, click the next button and you'll arrive to "Novell Customer Center Configuration" screen, where I simply suggest you click on the "Configure Later" option and carry on with the installer.


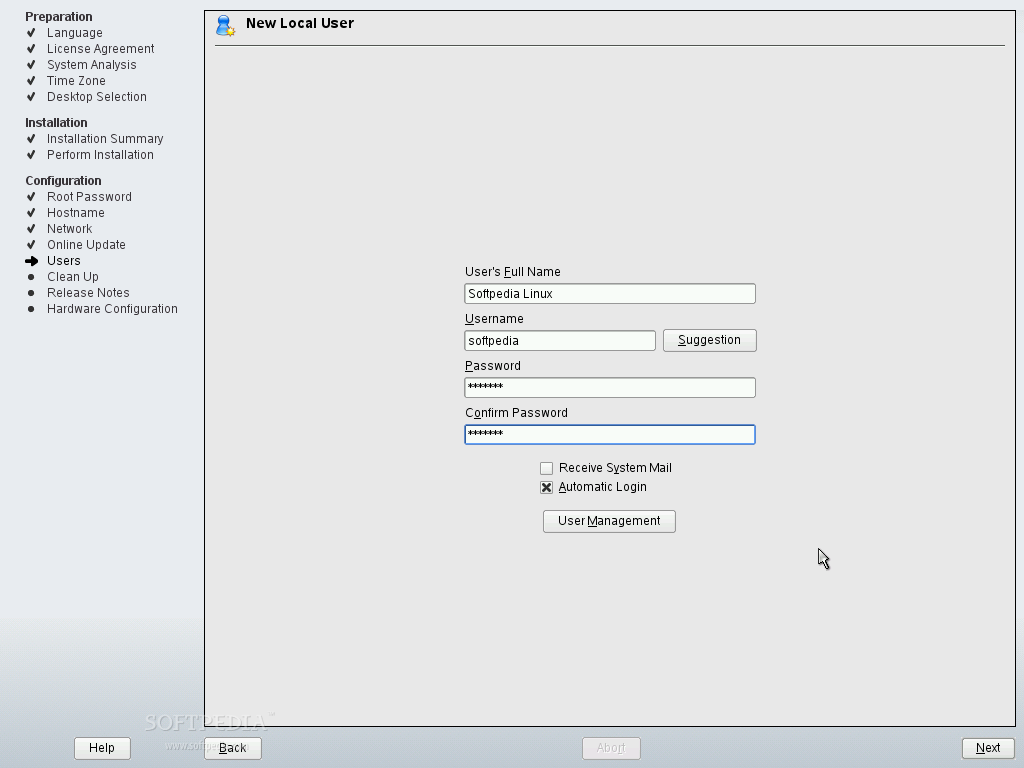
Some additional installation sources will be prompted for you to register, but this will take some time and you can add them later, so I suggest you select No and then click the next button so you can opt for the authentication method. I suggest to leave it as it is if you don't know what these settings do and hit the next button again. Now, you must create a user for the system, because it's not a very smart idea to operate a Linux system as root, especially if you're a beginner.
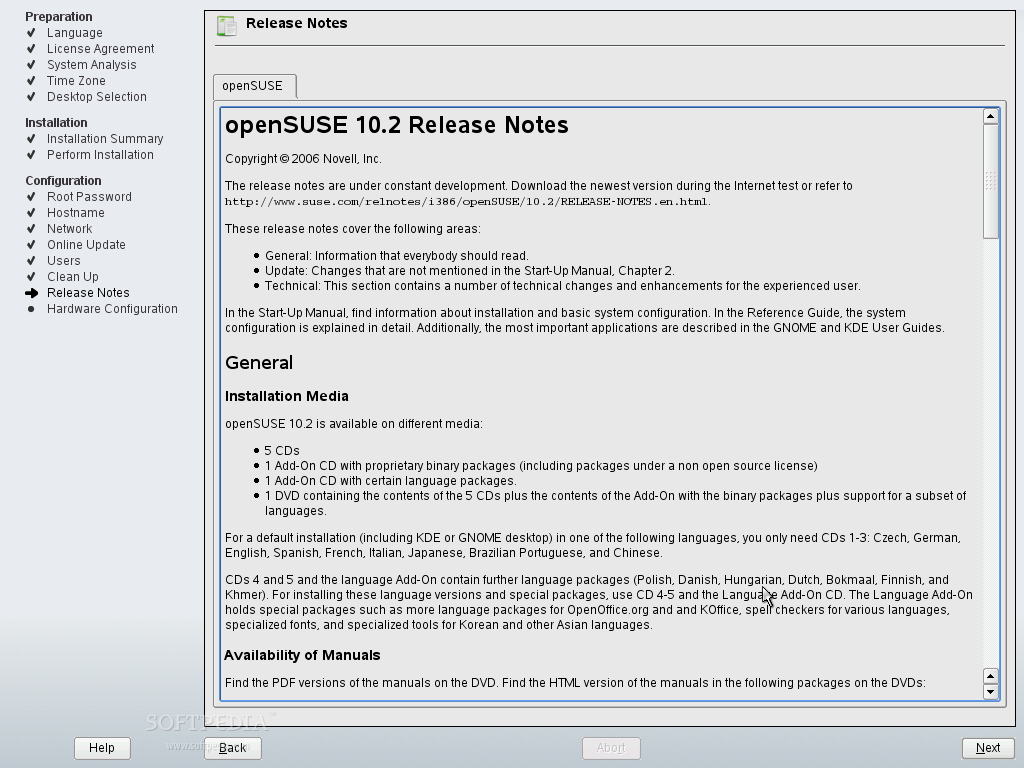
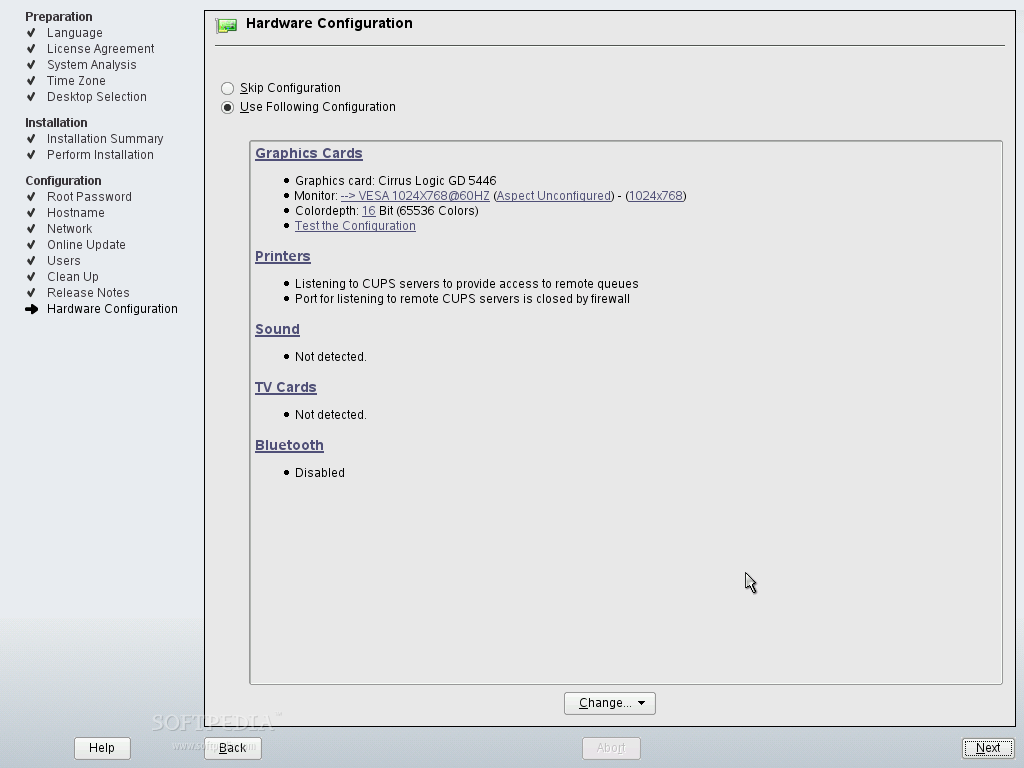
After you have created the user, you will see the release notes for openSUSE 10.2, which you can view later on the Yast control panel. Hit next and the installer will scan and setup your computer hardware. Take a good look here to see that everything was recognized as it's supposed to be. Normally, the installer will recognize and setup all your hardware correctly, if not, you can click on the hardware component that you consider it was not set up correctly and do extra configuration.
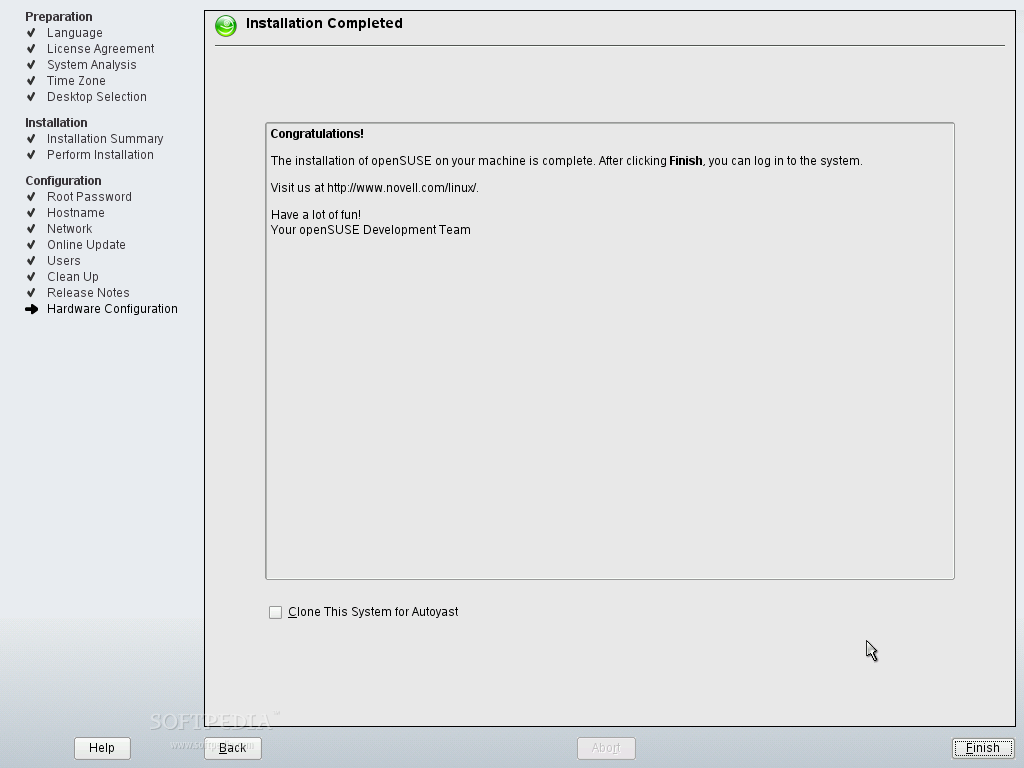
That's it! Congratulations! Click the "Finish" button and you'll be automatically logged in into your new openSUSE machine. I hope you will find openSUSE 10.2 a great, useful and wonderful Linux distribution. I sure do!