The Start menu is one of the essential Windows features, and fortunately, Microsoft itself has learned this after a very risky experiment with Windows 8.
Back in 2012 when Microsoft launched Windows 8 with its “modern” interface, the company took everyone by surprise because the operating system lacked both a Start button and a Start menu. This was a decision that backfired quickly, as many users blasted the company for removing the traditional Windows feature just because it wanted to push everyone to the touch-optimized Start screen.
The software giant eventually reverted part of this controversial decision with the release of Windows 8.1 when the Start button was brought back, but the Start menu didn’t return until Windows 10.
In the meantime, however, many users turned to third-party solutions to bring back the Start menu in Windows 8 and 8.1, including Classic Shell, which has recently been discontinued because Microsoft itself is offering a Start menu in Windows 10.
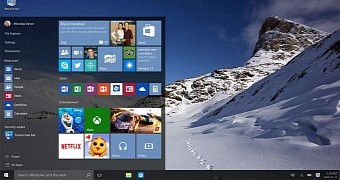
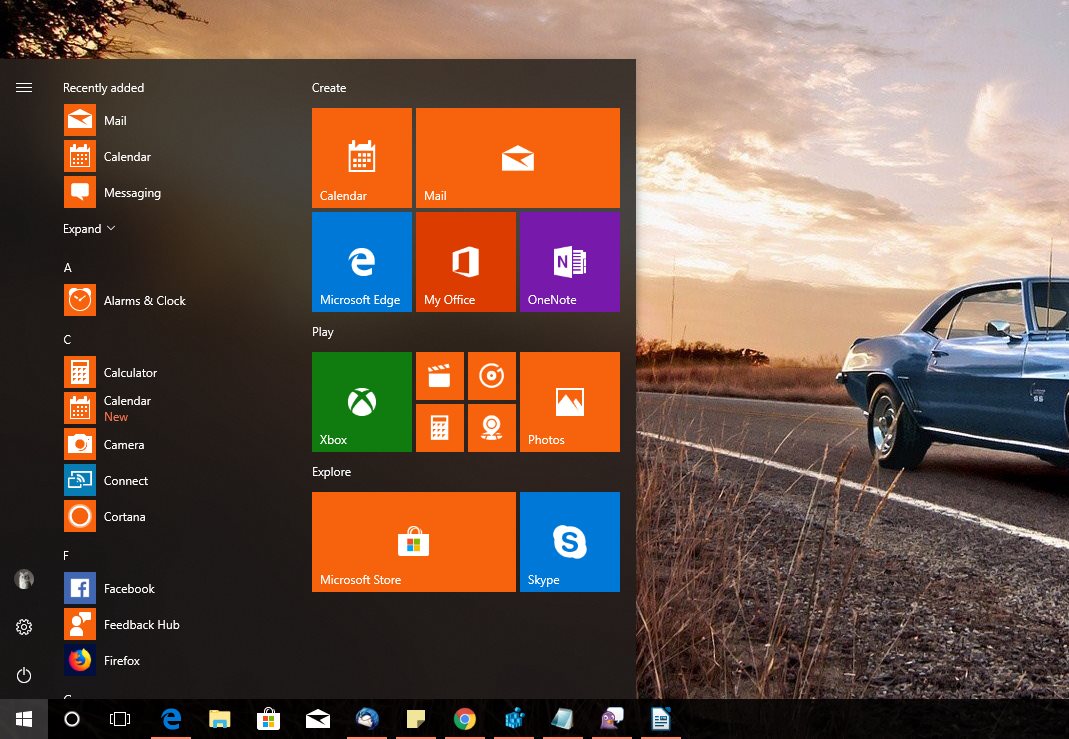
The new version of the Start menu, however, is a mix of the Windows 7 and Windows 8.1 designs, featuring a modern look based on tiles. But it’s not a secret that these tiles often don’t work exactly as expected, especially after upgrading the operating system to a new version, like the Fall Creators Update.
In many cases, the Start menu is broken, tiles are no longer “live” (animated) and they become blank, with no content displayed whatsoever. Microsoft doesn’t provide a quick way to reset the Start menu on systems running Windows 10, but fortunately, you can do that with just a few steps.
Before everything, it’s important to know that an administrator account is needed because editing the Windows Registry is part of the process. Also, because we’re going to mess with the registry, you’re supposed to create a backup, just to make sure you’re able to restore in case something goes wrong.
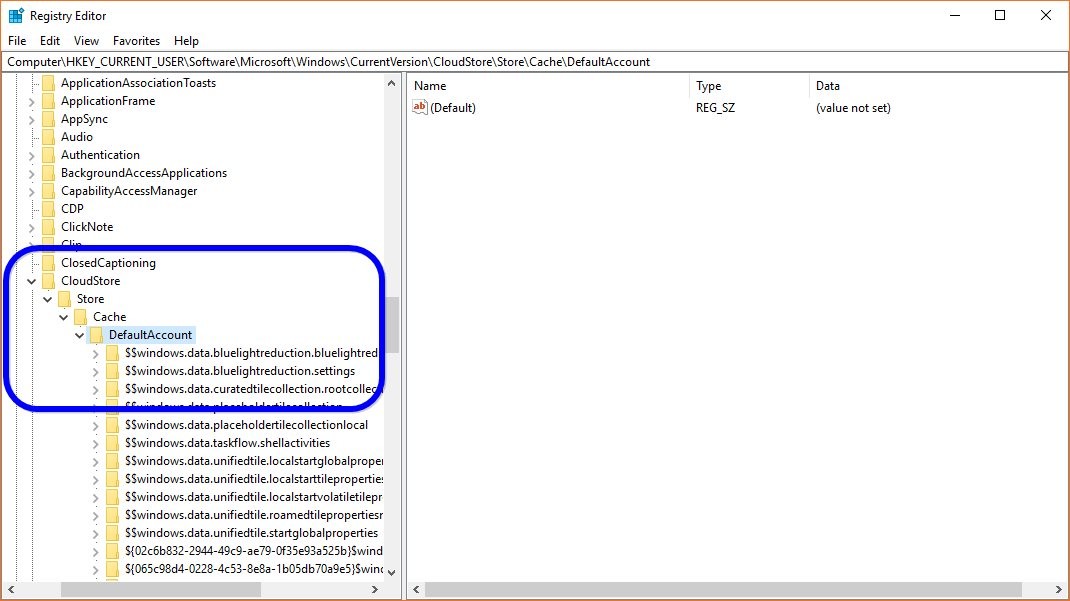
So technically, what you need to do is to clear the Start menu cache in order to reset the layout and return to the default configuration. To do this, open the Registry Editor by typing regedit in the Start menu and hit enter. Next, you need to navigate to the following path:
HKEY_CURRENT_USER\Software\Microsoft\Windows\CurrentVersion\CloudStore\Store\Cache\DefaultAccount
In Windows 10 Fall Creators Update, the Registry Editor has its own address bar, so just copy and paste this address to quickly find the said keys.
Once you’re there, you need to delete the key and all its contents, just like you’d normally delete files with File Explorer – this is why it’s important to create a backup; deleting something else by mistake could completely break down the Start menu.
When you’re done, just reboot your system and the Start menu should return to the original configuration with the default live tiles and no other settings.
BONUS TIP: You can also create your very own .reg file to automate the process and do this regularly or on more computers – this is particularly helpful in organizations where computers are being updated to the latest version of Windows 10 and Start menu issues are experienced afterward.
To do this, create a new text document on the desktop, and paste the following line inside:
[-HKEY_CURRENT_USER\Software\Microsoft\Windows\CurrentVersion\CloudStore\Store\Cache\DefaultAccount]
Next, you need to change the file extension from .txt to .reg, write down whatever name you want, and you’re good to go. Whenever you want to restore the Start menu to the default configuration, just double-click the .reg file, allow it to run and reboot your system.
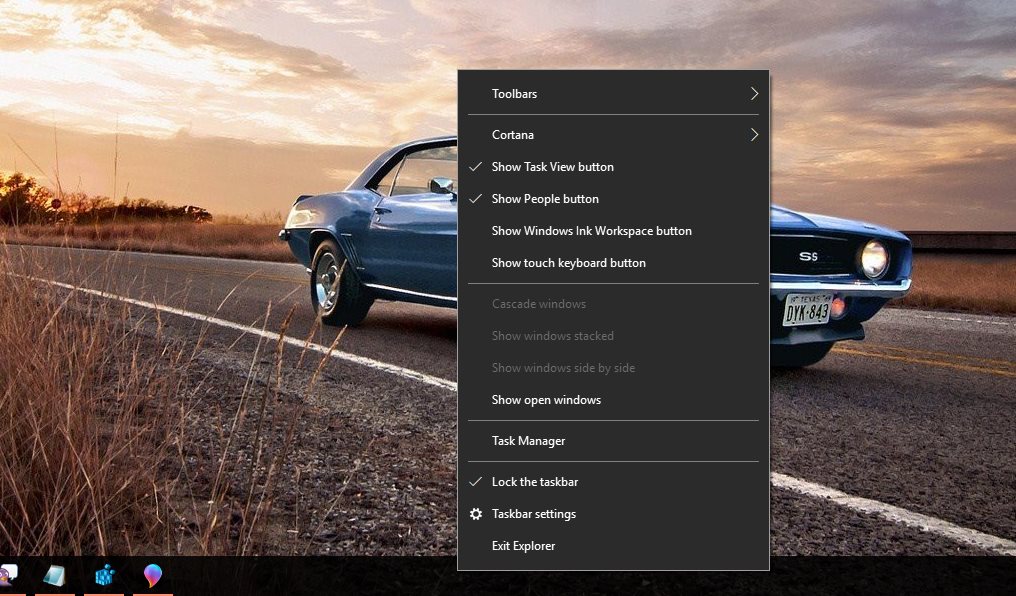
BONUS TIP #2: Instead of rebooting your system, you can just exit Explorer. To do this, press CTRL + SHIFT and right-click (with the two keys pressed) the taskbar. You should see an option called Exit Explorer. Click it, then press CTRL + ALT + DEL > Task Manager > File > Run new task, type explorer.exe and hit Enter.

 14 DAY TRIAL //


