14 DAY TRIAL //
 Windows 8 wanted to bring a little innovation to the operating system you’re familiar with for so long, but ended up creating a lot of controversy when the Start Screen replaced the Start Menu, which is making a comeback in Windows 10. Among other new features, there was the Store.
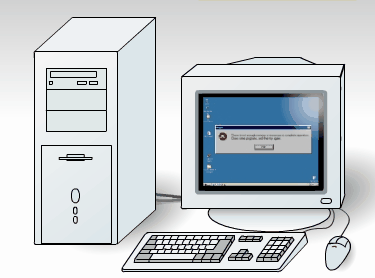
Working with Windows on a daily basis, even for rudimentary tasks, is sure to trigger an error at some point, and so is the case with the Store in Windows 8. Frustration quickly builds up when you finally find the app you want to download or buy, but end up stuck with messages like “Something happened and this app couldn’t be installed, Please try again” or “This app wasn't installed error 0x80073cf9”.
After some solid time spent digging for answers, we found that it’s a pretty common error, while methods to repair it are pretty confusing, risky, and don’t promise to restore the Store functionality. The error is generated due to compatibility issues with Windows or Store app updates, or even third-party applications. If you don't want to end up doing this to your PC, then follow the steps below.
| Hot NOT to fix the Store |
|---|
Fixing the Store: 1 ~ Folder tweaks
Just like any other system program that runs on Windows, it relies on a specific directory structure to move files around. If a folder is missing, it’s like simply removing a part of the road from a crowded highway.
For some reason, the Store is unable to automatically recreate folders lost to virus infections, program or system updates. You manually have to solve this issue.
Step 1: Go to This PC / My Computer and access the Folder Options panel.
Hint: From the View menu select Options or sequentially press Alt, V, Y, O.
Step 2: Switch to the View tab.
Step 3: Choose to Show Hidden Files, Folders and Drives.
Step 4: Make sure Hide Protected Operating System Files is NOT checked.
Step 5: Press Apply and OK to confirm changes.
There are three possible folders that can trigger the Store error. It’s going to take a little patience, and a few system restarts to go through.
Step 6: Navigate to C:\Windows and create a new folder called AUInstallAgent. Note that administrator privileges are required.
Step 7: Restart your PC and check if the issue is fixed. If not, go along with the steps.
Step 8: Go to C:\Windows again, remove (optional) AUInstallAgent, and make a new folder named AppReadiness. Restart your PC and see if it worked. If not, move on to step 9.
Step 9: In the C:\Program Files (NOT Program Files (x86)), there needs to be a hidden folder named WindowsApps. If there isn’t, create it and restart your PC.
Fixing the Store: 2 ~ Cleaning and resetting the cache
Step 1: Close any running application so that it doesn’t interfere with the process.
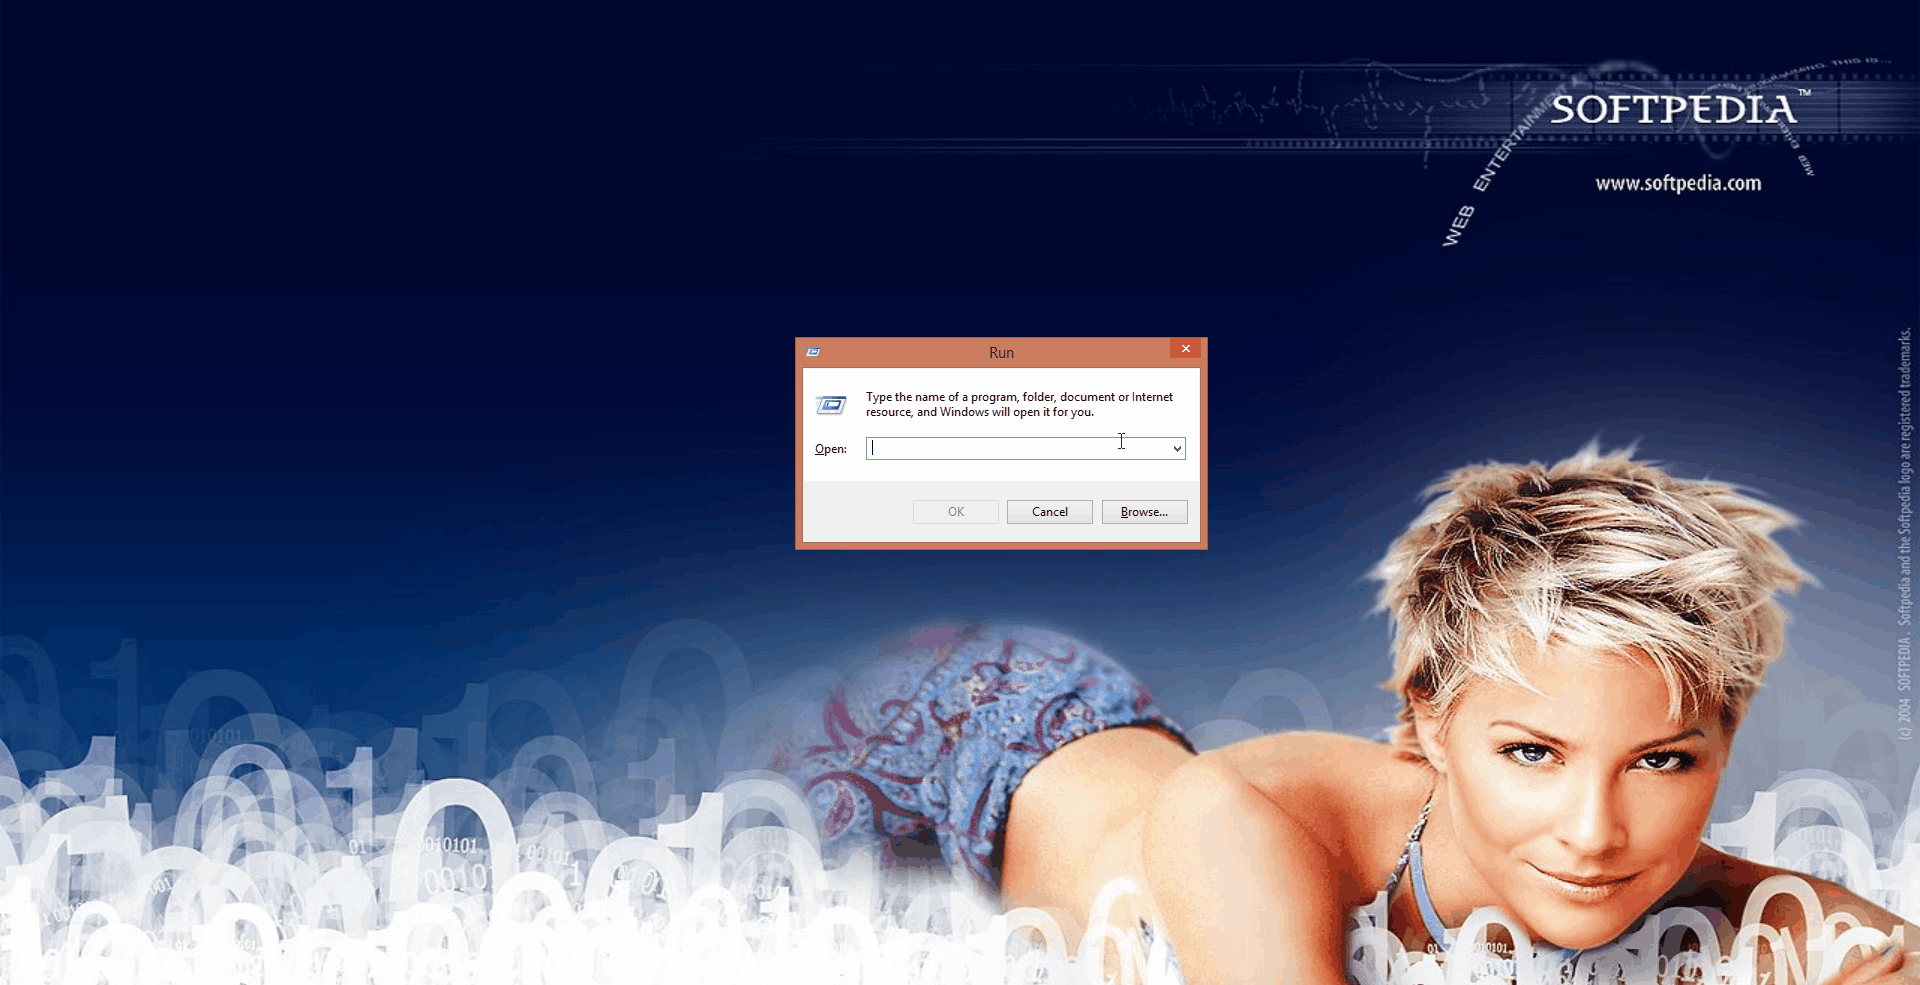
Step 2: Launch the Run utility (Win + R), type WSReset.exe and press Enter.
(Check the Store)
Step 3: Make sure AUInstallAgent / AppReadiness is in the C:\Windows folder. If not, create it.
Step 4: Press Win + X and choose to launch the Command Prompt (Admin).
Step 5: Write down sfc /scannow and press Enter. Wait for the process to finish.
Step 6: Restart your PC and see if the Store works. If not, move forward.
Step 7: Launch Command Prompt (Admin) again. Write down net stop wuauserv and press Enter.
Step 8: Now write rename C:\Windows\SoftwareDistribution softwaredistribution.old.
Note: Whatever you do, don’t delete the softwaredistribution.old folder.
Step 9: After pressing Enter, write net start wuauserv and confirm again. Restart the PC and the Store.
In the desperate event that nothing is solved so far, add these following steps to the process:
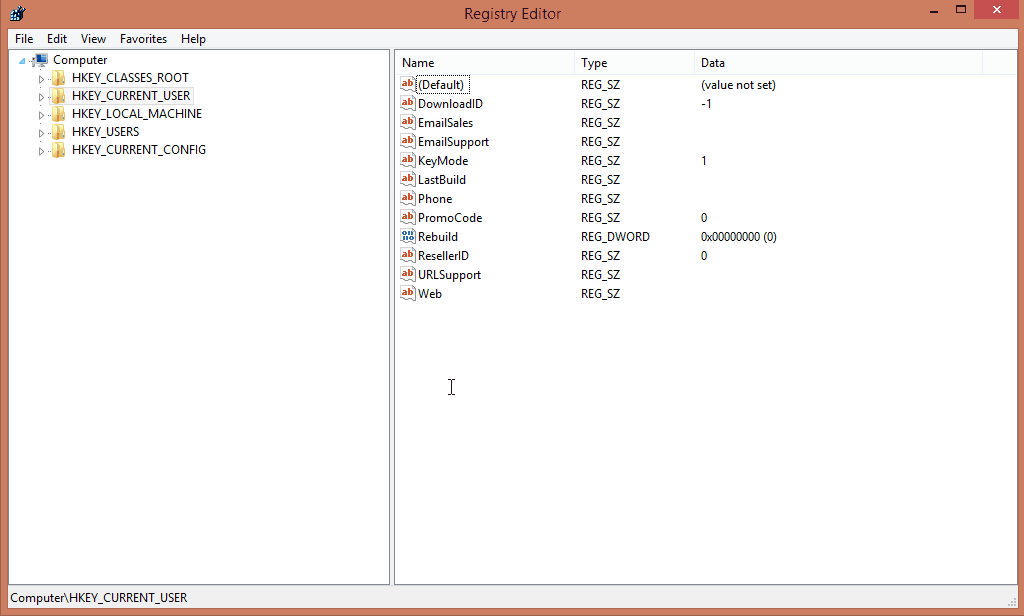
Step 10: Launch the Registry Editor by pressing Win + R, writing down regedit and pressing Enter.
Step 11: Navigate to this location HKEY_CURRENT_USER\Software\Microsoft\, and delete the OLE folder in the left pane.
Step 12: Close the Registry Editor and restart your PC to see if all works as it should.
Fixing the Store: 3 ~ Checking startup items
This is process is a bit difficult, and can take some time and patience. Back up your important data so you don’t lose anything you might later on need.
Third-party services:
Step 1: Press Win + R, write down msconfig and press Enter.
Step 2: Choose Selective Startup, and make sure NOT to Load Startup Items (untick the box).
Step 3: Switch to the Services tab and choose to Hide All Microsoft Services.
Now comes the tricky part, because remaining items are drivers and other third-party applications. You need to identify the one causing the Store issue.
Step 4: Look for any suspicious services you don’t recognize and disable them.
Step 5: Press Apply, OK, and restart your PC to see if the problem is solved. If not, repeat steps 1 to 3.
Step 6: Leave only half the services active, or any combination you think helps identify the faulty service faster. After each combination, remember to restart the PC.
Step 7: Repeat the cycle until the problem is isolated, remove the cause, and look how to Return to Normal Startup below.
Microsoft services:
Step 1: Repeat steps 1 and 2 from above.
Step 2: Leave Microsoft Services visible, and click on the Manufacturer column header to sort them in order.
Step 3: The same repetitive process needs to be performed, but this time for Microsoft Corporation services.
Step 4: If identified, leave the service disabled, although there are chances for Windows to malfunction, depending on the broken service.
Return to normal startup:
If the problem isn’t with third-party or Microsoft services, you can leave startup at default.
Step 1: Launch System Configuration (msconfig) just like above.
Step 2: In the General tab, check Normal Startup.
Step 3: Press Apply, OK, and restart the PC to bring everything back to normal. Well, except for the Store.
Fixing the Store: 4 ~ Last resort
If all of the above fails to make the Store functional again, then it’s all down to this last process.
Step 1: Try not to break anything in your room.
Step 2: Calm down with some relaxing music.
Step 3: Destroy this computer (Not In Real Life!).
Step 4: Reinstall Windows from scratch. No, seriously, this is what you need to do.
Step 5: Stop laughing, and reinstall Windows.
After you complete deploying Windows again, install all updates, create a System Restore Point to come back to whenever something goes wrong. Only after this is done you are free to set up any other third-party applications or games you want.
On an ending note
This Microsoft Error can be triggered by a lot of exact unknown causes, even a small system update. What’s more, there’s no guarantee that any of the methods above works, since the cause varies so much. It’s a time-consuming process to fix it, but it can be done. For instance, we managed to fix it on a test computer using the first two steps in section two, while it didn’t work on another PC.