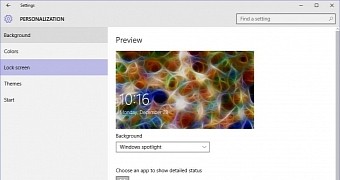
Windows Spotlight is one of the new features available in Windows 10 and it brings new wallpapers on your lock screen every day, allowing you to rate them individually and get more photos that are specifically tailored to match your preferences.
Some of these backgrounds look absolutely fantastic, and it’s no surprise that users are looking into ways to save them and either use them at a later time or set them as wallpapers on their desktops.
To do this, you don’t need any fancy third-party apps because all lock screen backgrounds are actually saved on your computer and stay there if you’ve rated them with a “yes” mark.
How to reach the photos
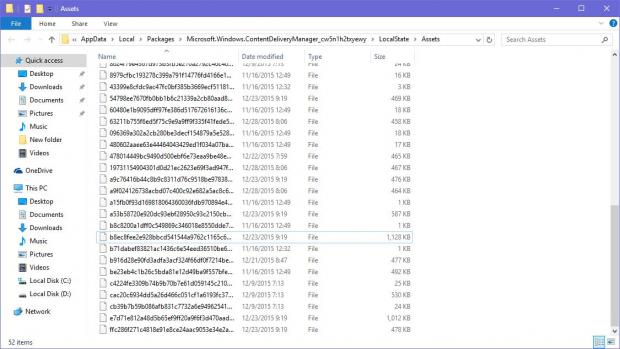
Basically, all photos are stored in the following folder (make sure you replace username with your own user account):
You should now see what looks like a list of files named with random numbers and letters, but that’s the list of wallpapers that you actually liked and that got downloaded to your PC.
These files, however, do not have any extension assigned to their names, so you have to do that manually. Copy all photos to a new folder (do not make any changes in the original directory because you might break down Windows Spotlight) and rename photos one by one by adding the extension .jpg at the end of the file name.
Since there are plenty of files there, renaming them one by one is clearly a process that could take longer than what you’d be willing to spend on such a task. So you can either use a third-party app like Bulk Rename Utility or use a little trick.
Press the Shift button and right-click in the folder where you’ve copied the folders, hit the option that says “Open Command Prompt here,” and in the new window, type the following command:

 14 DAY TRIAL //

