14 DAY TRIAL //
 Customization is one of the aspects Windows users look into the most. Each new iteration brings fresh ways to configure aesthetics, or even a completely re-designed interface. Third party applications can also be used, but system stability is put at risk.
Usually found and accessed through the context menu, personalization options mostly refer the wallpaper, that can be set as a slideshow, as well as overall window colors, which can be set to change according to tones used in the background picture.
On the other hand, a lot of Windows areas can be tweaked, and cleverly combining them gives you the possibility to create a neat theme with sounds and mouse cursors. As such, we put up together a few steps required to grab all resources and bundle them inside a theme pack that can even be shared with friends.
Collecting theme resources
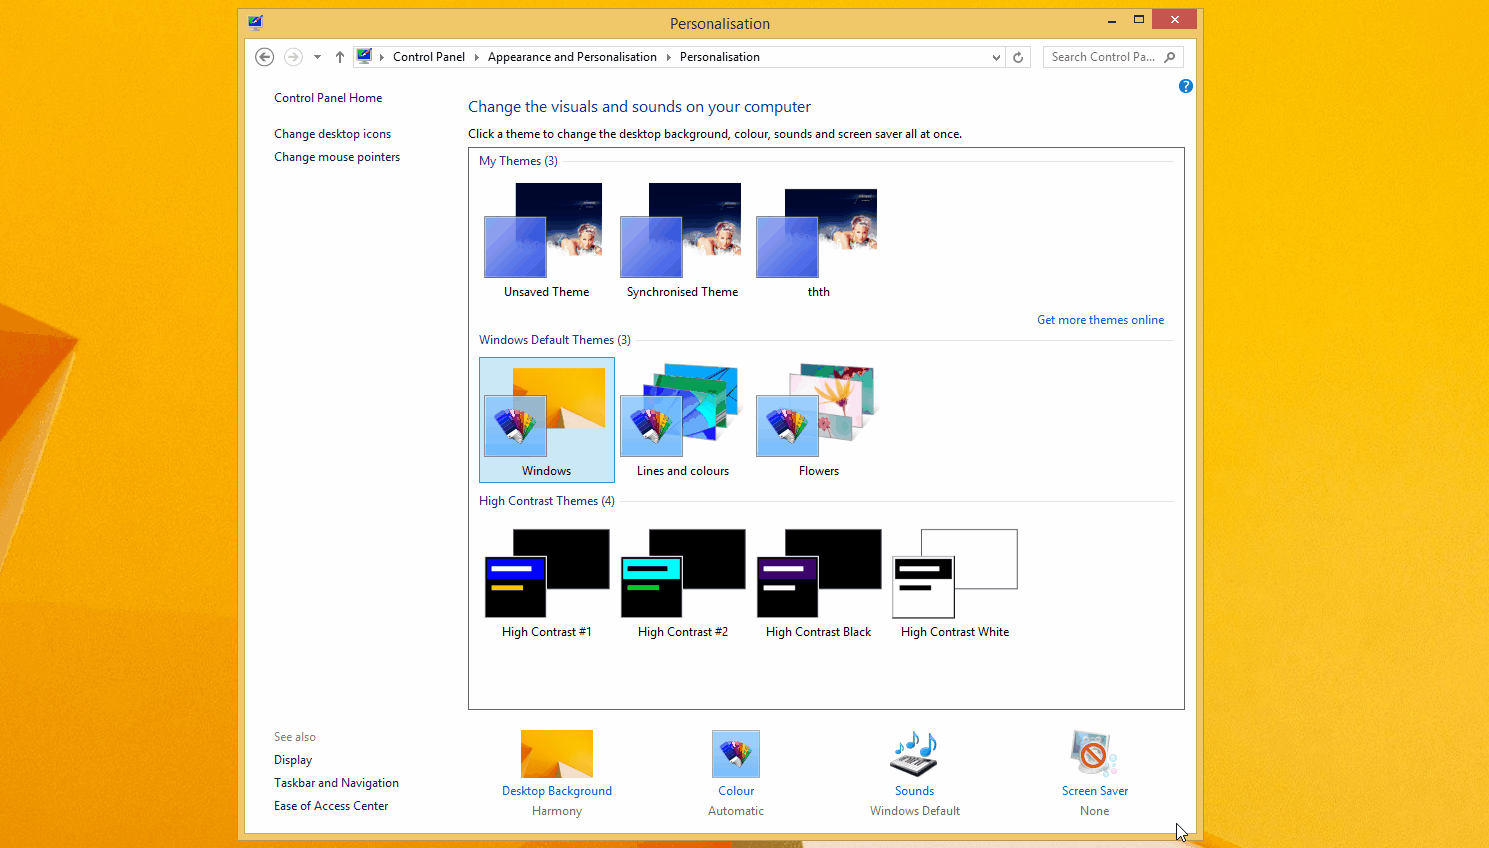
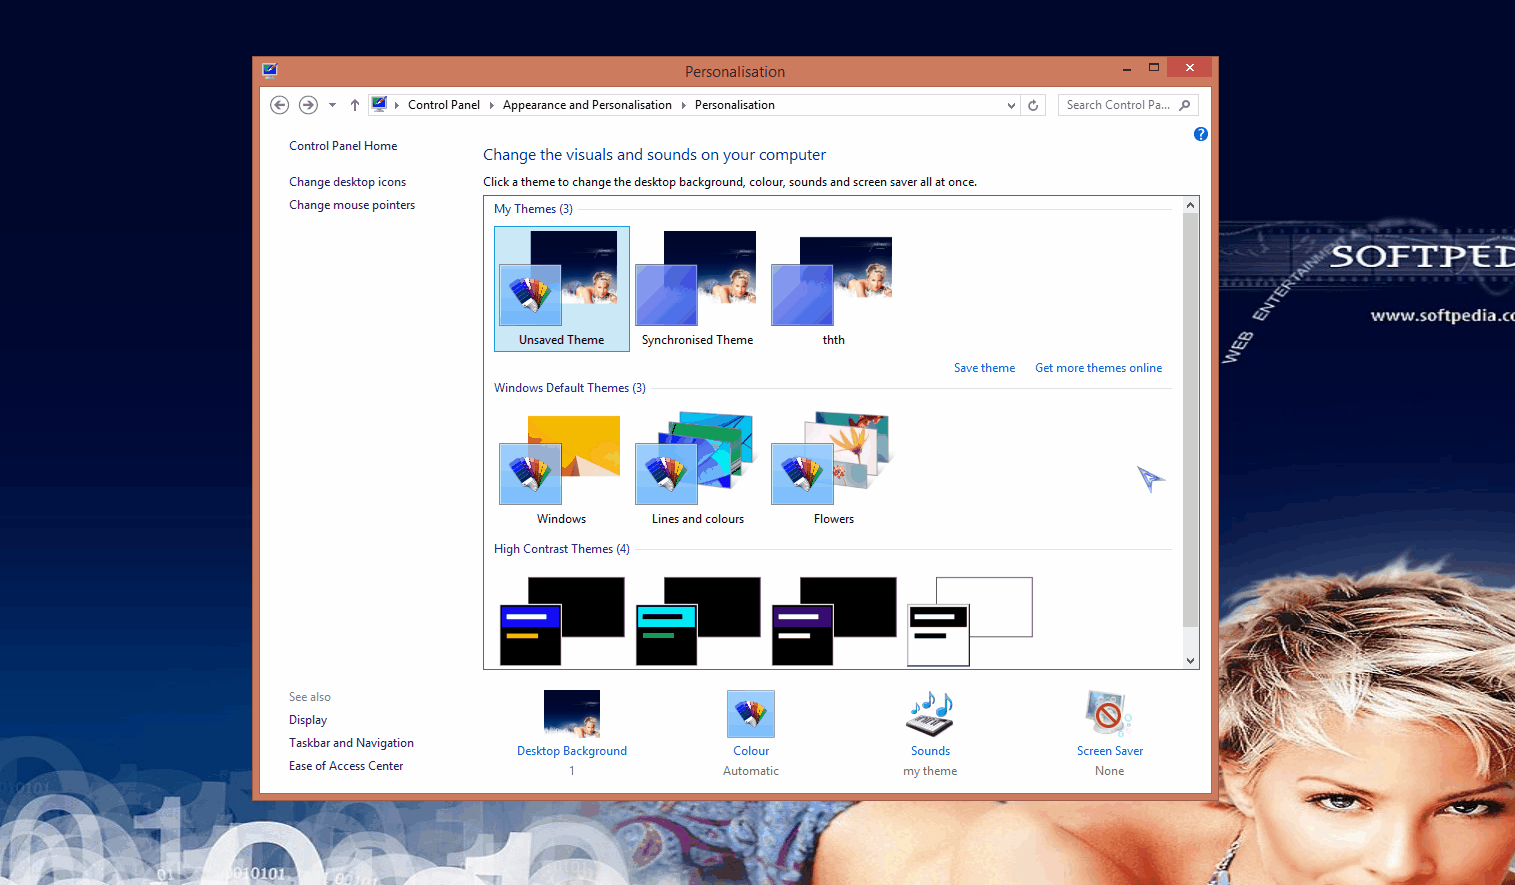
A total amount of four resource types are necessary, where one is optional, to create a complete Windows theme. We’re going to grab them as displayed in the Personalization menu.
Setting up wallpapers:
Step 1: Go online to download pictures you want to use as background images. If you don’t want to create a slideshow, one is enough.
Step 2 (optional): Right-click the desktop and go to Screen Resolution. Check the current one and try to look for pictures that at least match it, if not bigger.
Step 3: Add all pictures in a folder and make sure not to lose or misplace it.
Step 4: Right-click the desktop and go to Personalization. Click on Desktop Background and drag all pictures over the large, empty space, or use the Browse dialog.
Step 5: Set Picture Position from the drop-down menu, preferably to Stretch. Adjust frequency for changing pictures and choose to Save Changes.
Configuring color:
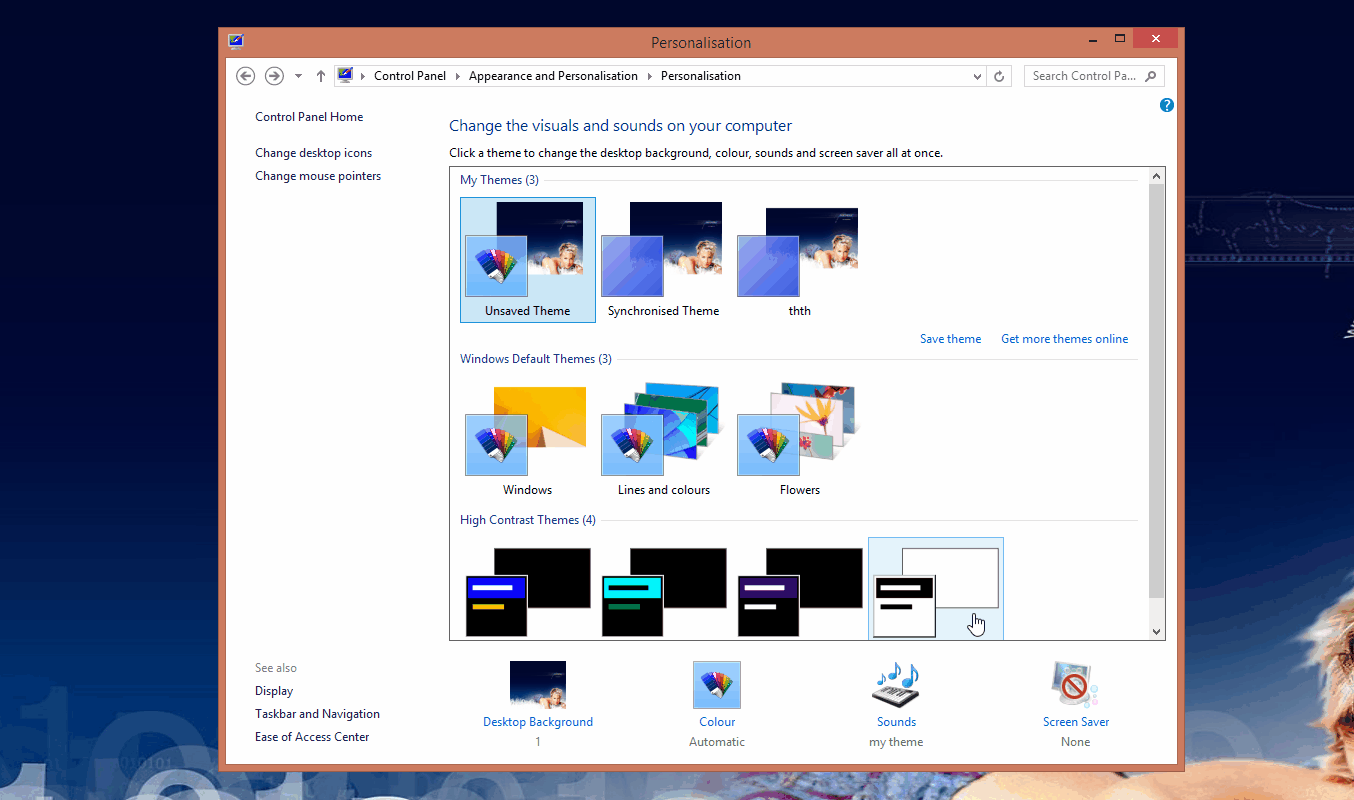
Step 1: Access the Personalization menu once again. It’s best to leave it open.
Step 2: Click on Colour and select from the available presets.
Note: Selecting the first option automatically changes the color according to the wallpaper you’re using. Intensity can be configured through a slider, and you can manually configure a tone by choosing to Show Colour Mixer.
Step 3: Create a tone or pick an existing one and Save Changes.
Enabling custom sounds:
This can be an incredibly lengthy process if you decide to attribute a sound effect to all actions Windows can perform.
Step 1: Go online and grab some sound effects. Just make sure they are under the WAV format.
Hint: If you decide to use a slideshow background, this little application can be used to generate sound effects from pictures, in case you can’t find anything interesting online.
Step 2: Save sounds to a custom, easy accessible folder.
Step 3: Access Sounds from the Personalization menu.
Step 4: In the Program Events section, select an action and press Browse to choose the effect you want. Repeat this step for every action you want to make a sound.
Step 5: When finished, press Save As in the Sound Scheme section and give it a name.
More mouse pointers:
Step 1: Rely on the Internet again to download a set of mouse pointers that suits your theme.
Step 2: Place them in an accessible area, preferably where other elements created so far are stored.
Step 3: Choose to Change Mouse Pointers in the Personalization menu.
Step 4: The customization process is similar to that for sounds. Choose a cursor state from the large list.
Step 5: Hit the Browse button and load the CUR or ANI file to use as pointer. Repeat this for all cursor states.
Step 6: Press the Save As button in the Scheme section and give it a name.
Selecting desktop icons:
Step 1: Just like processes above, download a set of icons from the web. An alternative is to create your own icons, even if it can take some time.
Step 2: Save all icons to use in a custom folder. You need at least five icons for This PC, documents, Network, as well as full and empty Recycle Bin.
Step 3: Follow the link to Change Desktop Icons in the Personalization menu.
Step 4: Make sure you Allow Themes to Change Desktop Icons.
Step 5: Select an icon from the list, choose to Change Icon, and load the corresponding one. Repeat this step for all icons.
Note: This is also the place where you get to decide what system icons to show on your desktop.
Step 6: Hit Apply and OK to save all changes.
Including a Screen Saver:
Note: This section is entirely optional, but it helps for building a fully-featured Windows theme.
Step 1: Bring back your web browser one more time to choose a Screen Saver to go with your theme.
Step 3: Access the Screen Saver configuration from the Personalization menu.
Step 4: Choose the downloaded screen saver from the drop-down menu and configure it if necessary.
Step 5: Confirm changes by pressing Apply and OK.
Saving and sharing your new Windows theme
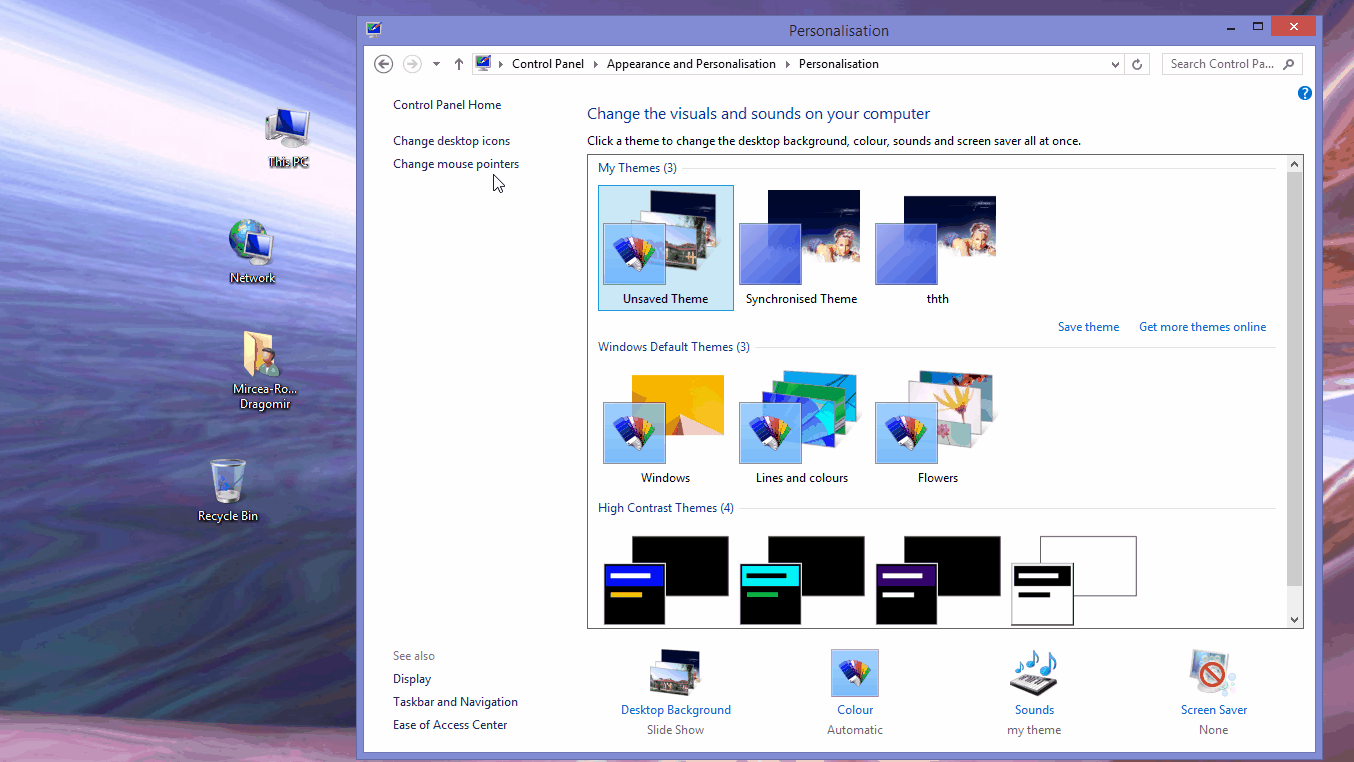
Step 1: Bring up the Personalization menu if you haven’t closed it yet, or access it again.
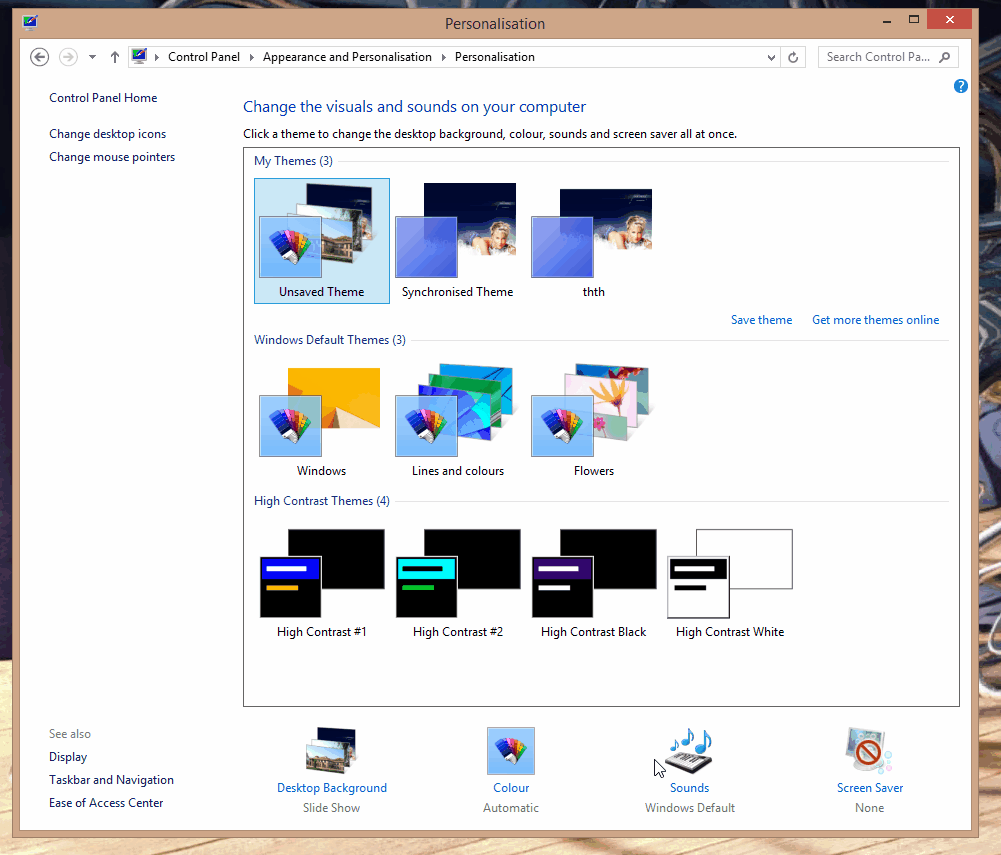
Step 2: In the My Themes section, which is the first one, simply press Save Theme because the one used is selected by default, fitted with the Unsaved Theme tag.
Step 3: Right-click the theme you just saved, and choose to Save Theme For Sharing.
Step 4: Select a name and destination for the output file and press Save.
Step 5: To share with others, simply send the save file. When launched, it applies all configurations with which you struggled so far.
In conclusion
Sure enough it can take a considerable amount of time to create a custom Windows theme with built-in tools. However, this way you make sure to have your theme saved and applied after each install of Windows. It’s also possible to combine different desktop enhancements, but make sure to back up your data first.